Maintaining a swimming pool is a science, and the most critical element to master is water balance. One of the most common challenges pool owners face is high pH and alkalinity, which can lead to cloudy water, skin irritation, and reduced chlorine effectiveness. To correct this, you need to add an acid.

While muriatic acid has long been a popular choice, many homeowners are turning to a safer, easier-to-handle alternative: dry acid. This granular substance, typically sodium bisulfate, offers a user-friendly way to lower your pool’s pH without the risks of splashing or harsh fumes associated with its liquid counterpart.
This guide will provide a comprehensive, step-by-step tutorial on how to add dry acid to pool water, ensuring you can confidently manage your water chemistry and keep your pool sparkling clean all season long.
Maintaining proper water chemistry is essential for ensuring a safe and enjoyable swimming environment.
Balancing the pH level is one of the most critical aspects of pool care, as an imbalanced pH can lead to issues such as skin irritation, equipment damage, and poor sanitizer efficiency. By using dry acid correctly, you can easily adjust your pool’s pH levels and maintain the water quality needed for optimal swimming conditions.
Why Use Dry Acid?
Dry acid, also known as sodium bisulfate, is a type of granular chemical used to lower the pH level in swimming pools. It is safe and easy to use, making it a popular choice among pool owners. Compared to other chemicals such as muriatic acid, dry acid is less corrosive and has less fumes, making it more user-friendly for at-home pool maintenance.
One of the main advantages of using dry acid is its ability to accurately adjust pH levels without affecting total alkalinity. This makes it an ideal solution for pools with high alkaline levels that tend to experience frequent pH fluctuations.
Additionally, dry acid dissolves quickly and does not leave any residue, making it easy to use and effective in maintaining appropriate pH levels.
Another benefit of using dry acid is its affordability. It is a much cheaper option compared to other pool chemicals, such as muriatic acid or soda ash. This makes it a cost-effective solution for pool owners looking to maintain their pools without breaking the bank.
Step-by-Step Guide on How to Add Dry Acid to Pool
Step 1: Gather Your Safety Gear and Supplies
Before you handle any pool chemical, especially an acid, safety must be your top priority. Sodium bisulfate is safer than muriatic acid, but it is still a corrosive substance that can cause skin and eye irritation.
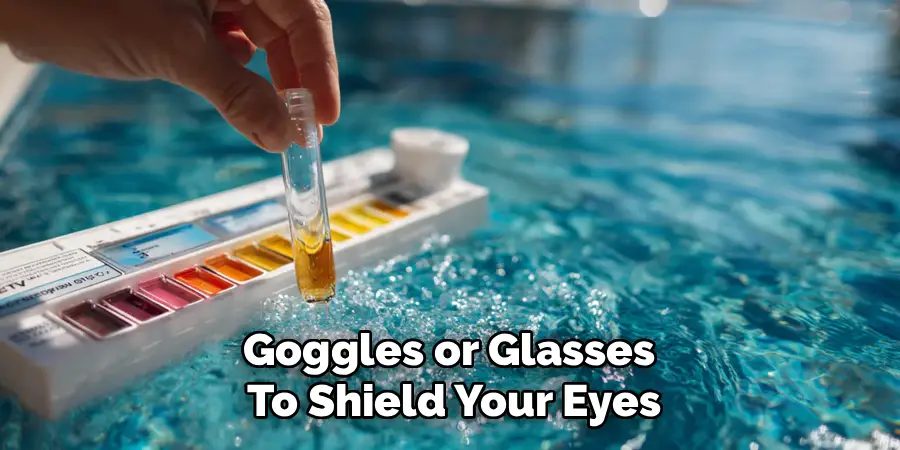
You will need chemical-resistant gloves to protect your hands, and safety goggles or glasses to shield your eyes from any accidental splashes or dust. It is also wise to wear long sleeves and pants.
In addition to your protective gear, you will need a reliable water testing kit, a clean five-gallon bucket, and the dry acid product itself. Having all your supplies ready before you begin will make the process smoother and safer, preventing you from having to rush or leave chemicals unattended.
Step 2: Test Your Pool’s pH and Total Alkalinity
You should never add chemicals to your pool without first knowing your current water chemistry levels. Use a quality test kit—whether it’s test strips, a liquid reagent kit, or a digital reader—to get an accurate reading of both the pH and the Total Alkalinity (TA).
The ideal range for pH is between 7.4 and 7.6, while the ideal range for Total Alkalinity is between 80 and 120 parts per million (ppm). Write down your results. High pH and high TA often go hand in hand, and dry acid is effective at lowering both.
Knowing your starting point is essential for calculating the correct amount of acid to add, preventing you from over-correcting and causing your levels to plummet too low.
Step 3: Calculate the Correct Dosage
With your test results in hand, you need to determine how much dry acid to use. The product packaging will have a dosage chart that tells you how much acid is needed to lower the pH and alkalinity in a specific volume of water.
To use this chart, you must know your pool’s volume in gallons. If you are unsure, you can find online calculators that estimate volume based on your pool’s shape and dimensions.

Following the manufacturer’s instructions precisely is critical. Adding too much acid can cause the water to become corrosive, which can damage your pool equipment and surfaces. It is always better to add less than you think you need and re-test later.
Step 4: Turn on the Pool Pump
The pool’s circulation system must be running before you introduce any chemicals into the water. Turn your pool pump on and ensure it is set to “filter” or “circulate.” This creates a current that will help distribute the dissolved acid evenly throughout the entire pool.
Adding chemicals to stagnant water is a common mistake that can lead to concentrated “hot spots.” In the case of acid, this can cause etching on your pool’s plaster or liner.
Allowing the pump to run for the entire duration of the process ensures rapid and thorough mixing, leading to a more uniform chemical adjustment and protecting your pool surfaces from potential damage.
Step 5: Predissolve the Granules
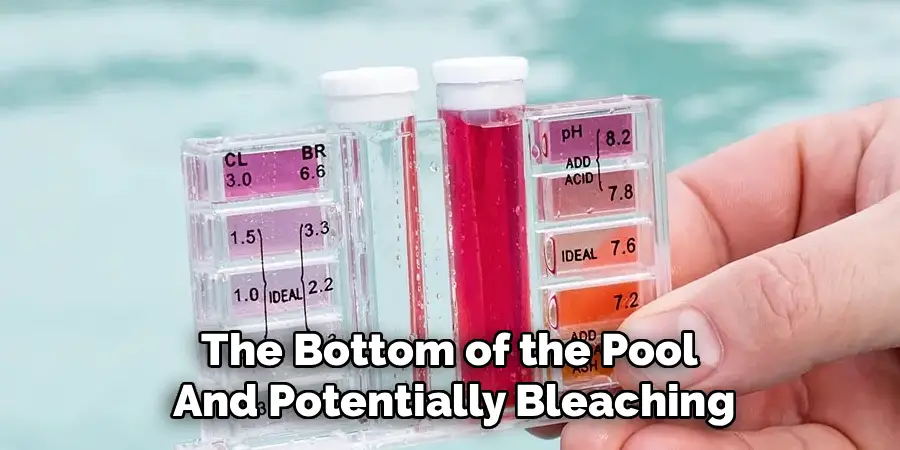
While some manufacturers say you can add the granules directly to the pool, the safest and most effective method is to predissolve the dry acid in a bucket of water first. This prevents the undissolved granules from sinking to the bottom of the pool and potentially bleaching or etching the surface.
Fill a clean five-gallon bucket about three-quarters full with water from the pool. Always add the acid to the water, never the other way around. Slowly pour the measured amount of dry acid into the bucket while stirring gently with a clean plastic or wooden stick until all the granules are completely dissolved. This creates a solution that can be safely dispersed into the pool.
Step 6: Pour the Solution into the Deep End
With the acid fully dissolved in the bucket, it is time to add it to the pool. Slowly and carefully walk to the deep end of your pool. Pour the acid solution in a steady stream into the water, away from the skimmer and any return jets. Distributing it over the deepest part of the pool helps it mix into the largest volume of water quickly.
Be mindful of the wind to avoid having the solution splash back at you. Do not “dump” the entire bucket at once; a controlled pour allows for better initial distribution. Once the bucket is empty, rinse it out with pool water to remove any residual acid.
Step 7: Brush the Pool Surfaces
Even when you predissolve the acid, it is a good practice to brush the pool walls and floor immediately after adding the solution. Some micro-granules might not have dissolved completely, and brushing helps to disperse them before they have a chance to settle and cause damage.
Use a pool brush to go over the entire surface of the pool, paying special attention to the area where you poured the acid solution. This step provides an extra layer of protection for your pool liner or plaster and further aids in the even distribution of the acid throughout the water, ensuring a consistent chemical reaction.
Step 8: Allow the Water to Circulate
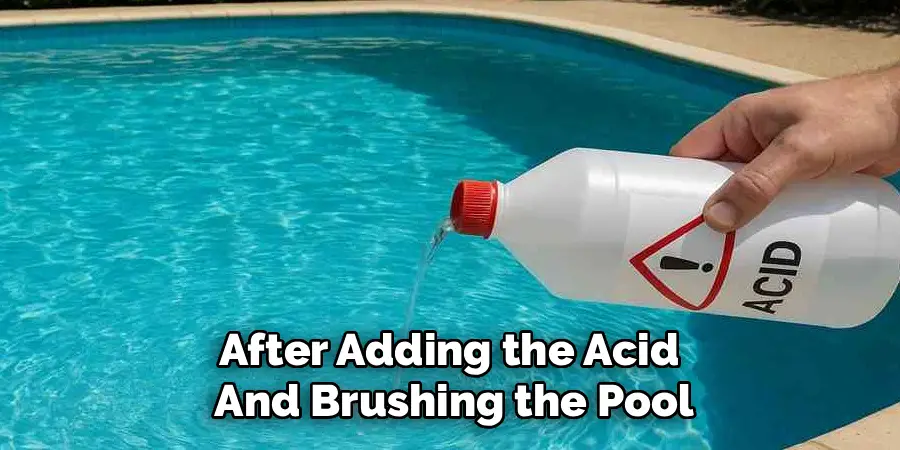
After adding the acid and brushing the pool, you need to give the circulation system time to do its job. Let the pool pump run for at least four to six hours to ensure the acid is thoroughly mixed throughout the entire body of water.
This waiting period is crucial for getting an accurate follow-up reading. Testing the water too soon after adding chemicals will give you a false reading from a concentrated area, leading you to make further, unnecessary adjustments. Patience is key; allow the water to fully circulate and stabilize before you proceed to the next step.
Step 9: Retest the Water Chemistry
After letting the pump run for several hours, it is time to see the results of your work. Turn off the pump and take another water sample from the same spot you did initially, usually about elbow-deep and away from any return jets. Test the pH and Total Alkalinity again.
If your levels are now within the ideal range, your job is complete. If the levels are still too high, you will need to repeat the process, but be cautious. It is always best to make small, incremental adjustments rather than trying to hit the perfect number in one large dose.
Step 10: Make Any Final Adjustments
If your pH or alkalinity is still high after the first dose, calculate a smaller, secondary dose of dry acid based on your new readings. Remember that adjusting one chemical can sometimes affect others, so continue to monitor all your levels.
If you accidentally added too much acid and your pH is now too low, you will need to raise it using a pH increaser, such as soda ash. Making small, patient adjustments and retesting after several hours of circulation is the professional way to achieve and maintain perfect water balance without drastic chemical swings.
Common Mistakes to Avoid
- Adding too much chemical at once – Overcompensating with large amounts of chemicals can result in an imbalance that’s difficult to correct. Always make small adjustments and allow time for circulation before retesting.
- Skipping retesting after adjustments – It’s crucial to retest your water after making chemical changes. Failing to do so could leave you unaware of whether the adjustments have achieved the desired balance.
- Not following product instructions – Each chemical product comes with specific guidelines for use and dosage. Ignoring these instructions can lead to improper treatment and potential damage to your pool’s surfaces or equipment.
- Mixing chemicals improperly – Never mix different chemicals together before adding them to the pool. Doing so can cause dangerous reactions, including harmful fumes or even explosions.
- Neglecting regular maintenance – Proper water balance requires consistent monitoring and upkeep. Relying on sporadic testing or adjustments can allow problems to develop, complicating the process of restoring balance later.
By avoiding these common pitfalls, you can maintain water quality more effectively and ensure a safe and enjoyable swimming experience.
Alternative pH-Lowering Methods
If you’re looking for alternative ways to lower the pH levels in your pool, there are several methods worth considering. One option is the use of muriatic acid, a widely available and effective chemical. It is commonly used in small, measured amounts to bring pool pH back into balance.
Another alternative is sodium bisulfate, also known as dry acid, which is easier to handle and store while providing similar results.
For those seeking non-chemical solutions, incorporating natural methods such as aerating the water can help reduce CO₂ levels over time, indirectly lowering pH. Regardless of the approach, it is essential to test the water frequently to ensure the pH remains within the recommended range of 7.2–7.8 for optimal safety and comfort.
Frequently Asked Questions
Is Dry Acid Safer Than Muriatic Acid?
Yes, sodium bisulfate (dry acid) is generally considered safer for homeowners to handle than muriatic acid. It is a granular product, which eliminates the risk of dangerous splashes that can burn skin or damage clothing and pool decks. It also does not produce the harsh, corrosive fumes associated with liquid muriatic acid. However, it is still an acid and requires proper safety precautions, including gloves and eye protection.
How Long Do I Have to Wait to Swim After Adding Dry Acid?
After adding dry acid, you should wait until it has been fully circulated throughout the pool and you have retested the water to ensure the pH is within the safe swimming range (7.2-7.8). This typically means letting the pump run for at least four hours. Once you have confirmed the water chemistry is balanced, it is safe to swim.
Can Dry Acid Damage My Pool Liner?
Yes, if not added correctly, dry acid can damage a vinyl liner or plaster surface. If the undissolved granules are allowed to sit on the bottom of the pool, they can create concentrated acidic spots that will bleach the color out of a liner or etch the surface of plaster or pebble-tec. This is why predissolving the granules in a bucket of water before adding them to the pool is the safest method.
What Is the Difference Between Lowering pH and Lowering Alkalinity?
pH measures how acidic or basic your water is, while Total Alkalinity (TA) measures the water’s ability to resist changes in pH. They are closely related, and acid will lower both. If you only need to lower your pH without affecting TA too much, you can pour the dissolved acid solution in one spot in the deep end. If you need to lower both, you can distribute it more broadly across the surface.
How Often Should I Add Acid to My Pool?
You should only add acid to your pool when your water test results show that your pH or Total Alkalinity is too high. This is not a regularly scheduled chemical addition. The frequency will depend on various factors, including your water source, how much you use the pool, and what type of chlorine you use (some types can raise pH over time). Regular weekly testing will tell you when an adjustment is needed.
Conclusion
Perfectly balanced pool water is the ultimate goal for any pool owner, and managing pH and alkalinity is a huge part of achieving that. While dealing with pool chemicals can seem daunting, dry acid provides a user-friendly and effective solution for lowering high pH levels. By following a careful and methodical process—testing the water, calculating the correct dose, prioritizing safety, and allowing for proper circulation—you can make precise adjustments with confidence. Now that you have a clear understanding of how to add dry acid to pool water, you are well-equipped to take control of your pool’s chemistry, ensuring a safe, comfortable, and beautiful swimming environment for everyone to enjoy.
About
Outdoor Fixes is a distinguished figure in the world of Diy design, with a decade of expertise creating innovative and sustainable Diy solutions.
His professional focus lies in merging traditional craftsmanship with modern manufacturing techniques,
fostering designs that are both practical and environmentally conscious. As the author of diy,
outdoorfixes delves into the art and science of outdoorfixes-making, inspiring artisans and industry professionals alike.
Education RMIT University
(Melbourne, Australia) Associate Degree in Design (Outdoor Fixes) Focus on sustainable design, industry-driven projects,
and practical craftsmanship. Gained hands-on experience with traditional and digital manufacturing tools, such as CAD and CNC software.
Nottingham Trent University
(United Kingdom) Bachelor’s in outdoorfixes.com and Product Design (Honors) Specialized in product design with a focus on blending creativity with production
techniques. Participated in industry projects, working with companies like John Lewis and Vitsoe to gain real-world insights.
Publications and Impact
In diy, Outdoor Fixes his insights on indoor design processes, materials, and strategies for efficient production.
His writing bridges the gap between artisan knowledge and modern industry needs, making it a must-read for both budding designers and seasoned professionals.