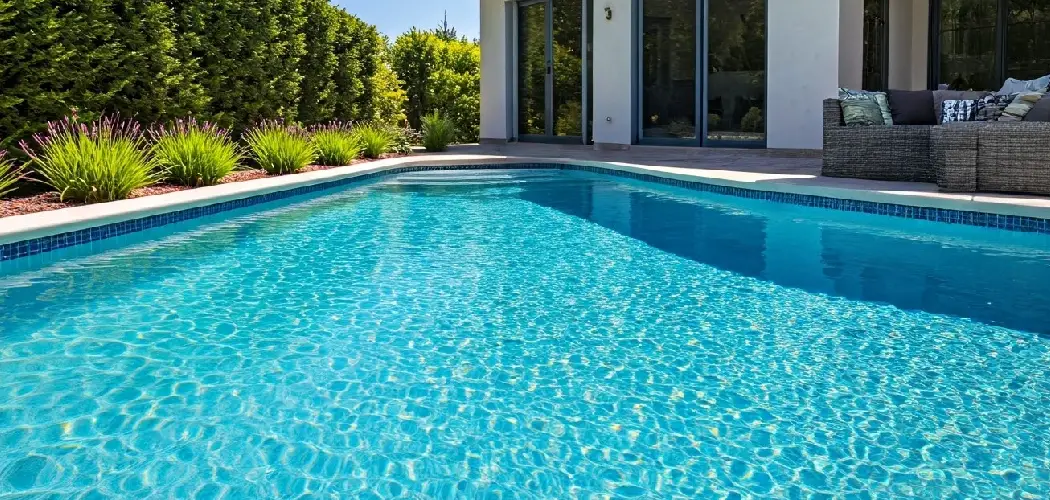
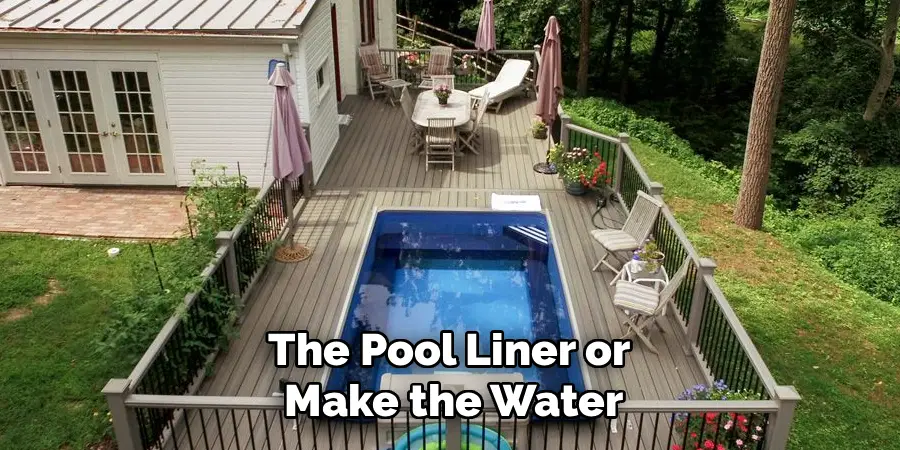
There is nothing quite like the excitement of buying a new Intex swimming pool, imagining the cool relief it will bring on hot summer days. However, for many homeowners, that excitement quickly turns to worry when they look at their backyard and realize it isn’t perfectly flat.
Installing an above-ground pool on a slope is a recipe for disaster, potentially leading to collapsed walls, water spills, and even injury. But do not despair; you do not need to hire expensive professional excavators to solve this problem.
With the right tools, some patience, and a bit of physical effort, you can prepare a safe, level base yourself. This comprehensive guide is designed to walk you through the entire process, teaching you exactly how to set up intex pool on uneven ground safely and effectively.
By following these instructions, you will create a stable foundation that ensures your pool remains level, secure, and ready for years of family fun.
Setting up a pool on uneven ground can seem daunting, but with the right approach, it’s entirely manageable.
Taking the time to properly level the ground ensures a safer and more enjoyable swimming experience while also protecting your pool from potential damage.
Uneven surfaces can cause unnecessary strain on the pool’s structure and increase the risk of accidents, making preparation a critical step. By addressing the issue at the start, you’ll save time, money, and effort in the long run, all while creating a space perfect for relaxation and fun.
Step-by-Step Guide on How to Set Up Intex Pool on Uneven Ground
Step 1: Select and Mark Your Ideal Location
The first critical task in this project is choosing the best possible spot in your yard. You want an area that is as naturally flat as possible to minimize the amount of digging you will have to do later.
Avoid areas directly under trees, as falling leaves and debris will become a constant maintenance headache, and tree roots can grow up through the liner. Once you have identified the spot, place a stake in the exact center.
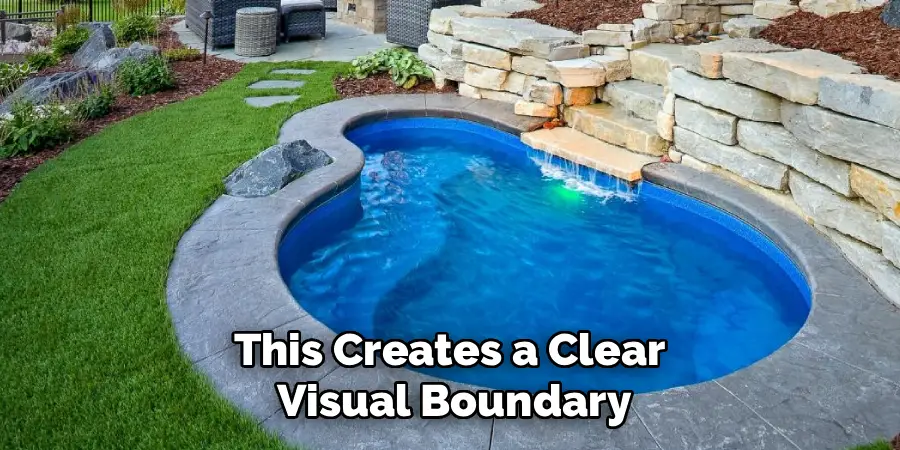
Tie a string to the stake that is half the diameter of your pool plus one foot. Walk in a circle with the spray paint can at the end of the taut string to mark the perimeter. This creates a clear visual boundary for your work area, ensuring you prepare enough space for the pool and its support legs.
Step 2: Remove the Grass and Organic Topsoil
Before you can think about leveling the dirt, you must remove the grass and the layer of organic sod beneath it. Grass is not a stable foundation for thousands of pounds of water because it will eventually rot, causing the ground to settle unevenly and smell terrible.
Use a flat-bladed shovel or a sod cutter to strip away all vegetation within your painted circle. You need to dig down deep enough to remove the root systems, which is usually about two to three inches.
This is physically demanding work, so take your time. Do not simply kill the grass with chemicals and build on top of it; physical removal is the only way to ensure a stable, non-shifting base for your swimming pool liner.
Step 3: Identify the Lowest Point in the Circle
Now that you have exposed the bare earth, you need to determine the slope of the ground. This is a crucial concept to understand because you must always dig down the high spots to meet the lowest point, rather than building up the low spots.
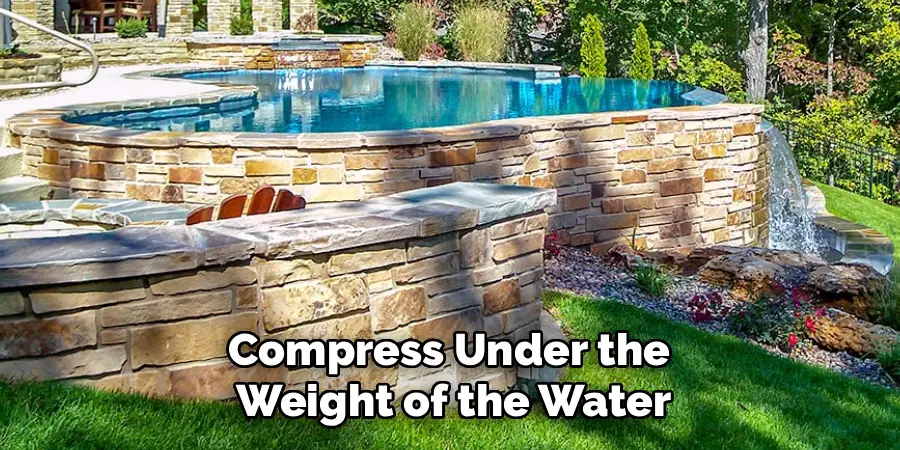
Building up low spots with loose dirt creates a soft, unstable base that will compress under the weight of the water, causing the pool to tilt. Place a long, straight board across the center of your circle with a carpenter’s level on top.
Rotate the board around the center stake like the hand of a clock to find the absolute lowest point in your designated area. This lowest point will become the benchmark level for the entire pool floor.
Step 4: Dig Down the High Spots to Level the Ground
Once you have identified your lowest point, the real work begins. You must excavate the high areas of your circle until they are level with that lowest spot. Start digging from the high side, moving the soil away from the pool area with a wheelbarrow.
Frequently check your progress using your straight board and level. Ideally, use a long 2×4 board that spans the diameter of the pool area. Place the level on top of the board and check multiple angles.
It is tedious to remove soil inch by inch, but this is the most important step in learning how to set up intex pool on uneven ground correctly. Your goal is a surface that is perfectly flat, hard, and undisturbed earth, not loose fill dirt.
Step 5: Check for Level Across the Entire Diameter
After removing the bulk of the high soil, you need to refine the surface to ensure it is perfectly flat in every direction. Even small bumps or dips can cause stress on the pool liner or make the water level look uneven once filled.
Create a simple screed tool by taping a long level to a straight 2×4 board. Pivot this board around your center stake, scraping away high spots and identifying any remaining dips.
If you find a small dip, you can fill it with a little dirt, but you must tamp it down aggressively to ensure it is as hard as the surrounding unexcavated ground. The tolerance for an Intex pool is very tight; you generally want the ground to be within one inch of level across the entire diameter.
Step 6: Spread a Layer of Fine Masonry Sand
Once the hard earth is level, you need to create a protective buffer between the ground and your pool liner. The bare ground likely contains small rocks, roots, or hard clumps of clay that could puncture the vinyl bottom of your pool. Purchase fine masonry sand or pool sand and spread a uniform layer across the entire leveled area.
You generally want this layer to be about one to two inches thick. Do not use this sand to level the ground; remember, the earth underneath must already be level. This sand is strictly for protection and comfort. Use a rake to spread it evenly, then use your leveling board one final time to ensure the sand surface is perfectly flat and smooth.
Step 7: Install Concrete Patio Pavers
Intex pools, especially the metal frame varieties, rely on vertical support legs to hold the walls up. These legs exert a tremendous amount of concentrated pressure on the ground. If you place them directly on dirt or sand, they will sink, causing the pool to warp and potentially collapse.
To prevent this, you must install a concrete patio paver or a pressure-treated wood block under each leg. Place the bottom rail of the pool frame on the ground to see exactly where the legs will land.
Dig out the sand and a bit of the earth at each leg location so that the paver sits flush with the surface of the ground. The top of the paver must be level with the surrounding ground, not sitting on top of it.
Step 8: Lay Down a Ground Cloth or Tarp
With the sand smoothed and the support pavers installed flush with the surface, you are almost ready to unfold the pool. Before you do, lay down a heavy-duty ground cloth or a thick tarp over the sand. Most Intex pools come with a thin ground cloth, but buying a thicker, hardware-store tarp offers better protection against weeds and rocks.
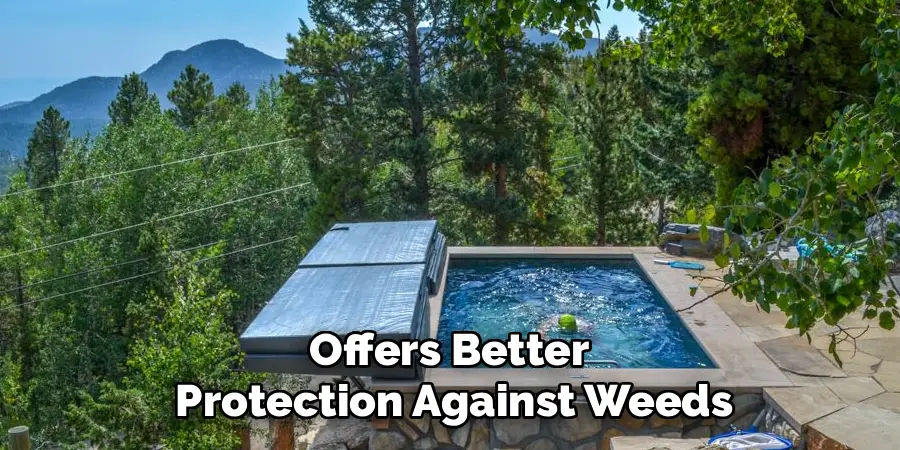
This tarp serves as the final barrier between the sand and the liner. Stretch it out tightly to remove wrinkles, as folds in the tarp can be uncomfortable to step on once the pool is filled. Make sure the tarp extends beyond the perimeter of the pool so that splashing water doesn’t wash away the sand base underneath the edges.
Step 9: Assemble the Pool Frame
Carefully unfold the pool liner on top of the tarp. It is best to let the liner sit in the sun for an hour or so before assembling; the heat makes the vinyl more flexible and easier to manipulate. Insert the horizontal beams and connect the vertical legs according to the manufacturer’s manual.
Ensure that each leg is centered perfectly on its designated concrete paver. Begin filling the pool with a garden hose. Once there is about an inch of water in the bottom, stop and get inside the pool.
Smooth out all the wrinkles on the floor by pushing them toward the walls. This is your only chance to remove wrinkles; once the water gets deeper, the immense weight will make it impossible to move the liner.
Step 10: Monitor Settlement as the Pool Fills
The final step requires vigilance. As the pool fills, walk around the perimeter repeatedly to check the vertical legs. They should remain straight and plumb. If you see a leg starting to lean or sink into the ground despite your paver, stop filling immediately. You may need to drain the water and reinforce that spot.
Also, keep an eye on the water level relative to the top of the pool liner or the pattern on the tile. The water should be the same distance from the top rim all the way around.
If the water is three inches higher on one side than the other, your ground is not level, and the pool is unsafe. If it is within an inch or two, you have successfully mastered the art of leveling and installation.
Proper Pool Water Treatment
Proper pool water treatment is essential for maintaining a safe and enjoyable swimming environment. Start by testing your pool water regularly to monitor pH levels, chlorine concentration, and total alkalinity. The pH should ideally stay between 7.2 and 7.6, while chlorine levels should be maintained between 1 and 3 ppm to effectively disinfect the water.
Additionally, balancing the alkalinity between 80 and 120 ppm helps stabilize the pH. Use pool shock treatments as needed to eliminate bacteria, algae, and contaminants, and ensure your filtration system is running efficiently to keep the water clear. It’s also important to adjust calcium hardness to prevent scaling or corrosion, as well as use algaecide to inhibit algae growth.
Routinely skimming the surface and cleaning the pool walls will further contribute to pristine water quality. With consistent care, your pool water will remain clean, clear, and safe for swimmers.
Safety Measures for Children
When it comes to pool safety, especially for children, certain measures should always be followed to prevent accidents. First, never leave children unattended near water, and ensure there is an adult actively supervising at all times. Installing a fence with a self-closing, self-latching gate around the pool can provide an additional layer of safety, reducing the risk of unsupervised access.
Teach children basic water safety and swimming skills from an early age, but remember that lessons do not replace constant supervision. Consider using pool alarms or safety covers when the pool is not in use.
Additionally, keep lifesaving equipment such as life rings, reaching poles, and a first aid kit near the pool area for emergencies. By implementing these precautions, you can create a safer environment for children around the pool.
Frequently Asked Questions
Can I Use Sand to Level the Ground Instead of Digging?
No, you should never use sand to level out a significant slope. Sand is an unstable material that shifts easily. If you build up the low side of your pool with six inches of sand, the immense weight of the water (8 pounds per gallon) will eventually push that sand out, causing the pool legs to sink and the frame to twist or collapse. Sand should only be used as a thin, protective buffer layer of one to two inches maximum.
How Much Slope Is Acceptable for an Intex Pool?
Intex manufacturers are very strict about this requirement. The ground must be level within 1 to 2 inches across the entire diameter of the pool. Anything more than a 2-inch slope puts excessive stress on the lower wall and the vertical supports on the low side. This uneven pressure can cause the wall to blowout or the legs to buckle, leading to a catastrophic failure of the pool structure.
Do I Really Need Concrete Pavers Under the Legs?
Yes, pavers are absolutely essential, especially for soft ground or sand bases. The vertical legs of a metal frame pool support thousands of pounds of pressure. Without a wide, solid base like a 12×12 concrete paver or a 2-inch thick pressure-treated wood block, the legs will act like spears and drive straight into the ground. As the legs sink, the pool creates dangerous stress points that usually lead to the frame bending or breaking.
What Happens If I Install the Pool on Unlevel Ground?
Installing a pool on unlevel ground is dangerous. The water volume will shift toward the lower side, creating uneven pressure on the liner and walls. This can cause the pool to become oval-shaped instead of round, putting extreme tension on the frame. In severe cases, the wall on the low side can collapse, releasing thousands of gallons of water instantly, which can destroy property, wash away landscaping, and cause serious injury to anyone nearby.
Can I Put the Pool on a Concrete Patio?
Yes, a concrete slab is generally the best surface for an Intex pool because it is stable and typically level. However, you must use a thick ground cloth or foam padding (like interlocking gym mats) underneath the liner to protect it from the abrasive concrete surface. You also need to ensure the concrete is level; a sloped driveway or patio designed for water runoff might still be too steep for a pool installation.
Conclusion
Setting up an above-ground pool is a rewarding project that transforms your backyard into a summer oasis, but it demands respect for the physics involved. Thousands of gallons of water are incredibly heavy, and gravity will always find the weak point in a sloped foundation. While the digging and leveling process is labor-intensive, it is the only way to ensure the safety and longevity of your investment. Taking shortcuts by building up low spots with dirt or sand is a gamble that rarely pays off. By methodically removing the high ground, creating a firm, flat surface, and supporting the legs with solid
About
Outdoor Fixes is a distinguished figure in the world of Diy design, with a decade of expertise creating innovative and sustainable Diy solutions.
His professional focus lies in merging traditional craftsmanship with modern manufacturing techniques,
fostering designs that are both practical and environmentally conscious. As the author of diy,
outdoorfixes delves into the art and science of outdoorfixes-making, inspiring artisans and industry professionals alike.
Education RMIT University
(Melbourne, Australia) Associate Degree in Design (Outdoor Fixes) Focus on sustainable design, industry-driven projects,
and practical craftsmanship. Gained hands-on experience with traditional and digital manufacturing tools, such as CAD and CNC software.
Nottingham Trent University
(United Kingdom) Bachelor’s in outdoorfixes.com and Product Design (Honors) Specialized in product design with a focus on blending creativity with production
techniques. Participated in industry projects, working with companies like John Lewis and Vitsoe to gain real-world insights.
Publications and Impact
In diy, Outdoor Fixes his insights on indoor design processes, materials, and strategies for efficient production.
His writing bridges the gap between artisan knowledge and modern industry needs, making it a must-read for both budding designers and seasoned professionals.