
Tired of tripping over garden hoses every time you walk out the back door? Burying one underground might be the most practical change you can make to an outdoor space. It tidies up the yard. It shields the hose from sun damage. And it gives you a watering setup that holds up season after season, without the daily hassle of dragging coils across the lawn.
This guide on how to bury a garden hose underground covers what you’ll actually need to know—from sketching a layout to sidestepping the mistakes that trip up so many weekend DIYers. Maybe you’re after a basic drip system. Maybe you want something closer to permanent irrigation. Either way, the steps below should get you there without much guesswork.
Plan the Hose Layout
Don’t dig anything yet. Spend some time first mapping the path from your water source to wherever you want the water to end up. Garden beds, trees, sheds, fence posts—all of these can nudge your route one way or another, so factor them in early.
Sketch the layout on paper and measure the full distance. This tells you roughly how much hose to buy, which keeps waste down. Keep the path as straight as you reasonably can. Every extra curve costs a little pressure and makes future repairs more of a headache than they need to be.
Choose the Right Hose for Underground Use
Here’s where a lot of people go wrong. Not every hose is meant to sit underground. A standard rubber hose tends to break down fairly quickly once it’s dealing with constant soil pressure and trapped moisture. For burial, look instead for something rated for the job—polyethylene irrigation tubing, say, or a reinforced PVC hose.
Those materials hold up better against root intrusion, the weight of packed soil, and the temperature swings that come with being buried. Thin vinyl hoses? Skip them. They crack and flatten under the load. Drip irrigation lines are worth a look too, since they’re flexible enough to work with and tough enough to last underground for years.
Tools and Materials You’ll Need
Pulling your supplies together ahead of time saves you those annoying mid-project trips to the hardware store. Here’s the general list:
- Burial-rated garden hose or polyethylene tubing
- Trenching shovel, or a mechanical trencher for longer runs
- Pipe fittings and connectors
- Hose stakes or anchors
- Utility flags or marking spray
- Backfill soil or sand
- Hose caps or end plugs
- Measuring tape
- Work gloves and safety glasses
You can rent a mechanical trencher from most hardware stores, and for any run longer than 20 feet, it tends to pay for itself in saved time and aching shoulders.
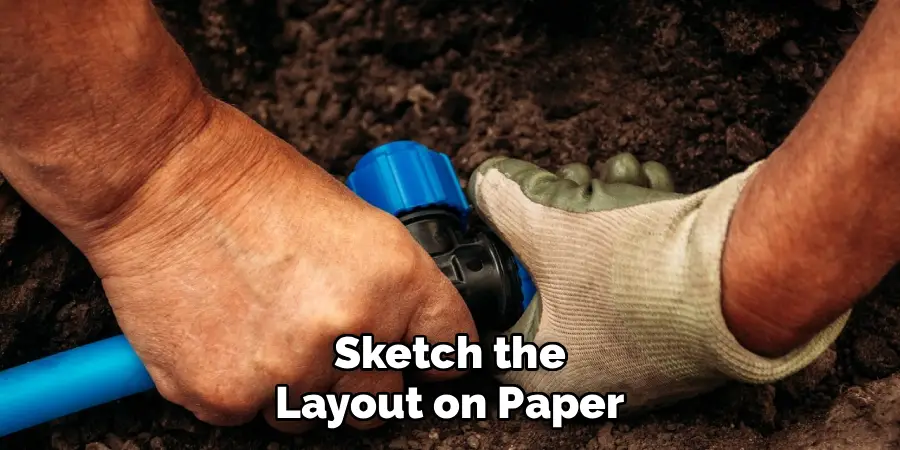
6 Simple Step-By-Step Guidelines on How to Bury a Garden Hose Underground
Step 1: Mark Your Trench Route
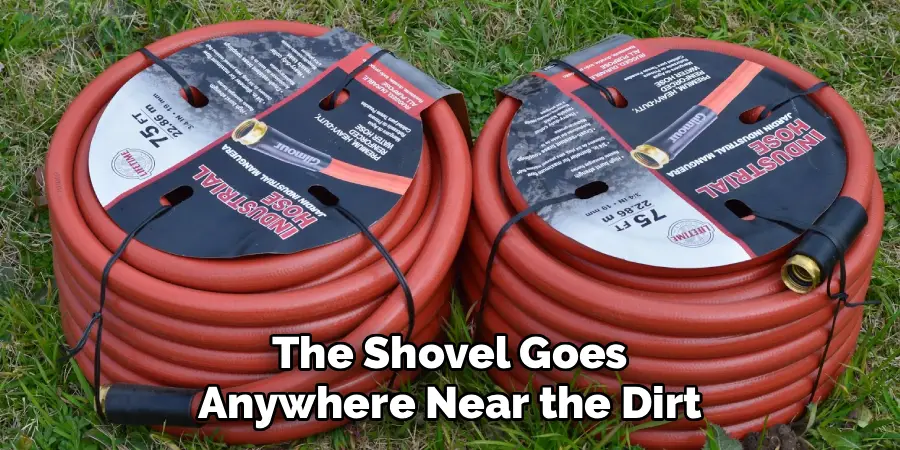
Outline your planned trench with utility flags or marking spray. Walk it slowly, watching for roots, rocks, or anything that might sit in your way. And before the shovel goes anywhere near the dirt, call your local utility company to check for buried lines. Plenty of homeowners skip this. They shouldn’t.
Leave your markings visible for the whole project. A clear route keeps you from drifting off course and helps you hold a steady trench depth from one end to the other.
Step 2: Dig the Trench
Work along your marked route with a trenching shovel. For a basic garden hose, somewhere between 6 and 12 inches deep is usually fine. If your region gets hard freezes, though, you’ll want to go deeper—at least 12 inches—to keep frost from cracking the line over winter.
Try to keep the trench walls fairly straight and the floor close to level. An even depth matters more than it might seem, since low spots let water pool and sit. Pile the loose soil along one side of the trench so that backfilling later is less of a chore.
Step 3: Lay the Hose in the Trench
Roll the hose out fully on the surface first and look it over for kinks or weak spots. Once it checks out, lower it gently into the trench. Resist the urge to force it around tight corners. Gradual curves protect against pressure loss and the slow wear that sharp bends cause over time.
Some hoses like to coil back on themselves. If yours does, pin it down with stakes or anchors at regular spacing to hold it flat against the trench floor. A secured hose makes backfilling smoother and stops things from shifting around once the soil goes back in.
Step 4: Connect Fittings and Test for Leaks
Attach every fitting, connector, and end plug before you cover anything. Then turn on the water and let it run for a few minutes. Walk the full route. Check each connection point for drips.
This is your last real chance to catch a problem before everything disappears underground. Fix any leak you find right away, because even a small drip can wash away surrounding soil and turn into a much bigger headache later. So take your time here.
Step 5: Add a Sand Bed (Optional but Recommended)
Before you start backfilling, think about laying a thin bed of sand around the hose. Sand drains well, eases the soil pressure pressing on the line, and makes life easier if you ever have to dig the thing up again.
Spread about an inch of coarse sand along the trench floor before laying the hose, then add another inch over the top before the soil goes back. It’s a small bit of extra effort that can add real years to how long the hose lasts.

Step 6: Backfill and Compact the Trench
With the hose set and tested, start returning the soil. Work in layers of roughly 3 to 4 inches, pressing each one down lightly before adding the next. Layering this way keeps the soil from settling unevenly later, which is what creates those dips and trip hazards in a lawn.
Once the trench is full, tamp the surface down and give it a light watering to help everything settle. One last thing worth doing: mark where the hose runs on a diagram or snap a photo. In the future, you will be grateful if a repair ever sends you back underground.
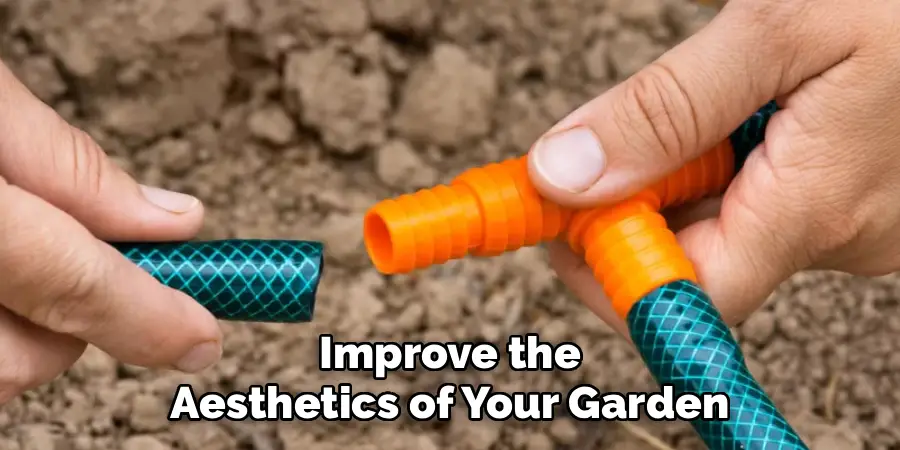
Following these steps on how to bury a garden hose underground will not only save space and improve the aesthetics of your garden, but it will also protect your hose from potential damage and make watering your plants much more convenient.
Maintenance and Inspection Tips
Buried doesn’t mean forgotten. The exposed connection points at either end deserve a look at least once a season. Keep an eye out for leaks, corrosion, or fittings that have worked themselves loose, and sort them out before they grow.
A sudden drop in water pressure may suggest a crack or a blockage somewhere along the buried section. Flushing the line at the start of each season clears out sediment that builds up over time. And in colder climates, drain the hose fully before that first frost arrives—it’s the single best way to dodge winter cracking.
Safety Considerations
Safety comes first on this one, no exceptions. Contact your local utility locating service before you break ground. Gas, electrical, and water lines can run through residential backyards, and striking one isn’t just expensive—it can be life-threatening.
Wear your protective gear, gloves, and safety glasses, especially, and doubly so around mechanical digging equipment. Renting a trencher? Read the operating instructions properly, and keep bystanders, children most of all, well away from the work zone.
Go carefully near tree roots, too. Slicing through a large root can harm a mature tree, and in some areas, it may run up against local regulations. For any trench deeper than 12 inches, pay attention to how stable the soil walls are so they don’t collapse on you. And once everything’s buried, mark its location on a property diagram to keep it safe from future landscaping work.
Alternative Systems
If the whole burial project feels like more than you signed up for, you’ve got options. Drip irrigation systems are a favorite for good reason—they send water straight to the roots, cut down on waste, and work whether buried or left sitting on the surface.
Soaker hoses do something similar and shine in garden beds. They bend more easily than rigid tubing, so you can thread them right through your plant rows. Automated sprinkler systems take a more hands-off approach and can run on a set schedule, though they usually mean a bigger upfront spend and professional installation. For a smaller yard, honestly, a simple hose reel with an in-ground anchor point might keep things tidy enough that burial never enters the picture.
Cost and Time Considerations
What you’ll spend comes down to the length of your run, the hose you pick, and whether you’re renting equipment. Materials for a 50-foot run generally land somewhere between $30 and $100. A mechanical trencher adds roughly $50 to $150 per day on top of that.
As for time, most homeowners can knock out a straightforward 50-foot run in four to six hours. Longer or trickier routes could eat up a full weekend. Bring in a landscaper or plumber instead, and you’re looking at $200 to $500 or more, depending on where you live and how involved the job gets. Careful planning upfront keeps the numbers predictable and helps you avoid the kind of do-over that doubles the bill.
Frequently Asked Questions
How Deep Should You Bury a Garden Hose?
For most climates, 6 to 12 inches does the job for a standard garden hose. Where regular frost or freezing temperatures are a fact of life, going at least 12 inches deep helps keep the hose from cracking over winter. It’s worth checking your local frost depth guidelines before you settle on a number, since the requirements can vary quite a bit from one region to the next.
Can You Use a Regular Garden Hose Underground?
A standard garden hose isn’t really suited to permanent burial. These hoses are usually made from materials that degrade once they’re exposed to sustained soil pressure, moisture, and shifting temperatures. For anything buried, reach for polyethylene irrigation tubing or a hose specifically rated for underground use. Those will hold up across multiple seasons without cracking or flattening out.
How Do You Winterize a Buried Garden Hose?
Ahead of the first freeze, disconnect the water supply and drain the hose completely. An air compressor works well here for blowing out whatever water lingers in the line, and it’s probably the most reliable way to head off frost damage. If your hose dips through several low points, double-check that each section actually drains. Water left sitting inside a buried hose through freezing weather is the usual culprit behind cracks and early failure.
Wrap It Up the Right Way
Burying a garden hose isn’t a complicated job, and it pays you back with a cleaner yard, a hose that lasts longer, and watering that simply works. The whole thing comes down to a few basics: plan it out, use materials meant for the task, and test everything before that first shovel of soil goes back in.
Stick with the steps here and you’ll dodge the pitfalls that catch most people off guard, ending up with a setup that runs reliably for years. So grab your shovel, mark your route, and start digging. Thanks for reading this guide on how to bury a garden hose underground.

About
Outdoor Fixes is a distinguished figure in the world of Diy design, with a decade of expertise creating innovative and sustainable Diy solutions.
His professional focus lies in merging traditional craftsmanship with modern manufacturing techniques,
fostering designs that are both practical and environmentally conscious. As the author of diy,
outdoorfixes delves into the art and science of outdoorfixes-making, inspiring artisans and industry professionals alike.
Education RMIT University
(Melbourne, Australia) Associate Degree in Design (Outdoor Fixes) Focus on sustainable design, industry-driven projects,
and practical craftsmanship. Gained hands-on experience with traditional and digital manufacturing tools, such as CAD and CNC software.
Nottingham Trent University
(United Kingdom) Bachelor’s in outdoorfixes.com and Product Design (Honors) Specialized in product design with a focus on blending creativity with production
techniques. Participated in industry projects, working with companies like John Lewis and Vitsoe to gain real-world insights.
Publications and Impact
In diy, Outdoor Fixes his insights on indoor design processes, materials, and strategies for efficient production.
His writing bridges the gap between artisan knowledge and modern industry needs, making it a must-read for both budding designers and seasoned professionals.