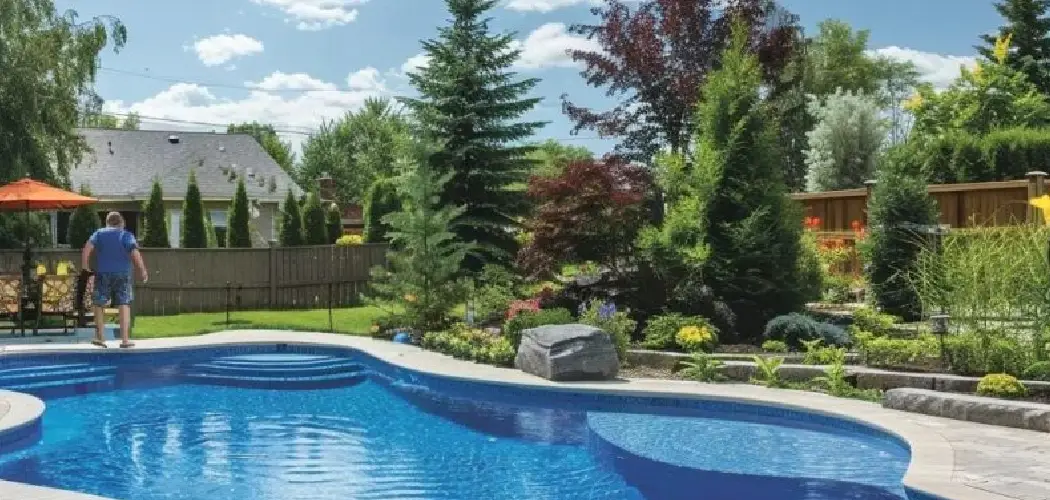
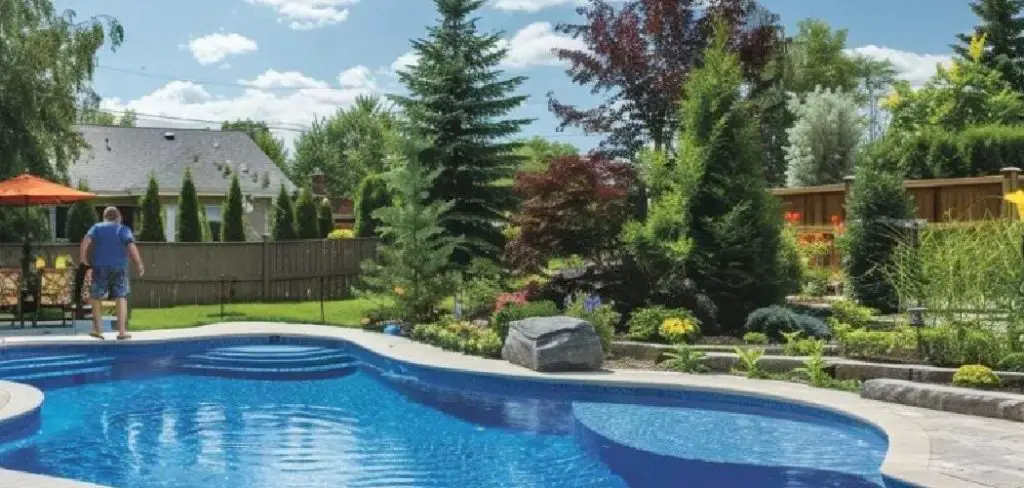
Maintaining a sparkling, inviting swimming pool requires more than just skimming leaves off the surface. The secret to crystal-clear water lies in proper chemical balance, and the most accessible tool for checking this is the humble test strip. For new pool owners, staring at a grid of changing colors can feel intimidating, almost like deciphering a secret code. However, understanding your water chemistry is crucial for preventing algae growth, protecting your equipment, and ensuring the safety of swimmers. This comprehensive guide simplifies the science and will teach you how to read test strips for pool maintenance with confidence, turning a confusing chore into a quick, effortless routine.
Regular testing is the foundation of effective pool care. By monitoring key chemical levels, you can maintain a balanced pool environment that’s safe, clean, and inviting. Test strips are a simple yet powerful tool that provides a snapshot of your pool’s chemistry, helping you address any imbalances before they turn into costly problems. With just a little practice, anyone can master the process and enjoy peace of mind knowing their pool is always in great condition.
Why is regular testing so important?
A properly balanced pool ensures not only the comfort of swimmers but also the longevity of your pool’s equipment and surfaces. Imbalanced water chemistry can lead to issues such as skin and eye irritation, algae growth, or even damage to pumps and filters. Additionally, maintaining the correct pH, chlorine levels, and alkalinity prevents problems like scaling or corrosion, which can be expensive to fix. By prioritizing regular testing, you’re taking a proactive approach to pool maintenance, saving time, money, and stress in the long run.
Importance of Water Circulation
Proper water circulation is another key element in pool maintenance. Adequate flow and movement of water help distribute chemicals evenly, preventing stagnant areas that can become breeding grounds for bacteria and algae. It also helps ensure proper filtration and sanitation, as debris and contaminants are continuously moved towards the filters.
To achieve optimal circulation, it’s important to regularly clean skimmer baskets, pump baskets, and filters to remove any buildup or blockages. You should also make sure your pool’s return jets are properly positioned to create a circular flow throughout the pool.
Tools and Materials
To properly maintain your pool’s water chemistry, it’s essential to have the right tools and materials on hand. Here’s a list of essential items to help keep your pool in pristine condition:
- Water Testing Kits: Options include test strips, liquid test kits, or digital testers to accurately measure pH, chlorine, and alkalinity levels.
- Pool Chemicals: Chlorine, pH increasers or decreasers, alkalinity balancers, and shock treatments are crucial for addressing imbalances.
- Algaecides: Prevents and removes algae growth in the water.
- Pool Skimmer and Brush: Essential for removing debris and cleaning surfaces.
- Protective Gear: Gloves and goggles to handle pool chemicals safely.
- Maintenance Log: A notebook or app to keep track of regular testing and adjustments.
Having these tools and materials readily available ensures you can respond promptly to any water quality issues and maintain a safe and inviting swimming environment.
Step-by-Step Guide on How to Read Test Strips for Pool
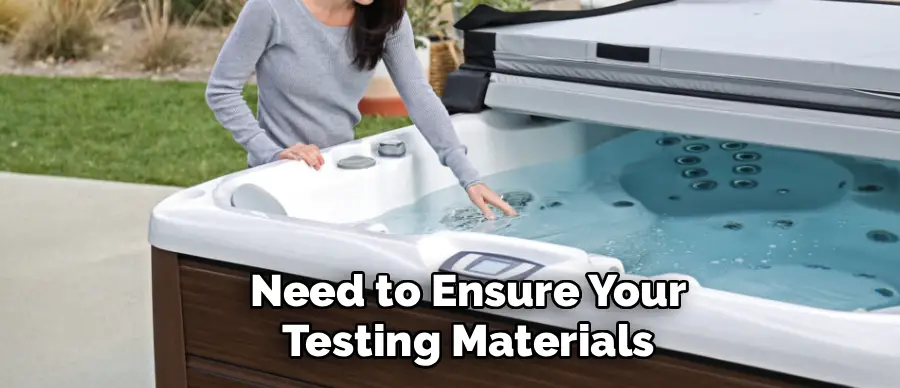
Step 1: Select and Check Your Test Strips
Before you even approach the water, you need to ensure your testing materials are in good condition. Test strips are chemical reagents, meaning they are sensitive to light, heat, and moisture. Check the expiration date on your bottle immediately. Using expired strips often leads to inaccurate readings, causing you to add unnecessary chemicals or neglect dangerous imbalances. Ensure the bottle has been stored in a cool, dry place away from direct sunlight. If the pads on the unused strips look discolored or faded, discard them and buy a fresh supply. Starting with reliable tools is the foundation of accurate pool care.
Step 2: Collect a Proper Water Sample
Obtaining a representative water sample is critical for getting a true reading of your pool’s chemistry. Do not just dip the strip into the surface water near the edge, as this water is often stagnant and affected by sunlight or surface debris. Instead, walk to a deep area of the pool, away from return jets or skimmers. Immerse the strip or your collection cup at least elbow-deep, roughly 18 inches below the water’s surface. This depth ensures you are testing water that is well-circulated and mixed, providing a much more accurate snapshot of the chemical levels throughout the entire pool volume.
Step 3: Execute the Dip and Remove Technique
The actual dipping process is quick but requires a specific technique to avoid cross-contamination between the reactive pads. Dip the strip into the water for usually just one or two seconds—check your specific product’s instructions for the exact timing. When you remove the strip, do not shake off the excess water vigorously. Shaking can cause the water from one chemical pad to run onto another, blending the reagents and skewing your results. Instead, simply remove the strip and hold it level horizontally for roughly fifteen seconds. This allows the excess water to drip off naturally without mixing the colors on the distinct testing squares.
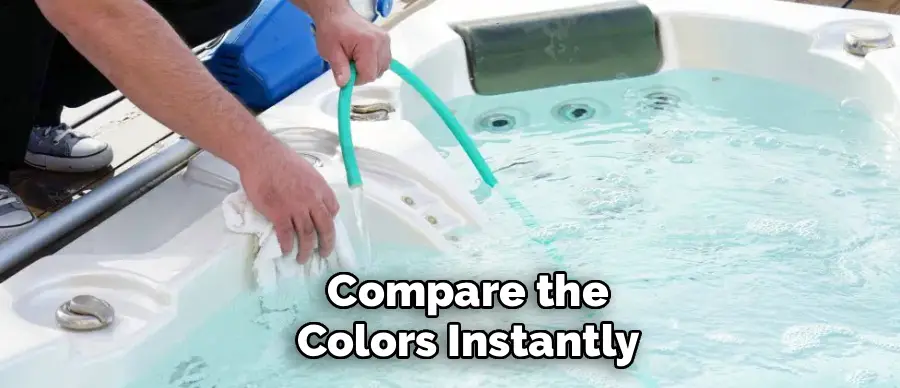
Step 4: Match Colors Immediately
Timing is everything when interpreting your results. Most test strips continue to react and change color as they dry, so reading them too late will give you false data. Hold the strip next to the color chart printed on the back of the bottle, but do not let the wet strip touch the label. Compare the colors instantly, usually starting with alkalinity or pH, as dictated by the bottle’s layout. You want to match the hue of the pad to the closest color block on the chart. If a pad’s color falls between two blocks, estimate the value as the midpoint between those two numbers.
Step 5: Interpret Total Alkalinity and pH Levels
The first two readings you should focus on are Total Alkalinity and pH, as they are the foundation of water balance. Alkalinity acts as a buffer for pH, preventing it from swinging wildly. Ideally, your alkalinity should be between 80 and 120 parts per million (ppm). Once alkalinity is in check, look at the pH level, which measures how acidic or basic the water is. The ideal range is slightly alkaline, between 7.4 and 7.6. If the pH is too low, the water is corrosive and can irritate eyes; if it is too high, it can cause scaling and cloudiness. Adjust alkalinity first, as it influences pH stability.
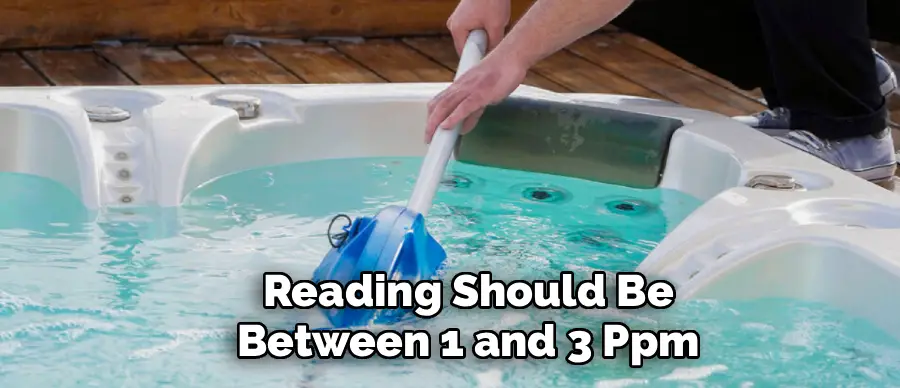
Step 6: Analyze Chlorine or Sanitizer Levels
Next, you will check the sanitizer levels, which are usually indicated as Free Chlorine or Total Chlorine. Free Chlorine is the active chemical available to kill bacteria and algae, while Total Chlorine includes used-up chlorine that is no longer effective. Ideally, your Free Chlorine reading should be between 1 and 3 ppm. If the test strip shows a very light color or white, your sanitizer is depleted, and algae growth is imminent. If the color is extremely dark purple or orange, the levels are too high, making it unsafe for swimmers. Regular monitoring ensures your pool remains sanitary without being harsh on skin and swimwear.
Step 7: Evaluate Calcium Hardness and Stabilizer
The final pads usually measure Calcium Hardness and Cyanuric Acid (Stabilizer). Calcium hardness indicates the amount of dissolved calcium in the water; low levels can etch plaster, while high levels cause scaling. The ideal range is typically 200–400 ppm. Cyanuric Acid acts like sunscreen for your chlorine, protecting it from being burned off by the sun. An ideal level is between 30 and 50 ppm. If stabilizer is too low, you will lose chlorine rapidly; if it is too high, the chlorine becomes ineffective. These readings might not need adjustment as often as pH or chlorine, but they are vital for long-term pool health.
Step 8: Record Results and Take Action
Once you have successfully interpreted the colors, do not just throw the strip away and forget about it. Record your findings in a logbook or a pool maintenance app. Tracking this data over time helps you spot trends, such as pH consistently rising after rainstorms or chlorine dropping faster during heatwaves. Based on your recorded numbers, calculate the necessary chemical additions using the volume of your pool. Always follow the manufacturer’s instructions for dosage and safety when adding chemicals. Consistent testing and recording take the guesswork out of maintenance and prevent small imbalances from becoming expensive green-pool nightmares.
According to the Manufacturer’s Instructions
Another important step in pool maintenance is regularly cleaning the pool’s filter. Whether you have a sand, cartridge, or DE (diatomaceous earth) filter, it’s essential to backwash or clean it according to the manufacturer’s instructions. A clean filter ensures proper circulation and effectively removes debris and contaminants from the water.
Additionally, skimming the surface of your pool daily to remove leaves, insects, and debris helps keep the water crystal clear and minimizes strain on the filter system. Vacuuming the pool floor weekly can further eliminate any settled dirt or algae.
Finally, monitor your pool’s water level to ensure it stays within the recommended range, usually about halfway up the skimmer opening. Fluctuations caused by heavy rainfall or evaporation can impact the circulation system’s efficiency, so adjust the water level as needed. Consistently following these steps will keep your pool in optimal condition throughout the season.

Maintaining a Clean and Balanced Pool
Having a pool in your backyard can be an enjoyable and refreshing addition to your home. However, it also requires regular maintenance to ensure that the water is clean and safe for swimming. In addition to skimming leaves and debris on the surface, maintaining proper chemical levels is crucial for keeping your pool in top condition.
One of the key components of pool maintenance is regularly testing the chemical levels in your pool’s water. This includes testing for pH, chlorine, alkalinity, calcium hardness, and cyanuric acid (if using stabilized chlorine). These parameters should be tested at least once a week during the swimming season.
Common Pool Water Issues
Common pool water issues often arise from imbalanced chemicals, environmental factors, or inadequate maintenance. One frequent problem is cloudy water, which can result from high levels of particulates, poor filtration, or imbalanced pH and alkalinity. Algae growth is another common issue, often occurring when sanitizer levels drop too low or if phosphates and nitrates accumulate in the water.
Stains or discoloration in the pool can be caused by metals like iron or copper reacting with water chemistry, often giving the water an unsightly hue. Additionally, scale buildup along surfaces is typically due to high calcium hardness levels. Addressing these problems requires regular testing, prompt chemical adjustments, and ensuring pool equipment like filters and pumps are functioning efficiently. Consistency in maintenance is key to preventing such issues from escalating.
Frequently Asked Questions
How Often Should I Test My Pool Water?
During the swimming season, you should test your pool water at least two to three times a week. Frequent testing is essential because factors like heavy usage, rain, sunlight, and heat can alter chemical levels rapidly. If you are treating a specific problem, like algae, or if you have a lot of swimmers, you might need to test daily until the water is balanced and stable again.
Are Test Strips as Accurate as Liquid Drop Kits?
Test strips are generally accurate enough for routine daily maintenance and are much easier and faster to use. However, liquid drop kits (titration tests) are considered more precise and can measure a wider range of chemical levels. Many pool owners use strips for quick daily checks and a liquid kit for a more comprehensive analysis once a week or when troubleshooting major water issues.
What If the Colors on the Strip Don’t Match the Chart Exactly?
It is very common for the color on the pad to fall somewhere in between two color blocks on the chart. In this case, you should estimate the value. For example, if your pH pad is darker than the 7.2 block but lighter than the 7.6 block, you can record the reading as 7.4. Good lighting is crucial; always read your strips in natural daylight (but not direct harsh sun) for the best color matching.
Can I Touch the Pads on the Test Strips?
No, you should never touch the reactant pads on the test strips with your fingers. The natural oils, moisture, and residues on your skin can contaminate the chemicals on the pads, leading to inaccurate results. Always handle the strip by the end specifically designed for holding, or use clean tweezers if necessary. Keeping the inside of the bottle dry and clean is also vital for accuracy.
Why Is My Chlorine Reading Zero Even After Adding Chlorine?
This phenomenon is often caused by “chlorine demand,” where contaminants like algae or ammonia are consuming the chlorine as fast as you add it. It can also happen if your stabilizer (Cyanuric Acid) levels are too high, rendering the chlorine ineffective (chlorine lock). Conversely, extremely high chlorine levels can sometimes bleach the test strip pad white, giving a false zero reading. Take a water sample to a pool store for verification.
Conclusion
Understanding the language of your pool water is the key to a stress-free summer. By learning to interpret the colorful grid on your test strips, you empower yourself to make informed decisions about chemical treatments, saving time and money in the long run.
The process is straightforward: dip correctly, read quickly, and compare carefully. Regular testing allows you to catch minor imbalances before they turn into murky water or equipment damage. Now that you know how to read test strips for pool maintenance, get out there and enjoy your crystal clear oasis!
About
Outdoor Fixes is a distinguished figure in the world of Diy design, with a decade of expertise creating innovative and sustainable Diy solutions.
His professional focus lies in merging traditional craftsmanship with modern manufacturing techniques,
fostering designs that are both practical and environmentally conscious. As the author of diy,
outdoorfixes delves into the art and science of outdoorfixes-making, inspiring artisans and industry professionals alike.
Education RMIT University
(Melbourne, Australia) Associate Degree in Design (Outdoor Fixes) Focus on sustainable design, industry-driven projects,
and practical craftsmanship. Gained hands-on experience with traditional and digital manufacturing tools, such as CAD and CNC software.
Nottingham Trent University
(United Kingdom) Bachelor’s in outdoorfixes.com and Product Design (Honors) Specialized in product design with a focus on blending creativity with production
techniques. Participated in industry projects, working with companies like John Lewis and Vitsoe to gain real-world insights.
Publications and Impact
In diy, Outdoor Fixes his insights on indoor design processes, materials, and strategies for efficient production.
His writing bridges the gap between artisan knowledge and modern industry needs, making it a must-read for both budding designers and seasoned professionals.