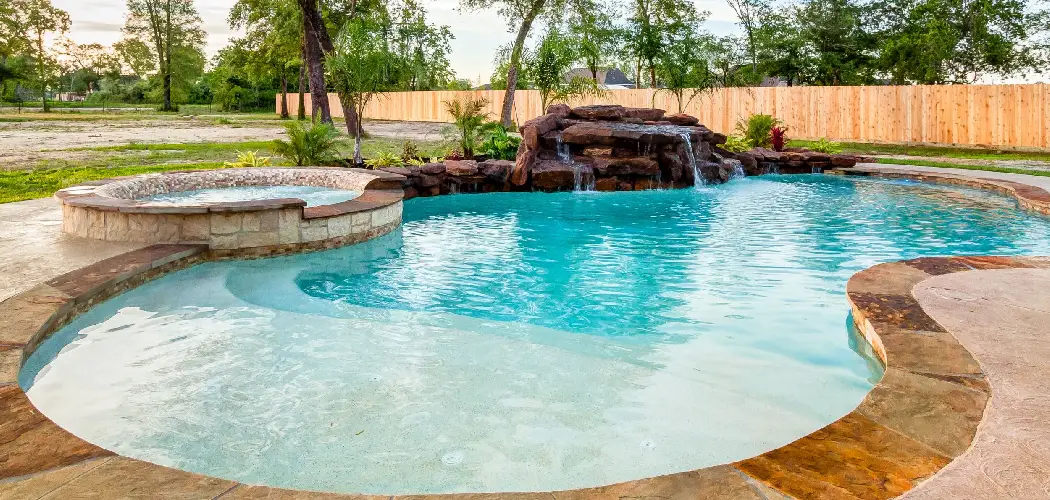
A swimming pool is a fantastic addition to any home, but its use is often limited by the weather. As temperatures drop, the water can become too chilly for comfortable swimming, cutting your pool season short. A pool heater is the perfect solution, allowing you to maintain a pleasant water temperature and enjoy your pool for months longer each year, or even year-round in milder climates.
While the project might seem daunting, it is an achievable task for a confident DIYer with the right tools and knowledge. This comprehensive guide will walk you through every step, showing you exactly how to add a heater to a pool and transform it into a year-round oasis.
Adding a heater to your pool not only enhances comfort but also extends the usability of your investment. Whether you’re looking to enjoy a warm swim on cooler evenings or keep the water inviting as the seasons change, the process of installing a pool heater can be rewarding and straightforward. By choosing the right type of heater and carefully following the installation steps, you can create a more enjoyable swimming experience for yourself and your family.
Why Install a Pool Heater?
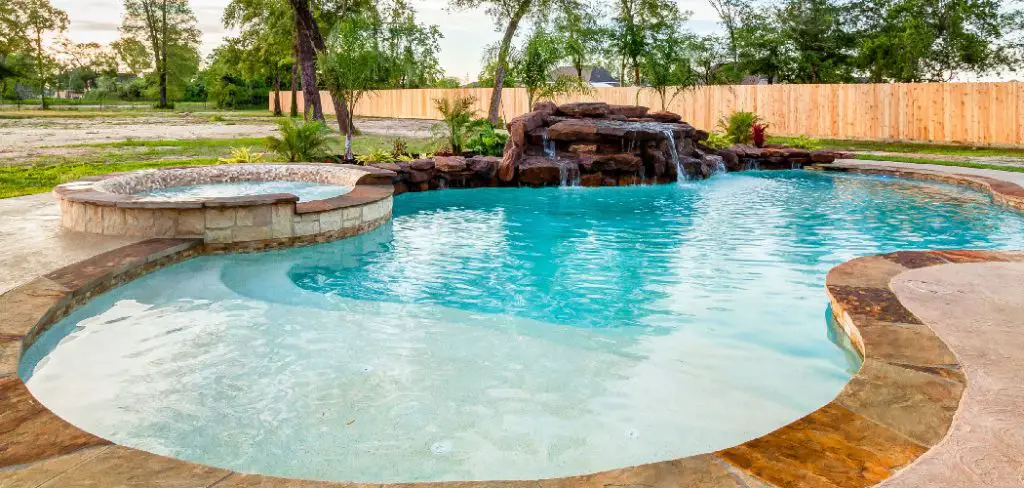
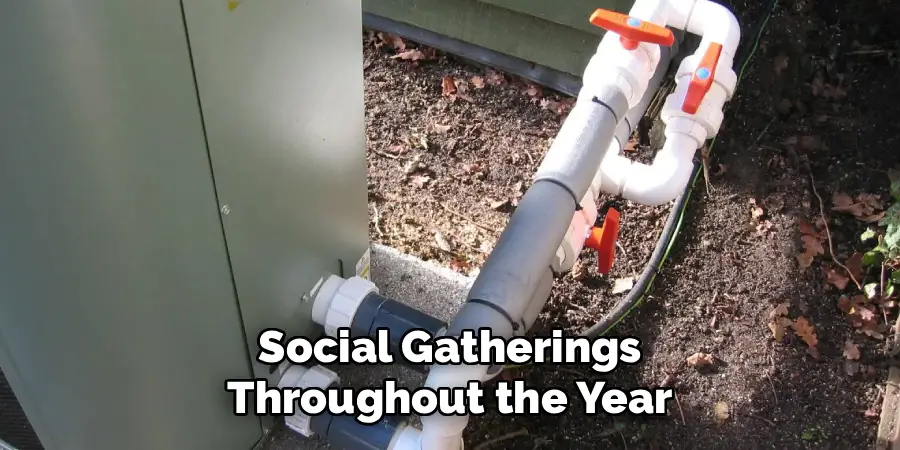
A pool heater offers numerous benefits that enhance your swimming experience and maximize the value of your pool. One of the primary reasons is the ability to extend your swimming season, allowing you to use your pool comfortably even during colder months or chilly evenings. It provides consistent water temperature, making swimming enjoyable regardless of external weather conditions. Additionally, a heated pool can be especially beneficial for families with young children or older adults who may prefer warmer water. By installing a pool heater, you not only improve the convenience and usability of your pool but also create a welcoming space for relaxation, exercise, and social gatherings throughout the year.
Some common types of pool heaters include gas, electric, and solar.
Gas heaters use propane or natural gas to heat the water quickly, making them a popular choice for those who want to use their pool spontaneously. Electric heaters are more energy-efficient but take longer to heat the water. Solar heaters use renewable energy from the sun and can be a cost-effective option in the long run.
Tools and Materials Needed for Installing a Pool Heater
Installing a pool heater requires a combination of tools and materials to ensure proper setup and functionality. Here are the essential items you’ll need:
Tools:
- Adjustable wrench
- Screwdrivers (Phillips and flathead)
- Pipe cutter
- Pliers
- Voltage tester
- Drill and drill bits
- Measuring tape
Materials:
- Pool heater unit (gas, electric, or solar)
- PVC pipes and fittings
- Hose clamps
- Pipe sealant or Teflon tape
- Electrical wiring (if needed for electric heaters)
- Mounting brackets (if applicable)
- Water-resistant sealant
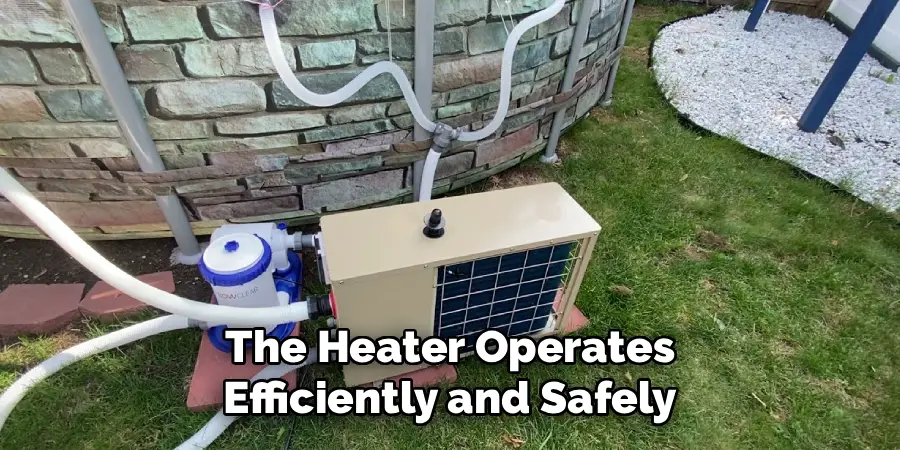
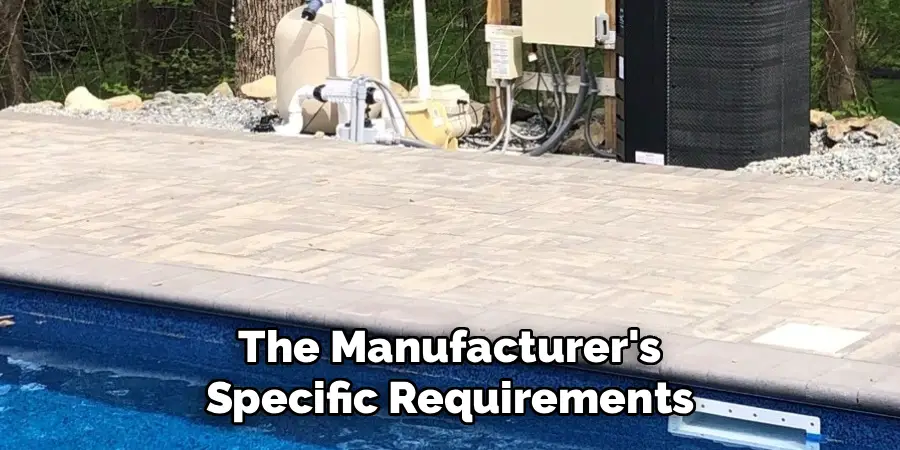
Having the correct tools and materials on hand not only simplifies the installation process but also ensures that the heater operates efficiently and safely. Always refer to the manufacturer’s instructions for specific requirements related to your chosen pool heater.
Step-by-Step Guide on How to Add a Heater to a Pool
Step 1: Choose the Right Type of Heater
The first and most important decision is selecting the right type of heater for your pool and climate. There are three main options: gas heaters, electric heat pumps, and solar heaters. Gas heaters warm water the fastest but have higher operating costs. Electric heat pumps are extremely energy-efficient but work best when the ambient air temperature is above 50°F. Solar heaters have the lowest running costs but are dependent on consistent sunshine and work more slowly. Consider your budget, local climate, and how quickly you want to heat your pool when making your choice. This decision will dictate the entire installation process.
Step 2: Calculate the Correct Heater Size
Once you have chosen a heater type, you must select the correct size. A heater that is too small will struggle to warm your pool and will run constantly, while an oversized one is an unnecessary expense. Heater size is measured in British Thermal Units (BTUs). To calculate the right size, you need to know your pool’s surface area and the desired temperature rise. A common rule is to multiply the pool’s surface area (length x width) by the desired temperature increase, then by 12. This gives you a rough BTU estimate. Most heater manufacturers also provide detailed sizing charts to help you find the perfect fit.
Step 3: Select a Suitable Location for the Heater
Proper placement is critical for safety and performance. The heater must be installed on a solid, level, non-combustible surface, such as a concrete pad. It should be located as close to the pool pump and filter as possible to minimize plumbing runs and maximize efficiency. Ensure the location has adequate clearance on all sides for ventilation and future servicing, following the manufacturer’s specific requirements. For gas heaters, placement must adhere to strict local codes regarding distance from windows, doors, and property lines to prevent carbon monoxide from entering your home.
Step 4: Prepare the Equipment Pad
The heater needs a stable, level foundation. If you do not already have a suitable concrete equipment pad, you will need to create one. Mark out the dimensions for the pad, ensuring it is large enough for the heater and provides the necessary service clearance. Excavate the area to a depth of about 4-6 inches and build a simple wooden frame. Fill the frame with concrete mix and use a trowel to create a smooth, level surface. Let the concrete cure completely, which can take several days, before you place the heavy heater on top of it.
Step 5: Set the Heater
With the concrete pad fully cured, you can carefully move the heater into its final position. You will likely need a helper for this step, as pool heaters can be very heavy. Place it securely on the pad, ensuring it is level. The heater will be installed in line with your existing pool plumbing, after the filter and before any chlorinators or salt cells. This sequence is crucial because heated water can damage some sanitizing equipment. Lay out your PVC pipes and fittings to plan the plumbing route from the filter outlet to the heater inlet, and from the heater outlet back to the pool return line.
Step 6: Install the Plumbing and Water Connections
Now it is time to cut into your pool’s plumbing system. Turn off the pool pump at the breaker to prevent it from turning on unexpectedly. Using a PVC pipe cutter, cut the return line at the point where you will divert water to the heater. Install a check valve before the heater to prevent heated, chlorinated water from flowing back into your filter and heater, which can cause significant damage. Use PVC primer and cement to connect the pipes and fittings, creating a watertight path from the filter, through the heater, and back to the return line leading to the pool.
Step 7: Make the Necessary Electrical Connections
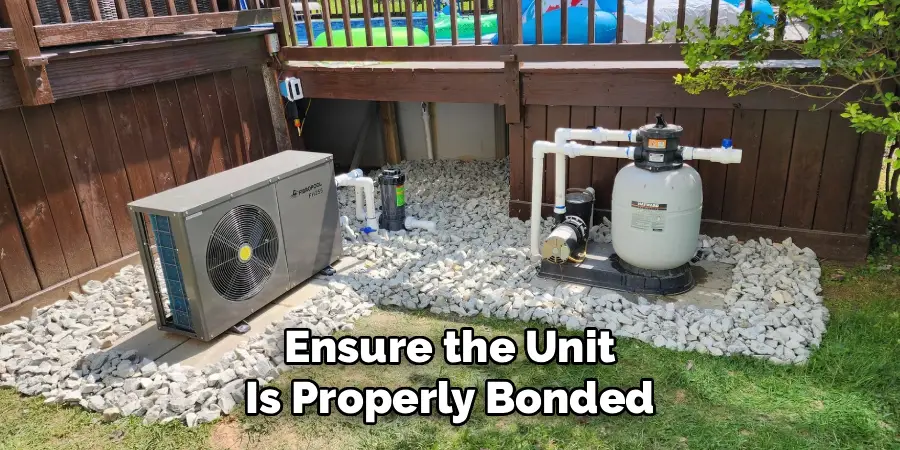
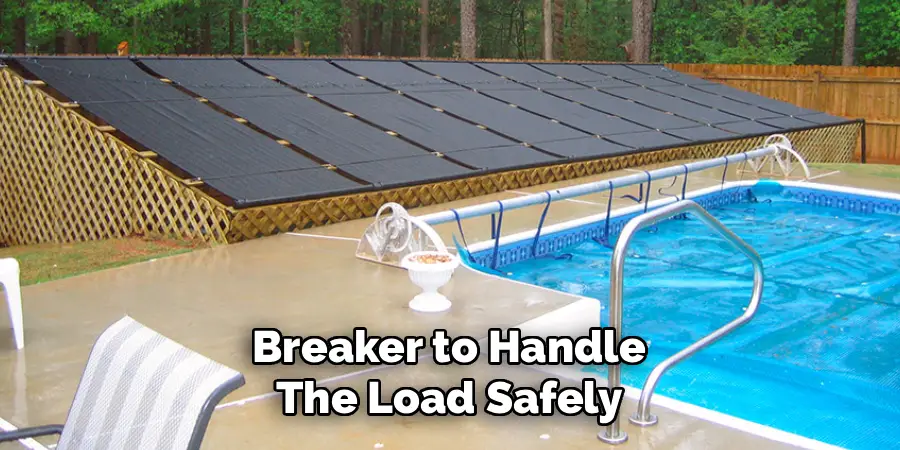
This step often requires a professional electrician. Pool heaters, especially electric heat pumps, draw a significant amount of power and require a dedicated circuit from your home’s main electrical panel. A licensed electrician will run the appropriate gauge wire and install the correct size breaker to handle the load safely. They will connect the power to the heater’s electrical terminal according to the manufacturer’s wiring diagram and ensure the unit is properly bonded and grounded to comply with all national and local electrical codes, which is essential for preventing electrical shock.
Step 8: Complete the Gas Line Installation (For Gas Heaters)
If you are installing a natural gas or propane heater, this step must be performed by a licensed gas fitter or plumber. Running a gas line is not a DIY job due to the significant risk of leaks, fire, or explosion. The professional will run a dedicated gas line from your home’s meter or propane tank to the heater. They will select the correct pipe diameter to ensure adequate gas flow and pressure for the heater’s BTU rating. After connecting the line, they will perform a thorough leak test to ensure the entire system is sealed and safe.
Step 9: Install the Heater’s Pressure Switch and Venting
A pressure switch is a safety device that ensures the heater only operates when the pool pump is running and there is adequate water flow. This switch is typically installed into a designated port on the heater’s water header. For gas heaters installed indoors or in a poorly ventilated area, you must install proper exhaust venting. This involves running a double-walled metal flue pipe from the top of the heater up through the roof or out a sidewall to safely expel combustion gases like carbon monoxide. Follow the manufacturer’s venting guidelines precisely.
Step 10: Test the System and Set the Temperature
With all plumbing, electrical, and gas connections complete, you are ready to test the system. Turn the pool pump back on and check all your new plumbing connections for any leaks. Once you have confirmed there are no drips, you can turn on the heater. Set your desired water temperature on the heater’s control panel. The heater should ignite or turn on, and you should begin to feel warm water coming from the return jets in your pool after some time. Let the system run and monitor its performance to ensure everything is working correctly.
Water Chemistry and Maintenance
Maintaining proper water chemistry is crucial for the health and safety of swimmers, as well as the longevity of your pool equipment. The primary factors to monitor are pH, total alkalinity, calcium hardness, and chlorine levels.
- pH: This measures the acidity or basicity of your pool water on a scale from 0-14. A pH level between 7.4-7.6 is ideal for swimming pools, as it is closest to the natural pH of human tears and minimizes skin irritation.
- Total Alkalinity: This refers to the amount of alkaline substances in your pool water and helps stabilize the pH level. Total alkalinity levels should be maintained between 80-120 parts per million (ppm).
- Calcium Hardness: The level of calcium in your pool water affects the water’s ability to dissolve other substances, which can impact the effectiveness of sanitizers and cause scaling on pool surfaces. The recommended range for calcium hardness is between 200-400 ppm.
- Chlorine Levels: Chlorine is a crucial chemical used to sanitize pool water and protect swimmers from harmful bacteria. It’s important to regularly test and maintain chlorine levels between 1-3 ppm.
Regular Maintenance
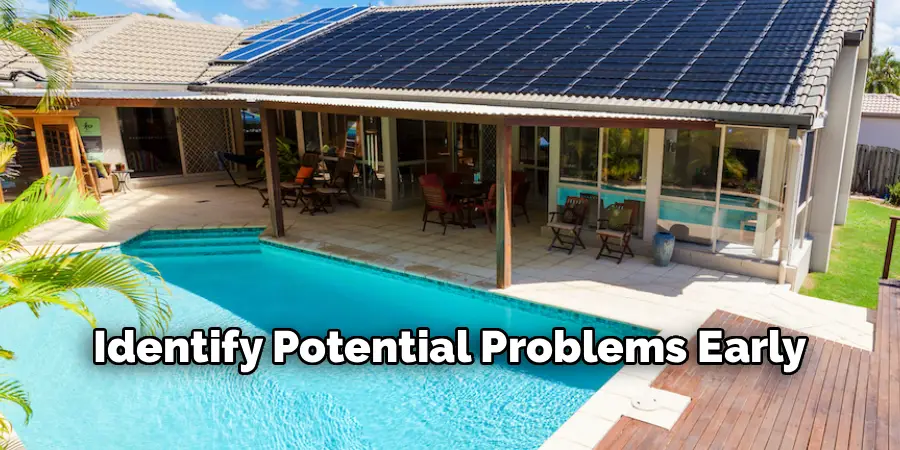
Regular maintenance and upkeep of your pool heater are essential to ensure its efficient operation and longevity. Start by cleaning the heater’s filter regularly to prevent debris from clogging the system and reducing performance. Inspect the burner and heat exchanger for signs of wear or corrosion, as these components are critical for proper heating. It’s also important to check for leaks in the plumbing connections periodically, as even small leaks can lead to larger issues over time. During the off-season, consider winterizing your heater if it will not be in use, which may involve draining water from the system and covering the heater to protect it from the elements. Lastly, scheduling annual professional inspections can help identify potential problems early and keep your pool heater running efficiently for years to come.
User Testimonials
John D.
“Installing the new pool heater was a game-changer for my family. The instructions were straightforward, and the setup process went smoothly. It’s such a joy to use our pool even on cooler evenings now!”
Emily R.
“I was nervous about setting up the heater myself, but following the steps provided made it simple. The warm water is amazing, and I’ve noticed an improvement in the overall efficiency of my system.”
Carlos M.
“This guide saved me so much time and frustration. The detailed instructions on testing for leaks and monitoring the heater’s performance were especially helpful. I’m thrilled with the results!”
Frequently Asked Questions
What Is the Best Type of Heater for My Pool?
The best type depends on your needs:
- Gas Heaters: Best for heating a pool quickly or for spas. They work in any climate but have higher monthly running costs.
- Electric Heat Pumps: Highly energy-efficient and have low running costs. They are ideal for maintaining a temperature but work best when the air is above 50°F.
- Solar Heaters: Have virtually no running costs but are dependent on sunlight and are the slowest to heat the water.
How Much Does It Cost to Add a Heater to a Pool?
Costs vary widely. The heater itself can range from $1,500 for a small heat pump to over $5,000 for a large gas heater. Professional installation, including electrical and gas line work, can add another $1,000 to $3,000 or more. A DIY installation can save on labor, but you will still need to hire licensed professionals for the electrical and gas connections, which is a legal and safety requirement.
Can I Install a Pool Heater Myself?
A homeowner with strong DIY skills can perform some parts of the installation, such as preparing the concrete pad and completing the PVC plumbing connections. However, the electrical wiring and any natural gas or propane line connections must be done by a licensed professional. This is required by law in most areas and is critical for ensuring the safety of your home and family.
Where Should a Pool Heater Be Installed?
A pool heater should be installed on a level, non-combustible pad, as close as possible to the existing pool equipment. It needs to be plumbed after the filter and before any chemical feeders like a chlorinator. Crucially, it must have adequate ventilation and clearance on all sides as specified by the manufacturer to prevent overheating and to allow for future maintenance.
How Long Does It Take for a Heater to Warm a Pool?
This depends on the heater type, its size (BTU rating), the size of your pool, and the starting water temperature. A gas heater can typically raise the temperature by about 1-2 degrees per hour. An electric heat pump is slower, often raising the temperature by only a few degrees over a full 24-hour period. Using a solar cover on the pool will dramatically reduce heat loss and speed up the heating process.
Conclusion
Adding a heater to your pool is a game-changing upgrade that unlocks the potential for year-round enjoyment. While it is a significant project, it is manageable when broken down into clear, logical steps. The process hinges on choosing the right heater, ensuring a proper foundation, and correctly integrating it into your pool’s plumbing and electrical systems. While DIYers can handle the groundwork, professional expertise for gas and electrical connections is non-negotiable for a safe installation. By following this guide on how to add a heater to a pool, you can confidently embark on this project and look forward to countless extra hours of warm, comfortable swimming.
About
Outdoor Fixes is a distinguished figure in the world of Diy design, with a decade of expertise creating innovative and sustainable Diy solutions.
His professional focus lies in merging traditional craftsmanship with modern manufacturing techniques,
fostering designs that are both practical and environmentally conscious. As the author of diy,
outdoorfixes delves into the art and science of outdoorfixes-making, inspiring artisans and industry professionals alike.
Education RMIT University
(Melbourne, Australia) Associate Degree in Design (Outdoor Fixes) Focus on sustainable design, industry-driven projects,
and practical craftsmanship. Gained hands-on experience with traditional and digital manufacturing tools, such as CAD and CNC software.
Nottingham Trent University
(United Kingdom) Bachelor’s in outdoorfixes.com and Product Design (Honors) Specialized in product design with a focus on blending creativity with production
techniques. Participated in industry projects, working with companies like John Lewis and Vitsoe to gain real-world insights.
Publications and Impact
In diy, Outdoor Fixes his insights on indoor design processes, materials, and strategies for efficient production.
His writing bridges the gap between artisan knowledge and modern industry needs, making it a must-read for both budding designers and seasoned professionals.