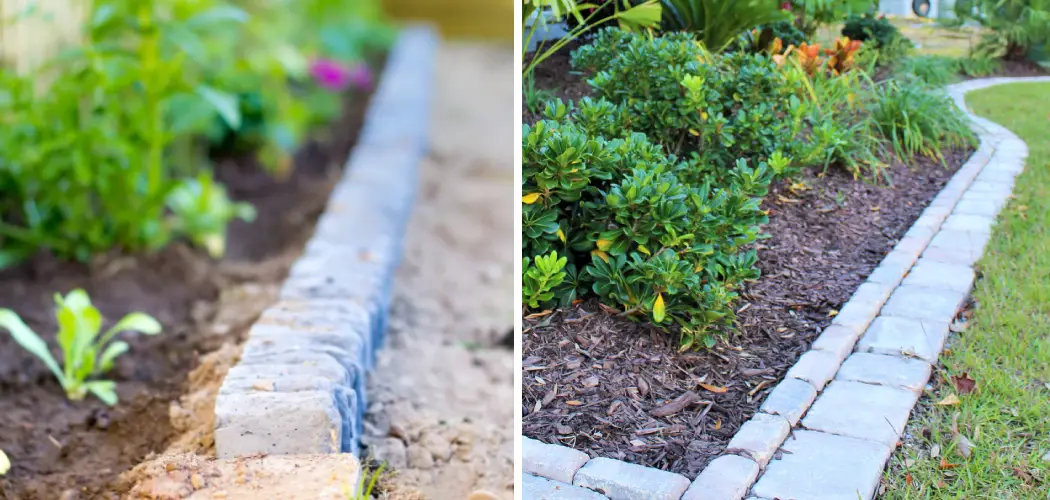
Enhance the natural beauty of your garden and add a touch of rustic elegance by creating a stacked stone garden border. Building a stacked stone border is a fantastic way to define and elevate the visual appeal of your outdoor space, providing a charming and durable boundary for your flower beds, pathways, or vegetable gardens.
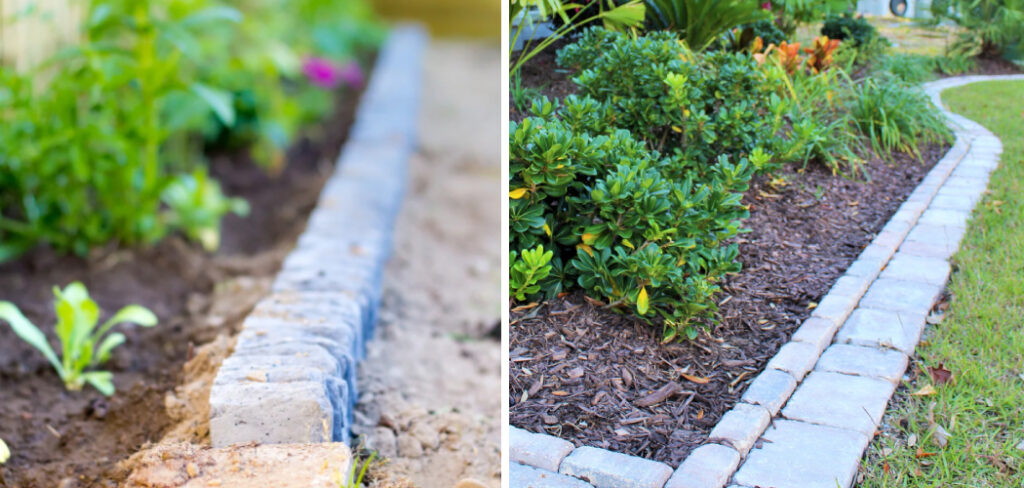
This versatile and timeless landscaping technique allows you to play with different stone sizes, shapes, and colors, resulting in a unique and personalized border that complements your garden’s overall aesthetic.
Whether you’re a seasoned DIY enthusiast or a beginner looking to embark on a creative project, this article will guide you through the essential steps and helpful tips on how to build a stacked stone garden border that adds natural allure and character to your garden sanctuary.
Get ready to unlock your inner artist and transform your garden into a picturesque haven with the rustic beauty of a stacked stone border.
Advantages of Stacked Stone Borders Over Other Options
Stacked stone borders offer a beautiful and unique way to define the edges of a garden. Compared to other border options such as wooden fences or metal edging, stacked stone offers several distinct advantages.
First of all, a stacked stone border is much more aesthetically pleasing than other options. The natural texture and color of the stones adds visual interest to a garden, while wooden fences can often look dull and mundane. Additionally, the stones are usually easy to find at most home improvement stores, making it a cost-effective option for DIYers.
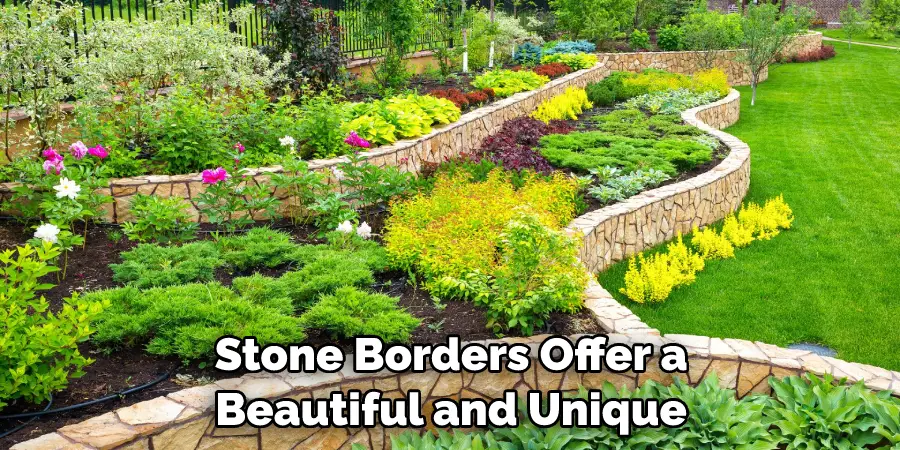
Stacked stones are also incredibly durable, making them an ideal choice for gardens that may be prone to extreme weather conditions. Unlike wooden fences or metal edging, which can deteriorate over time due to moisture or extreme temperatures, stacked stones are naturally weatherproof and will last for years without any maintenance needed.
Choosing Suitable Stones for the Project
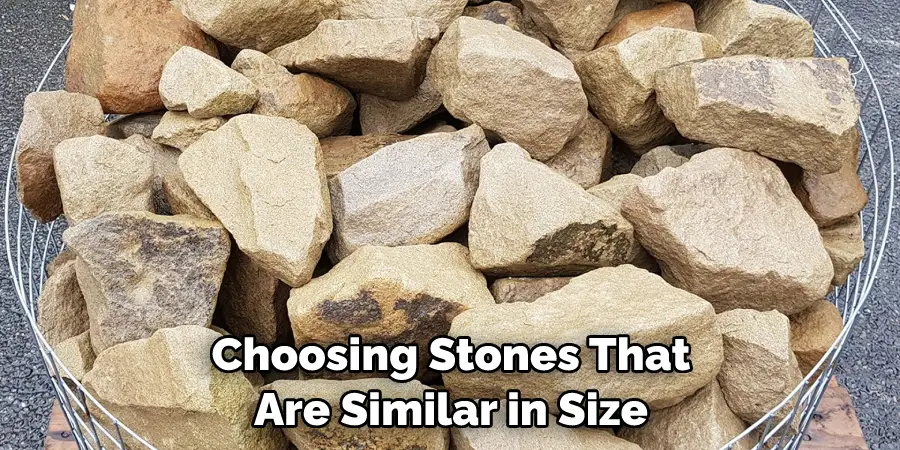
When selecting stones to build a stacked stone garden border, it is important to pay attention to the type of stone used. Stones that have sharp edges and angular shapes are better suited for this project than those with smooth, rounded edges. It is also important to select stones which are similar in size and shape so that they fit together easily.
Additionally, be sure to choose stones that will not erode or break down easily – ideally, these should be strong enough to withstand weather conditions and pressure from surrounding plants.
Finally, consider using a variety of colors or patterns when stacking the stones as this can help create an interesting aesthetic design. Once you have chosen your desired materials, it’s time to start building!
Ensuring Stones are Uniform in Thickness
To ensure that your stones look as professional and uniform as possible, it’s important to keep the thickness of each stone consistent. You can do this by using a level or measuring tape to measure the depth of each piece you place. It may take some trial and error at first, but when all is said and done, uniformity will be achieved.
Achieving uniformity doesn’t only add an aesthetic appeal; it also makes for a more stable foundation for your garden border.
Another way to ensure evenness in your stacked stones is by choosing stones that are similar in size. This will give the finished product an overall uniform appearance without having to use levels or tapes. When selecting stones from nature, try to pick ones that are close in size. If you need to have a wider variety of stones, make sure the difference in their sizes is minimal.
10 Methods How to Build a Stacked Stone Garden Border
Method 1: Choose the Right Stones
The journey to a breathtaking stacked stone garden border begins with the careful selection of the right stones. Opt for stones that exhibit a flat and uniform shape, as they are easier to stack and ensure a stable border. Natural fieldstones, flagstones, or even large river rocks can serve admirably for this purpose.
Pay heed to the colors and textures of the stones, ensuring they harmonize with existing elements in your garden landscape. Curate a collection of stones in varying sizes to allow for creative experimentation during the stacking process.
Method 2: Prepare the Site
Before embarking on the art of stacking, dedicate attention to preparing the site where your garden border will manifest its rustic charm. Clear the area of any debris, weeds, or pre-existing vegetation to provide a clean canvas for your project.
Employ a spade or shovel to meticulously dig a shallow trench along the edge of the garden bed, defining the path where your stacked stone border will gracefully reside. The trench’s width should accommodate the stones comfortably, while its depth should establish a firm and stable foundation for the stacked stones.
Method 3: Create a Stable Base
The secret to enduring allure lies in establishing a stable and reliable base for your stacked stone garden border. Fill the prepared trench with a layer of compacted gravel or crushed stone, ensuring a level and even surface.
The gravel foundation not only reinforces the border’s stability but also aids in proper drainage, safeguarding your garden’s long-term health. Utilize a tamper or the back of a shovel to compact the gravel firmly, leaving no room for uncertainty.
Method 4: Begin Stacking the Stones
With the foundation laid, the time has come to orchestrate the graceful dance of stone stacking. Embark on your artistic endeavor by placing the largest stones at regular intervals along the trench. Take care to ensure that each stone rests level and secure, meticulously adjusting the gravel base as required.
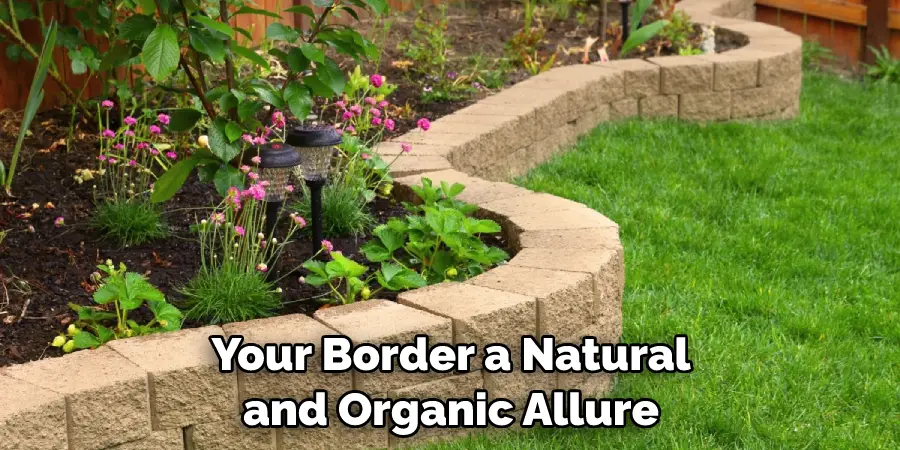
As your creation unfolds, interlace the smaller stones to fill in the interstitial spaces, giving rise to a seamless and visually captivating garden border. Embrace the art of staggered placement, bestowing upon your border a natural and organic allure that speaks to the heart of the land.
Method 5: Consider Using Mortar
To imbue your stacked stone garden border with unwavering stability and lasting grandeur, consider enlisting the aid of mortar. Mortar serves as a binding agent, effectively adhering the stones together and safeguarding them from future displacement.
Mix the mortar in accordance with the manufacturer’s instructions, and delicately apply it to the back of each stone before placing it in its destined spot.
Employ a trowel to administer the mortar evenly, embracing precision and artistic expression in equal measure. Be mindful of your chosen design, for mortar introduces a more structured and permanent dimension to your creation.
Method 6: Incorporate Landscape Fabric
In pursuit of both beauty and practicality, embrace the idea of incorporating landscape fabric into your stacked stone garden border. Placing landscape fabric between the stones and the soil fosters an effective barrier against intrusive weeds, sparing you the toils of incessant maintenance.
With deft hands, trim the landscape fabric to fit neatly around the stones, ensuring a seamless integration that remains unseen yet steadfast. Secure the fabric in place with landscape staples, effectively sealing your border against encroaching adversaries.
Method 7: Add a Capstone
To crown your masterpiece with an air of regality and refinement, consider adding a capstone to the topmost layer of your stacked stone garden border. The capstone, a flat and elegant stone, graces the summit of the border, lending a polished and finished appearance.
Choose a capstone that harmonizes gracefully with the border’s overall design and color scheme, allowing it to imbue a sense of unity and magnificence. Securing the capstone in place with mortar, if your heart desires, crowns your creation with an air of permanence and enduring beauty.
Method 8: Create Variations in Height
In pursuit of visual intrigue and depth, breathe life into your stacked stone garden border by creating variations in height. Employ larger stones to create raised sections, imparting grandeur and prominence to specific areas.
Intersperse smaller stones to generate lower segments, adding a touch of whimsy and gentle allure. Embrace the art of artistic arrangement, sculpting a border that traverses the spectrum of height and unveils a multidimensional tapestry of wonder.
Method 9: Integrate Plantings
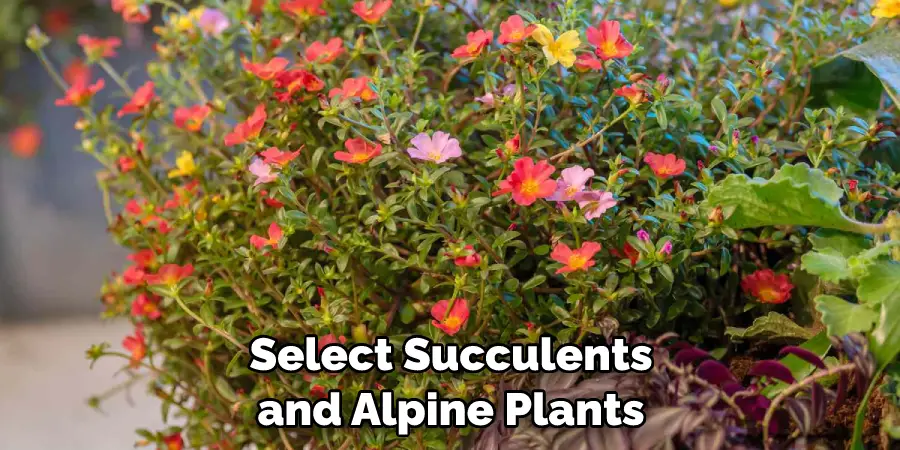
To evoke a symphony of harmony between the hardscape and softscape elements, consider integrating plantings within your stacked stone garden border. Envision low-growing and creeping plants that cascade over the edges of the border, imbuing it with life and verdant beauty.
Select succulents, groundcovers, and alpine plants with care, as they play an instrumental role in softening the border’s appearance and transforming it into a vibrant and thriving ecosystem.
Method 10: Maintain and Care for the Border
As your magnum opus stands complete, the journey to a breathtaking stacked stone garden border continues with regular maintenance and attentive care. Endeavor to inspect the stones periodically, ensuring their steadfastness and making any necessary adjustments to preserve the border’s allure.
Remove any debris, leaves, or unwelcome intruders that may find refuge between the stones, safeguarding the integrity of your creation. Nourish and nurture the integrated plantings, tending to their needs and bestowing upon them the love and attention they deserve.
Conclusion
After reading this blog post, you have the basic knowledge of how to build a stunning and diverse stacked stone border for your patio or garden. With the help of this tutorial, you can easily bring sophistication and long-lasting beauty to your backyard living space. Not only will this create an enchanting look but it also adds value and visual interest.
Building a stacked stone garden border is just one way to bring order and depth to your outdoor landscape.
It’s never too late to get started on improving your home for that perfect summer vibe! All that’s needed is a bit of creative energy, effort, and time; the results are worth it every time. So now that you know How to Build a Stacked Stone Garden Border, why not start planning to spruce up your garden with some chic stonework today?!
About
Outdoor Fixes is a distinguished figure in the world of Diy design, with a decade of expertise creating innovative and sustainable Diy solutions.
His professional focus lies in merging traditional craftsmanship with modern manufacturing techniques,
fostering designs that are both practical and environmentally conscious. As the author of diy,
outdoorfixes delves into the art and science of outdoorfixes-making, inspiring artisans and industry professionals alike.
Education RMIT University
(Melbourne, Australia) Associate Degree in Design (Outdoor Fixes) Focus on sustainable design, industry-driven projects,
and practical craftsmanship. Gained hands-on experience with traditional and digital manufacturing tools, such as CAD and CNC software.
Nottingham Trent University
(United Kingdom) Bachelor’s in outdoorfixes.com and Product Design (Honors) Specialized in product design with a focus on blending creativity with production
techniques. Participated in industry projects, working with companies like John Lewis and Vitsoe to gain real-world insights.
Publications and Impact
In diy, Outdoor Fixes his insights on indoor design processes, materials, and strategies for efficient production.
His writing bridges the gap between artisan knowledge and modern industry needs, making it a must-read for both budding designers and seasoned professionals.

