Are you dreaming of the perfect backyard paradise? A swimming pool is a great way to add beauty and practicality to your outdoor living area. Building a vinyl liner pool is a popular choice for individuals looking for an affordable, easy-to-maintain solution with plenty of style options.

Vinyl liner pool construction is a process that requires careful planning and execution. With clear instructions and helpful tips, you’ll be able to contain this significant construction project with confidence as you construct your dream oasis – just in time for summer!
In this guide, we will walk you through the steps of how to build a vinyl liner pool so you can have the pool of your dreams. As you follow along, keep in mind that building a vinyl liner pool is a major undertaking and may require some assistance from professionals, depending on your level of experience.
What Will You Need?
Before you begin construction, it’s essential to have all the necessary tools and materials on hand. Here is a list of items you will likely need for building a vinyl liner pool:
- Vinyl liner pool kit (inclusive of walls, floor, coping, and skimmer)
- Excavator
- Concrete or sand (for pool bottom)
- Plumbing equipment
- Pool filter and pump
- Hand tools (shovels, rakes, etc.)
- Leveling equipment (laser level or transit)
- Backfill material (such as gravel or sand)
It’s important to note that the specific materials and equipment needed may differ depending on the size and shape of your desired pool. It’s always best to consult with a professional for a detailed list of required items for your specific project.
10 Easy Steps on How to Build a Vinyl Liner Pool
Step 1: Design and Planning
Building a vinyl liner pool begins with choosing the right design for your space. Consider size, shape, and depth based on how you plan to use the pool. Once you have a solid idea in mind, it’s time to start planning the construction process.
This includes obtaining necessary permits and approvals from your local authorities.
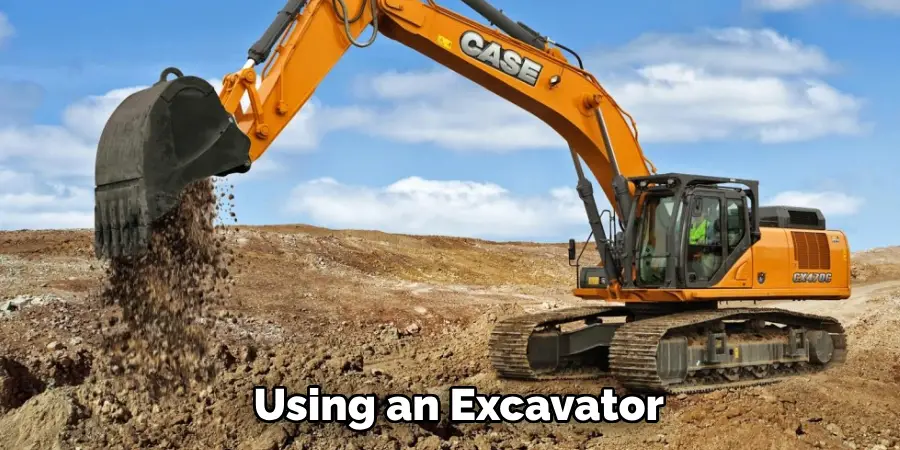
Step 2: Excavation
Using an excavator, dig out the area where the pool will be constructed. Ensure that the dimensions are accurate and the pit is level. This step can be physically demanding, so it’s best to hire a professional if you need to gain experience with excavation.
Step 3: Plumbing and Electrical Work
Install the necessary plumbing and electrical components before the pool walls are installed. This includes pipes for water circulation, lighting, and any other desired features, such as a hot tub or waterfall. If you are not experienced with plumbing or electrical work, it’s essential to hire professionals for this step.
Step 4: Installation of Pool Walls
With the plumbing and electrical systems in place, the next phase involves erecting the pool walls according to the design specifications. The vinyl liner pool kit will provide the walls that you need to assemble and secure in place. Ensuring the walls are level and sturdy is critical for the pool’s stability and longevity.
This step may require more than one person and can be complex, so consider seeking professional assistance.
Step 5: Creating the Pool Base
After the walls have been securely installed, it’s time to create the pool base. You can use either concrete or sand for this, depending on your preference and budget. Spread the material evenly across the bottom of the pool using a shovel and rake until you have a smooth surface.
Following this, you must compact the base to prepare it for liner installation. Pay attention to the deep end and any steps or slopes in your design, as these will need special attention to ensure they are shaped correctly. Again, this can be a demanding task, so hiring a professional may be beneficial.
Step 6: Installation of the Vinyl Liner
The next step in building your vinyl liner pool is the installation of the liner. This can be a delicate process. Start by spreading the liner out and carefully securing it to the pool walls. Ensure the liner is smooth and free of wrinkles or bubbles before continuing.
Once the liner is in place, you can fill the pool with water. As the pool fills, make minor adjustments to the liner to maintain a snug fit. If this process seems daunting, feel free to hire a professional to ensure the liner is installed correctly.

Step 7: Backfill and Landscape
Once the liner is installed and the pool is filled with water, the next step is backfilling. This step involves filling in the gaps around the pool walls with backfill material, usually gravel or sand. Ensure that the backfill is compacted to provide solid support for the pool walls.
Following backfilling, you can start landscaping around the pool. Leave enough space for a pool deck if you plan to install one. Be careful not to damage the liner during this process.
Step 8: Install the Coping and Pool Deck
Now it’s time to install the coping, which provides a finished edge around the pool and acts as a barrier to keep water from getting behind the pool shell. Following the coping installation, you can proceed with constructing your pool deck. This provides a safe and comfortable area for lounging and entering the pool.
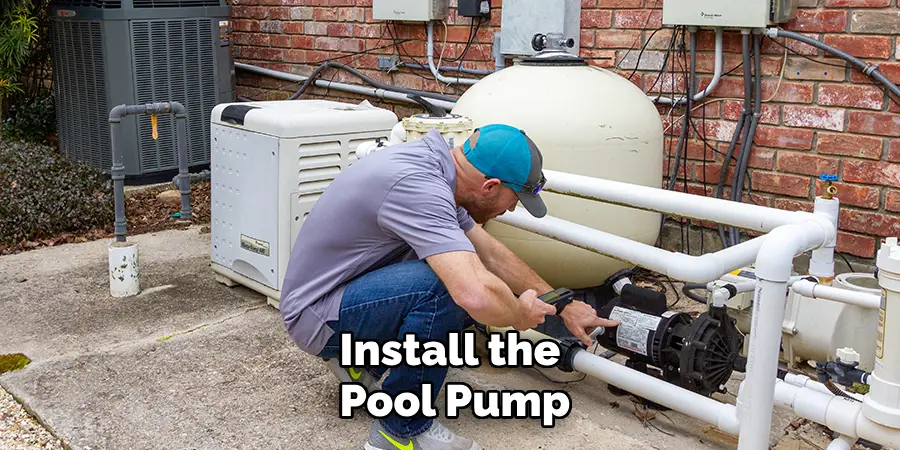
Step 9: Install the Pool Equipment
Install the pool pump and filter according to the manufacturer’s instructions. These are crucial components that keep your pool water clean and clear. Make sure to position these pieces of equipment in a place that’s easy to access for maintenance.
Step 10: Final Checks and Start-Up
For the final step, check all the pool components to ensure they work correctly. This includes the pump, filter, and any additional features like lights or waterfalls. Once everything checks out, you can treat the water with the necessary chemicals to prepare it for swimming. Congratulations, you have just built your vinyl liner pool!
Now, you can enjoy the fruits of your labor with a refreshing dip in your new pool. Remember that regular maintenance will be necessary to keep your pool in top shape. Enjoy your new backyard paradise!
5 Additional Tips and Tricks
- Choose the Right Location: Before building a vinyl liner pool, carefully select the location. Consider factors such as sunlight exposure, proximity to your house, and the backyard’s landscape.
- Prepare the Ground Properly: A solid foundation is key for longevity. Remove all the rocks and debris, and pack down the soil tightly.
- Invest in a High-quality Liner: The liner is the most critical component of your pool. Don’t skimp on quality. A good liner can last for up to 12 years if properly maintained.
- Maintain the Water Balance: Regularly check and adjust the pH, alkalinity, and chlorine levels in your pool. This will prevent damage to the liner and ensure a safe swimming environment.
- Inspect and Replace the Liner when Necessary: Vinyl liners are durable, but they’re not indestructible. Regular inspection can help you identify any damage early on. If necessary, don’t hesitate to replace the liner to avoid major issues down the line.
With these additional tips and tricks, you’ll be well on your way to building a beautiful and functional vinyl liner pool for your backyard. Remember always to follow safety precautions and maintain your pool regularly.
5 Things You Should Avoid
- Avoid Rushing the Process: Building a vinyl liner pool is not something you can or should rush. Each step, from site preparation to liner installation, requires careful attention to detail. Hastening the process can lead to costly mistakes and compromises in poor quality.
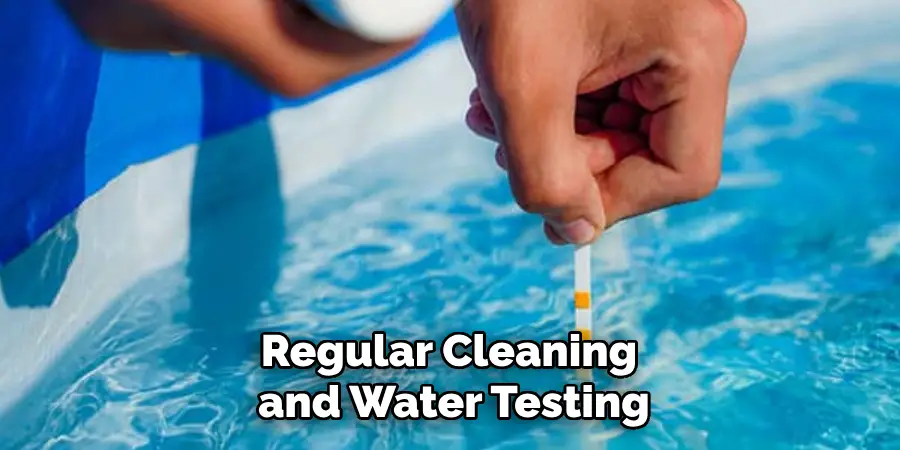
- Avoid Skipping Regular Maintenance: Neglecting regular maintenance can lead to severe issues, such as liner damage and imbalanced water chemistry. Regular cleaning and water testing are crucial to maintaining the lifespan of your pool.
- Avoid Using Sharp Objects Near the Pool: Sharp objects can easily puncture a vinyl liner, leading to leaks. Ensure all pool accessories are blunt-edged, and avoid using sharp objects around the pool area.
- Avoid Draining the Pool Completely: Vinyl liner pools are not designed to be drained completely. The water pressure helps to hold the liner in place. Completely draining the pool can cause the liner to shift or wrinkle.
- Avoid Neglecting Safety Precautions: Safety should always be a priority when installing and using a pool. Install safety barriers, keep the pool area clean and clutter-free, and supervise children and pets around the pool.
By avoiding these common mistakes, you can ensure the longevity and safety of your vinyl liner pool.
Which Type of Pool is Cheapest?
When constructing a pool, vinyl liner pools are typically the most cost-effective option. They require less labor and materials compared to other types of pools, such as concrete or fiberglass. However, remember that the initial cost is not the only factor when deciding on a pool type.
The long-term maintenance and repair costs should also be taken into account. With proper care and maintenance, a vinyl liner pool can provide years of enjoyment at a more affordable price point.
So, if you’re looking for an economical option that doesn’t compromise on quality, a vinyl liner pool may be the best choice for you.
Conclusion
In conclusion, how to build a vinyl liner pool of your own can be a fantastic investment for those who prioritize both long-term savings and having access to a luxurious swimming pool. Considering the proper steps and ensuring you are well prepared is essential for success.
Not only that, but it could be fun for you! Investing in materials such as filter systems, ladders, and maintenance items such as skimmer nets and brush scrubbers will ensure that your vinyl liner pool lasts a lifetime.
So go ahead – build the perfect liner pool and surprise everyone with its beauty! If you can do it yourself, then why not? Don’t hesitate to start your project today and reimagine your backyard oasis.
About
Outdoor Fixes is a distinguished figure in the world of Diy design, with a decade of expertise creating innovative and sustainable Diy solutions.
His professional focus lies in merging traditional craftsmanship with modern manufacturing techniques,
fostering designs that are both practical and environmentally conscious. As the author of diy,
outdoorfixes delves into the art and science of outdoorfixes-making, inspiring artisans and industry professionals alike.
Education RMIT University
(Melbourne, Australia) Associate Degree in Design (Outdoor Fixes) Focus on sustainable design, industry-driven projects,
and practical craftsmanship. Gained hands-on experience with traditional and digital manufacturing tools, such as CAD and CNC software.
Nottingham Trent University
(United Kingdom) Bachelor’s in outdoorfixes.com and Product Design (Honors) Specialized in product design with a focus on blending creativity with production
techniques. Participated in industry projects, working with companies like John Lewis and Vitsoe to gain real-world insights.
Publications and Impact
In diy, Outdoor Fixes his insights on indoor design processes, materials, and strategies for efficient production.
His writing bridges the gap between artisan knowledge and modern industry needs, making it a must-read for both budding designers and seasoned professionals.