
An inground swimming pool is a backyard dream for many, offering a sleek, integrated look and a perfect escape from summer heat. However, the high cost of traditional inground pool installation puts this dream out of reach for most homeowners. This has led many ambitious DIYers to ask a creative question: can you get that seamless, inground aesthetic with a more affordable alternative? The idea of burying a durable, frame-supported above ground pool is an intriguing one.
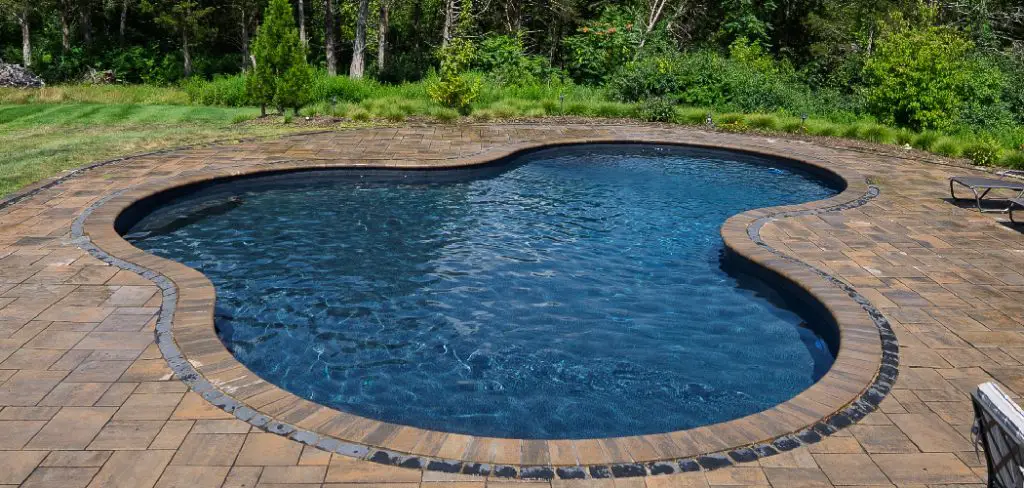
While it requires significant planning and labor, the results can be stunning. This comprehensive guide will walk you through every critical step, showing you exactly how to bury an intex above ground pool safely and effectively.
Buried above ground pools offer the perfect balance between cost-efficiency and visual appeal, mimicking the elegance of traditional inground pools without the hefty price tag. However, this project is not without its challenges. Proper preparation, the right materials, and attention to key construction details are essential to ensure the pool’s stability and longevity. With careful planning and execution, you can transform your backyard into a stunning retreat that feels both luxurious and practical.
Why Choose an Above-Ground Pool?
Above-ground pools are a popular choice for homeowners due to their affordability, ease of installation, and adaptability. Unlike inground pools, they require less excavation and construction work, making them a quicker and less invasive option. They also offer flexibility in terms of size and design, allowing you to select a pool that fits your available space and aesthetic preferences. Additionally, above-ground pools are easier to maintain and require fewer long-term expenses, making them a practical solution for families seeking a cost-effective way to enjoy water activities without compromising on style or functionality.
Furthermore, the versatility of above-ground pools extends beyond just residential use. They are also commonly used in community or public spaces, such as hotels and resorts, where they can provide a fun and convenient option for guests to cool off and relax.
In recent years, above-ground pools have also become increasingly popular among fitness enthusiasts. With the addition of specialized equipment like resistance bands and underwater treadmills, these pools offer a low-impact alternative to traditional swimming exercises. This makes them a great choice for individuals with joint pain or injuries looking for a way to stay active without putting too much strain on their bodies.
Tools and Materials

Setting up and maintaining an above-ground pool requires the right tools and materials to ensure its longevity and functionality. Key items include a pool pump and filter system to keep the water clean and free from debris, as well as a sturdy pool ladder for safe entry and exit. A pool cover is essential for protecting the pool from dirt and leaves when not in use. Additionally, pool liners are necessary to prevent leaks and maintain water quality. Other useful materials include a skimmer net for removing floating debris, a water testing kit to monitor chemical levels, and pool chemicals like chlorine and pH balancers for proper maintenance. For installation, basic tools such as a level, tape measure, and sand for leveling the base are also recommended. Having these tools and materials on hand will ensure a smooth and enjoyable pool experience.
Step-by-Step Guide on How to Bury an Intex Above Ground Pool
Step 1: Check Local Codes
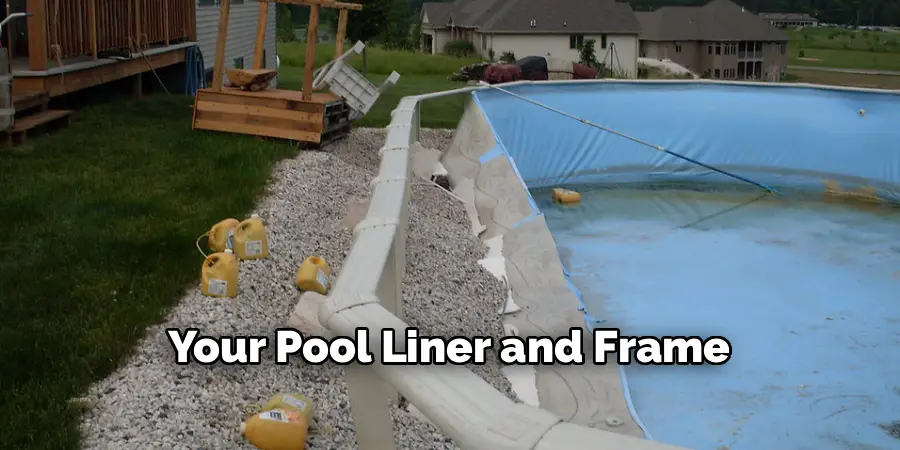
Before you pick up a shovel, your first and most crucial step is to research local regulations. Contact your city or county’s building department to inquire about codes and permits required for excavating and installing a semi-inground pool. There are often strict rules regarding depth, fencing, and proximity to property lines or utility lines. You must also understand that burying your pool will almost certainly void the Intex manufacturer’s warranty. This project is undertaken at your own risk, so you need to be fully aware of the legal requirements and the financial implications of proceeding without warranty coverage for your pool liner and frame.
Step 2: Select the Right Location
Choosing the right spot in your yard is critical for the success and safety of your project. The ideal location is a flat, level area with firm, stable soil that gets plenty of direct sunlight to help warm the water naturally. Use the “Call Before You Dig” service (dial 811 in the U.S.) to have all underground utility lines marked on your property. You must ensure your excavation site is far away from any water, gas, sewer, or electrical lines. Also, consider the pool’s proximity to your house for easy access and keep it away from large trees to avoid root interference and constant leaf debris.
Step 3: Outline and Begin Excavation
Once you have your location selected and cleared, it is time to mark the area for excavation. Assemble the bottom ring of your Intex pool frame to create a perfect template. Place it on the ground and mark a circle at least two feet wider than the pool’s diameter. This extra space provides a crucial working area around the pool for assembly and for building the necessary retaining wall. You can now begin excavating. For smaller pools, this might be feasible with shovels, but for larger pools, renting a mini-excavator will save an immense amount of time and labor. Dig down to your desired depth, keeping the floor as level as possible.
Step 4: Construct a Retaining Wall

This is the most critical step for ensuring the longevity of your buried pool. The immense pressure from the surrounding soil will crush the walls of an Intex pool if it is not protected. You must build a sturdy, circular retaining wall inside the excavated hole. The most common and effective method is to use curved, corrugated metal sheets or treated plywood, supported by vertical posts driven firmly into the ground every few feet. This wall should be constructed on the outer edge of your two-foot clearance zone, creating a barrier between the earth and the pool itself. This structure will bear the load of the backfill, not the pool.
Step 5: Prepare the Pool Floor
The floor of the excavated hole must be perfectly level and smooth. Any rocks, roots, or debris can easily puncture the pool liner. After achieving a level base, you must add a layer of sand at least two inches deep. The sand provides a soft, protective cushion for the liner. Use a tamper and a long, straight board to screed the sand, ensuring it is perfectly flat and compacted. In addition to the sand, it is highly recommended to place a high-quality ground cloth or a foam pool floor pad on top of the sand for an extra layer of protection against punctures.
Step 6: Install Your Pool’s Plumbing and Drainage
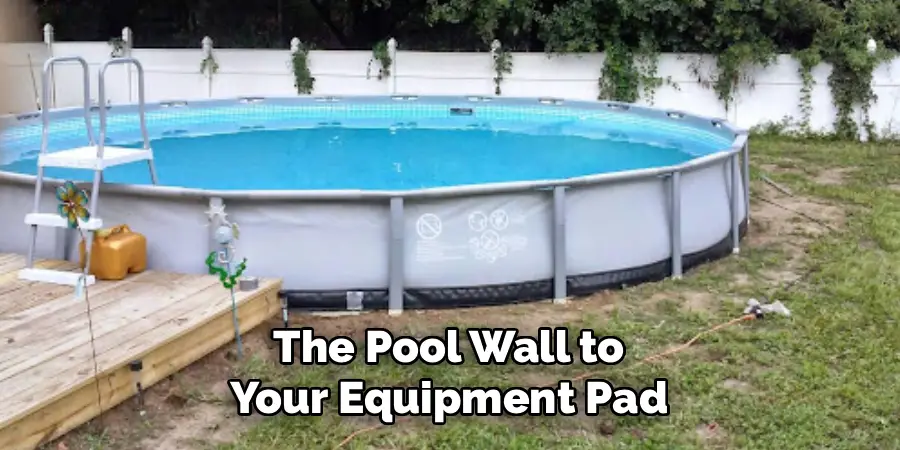
Before you place the pool in the hole, you must plan for plumbing and drainage. The two-foot gap between your retaining wall and where the pool will sit is your utility corridor. This area needs a drainage system to prevent water from accumulating and creating hydrostatic pressure against the pool walls. A simple French drain, consisting of a perforated pipe laid in a trench of gravel at the base of the retaining wall, is highly effective. This drain should lead to a lower point in your yard or to a sump pump. You also need to plan the layout for your pump and filter hoses, running them from the pool wall to your equipment pad.
Step 7: Assemble the Intex Pool Inside the Hole
Now you can begin the actual pool assembly. Carefully bring the liner and frame components into the prepared hole. Following the Intex manufacturer’s instructions, assemble the frame and attach the liner inside the protective retaining wall. This process is the same as assembling it above ground, but you will be working in a more confined space. Be extremely careful not to damage the liner on the frame or the retaining wall during this process. Smooth out all wrinkles on the floor of the liner, pulling it taut towards the walls before you begin adding any water.
Step 8: Begin Filling and Backfilling Simultaneously
This step requires careful coordination. Start filling the pool with a garden hose. Once you have about one foot of water in the pool, you can begin the backfilling process. Backfill the two-foot gap between the pool wall and the retaining wall. Use a mixture of sand and fine gravel for this. Do not use the heavy clay soil you excavated. Add the backfill material in small, even layers, gently tamping it down as you go. It is crucial to let the water level in the pool always stay slightly higher than the backfill level. This allows the water pressure inside the pool to support the walls as the backfill pressure builds from the outside.
Step 9: Install the Pump, Filter, and Final Connections
As the pool continues to fill, you can set up your pump and filter system on a solid, level pad outside the pool area. Connect the hoses from the pool’s intake and outlet ports to the pump and filter system according to the manufacturer’s directions. Once all connections are secure and the water level is above the outlet valve, you can turn the system on to begin circulating and filtering the water. Ensure there are no leaks at any of the hose connections and that the system is running smoothly. Proper filtration is key to maintaining clear and safe pool water.
Step 10: Complete the Landscaping and Decking
With the pool full and the system running, the final step is to finish the surrounding area. The top edge of your buried pool will now be at or near ground level. The most popular and attractive option is to build a wooden deck around the pool. This provides a clean, finished look, creates a functional space for lounging, and covers the retaining wall and backfilled gap. You can build the deck so it sits flush with the top rail of the pool. Add landscaping, patio furniture, and required safety fencing to complete your beautiful new backyard oasis.
Common Mistakes to Avoid
- Improper Pool Leveling
Failing to level the ground accurately before installing the pool can lead to structural issues and uneven water levels. Always take the time to ensure the pool base is perfectly level. - Skipping Drainage Planning
Neglecting to account for proper drainage around the pool can result in water pooling against the structure, causing erosion or damage over time. Be sure to incorporate a drainage solution during installation. - Using Incorrect Materials for Backfill
Using unsuitable backfill materials, like expansive soils, can cause the ground to shift and compromise the pool’s stability. Always use recommended materials, such as gravel or sand. - Neglecting Safety Features
Forgetting to install safety fencing or other barriers around the pool can pose a hazard, particularly for children and pets. Ensure all safety measures are in place to protect everyone. - Not Following Manufacturer Instructions
Ignoring the pool installation guide can lead to mistakes that may void warranties and impact the pool’s longevity. Always read and follow the manufacturer’s instructions carefully.
Avoiding these mistakes will ensure your pool installation is safe, functional, and lasts for years to come.
Frequently Asked Questions
Does Burying an Intex Pool Void the Warranty?
Yes, almost without exception. Intex pools are designed and sold as “above ground” pools. Any modification, including burying it partially or fully, is not a manufacturer-approved use and will void your warranty. You must be prepared to cover the cost of any future repairs or replacements yourself.
What Is the Most Important Step in This Process?
The most critical step is building a strong, independent retaining wall. The walls of an Intex pool are not designed to withstand the constant pressure of thousands of pounds of surrounding earth. Without a separate retaining structure to hold back the soil, the pool walls will eventually collapse inward, especially when the water level is lowered.
How Much Deeper and Wider Should I Dig the Hole?
You should dig the hole to your desired depth plus an extra two inches for the sand base. More importantly, the diameter of the hole must be at least four feet wider than the diameter of the pool. This provides a crucial two-foot-wide gap all the way around the pool for building the retaining wall and installing drainage.
Can I Bury an Intex Pool Only Partially?
Yes, a semi-inground installation is very popular and often a bit easier. The process is largely the same, but you excavate to a shallower depth (e.g., halfway up the pool wall). You will still need to construct a retaining wall to support the buried portion and then typically build a deck up to the top rail of the pool to create a seamless, built-in look.
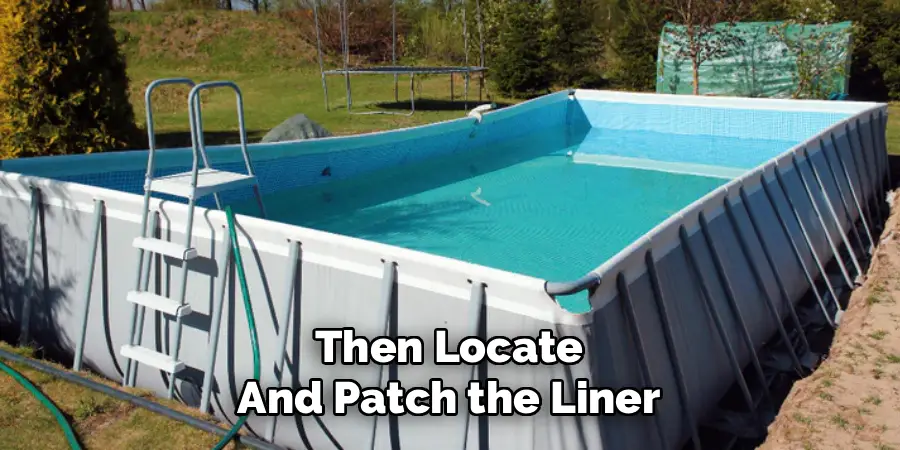
What Happens If I Get a Leak in the Liner?
This is the biggest risk of burying an above ground pool. Finding and patching a leak becomes much more difficult. If the leak is significant, you would likely need to drain the pool, remove the backfill material from the gap around the pool, and then locate and patch the liner. This is a labor-intensive process, which highlights the importance of careful preparation of the pool floor.
Conclusion
Transforming an affordable Intex pool into a stunning, integrated backyard feature is an ambitious but achievable DIY project. It requires meticulous planning, adherence to local codes, and a significant amount of manual labor. The keys to success lie in protecting the pool structure with a robust retaining wall and ensuring proper drainage to manage groundwater. While it comes with the trade-off of a voided warranty and complex repairs, the final result can be a beautiful inground-style pool for a fraction of the traditional cost. Now that you have this in-depth guide on how to bury an intex above ground pool, you are prepared to decide if this challenging project is the right fit for your backyard dream.
In this guide, we have discussed the process of burying an Intex above ground pool in detail. We have covered everything from choosing the right location and preparing the site to constructing a retaining wall and managing groundwater.
Burying an Intex above ground pool can be a challenging project, but with careful planning and execution, it can result in a beautiful inground-style pool for a fraction of the traditional cost. It is important to note that this project will void your warranty and may require complex repairs in the future.
About
Outdoor Fixes is a distinguished figure in the world of Diy design, with a decade of expertise creating innovative and sustainable Diy solutions.
His professional focus lies in merging traditional craftsmanship with modern manufacturing techniques,
fostering designs that are both practical and environmentally conscious. As the author of diy,
outdoorfixes delves into the art and science of outdoorfixes-making, inspiring artisans and industry professionals alike.
Education RMIT University
(Melbourne, Australia) Associate Degree in Design (Outdoor Fixes) Focus on sustainable design, industry-driven projects,
and practical craftsmanship. Gained hands-on experience with traditional and digital manufacturing tools, such as CAD and CNC software.
Nottingham Trent University
(United Kingdom) Bachelor’s in outdoorfixes.com and Product Design (Honors) Specialized in product design with a focus on blending creativity with production
techniques. Participated in industry projects, working with companies like John Lewis and Vitsoe to gain real-world insights.
Publications and Impact
In diy, Outdoor Fixes his insights on indoor design processes, materials, and strategies for efficient production.
His writing bridges the gap between artisan knowledge and modern industry needs, making it a must-read for both budding designers and seasoned professionals.