
Maintaining your Bestway pool is essential for ensuring clean and safe water for swimming. One critical part of pool maintenance is regularly changing the pool filter, which helps to remove debris, dirt, and other contaminants from the water. This guide will walk you through the steps of how to change filter on bestway pool, ensuring it operates efficiently and stays in great condition.
When to Change the Filter on a Bestway Pool
Knowing when to change the filter on your Bestway pool is crucial for maintaining optimal performance and water quality. Generally, it is recommended to check the filter every two weeks, as frequent use of the pool or exposure to debris can cause the filter to become clogged more quickly. If you notice a significant decrease in water flow or if the water starts to look cloudy despite regular maintenance, these are signs that the filter may need to be replaced.
Additionally, during peak swimming seasons, heavier pool usage may necessitate more frequent filter changes to keep the water clear and inviting. Always refer to the manufacturer’s guidelines for specific recommendations regarding your pool model.
Tools and Supplies You’ll Need
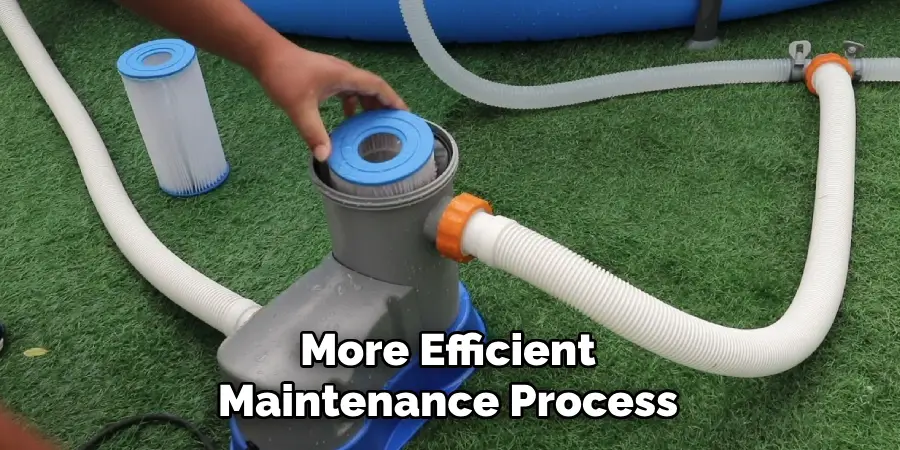
To replace or maintain your pool filter effectively, you’ll need a few essential tools and supplies. These include a replacement filter compatible with your pool model, a screwdriver or wrench for loosening and securing components, a hose for rinsing off debris, and a bucket for catching any excess water during the process. You may also want to have a pair of gloves to protect your hands and a pool cleaning solution to help remove any stubborn dirt or buildup on the filter housing. Having these items ready will ensure a smoother and more efficient maintenance process.
10 Methods How to Change Filter on Bestway Pool
1. Understand the Type of Filter Your Bestway Pool Uses
Before attempting to change the filter, you need to identify the specific type of filter your Bestway pool uses. Most standard Bestway pools are equipped with cartridge-style filters, typically labeled as Type I, II, or III, depending on the model. Larger setups may also use sand filters. This guide focuses on cartridge filters, which are the most common in Bestway’s inflatable and frame pool lines. Check your owner’s manual or filter housing label to determine which type you need.
2. Turn Off the Pump and Disconnect the Power
Safety should always be the first step. Unplug the filter pump from the power source to prevent accidental operation during the replacement process. You should never open a filter housing while the pump is running or plugged in, as this poses both electrical and mechanical risks. Make sure the pump is completely shut off and, if applicable, use the circuit breaker for added protection.
3. Close the Pool’s Inlet and Outlet Valves
If your Bestway pool is equipped with shut-off valves at the inlet and outlet, now is the time to close them. These valves prevent water from flowing out of the pool while the filter housing is opened. If your pool doesn’t have built-in valves, you can use Bestway stopper plugs to block the water flow. Simply remove the strainer grid or nozzle and insert the plugs to keep water from draining out.
4. Unscrew and Open the Filter Housing
Locate the top cap or clamp ring on the filter pump. Most Bestway cartridge pumps are secured by a twist-lock or clamp system. Unscrew the cap or clamps by hand (you may need a soft cloth for grip if it’s tight). Once the top is off, carefully lift it away and set it aside. You’ll now see the filter cartridge inside the housing.
5. Remove the Old Filter Cartridge

Gently pull out the used filter cartridge. It may have a handle or central post to assist with removal. Be prepared for it to be dirty, slimy, or filled with leaves and debris. Tilt it slightly to let excess water drain back into the housing before taking it out completely. Place it in a bucket or trash bag for easy disposal if it’s being replaced permanently.
6. Rinse or Replace the Filter (Depending on Condition)
Now assess the condition of the filter. If it’s only moderately dirty and has been in use for less than a week, you can rinse it under a strong stream of water using a garden hose. Spray between the pleats to remove debris. However, if the filter is stained, flattened, or has been in use for over 2–4 weeks, replace it with a new one. Clean filters perform far better and help prevent cloudy water or algae growth.
7. Clean the Filter Housing
Before inserting a new or cleaned cartridge, wipe down the inside of the filter housing. Use a damp cloth or sponge to remove dirt, sand, or slimy residue that may have built up inside. This step ensures that no debris interferes with the new filter’s function and helps maintain overall system hygiene. Don’t use harsh cleaners—just water and a clean cloth will do.
8. Install the New Filter Cartridge
Insert the new (or freshly rinsed) filter cartridge into the housing, aligning it with the central guide or post. Make sure it sits evenly and snugly inside the chamber. If your model has a spring or cap inside the housing lid, align it properly so it presses down on the cartridge once the lid is reattached. A secure and centered filter is vital for proper water flow and filtration efficiency.
9. Reassemble the Filter Pump and Restore Water Flow
Place the pump’s lid or clamp ring back on and twist it securely. Double-check the seal to ensure no leaks occur when the pump is restarted. Then, open the inlet and outlet valves or remove the stopper plugs to allow water to flow back into the system. Once everything is back in place, plug the pump back into the power source.
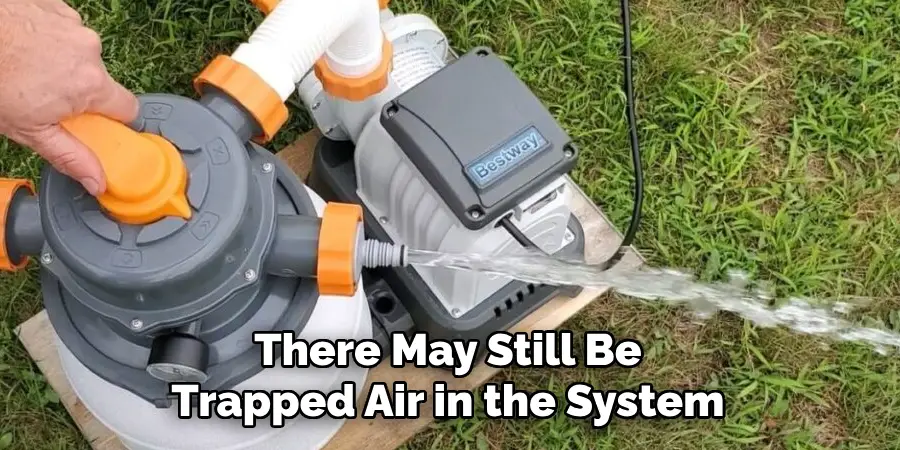
Turn the pump on and allow it to run for a few minutes. Observe the pump and connections for any leaks. If you see air bubbles or hear sputtering, there may still be trapped air in the system. Briefly loosen the air release valve (if available) to let air escape until water runs steadily.
10. Set a Regular Maintenance Schedule
Once you’ve changed the filter, mark your calendar to keep track of when the next replacement is due. Bestway recommends cleaning the filter every 2–3 days during heavy use and replacing it entirely every 2–4 weeks, depending on how often the pool is used and how much debris enters the water. Having a few spare filters on hand will ensure you’re never caught off guard.
For peak performance, consider supplementing your maintenance with weekly water testing, skimming, and occasional shock treatments to prolong filter life and keep your pool water sparkling clean.
Things to Consider When Maintaining Your Pool
- Consistency is Key: Regular maintenance prevents issues from escalating and ensures your pool remains inviting. Stick to a routine for cleaning, water testing, and filter care.
- Quality of Pool Chemicals: Always use high-quality chemicals to balance water pH, alkalinity, and chlorine levels. Poor-quality products can lead to faster wear on your pool equipment.
- Understanding Your Pool’s Needs: Factors like pool size, frequency of use, and environmental conditions (e.g., nearby trees or weather) impact the maintenance required. Tailor your approach accordingly.
- Equipment Checkups: Regularly inspect your pool pump, skimmer, and filter system for signs of wear or damage to avoid unexpected malfunctions.
- Seasonal Adjustments: Pool care can vary by season. For instance, pools may require more frequent cleaning during heavy use in summer or additional protection during winterizing.
By paying attention to these considerations, you can reduce long-term costs and enjoy a well-maintained pool all season long.
Common Mistakes to Avoid
- Ignoring Water Testing: Failing to test your pool water regularly can lead to imbalances in pH, alkalinity, or chlorine levels, resulting in algae growth, cloudy water, or even damage to pool surfaces.
- Overusing Chemicals: Adding too many chemicals in an attempt to “fix” problems quickly can harm swimmers and degrade pool equipment. Always follow recommended dosages and instructions.
- Neglecting the Filter System: The filter is essential to keeping your pool clean, yet many pool owners forget to clean or replace it as needed. A clogged filter reduces efficiency and can cause water quality issues.
- Skipping Routine Cleaning: Allowing debris such as leaves, dirt, and insects to accumulate in your pool can clog systems and lead to unsanitary conditions. Skimming and vacuuming regularly are crucial.
- Poor Winterization Practices: Improperly preparing your pool for the winter season can result in cracked pipes, algae blooms, and costly opening expenses. Always follow a proper winterization process.
- Not Monitoring Water Levels: Maintaining the correct water level is essential. Too low or too high water levels can damage pool components like the pump or skimmer.
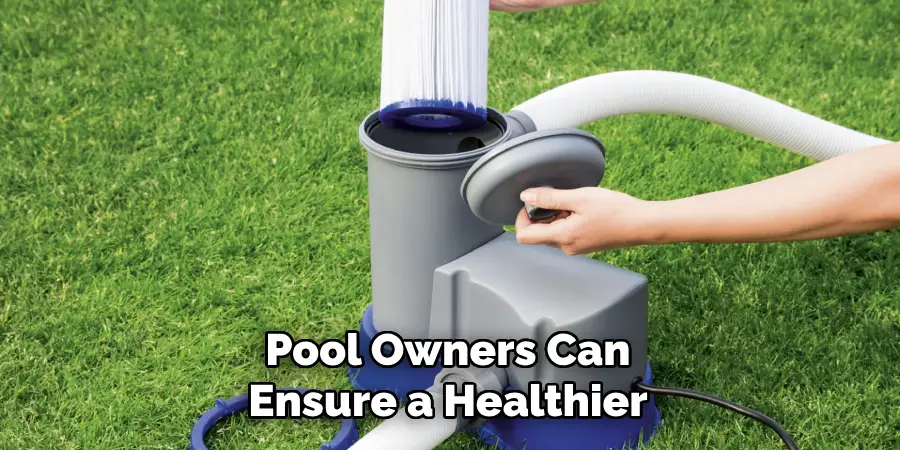
By avoiding these common mistakes, pool owners can ensure a healthier, safer, and more cost-efficient swimming environment.
Conclusion
Changing the filter on a Bestway pool is a simple yet vital task in maintaining water clarity and hygiene. From identifying your filter type and safely turning off the pump to properly inserting a new cartridge and checking for leaks, each step ensures your filtration system operates at maximum efficiency. Thanks for reading, and we hope this has given you some inspiration on how to change filter on bestway pool!
About
Outdoor Fixes is a distinguished figure in the world of Diy design, with a decade of expertise creating innovative and sustainable Diy solutions.
His professional focus lies in merging traditional craftsmanship with modern manufacturing techniques,
fostering designs that are both practical and environmentally conscious. As the author of diy,
outdoorfixes delves into the art and science of outdoorfixes-making, inspiring artisans and industry professionals alike.
Education RMIT University
(Melbourne, Australia) Associate Degree in Design (Outdoor Fixes) Focus on sustainable design, industry-driven projects,
and practical craftsmanship. Gained hands-on experience with traditional and digital manufacturing tools, such as CAD and CNC software.
Nottingham Trent University
(United Kingdom) Bachelor’s in outdoorfixes.com and Product Design (Honors) Specialized in product design with a focus on blending creativity with production
techniques. Participated in industry projects, working with companies like John Lewis and Vitsoe to gain real-world insights.
Publications and Impact
In diy, Outdoor Fixes his insights on indoor design processes, materials, and strategies for efficient production.
His writing bridges the gap between artisan knowledge and modern industry needs, making it a must-read for both budding designers and seasoned professionals.