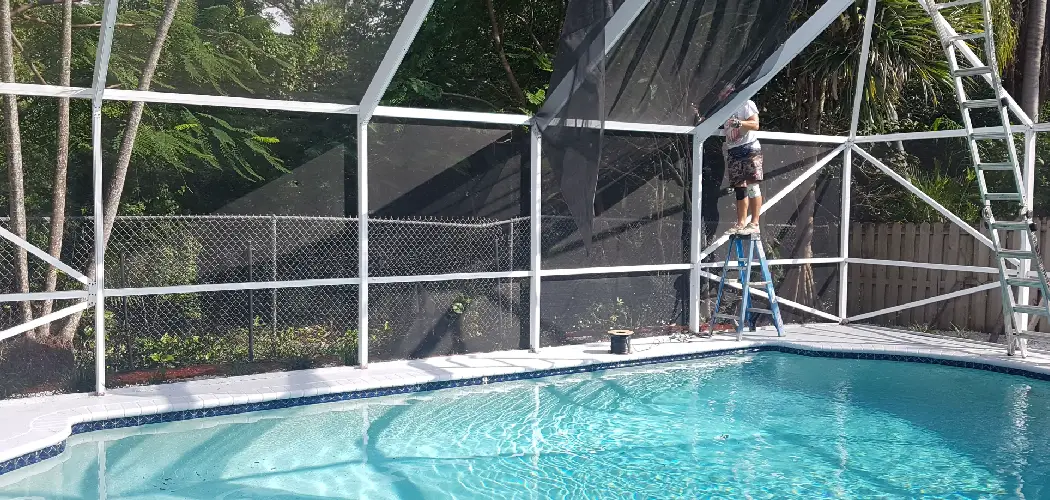
Are you feeling overwhelmed about how to clean your pool cage? You’re not alone. Pool cages can be somewhat intimidating, as they are enveloped with dirt and grime that has been gathering for months—maybe years! Thankfully, cleaning your pool cage doesn’t have to be an activity filled with dread; a few simple steps are all it takes to get the job done.

Pool cage cleaning is essential for maintaining the appearance and longevity of your pool. It also helps to prevent any potential health hazards from a dirty cage. By following these easy steps, you can have your pool cage looking as good as new in no time.
In this blog post, we’ll walk through how to clean a pool cage—so you can enjoy spending time in your backyard oasis this season instead of repairing it!
What Will You Need?
Before we dive into the steps of how to clean a pool cage, let’s gather all of our supplies first. You’ll need:
- Ladder
- Garden hose with sprayer attachment
- Soft-bristled brush (long handle is best)
- Bucket filled with warm water and dish soap
- Bleach or specialized pool cleaner (if necessary)
Once you have all your supplies ready, let’s get started on the cleaning process!
10 Easy Steps on How to Clean a Pool Cage
Step 1: Safety First
Before beginning any cleaning project, it’s essential to prioritize safety. Wear protective gear such as gloves and eye protection to keep yourself safe from any potential hazards. Additionally, when using a ladder, ensure it is stable and secure before climbing.
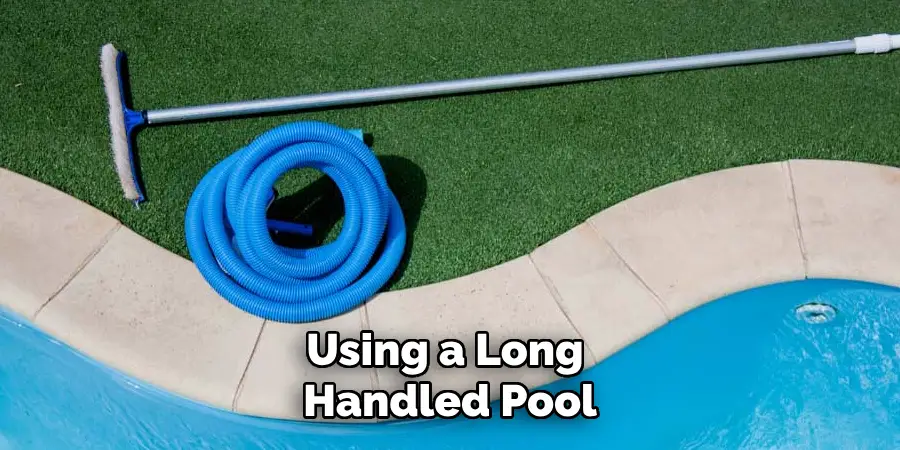
Step 2: Remove Debris
The next step in cleaning your pool cage involves removing any large debris, such as leaves or twigs, that have collected in or around the cage. Using a long-handled pool net can make this process much easier. Be careful not to damage the screen while you’re cleaning. Once you’ve removed all the noticeable debris, we can move on to the next step.
Step 3: Rinse the Cage
Begin by thoroughly rinsing the cage with your garden hose. Start from the top and work your way down, ensuring all areas, including corners and crevices, are well-rinsed.
This initial rinse helps to loosen and remove any superficial dirt and grime. Remember to rinse both the inside and outside of the cage. Once you’ve rinsed the entire cage, you can advance to the next step.
Step 4: Scrub the Cage
Now that your pool cage has been rinsed, it’s time to tackle the more stubborn dirt and grime. Dip your soft-bristled brush into the bucket of warm, soapy water and start scrubbing.
Begin from the top of the cage and work downwards, paying extra attention to areas with noticeable dirt. Use gentle, circular motions to avoid damaging the screen. Scrubbing helps to dislodge grime that the initial rinse didn’t eliminate. After scrubbing each section, rinse it again with your garden hose to remove the soap and loosened grime. Continue this process until you’ve washed and rinsed the entire cage.
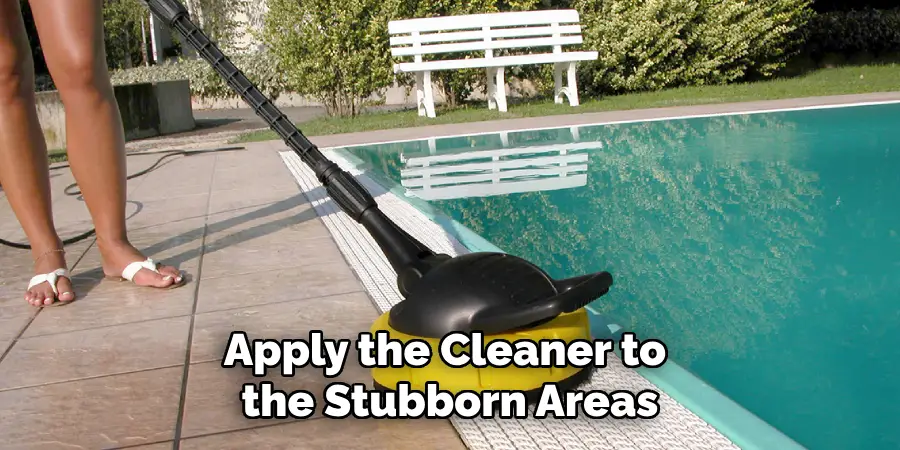
Step 5: Treat Stubborn Stains
Even after scrubbing, you might find some stubborn stains or grime clinging to your pool cage. For these tough spots, we’re going to use a bleach solution or a specialized pool cleaner. Please remember to be careful when using these products, as they can be hazardous.
Apply the cleaner to the stubborn areas and let it sit for a few minutes (always follow the instructions on the cleaner’s label). After the cleaner has done its work, scrub these areas once more with your brush, then rinse thoroughly with your hose to ensure all residue is removed.
Step 6: Dry the Cage
Once you have finished rinsing the cage, it’s time to let it dry. Although you can leave it to air dry, using a towel or a squeegee can speed up the process and prevent water spots. Start from the top and work your way down, making sure to dry every corner and crevice. Remember, it’s important to ensure the cage is completely dry before moving on to the next step.
Step 7: Inspect the Cage
Now that your cage is clean and dry, you’ll want to do a thorough inspection. Look for any damage, such as holes or tears in the screens, rust on the metal frame, and any other potential issues. It’s much easier to spot any problems once the cage is clean. Note down any areas that need repairs, and remember, it’s essential to address these issues promptly to avoid further damage and maintain the longevity of your pool cage.
Step 8: Repair Any Damage
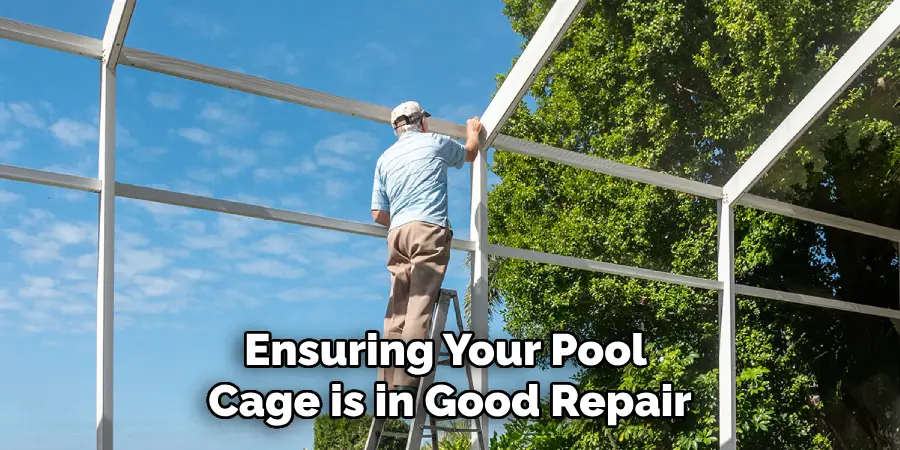
Having identified any areas that need repair during the inspection, now is the time to fix them. For minor screen tears, a simple screen repair kit from your local hardware store should do the trick.
For larger holes or significant screen damage, you should replace the entire screen panel. Any rust on the metal frame can be treated with a rust converter and painted over. However, for significant structural damage, it’s advisable to call in a professional. Ensuring your pool cage is in good repair not only keeps it looking great but also maintains its functionality and extends its lifespan.
Step 9: Apply a Protectant
After all the hard work of cleaning and repairing your pool cage, it’s time to add a protectant to prolong the cleaning and protect your cage from future damage. There are several types of protectants available on the market; some are sprayed on, while others are applied with a cloth.
Choose a protectant suitable for your cage material. Then, apply it as per the instructions on the product label. This step helps to shield the cage from harsh weather elements, preventing rust and reducing the accumulation of dirt and grime.
Step 10: Regular Maintenance
The final step in ensuring a clean and well-maintained pool cage is regular upkeep. Establish a cleaning schedule based on the season and usage. For instance, during the peak pool season, when the cage is used frequently, monthly cleaning might be necessary.
In less busy times, quarterly cleaning should suffice. Regular maintenance helps prevent the build-up of dirt and grime, making each cleaning pass easier and less time-consuming. In addition to cleaning, inspect the cage regularly for any damage and carry out prompt repairs. This proactive approach helps extend the life of your pool cage, enabling you to enjoy your outdoor oasis for years to come.
By following this guide and incorporating regular maintenance into your pool care routine, you can keep your pool cage looking beautiful and functioning correctly.
5 Additional Tips and Tricks
- Use Environmentally-Friendly Cleaners: Opt for biodegradable, eco-friendly cleaning products. They are less harsh on your pool cage materials and are safer for the environment.
- Avoid Power Washers: While it is tempting to use a power washer for quicker cleaning, they can damage the cage screens. Use a garden hose, gentle brush, and mild cleaning solutions.
- Prevent Mold and Mildew: Living in a high humidity area? Consider using a mold and mildew-resistant protectant. This will help prevent these issues and save you time on extra cleanings.
- A Touch of Vinegar: For extra stubborn stains, add a small amount of white vinegar to your cleaning solution. Its acidic properties can help break down and remove tough grime.
- Schedule Your Cleanings: Scheduling your cleanings around the weather can make your job easier. A cloudy but dry day is ideal. The lack of solid sun can help prevent streaks and the cleaning solution from drying too quickly.
With these tips and tricks, you can become a pool cage cleaning pro quickly. Happy cleaning! End of Document.
5 Things You Should Avoid
- Skip the Bleach: Avoid using bleach on your pool cage screens, as it can cause discoloration and damage.
- Abrasive Scrubbing: While scrubbing is necessary, avoid using abrasive brushes or materials that can scratch or damage the screens.
- Using Harsh Chemicals: Avoid harsh chemicals or abrasive cleaning tools, as they can damage the cage material and cause discoloration. Always opt for mild, biodegradable cleaning solutions and soft brushes.
- Ignoring Minor Damage: Don’t ignore minor issues like small tears in the screen or spots of rust on the frame. These minor problems can escalate into more significant issues if not addressed promptly.
- Disregarding Wildlife: Check for wildlife before starting the cleaning process. Be mindful of any creatures that may have taken up residence in your pool cage, especially in the warmer months.
By avoiding these common mistakes, you can ensure the longevity of your pool cage and maintain its pristine appearance for years to come.
How Often Should You Clean Your Pool Cage?
The frequency of cleaning your pool cage will depend on various factors such as the climate, usage, and location. In general, a monthly cleaning is recommended for heavily used pools or those in high-humidity areas. For less frequently used pools or in drier climates, a quarterly cleaning should suffice.
However, it’s always a good idea to inspect your pool cage regularly and make note of any areas that need extra attention. By staying on top of regular maintenance, you can prevent the build-up of dirt and grime and avoid any significant cleaning issues.
Conclusion
In conclusion, it’s important to remember that cleaning your pool cage is an essential part of proper pool upkeep. It can be tedious and time-consuming, but with the necessary tools and following these five steps, you can give your pool cage a thorough clean in no time.
Always be sure to watch for signs of damage or wear so it can be addressed quickly, and inspect the mesh regularly to make sure it’s free from debris or clogs. Taking the necessary action upfront will save you time and money in repairs or replacement.
Hopefully, the article on how to clean a pool cage has provided you with valuable insights and tips to make the process more manageable.
So give yourself peace of mind this season and get your pool cage looking good as new!
About
Outdoor Fixes is a distinguished figure in the world of Diy design, with a decade of expertise creating innovative and sustainable Diy solutions.
His professional focus lies in merging traditional craftsmanship with modern manufacturing techniques,
fostering designs that are both practical and environmentally conscious. As the author of diy,
outdoorfixes delves into the art and science of outdoorfixes-making, inspiring artisans and industry professionals alike.
Education RMIT University
(Melbourne, Australia) Associate Degree in Design (Outdoor Fixes) Focus on sustainable design, industry-driven projects,
and practical craftsmanship. Gained hands-on experience with traditional and digital manufacturing tools, such as CAD and CNC software.
Nottingham Trent University
(United Kingdom) Bachelor’s in outdoorfixes.com and Product Design (Honors) Specialized in product design with a focus on blending creativity with production
techniques. Participated in industry projects, working with companies like John Lewis and Vitsoe to gain real-world insights.
Publications and Impact
In diy, Outdoor Fixes his insights on indoor design processes, materials, and strategies for efficient production.
His writing bridges the gap between artisan knowledge and modern industry needs, making it a must-read for both budding designers and seasoned professionals.