
A cedar fence, with its natural beauty and durability, is a timeless addition to any outdoor space. However, exposure to the elements can gradually lead to the accumulation of dirt, mildew, and grime, necessitating a thorough cleaning regimen to maintain its luster.
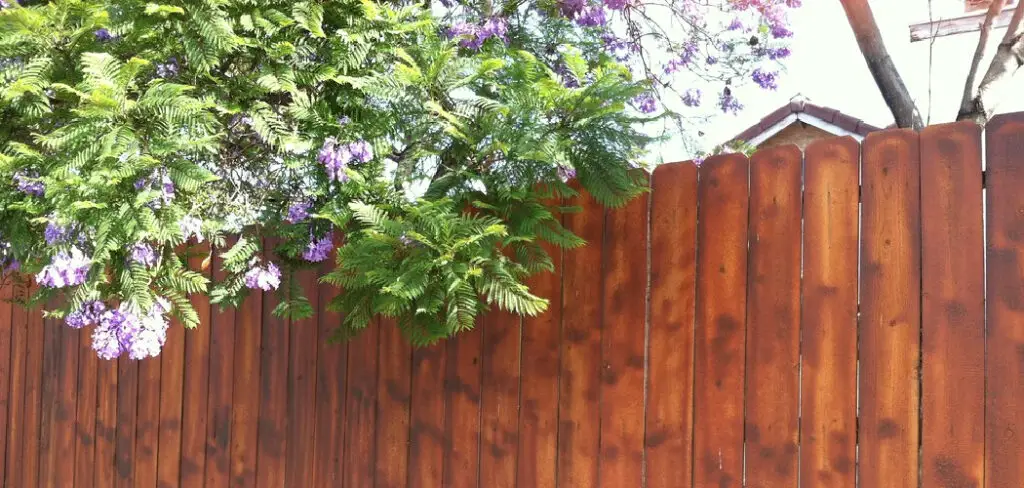
Cleaning a cedar fence is not only about restoring its aesthetic appeal but also preserving the wood’s integrity. In this guide, we will explore essential steps and effective techniques on how to clean cedar fence.
From gentle washing to removing stubborn stains, this comprehensive tutorial will equip you with the knowledge to revitalize your cedar fence, ensuring it remains a stunning and enduring feature in your landscape. Bid farewell to weathered surfaces and embrace the rejuvenation of your cedar fence with a tailored and meticulous cleaning approach.
Importance of Cleaning Your Cedar Fence
Persistently maintaining the cleanliness of your cedar fence is paramount for several key reasons. Initially, a well-maintained cedar fence significantly enhances the curb appeal of your property, contributing to a sense of pride and increasing its market value.
At a functional level, regular cleaning prevents the buildup of harmful agents like mold, mildew, and insect infestations, which can compromise the wood’s structure over time.
Moreover, uncared-for cedar is prone to premature graying and may suffer degradation from UV radiation, rainfall, and fluctuating temperatures. Proper cleaning and upkeep act as a safeguard, extending the lifespan of the fence, and helping to avoid the costly implications of early repairs or replacement.
Thus, the effort put into maintaining your cedar fence is a wise investment in the longevity and beauty of your property’s exterior.
Benefits of Proper Cleaning Techniques
Applying proper cleaning techniques to your cedar fence will not only maintain its beautiful, natural appearance but will also serve as a protective measure.
Correct cleaning methods help to ensure an even cleaning, preventing damage caused by excessive pressure or harsh chemicals that can strip the wood of its natural oils. Additionally, gentle and appropriate cleaning preserves the cedar’s color and texture, preventing the fence from becoming dull and lifeless.
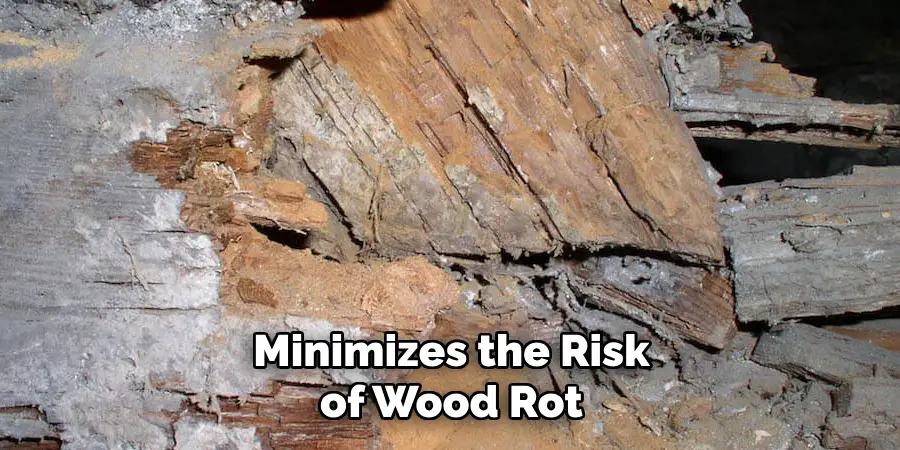
It’s worth noting that correct cleaning minimizes the risk of wood rot and structural damage, a consequence of unwarranted moisture and organic growth. Overall, employing the right techniques not only contributes to the aesthetic quality of your cedar fence but also safeguards your investment for years to come.
Identifying Dirt, Grime, and Contaminants
Before embarking on the cleaning process, it is crucial to thoroughly inspect your cedar fence for any signs of dirt, grime, mold, mildew, and other potential contaminants. These unwelcome elements usually manifest as discolored patches or streaks, with mold and mildew presenting a greenish-black or white discoloration.
Unlike mold, mildew typically remains on the surface and is easier to remove. Insects and their remnants may also be visible upon close examination, and cobwebs or bird droppings can accumulate, leading to further staining.
Identifying these issues is the first step in selecting an appropriate cleaning method. It’s important to address each type of contaminant effectively; certain conditions, like mold, may require a specific approach to ensure complete eradication without damaging the wood.
Inspecting for Signs of Damage or Discoloration
As part of the preparatory phase, a meticulous inspection should be conducted to spot any signs of damage or discoloration on your cedar fence that may require special attention during the cleaning process.
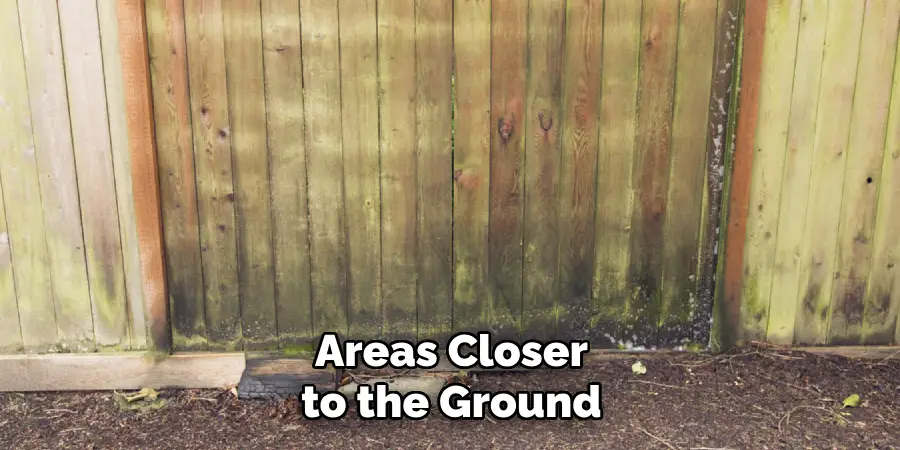
Look for any splits in the wood, loose or missing boards, and signs of wood rot, such as soft spots or crumbling areas. Pay particular attention to areas closer to the ground where moisture levels tend to be higher. Discerning such damage early on will allow for targeted repairs and prevent further deterioration.
Additionally, surveying for discoloration caused by sun exposure, water stains, or rust from hardware is vital, as these could necessitate specific products or methods for effective treatment. It’s essential to carefully document these findings to ensure a comprehensive cleaning and repair strategy.
Choosing Environmentally Friendly Cleaning Solutions
When opting for cleaning solutions, it’s essential to consider environmentally friendly options that will effectively clean your cedar fence without harming the surrounding landscape or contributing to pollution. Biodegradable cleansers that are phosphate-free and with low levels of volatile organic compounds (VOCs) are preferable.
Natural cleaning agents like vinegar or oxygen bleach can be effective against mold and mildew without the harsh side effects of chlorine bleach. For power washing, using plain water or a mild detergent is often sufficient and avoids the introduction of chemicals into the soil and groundwater.
By selecting eco-conscious cleaning methods, you not only preserve the natural elegance of your cedar fence but also protect the ecological balance of your garden and the broader environment.
Preparing the Work Area
Before beginning the cleaning process, it is important to prepare the work area surrounding the cedar fence. Start by removing any objects, such as garden furniture, planters, or decorative items, that may obstruct access or could be damaged during cleaning.
Protecting the plants and grass near the fence line is also crucial. Lay down a drop cloth or plastic sheeting to shield vegetation from any runoff of cleaning solutions.
If you plan to use a power washer, ensure that all windows and doors in the vicinity are closed to prevent water infiltration. Secure loose boards or panels to avoid additional damage from cleaning equipment. Preparing the area meticulously will not only streamline the cleaning process but also help prevent any incidental damage to your property.
10 Methods How to Clean Cedar Fence
1. Inspect the Fence:
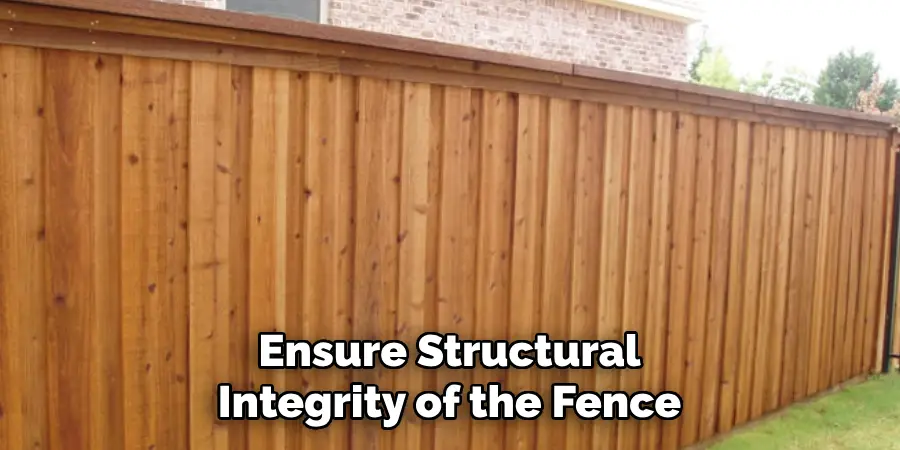
Before starting the cleaning process, inspect your cedar fence for any signs of damage, loose boards, or protruding nails. Make necessary repairs to ensure the structural integrity of the fence. This will also help prevent any accidents or injuries while cleaning.
It is important to regularly inspect your fence for damage throughout the year, not just before cleaning. Extreme weather conditions, pests, and other factors can cause wear and tear on your fence over time. Promptly addressing any issues will help prolong the life of your fence and save you from costly repairs in the future.
Additionally, inspecting your fence before cleaning will allow you to accurately assess the level of maintenance needed. Some fences may require a simple wash and seal, while others may need more extensive repairs or replacement boards. This step will also help you determine if professional assistance is necessary.
2. Remove Debris and Vegetation:
Clear away any debris, leaves, or vegetation around the fence. Trim overhanging branches or plants to prevent them from rubbing against the cedar, which can contribute to the accumulation of dirt and mildew. Regularly clean the fence with a mild cleaning solution and water to remove any dirt, stains, or mildew.
Maintaining a clean and well-maintained fence not only improves its appearance but also helps prolong its lifespan. While regular cleaning is essential for all types of fences, it is especially crucial for cedar fences due to their natural material.
Aside from enhancing the overall aesthetic of your property, keeping the fence clean and free from debris can also prevent potential damage. Leaves, twigs, or other debris can become trapped in between the boards of a cedar fence, causing moisture buildup which can lead to rotting and warping over time.
3. Gentle Washing with a Hose:
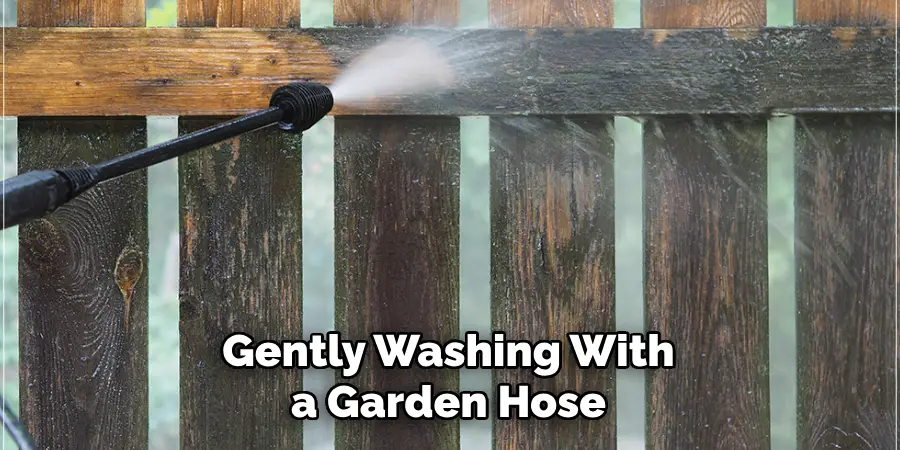
Begin the cleaning process by gently washing the cedar fence with a garden hose. Use a high-pressure nozzle to dislodge loose dirt and debris. This initial rinse helps prepare the surface for more thorough cleaning.
After rinsing the fence, inspect it for any remaining stains or marks. If there are stubborn stains, use a soft-bristled brush and a mild cleaning solution to spot clean the affected areas. Be careful not to scrub too hard as this can damage the wood.
Next, rinse off the cleaning solution with the garden hose and allow the fence to dry completely before proceeding to the next step.
Once the fence is dry, use a power washer or pressure washer on a low setting to thoroughly clean the surface.
Start at the top of the fence and work your way down, moving in a back and forth motion. Be sure to keep the nozzle at least 12 inches away from the wood to avoid causing any damage.
4. Use a Mild Detergent Solution:
Create a cleaning solution using a mild detergent or a specially formulated wood cleaner. Mix it with water following the recommended ratios. Apply the solution to the cedar fence using a soft-bristle brush or a sponge, scrubbing gently to remove embedded dirt. Rinse thoroughly with clean water and let it air dry. While this method is gentle on the fence, it may not be effective for tough stains or mold growth.
However, it can be a good regular cleaning option to maintain the overall look of your cedar fence. Additionally, using a mild detergent solution can help protect the wood from moisture and UV damage. Make sure to spot-test the solution on a small, inconspicuous area of the fence before applying it to the entire surface.
To further protect your cedar fence, you can also consider using a sealant or stain. These products not only provide an extra layer of protection against weather and wear, but they can also enhance the natural beauty of the wood. Before applying any sealant or stain, make sure to thoroughly clean and dry the fence. Follow the manufacturer’s instructions for application and maintenance.
5. Baking Soda and Water Paste:

For stubborn stains or areas with mildew, create a paste using baking soda and water. Apply the paste to the affected areas, scrub with a brush, and let it sit for a short period before rinsing. Baking soda is effective and gentle on cedar.
Baking soda and water paste is a simple and effective solution for removing stubborn stains and mildew from cedar surfaces. Not only is baking soda a natural cleaning agent, but it is also gentle on wood, making it the perfect option for preserving the integrity of your cedar.
To create a baking soda and water paste, simply mix together equal parts baking soda and water in a bowl until you have a smooth consistency. You can adjust the ratio depending on how thick or thin you want your paste to be.
6. Vinegar and Water Solution:
Another eco-friendly option is a vinegar and water solution. Mix equal parts white vinegar and water and apply it to the fence with a sponge or brush. Vinegar is known for its mildew-killing properties and can also help brighten the cedar.
For tougher stains, you can add a small amount of baking soda to the solution and scrub it into the wood. Rinse with water after scrubbing and allow the fence to dry completely before sealing or staining.
Vinegar is not only good for cleaning fences, but it can also be used in various household chores such as cleaning windows, removing odors, and getting rid of weeds in the garden.
It is a natural, non-toxic alternative to harsh chemical cleaners and can be easily found in most homes. Additionally, vinegar has antibacterial properties which makes it an effective cleaner for surfaces such as kitchen counters and cutting boards.
7. Pressure Washing with Caution:

While pressure washing can be effective, use caution. Ensure the pressure is set to a low or medium level to prevent damage to the cedar. Keep the nozzle at a safe distance to avoid gouging or splintering the wood. Always test a small area first before proceeding to larger areas.
Additionally, avoid spraying directly at seams or joints in the wood as this can cause water penetration and result in damage over time. It is also important to wear protective gear such as goggles and gloves while pressure washing to protect yourself from any potential debris or chemicals.
When using a pressure washer near plants or shrubs, cover them with a tarp or plastic sheet to prevent damage from the high-pressure water.
It is also recommended to use a cleaning solution specifically designed for pressure washing wood surfaces, as this can help remove stubborn stains and mildew without causing harm.
8. Oxygen Bleach for Mildew:
Oxygen bleach is a powerful yet wood-friendly option for treating mildew. Mix it with water according to the product instructions and apply it to affected areas. Allow it to sit for a while before scrubbing and rinsing. Oxygen bleach is safe for use on most surfaces, including wood and fabrics. It’s also environmentally-friendly and won’t harm plants or animals.
Oxygen bleach is a great alternative to chlorine bleach, which can be harsh on both the environment and your skin. It’s also effective in removing mildew stains without causing damage to the surface.
In addition to treating mildew, oxygen bleach can also be used for general cleaning purposes. It’s effective in removing stains, brightening fabrics, and deodorizing surfaces.
When using oxygen bleach, it’s important to follow the product instructions carefully. This will ensure that you use the correct ratio of water to bleach and avoid any potential damage to surfaces or fabrics.
9. Rinse Thoroughly:
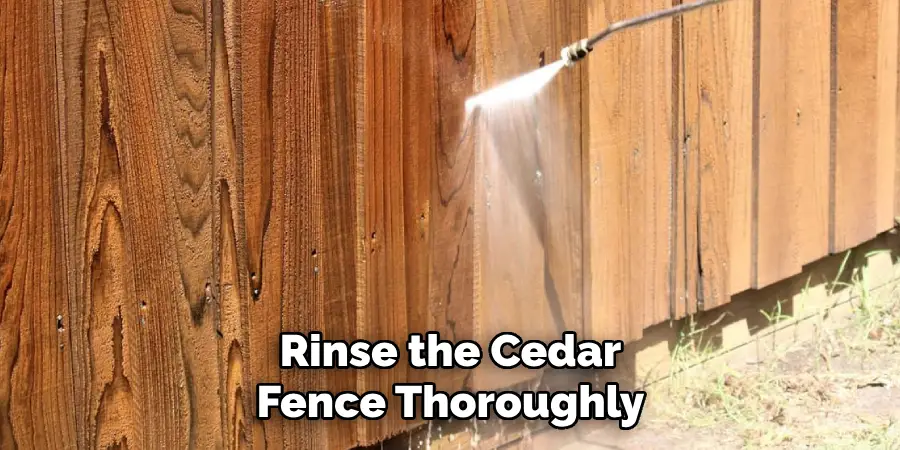
After using any cleaning solution, rinse the cedar fence thoroughly with clean water. This step is crucial to remove any residue from the cleaning agents, preventing potential damage to the wood over time.
Additionally, rinsing the fence will help maintain its natural color and prevent any buildup of dirt or debris that can lead to mold or mildew growth. It is recommended to use a garden hose with a nozzle attachment for more effective and thorough rinsing.
After rinsing, allow the fence to air dry completely before applying any sealant or stain. This will ensure that the wood is completely dry and ready for the next step in the maintenance process.
10. Apply a Cedar Sealant or Stain:
Once the fence is clean and dry, consider applying a cedar sealant or stain. This protective layer helps preserve the wood, enhances its natural color, and shields it from future environmental exposure.
A cedar sealant or stain can be applied using a brush, roller, or sprayer. It is important to read the manufacturer’s instructions and choose the appropriate application method for your specific product.
Before applying the sealant or stain, it is recommended to test a small inconspicuous area first to ensure that you are satisfied with the results and color. This will also allow you to practice your technique and make any adjustments before tackling the entire fence.
When applying, work in small sections at a time, following the direction of the wood grain. Make sure to evenly coat the surface, paying extra attention to any cracks or crevices where water can seep in.
Conclusion
In conclusion, maintaining a clean cedar fence not only enhances its appearance but also prolongs its lifespan and natural beauty. By following the proper cleaning techniques outlined above, homeowners can effectively remove dirt, mold, mildew, and other contaminants without damaging the cedar’s delicate fibers.
Through careful assessment of the fence’s condition, selection of suitable cleaning methods and solutions, and diligent execution of the cleaning process, homeowners can restore the fence’s luster and protect it from deterioration caused by environmental factors. Thanks for reading, and we hope this has given you some inspiration on how to clean cedar fence!
About
Outdoor Fixes is a distinguished figure in the world of Diy design, with a decade of expertise creating innovative and sustainable Diy solutions.
His professional focus lies in merging traditional craftsmanship with modern manufacturing techniques,
fostering designs that are both practical and environmentally conscious. As the author of diy,
outdoorfixes delves into the art and science of outdoorfixes-making, inspiring artisans and industry professionals alike.
Education RMIT University
(Melbourne, Australia) Associate Degree in Design (Outdoor Fixes) Focus on sustainable design, industry-driven projects,
and practical craftsmanship. Gained hands-on experience with traditional and digital manufacturing tools, such as CAD and CNC software.
Nottingham Trent University
(United Kingdom) Bachelor’s in outdoorfixes.com and Product Design (Honors) Specialized in product design with a focus on blending creativity with production
techniques. Participated in industry projects, working with companies like John Lewis and Vitsoe to gain real-world insights.
Publications and Impact
In diy, Outdoor Fixes his insights on indoor design processes, materials, and strategies for efficient production.
His writing bridges the gap between artisan knowledge and modern industry needs, making it a must-read for both budding designers and seasoned professionals.