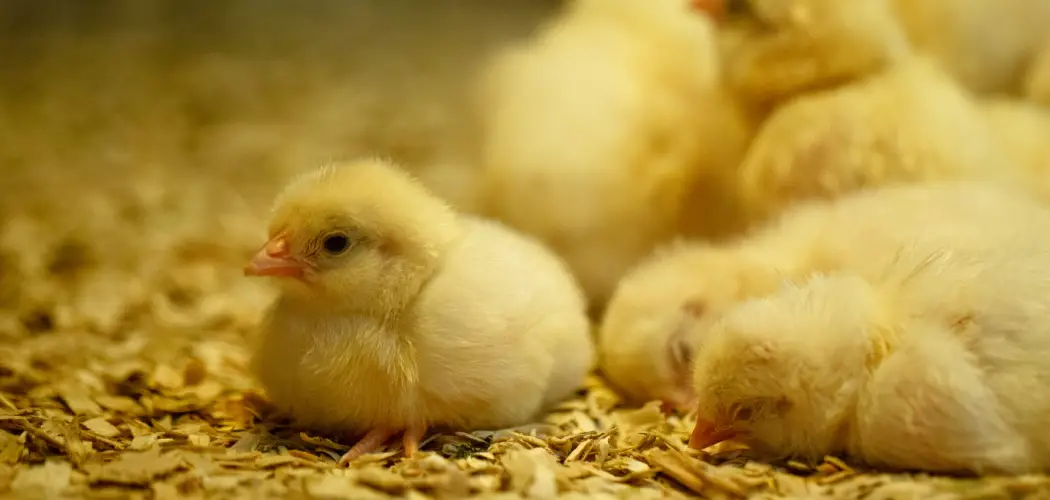
Cleaning a chicken brooder is a crucial task for poultry enthusiasts to maintain a healthy and hygienic environment for their young chicks. As the chicks grow, their living space accumulates droppings, feathers, and spilled feed, which can harbor harmful bacteria and create unpleasant odors.
Proper cleaning not only promotes the well-being of the chicks but also prevents the spread of diseases and ensures optimal growth and development. In this comprehensive guide, we will explore the essential steps and best practices for how to clean chicken brooder.
From removing soiled bedding and disinfecting surfaces to maintaining proper ventilation and hygiene protocols, there are several key considerations to bear in mind. Whether you’re a novice chicken keeper or an experienced poultry farmer, mastering the art of brooder cleaning is essential for raising healthy and thriving chicks from hatch to adulthood.
Importance of Maintaining a Clean Chicken Brooder
Maintaining a clean chicken brooder is not just about keeping the space visually tidy; it’s about ensuring the overall health and safety of the young chicks. A clean brooder reduces the risk of disease and infection, which can spread rapidly among young birds. Diseases such as coccidiosis, a common parasitic disease in poultry, can have devastating effects on a flock and are more likely to occur in dirty, poorly managed conditions. Furthermore, a clean environment promotes better growth and development.
Chicks raised in hygienic conditions tend to feed more efficiently and grow faster, as they are not burdened by the stress of navigating through waste or competing with harmful microbes for nutrition. Additionally, regular cleaning helps to control odors, which makes the brooding area more pleasant for both the chicks and the caretaker. By investing time in maintaining a clean brooder, poultry enthusiasts can ensure their chicks have the best possible start in life, setting the foundation for a healthy and productive flock.
The Benefits of A Clean Brooder Environment
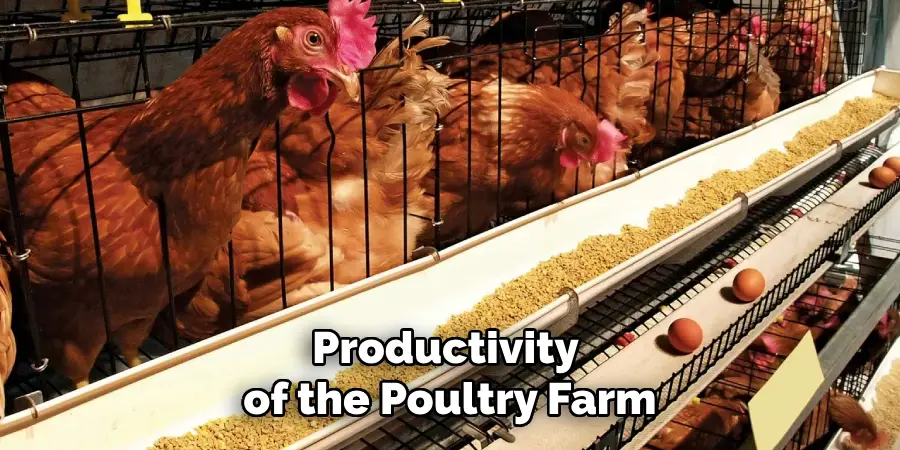
The benefits of maintaining a clean brooder environment extend beyond disease prevention, impacting the overall well-being and productivity of the poultry farm. Firstly, a clean brooder ensures that chicks grow in a stress-free environment, significantly impacting their growth rates and development. Chicks in a clean, well-maintained space exhibit better feed conversion ratios, meaning they are able to transform the feed they consume into body weight more efficiently compared to those raised in less sanitary conditions. This efficiency not only leads to healthier and faster-growing chicks but also translates into cost savings for the poultry keeper over time, as feed costs can represent a significant portion of the expenses involved in raising poultry.
Secondly, a clean brooder environment minimizes the presence of pests such as flies and rodents, which are not only a nuisance but can also spread diseases and consume or contaminate feed. By reducing the attraction for these pests, poultry keepers can further safeguard their flocks and minimize the need for pest control measures, which may involve harmful chemicals or traps.
Lastly, the importance of a clean brooder goes beyond physical health and extends into behavioral well-being. Chicks in a clean environment are less likely to develop undesirable behaviors such as feather pecking or cannibalism, often triggered by stress or overcrowding. A clean, spacious brooder allows chicks ample room to express natural behaviors, fostering a more harmonious and productive flock.
In summary, a clean brooder environment is fundamental not just for maintaining the health and hygiene of chicks but also for promoting optimal growth, reducing feed conversion ratios, deterring pests, and encouraging positive behavioral patterns. These collective benefits underscore the importance of regular and effective brooder cleaning practices in achieving success in poultry rearing.
Preparing for Cleaning
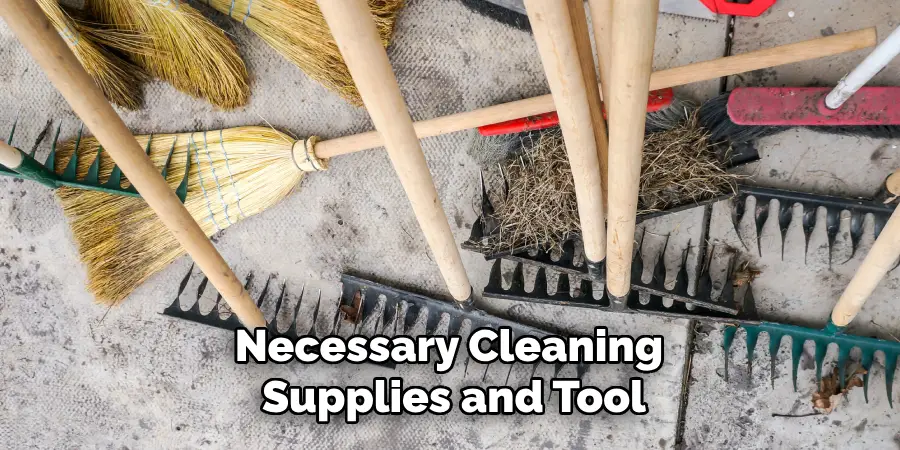
Before commencing the cleaning process of the chicken brooder, preparation is key to ensure that the task is done efficiently and effectively. Begin by gathering all necessary cleaning supplies and tools. This includes brooms, dustpans, scrub brushes, a vacuum cleaner (if applicable), gloves, protective eyewear, and masks to prevent inhalation of dust or harmful pathogens. Also, prepare a solution of water mixed with a suitable disinfectant that is safe for use around poultry.
Next, remove the chicks from the brooder to a secure, temporary holding area. This step is crucial to prevent stress and possible harm to the chicks during the cleaning process. Ensure the holding area is warm and safe, mimicking the conditions of the brooder as closely as possible to prevent the chicks from experiencing temperature shock.
It’s also wise to plan for the disposal of soiled bedding and waste. Have garbage bags ready for immediate disposal to minimize the risk of spreading contaminants. Furthermore, inspect the brooder and its components for any signs of wear or damage that may require repair or replacement during the cleaning.
By thoroughly preparing for the cleaning process, you can create a workflow that minimizes disruption to the chicks and ensures that the brooder is sanitized properly, laying the groundwork for a healthy living environment for the young poultry.
Understanding Brooder Cleaning Frequency
Determining the appropriate frequency for cleaning a chicken brooder is essential for maintaining an environment conducive to the health and growth of chicks. While daily spot cleaning is recommended to remove visible waste and keep the area tidy, a thorough cleaning and disinfection of the brooder should be performed weekly or whenever conditions become noticeably dirty or odorous.
The frequency of deep cleans might need adjustment based on several factors, including the number of chicks in the brooder, the size of the brooder, the type of bedding used, and the overall environmental conditions.
A densely populated brooder, for instance, will accumulate waste quicker and may require more frequent cleaning to prevent the buildup of harmful pathogens and unpleasant odors. Similarly, during periods of wet or humid weather, moisture levels within the brooder can increase, promoting the growth of mold and bacteria, thereby necessitating more frequent attention.
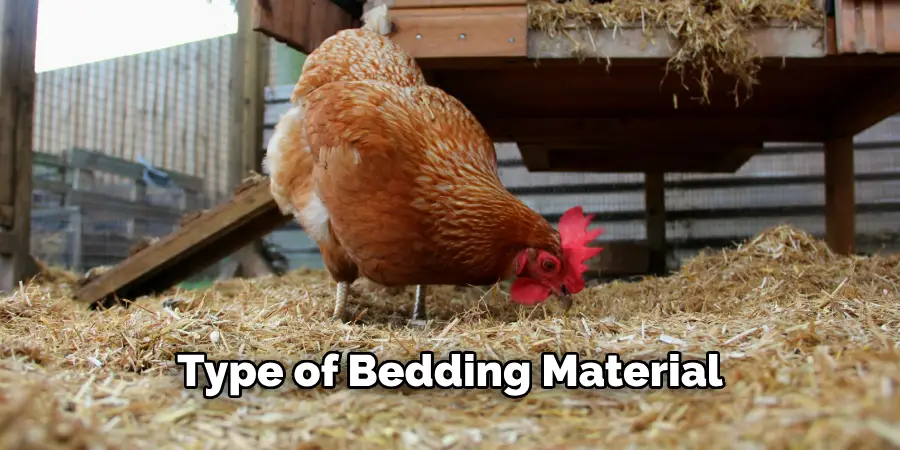
Additionally, the type of bedding material used can impact the cleaning schedule. Some materials, like wood shavings or straw, may need to be changed more often than more absorbent materials like hemp or pine pellets, which can help control moisture and odor more effectively.
In summary, while a weekly deep cleaning is a good baseline, the specific needs of your brooder may vary. Monitoring the brooder’s condition regularly and adjusting the cleaning frequency accordingly will help ensure a clean, healthy environment that supports the optimal development of chicks.
Signs Indicating the Need for Cleaning
Recognizing the signs that indicate a chicken brooder requires cleaning is crucial for maintaining the health and well-being of the chicks. Key indicators include:
- Unpleasant Odors: A noticeable increase in foul smells emanating from the brooder is a clear sign that waste has accumulated and the environment is no longer fresh. Persistent bad odors are not only unpleasant but can also signal the presence of harmful ammonia levels, which can affect the respiratory health of the chicks.
- Visible Waste Accumulation: When waste, including droppings and uneaten feed, becomes apparent on the bedding surface, it’s time for a clean. Excessive waste can harbor pathogens and attract pests, posing a health risk to the chicks.
- Increased Moisture: Bedding that feels damp to the touch indicates excessive moisture, which can lead to the growth of mold and bacteria. High humidity levels within the brooder can also make the chicks susceptible to respiratory infections.
- Behavioral Changes in Chicks: If chicks appear lethargic, less active, or are showing signs of discomfort, it could be due to an unclean living environment. The quality of the brooder’s condition directly impacts the chicks’ health and behavior.
- Ammonia Smell: A strong ammonia smell is a hazardous red flag, indicating that the uric acid in the droppings has broken down and released ammonia gas. Exposure to high ammonia levels can lead to eye, throat, and lung irritation in chicks.

Promptly addressing these signs by cleaning and sanitizing the brooder helps create a safer, healthier habitat for the chicks to thrive. Regular monitoring and maintenance of the brooder environment play a pivotal role in the success of poultry rearing, ensuring that the chicks grow into healthy, productive birds.
Preparing for Cleaning
Before commencing the cleaning process, it’s essential to gather all necessary supplies and equipment to ensure a seamless and efficient operation. This preparation minimizes the time the brooder is out of use and reduces stress on the chicks. Essential cleaning supplies include:
- Protective Gear: Wearing gloves and a mask is crucial to protect yourself from dust, dander, and potential pathogens present in the brooder.
- Cleaning Agents: Select a disinfectant that is safe for use around poultry. Ensure it’s capable of killing bacteria and viruses without leaving harmful residues.
- Scrub Brushes and Sponges: Have different sizes and textures on hand for various surfaces and corners within the brooder.
- Replacement Bedding: Prepare the new bedding material to replace the old, ensuring it is dry and free from contaminants.
- Waste Disposal Bags: Have enough bags to dispose of the old bedding and any droppings safely.
- Sprayers or Buckets: For applying water or disinfectant solutions to the brooder surfaces.
Prior to cleaning, it’s crucial to safely relocate the chicks to a temporary holding area. This area should be warm, secure, and comfortable to minimize stress and prevent exposure to cleaning products and disturbances.
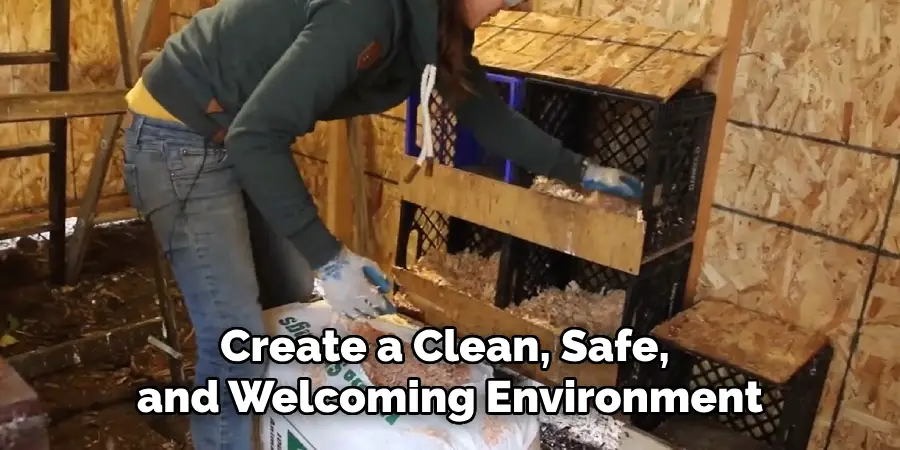
Once everything is in place and the chicks are safely housed elsewhere, you can begin the cleaning process, starting with the removal of old bedding, followed by the scrubbing and disinfecting of the brooder. Through thorough preparation, the goal is to create a clean, safe, and welcoming environment for the chicks to return to, promoting their health and welfare.
Gathering Necessary Cleaning Supplies
With the chicks comfortably housed in their temporary location, the focus shifts to gathering all the necessary supplies for a thorough cleaning. Having the right tools at hand is crucial for efficiently and effectively cleaning the brooder. Ensure that you have:
- Disinfectant: Choose a disinfectant that is specifically designed to be safe for use in animal environments. It should effectively kill bacteria and viruses and be safe for the chicks upon their return.
- Protective Gear: Gloves and masks are essential to protect yourself from inhaling dust or dander and to avoid direct contact with fecal matter and the cleaning chemicals.
- Brushes and Sponges: Various sizes and stiffnesses will help you tackle different areas within the brooder, from flat surfaces to tight corners.
- Replacement Bedding: Have fresh, clean bedding ready to lay down as soon as the brooder has been cleaned and dried. This helps to minimize the amount of time the chicks are away from their home.
- Waste Disposal System: Strong, durable bags or a dedicated bin will help you manage the waste you remove from the brooder, reducing the risk of spillage and making disposal easier.
- Water and Buckets: For rinsing the brooder and any equipment used during the cleaning process, as well as mixing disinfectant solutions according to manufacturer instructions.
Collecting these supplies before starting the cleaning process ensures an organized and efficient approach, allowing you to return the chicks to their clean, safe environment as quickly as possible.
10 Methods How to Clean Chicken Brooder
1. Prepare for Cleaning:
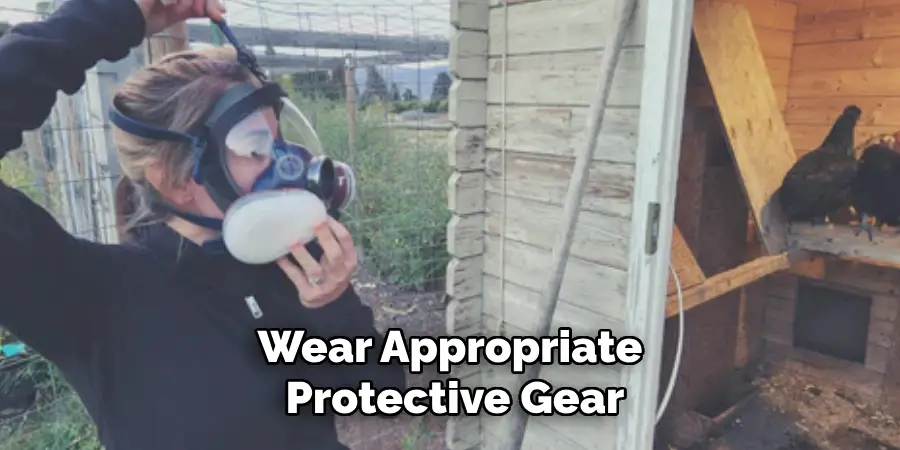
Before beginning the cleaning process, gather all necessary supplies and equipment, including a shovel or scoop for removing bedding, a broom or brush for sweeping, a scrub brush or sponge for scrubbing surfaces, a bucket for mixing cleaning solutions, and a hose or water source for rinsing. Wear appropriate protective gear such as gloves and a mask to protect against dust and debris.
2. Remove Chicks and Equipment:
Carefully remove the chicks from the brooder and transfer them to a safe, temporary holding area. Remove all equipment, including feeders, waterers, heat sources, and any other accessories, from the brooder to allow for thorough cleaning and disinfection.
3. Dispose of Soiled Bedding:
Use a shovel or scoop to remove all soiled bedding, droppings, and debris from the brooder. Dispose of the waste material in a designated area away from the coop or living space to prevent contamination and odor buildup. Consider composting the bedding if it is organic and free from chemicals or medications.
4. Scrub Surfaces:
Once the brooder is cleared of bedding and debris, use a scrub brush or sponge and a mild detergent to scrub all surfaces thoroughly. Pay special attention to corners, crevices, and areas where dirt and grime may accumulate. Remove any stubborn stains or buildup using a mixture of warm water and vinegar or a commercial poultry-safe disinfectant.
5. Rinse and Dry:
After scrubbing, rinse all surfaces with clean water to remove any remaining soap residue or cleaning solution. Use a hose or bucket of water to rinse the surfaces thoroughly, ensuring that no cleaning chemicals are left behind. Allow the brooder to air dry completely before reintroducing chicks or equipment.
6. Disinfect Surfaces:
Once the brooder is clean and dry, disinfect all surfaces using a poultry-safe disinfectant. Follow the manufacturer’s instructions for dilution and application, and allow the disinfectant to remain on the surfaces for the recommended contact time to ensure effective sanitation. Pay extra attention to areas that come into direct contact with chicks or their food and water.
7. Clean and Disinfect Equipment:
While the brooder is drying, clean and disinfect all equipment, including feeders, waterers, heat sources, and any other accessories. Scrub each item thoroughly with a brush or sponge and a mild detergent, then rinse with clean water and disinfect using the same poultry-safe disinfectant used for the brooder surfaces. Allow the equipment to air dry completely before returning it to the brooder.
8. Inspect for Mold and Mildew:
During the cleaning process, inspect the brooder and equipment for signs of mold or mildew growth. Mold and mildew can pose health risks to chicks and should be addressed promptly. If mold or mildew is present, scrub the affected areas with a mixture of warm water and vinegar or a commercial mold and mildew remover, then rinse and disinfect as usual.
9. Maintain Ventilation:
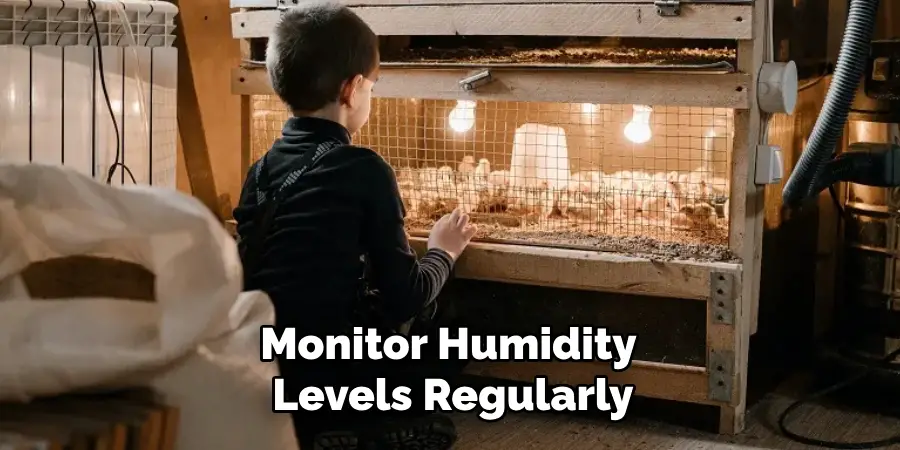
Proper ventilation is essential for maintaining a clean and healthy brooder environment. Ensure that the brooder has adequate airflow to prevent moisture buildup and reduce the risk of mold, mildew, and bacterial growth. Consider installing vents or fans to improve ventilation if necessary, and monitor humidity levels regularly to prevent excessive moisture accumulation.
10. Establish a Cleaning Schedule:
To maintain a clean and hygienic brooder environment, establish a regular cleaning schedule and stick to it consistently. The frequency of cleaning will depend on factors such as the number of chicks, the size of the brooder, and the bedding material used. Generally, brooders should be cleaned and sanitized at least once a week, with more frequent cleaning if necessary during periods of heavy use or in hot, humid weather.
Conclusion
In conclusion, maintaining a clean chicken brooder is essential for the health and well-being of young chicks, as well as for the overall success of poultry rearing endeavors. By adhering to the proper cleaning procedures outlined in this guide, poultry enthusiasts can create a hygienic and comfortable environment conducive to optimal growth and development. Regular cleaning not only removes accumulated waste and reduces the risk of disease but also promotes better air quality and overall hygiene within the brooder. Thanks for reading, and we hope this has given you some inspiration on how to clean chicken brooder!
About
Outdoor Fixes is a distinguished figure in the world of Diy design, with a decade of expertise creating innovative and sustainable Diy solutions.
His professional focus lies in merging traditional craftsmanship with modern manufacturing techniques,
fostering designs that are both practical and environmentally conscious. As the author of diy,
outdoorfixes delves into the art and science of outdoorfixes-making, inspiring artisans and industry professionals alike.
Education RMIT University
(Melbourne, Australia) Associate Degree in Design (Outdoor Fixes) Focus on sustainable design, industry-driven projects,
and practical craftsmanship. Gained hands-on experience with traditional and digital manufacturing tools, such as CAD and CNC software.
Nottingham Trent University
(United Kingdom) Bachelor’s in outdoorfixes.com and Product Design (Honors) Specialized in product design with a focus on blending creativity with production
techniques. Participated in industry projects, working with companies like John Lewis and Vitsoe to gain real-world insights.
Publications and Impact
In diy, Outdoor Fixes his insights on indoor design processes, materials, and strategies for efficient production.
His writing bridges the gap between artisan knowledge and modern industry needs, making it a must-read for both budding designers and seasoned professionals.

