
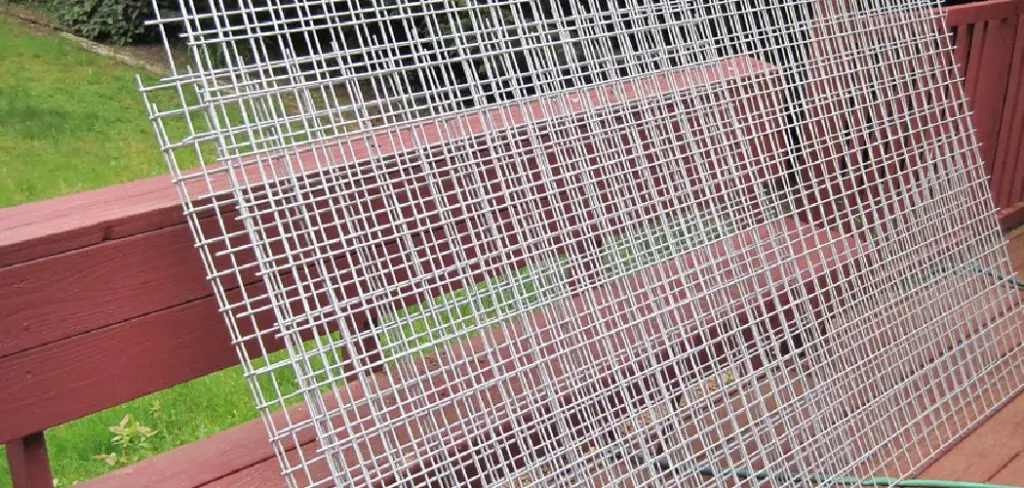
Cattle panels are a versatile and convenient option for fencing, especially when it comes to agricultural or rural properties. These panels are made of heavy-duty galvanized steel and can be easily connected to create sturdy enclosures for livestock, gardens, or other purposes.
If you’re new to using cattle panels, figuring out how to connect them may seem daunting at first. However, with the right tools and techniques, it’s a straightforward process that can be accomplished in no time. In this guide, we’ll walk you through the steps of how to connect cattle panels together, so you can start using them for your fencing needs. If you’re ready, let’s get started!
Understanding Cattle Panel Designs and Varieties
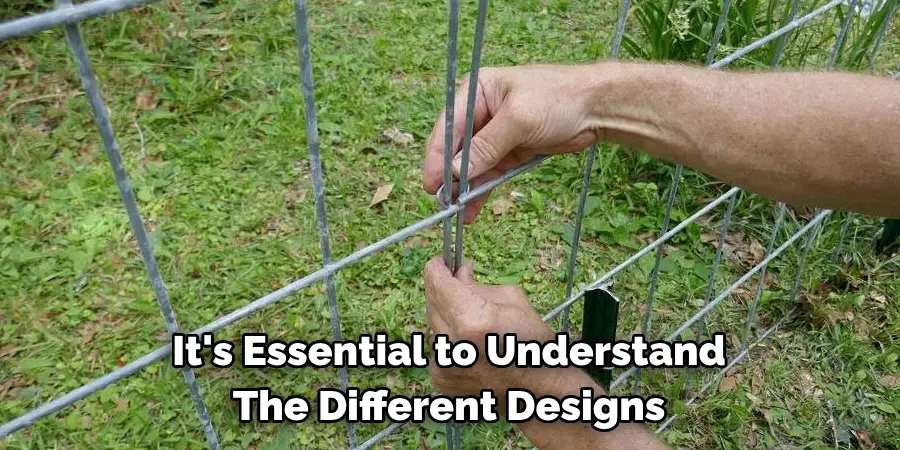
Before we dive into the steps of connecting cattle panels, it’s essential to understand the different designs and varieties available. This will help you choose the most suitable type for your specific needs.
1. Standard Cattle Panels –These are the most basic and commonly used cattle panels, measuring 50 inches in height and typically consisting of six horizontal bars or “rails” connected by vertical rods.
2. Hog Panels – These panels are similar to standard cattle panels, but they have smaller spacing between the horizontal bars. This makes them more suitable for containing pigs and other smaller animals.
3. Sheep and Goat Panels – These panels are designed specifically for containing sheep or goats, with smaller openings that prevent them from squeezing through the fence.
4. Specialty Panels – There are also specialized panels available for specific purposes, such as horse panels and round pens.
Tools and Materials You Will Need to Connect Cattle Panels
1. Cattle Panels of your desired variety
2. Wire cutters or bolt cutters
3. Fence staples or U-nails (if attaching to wooden posts)
4. Wire fencing clips or hog rings (if attaching to metal posts)
5. Fence stretcher (optional but recommended for longer fences)
Step-by-step Guidelines on How to Connect Cattle Panels Together
Step 1: Prepare the Panels
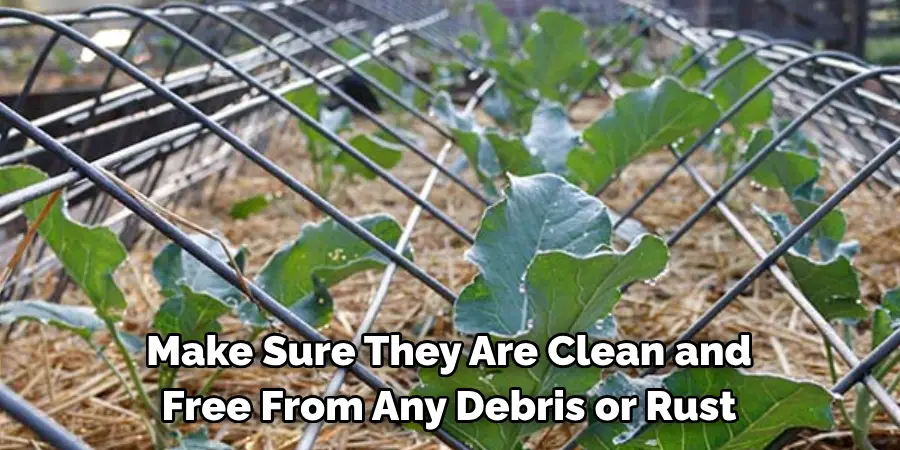
Before connecting the panels, make sure they are clean and free from any debris or rust. Use a wire brush to remove any rust or dirt, and if necessary, spray with a rust inhibitor and allow it to dry. Preparing the panels will ensure a cleaner and more secure connection. If the panels are not already in place, lay them out on a flat surface for easier handling. This will also help you determine the layout and positioning of the panels.
Step 2: Determine the Type of Connection
Decide on the type of connection you want to use for your panels. The most common methods are using wire fencing clips or hog rings, or attaching them with fence staples or U-nails.
The choice ultimately depends on personal preference and the type of posts you are attaching the panels to. Make sure to have the necessary tools on hand before starting the process.
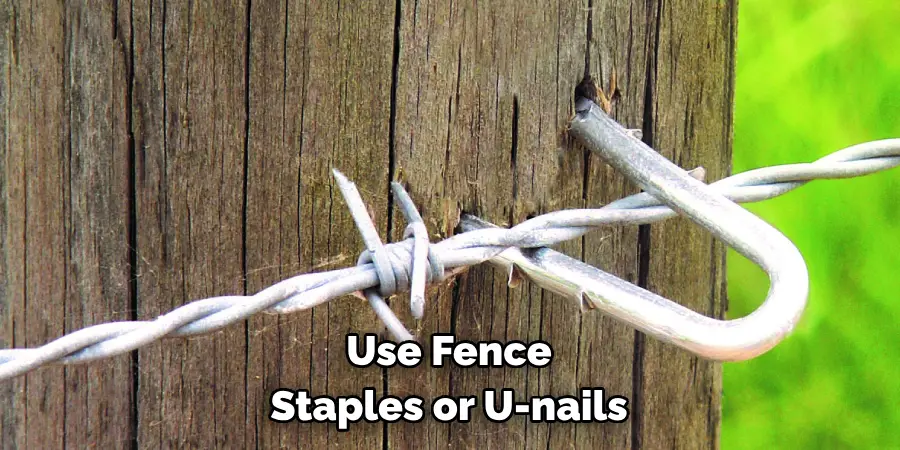
Step 3: Attach Panels to Wooden Posts
If you are attaching your cattle panels to wooden posts, use fence staples or U-nails. Place them through the holes in the vertical rods of the panel and then hammer them into place on the post. Use at least two staples or nails per rod for a secure connection. If attaching to existing fence posts, make sure the panel is centered and level before securing it. While this method is simpler, it may not be as sturdy as using wire fencing clips or hog rings.
Step 4: Attach Panels to Metal Posts
For metal posts, use wire fencing clips or hog rings for a more secure connection. These can be easily attached with pliers, and the clips or rings should be placed around the horizontal rods of the panel and then secured to the post. Make sure to use at least two clips or rings per rod for a sturdy connection. If using this method, it’s essential to have the correct size clips or rings for your panels and posts.
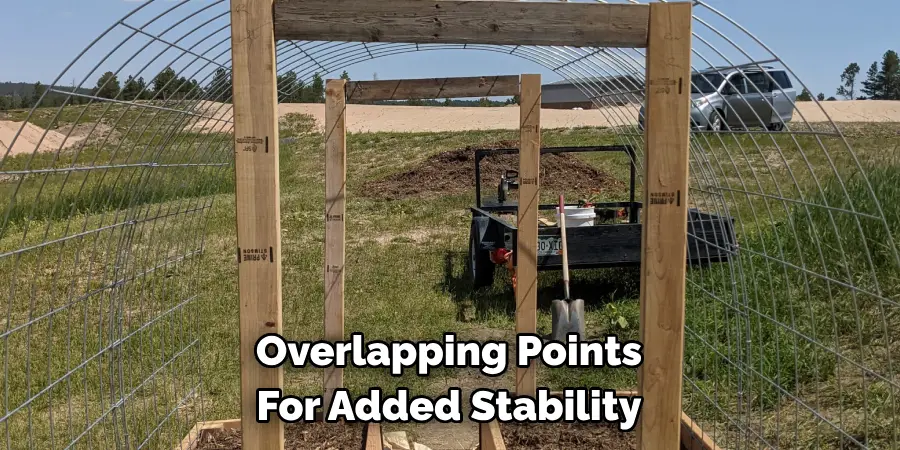
Step 5: Stretch and Secure the Fence (Optional)
If you are connecting multiple panels to create a longer fence, it is recommended to use a fence stretcher to ensure even tension and prevent sagging. Attach the panels by overlapping the vertical rods of adjacent panels and connecting them with the chosen method. Use additional clips or staples at the overlapping points for added stability. This step is optional but recommended for longer fences to provide a more uniform and secure fence.
Following these simple steps, you can easily connect cattle panels to create a sturdy and reliable fence for your property. Remember to take safety precautions while handling the panels and use the appropriate tools for a secure connection. With the right techniques, you can efficiently utilize cattle panels for all your fencing needs. Happy farming!
Additional Tips and Tricks to Connect Cattle Panels
1. If you are using zip ties to connect the cattle panels, make sure to use multiple zip ties per connection. This will provide added strength and stability.
2. For an even stronger connection, consider using metal wire instead of zip ties. Metal wire is more durable and can withstand heavy usage without breaking or coming apart.
3. When connecting two cattle panels at a corner, use a hog ring instead of zip ties or metal wire. Hog rings are specifically designed for connecting fencing materials and will provide a secure connection.
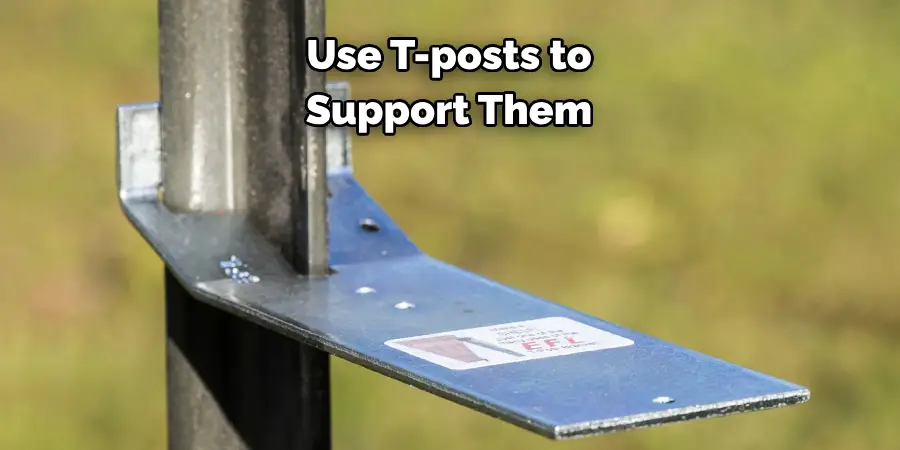
4. To ensure the cattle panels stay in place, use T-posts to support them at the corners and along the sides. This will prevent the panels from shifting or falling over.
5. If you want to create a larger enclosure using multiple cattle panels, consider using a combination of zip ties and metal wire. This will provide both strength and flexibility in your structure.
6. When connecting multiple cattle panels, make sure to overlap them slightly for added stability. This will prevent any gaps or weak spots in the enclosure.
7. If you are using wooden posts instead of T-posts, drill holes into the posts to insert the cattle panel. This will provide a snug fit and prevent the panels from slipping or moving.
8. To make your enclosure more visually appealing, consider painting the cattle panels with rust-resistant paint. This will not only improve their appearance but also protect them from corrosion over time.
9. If you need to disassemble your cattle panel structure, use pliers to cut the zip ties or metal wire. This will prevent any damage to the panels and make it easier to reuse them in the future.
10. Finally, always make sure to use proper safety precautions when handling cattle panels, as they can have sharp edges and points. Wear gloves and protective eyewear when connecting the panels.
By following these additional tips and tricks, you can create a strong and secure enclosure using cattle panels for your livestock or other outdoor needs. Remember to always prioritize safety and use high-quality materials for the best results. With the right techniques, you can easily connect multiple cattle panels to create a functional and durable structure. So, go ahead and get creative with your cattle panel connections! Happy farming!
Things You Should Consider to Connect Cattle Panels
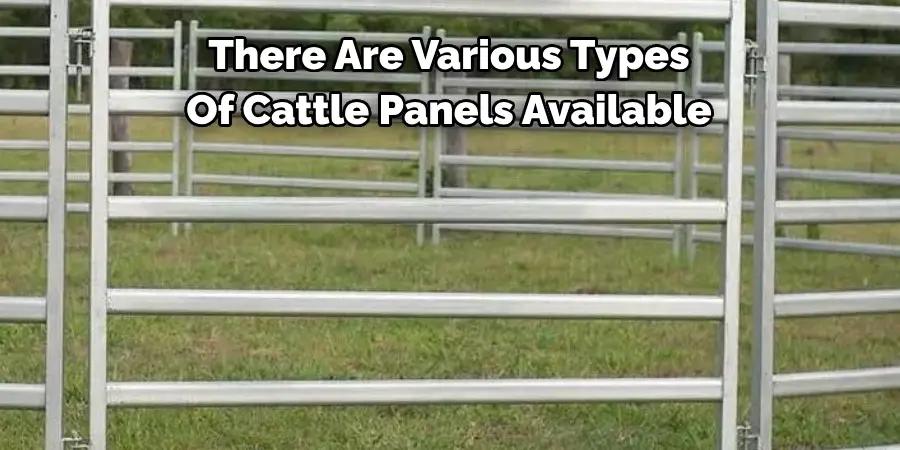
1. Type of Cattle Panel:
There are various types of cattle panels available on the market, such as welded wire panels, hog panels, and portable panels. Each type has its own set of features and uses, so it’s important to choose the right one for your specific needs. For example, welded wire panels are more sturdy and can handle heavier animals, while hog panels are better suited for smaller livestock or as fencing.
2. Panel Size:
The size of the cattle panel is an important factor to consider, as it will determine the size of your enclosure or corral. Panels are typically available in 4-foot, 8-foot, and 10-foot lengths. If you have a larger area to enclose, it’s best to opt for longer panels to minimize the number of connections needed. This will also help to make the structure more stable.
3. Number of Connections:
The more connections you have between panels, the weaker the overall structure will be. It’s important to plan out your enclosure or corral beforehand and choose panel sizes that will require fewer connections. This will not only make the structure more secure but also save time during assembly.
4. Material Quality:
Cattle panels are typically made from steel wire, but the quality of the material can vary. Look for panels that are made from high-tensile or galvanized steel, as they will be more durable and resistant to rust. Cheaper options may save you money upfront, but they may not withstand the wear and tear of outdoor use. This could lead to frequent replacements and added expenses in the long run.
5. Terrain of the Area::
Before connecting cattle panels, it’s important to assess the terrain of the area where they will be installed. Uneven ground or slopes can make it more difficult to properly secure the panels and may require additional support or reinforcements. It’s also important to consider if any obstacles in the area could affect panel placement.
6. Weather Conditions:
The weather conditions of your location should also be taken into consideration when connecting cattle panels. If you live in an area with high winds or heavy snowfall, it’s important to use sturdy connections and secure the panels properly to prevent them from being blown over or damaged. This is especially important if the panels will be used for outdoor enclosures or fencing.
By taking these factors into account, you can ensure a secure and long-lasting structure for your livestock or other purposes. Remember to also regularly inspect and maintain your cattle panels to keep them in good condition and ensure the safety of your animals. With proper planning and maintenance, connecting cattle panels can be a simple and effective solution for your livestock needs. So, make sure to consider all these aspects before connecting cattle panels to ensure a successful project. Happy farming!

Precautions Need to Be Followed for Connecting Cattle Panels
1. First and foremost, you need to make sure that the cattle panels are securely fastened together. This is important because loose connections can cause injuries to both animals and humans.
2. Another precautionary measure is to check for any sharp edges or protruding wires on the panels. These sharp edges or wires can easily injure your animals, so it’s crucial to fix them before connecting the panels.
3. It’s also important to make sure that your cattle panels are properly installed and placed on a flat surface. Uneven or sloping surfaces can cause the panels to shift, potentially causing harm to your animals.
4. Before connecting your cattle panels, it’s recommended to wear protective gear such as gloves and safety glasses. This will not only protect you from getting injured but also prevent any bacteria or germs from entering your body.
5. Always double-check the connections of your cattle panels before introducing any animals to the enclosure. It’s better to be safe than sorry, and a quick inspection can save you time, money, and potential injuries.
6. When connecting multiple panels, make sure that they are all facing the same direction. This will not only improve the structural integrity of your enclosure but also prevent any unwanted gaps between the panels.
7. Regularly inspect and maintain your cattle panels to ensure that they are safe and secure for both animals and humans. Over time, weather and wear can cause connections to become loose or panels to weaken, so it’s important to check for any potential hazards.
8. It’s also important to consider the spacing between panels when connecting them. Too much space can allow smaller animals, such as calves, to squeeze through and potentially get stuck or injured.
9. When using electric fencing in conjunction with cattle panels, be sure to follow all safety precautions and use appropriate warning signs. Electric fencing can provide an added layer of security but can also be dangerous if not handled properly.
Following these precautions will help ensure the safety and well-being of your animals as well as yourself while working with cattle panels. By being vigilant and taking necessary measures, you can create a secure and comfortable enclosure for your livestock. Remember to always prioritize safety when working with animals, and never hesitate to seek professional assistance if needed. Now go on, connect those cattle panels with confidence! Happy farming!
Frequently Asked Questions
Can I Connect Cattle Panels Without Using Any Tools?
Yes, you can connect cattle panels without using any tools if you’re using the standard T-Posts or U-Posts. These types of posts have holes that allow you to easily connect the panels using a simple twist and lock method. However, for other types of posts, or if your panels don’t have pre-drilled holes, you may need to use tools such as pliers or wire cutters to secure the panels together.
What Tools Do I Need To Connect Cattle Panels?
The tools you need may vary depending on the type of posts and panels you are using. As mentioned above, if you are using standard T-Posts or U-Posts, you won’t need any tools to connect the panels. However, if your posts don’t have pre-drilled holes or if you’re using a different type of post, you may need pliers or wire cutters to secure the panels together. It’s always a good idea to have these tools on hand just in case.
How Do I Connect Cattle Panels Using T-Posts or U-Posts?
To connect cattle panels using T-Posts or U-Posts, simply align the holes on the posts with the holes on the panels and insert them together until they are securely connected. You can then use a wire or zip tie to secure the panels to the posts for added stability. Make sure to evenly distribute the weight and tension on all sides to ensure a strong and stable connection.
What If My Cattle Panels Don’t Have Pre-Drilled Holes?
If your cattle panels don’t have pre-drilled holes, you may need to use tools to create them. You can use a drill with a metal drill bit or even a hammer and nail to create holes in the panels for connecting them to posts. Just make sure to carefully measure and mark where you want the holes before drilling or hammering.
Can I Connect Cattle Panels Vertically?
Yes, you can connect cattle panels vertically if you need to create taller or longer enclosures. To do this, simply connect the panels as you would horizontally and use additional posts for support and stability. Again, make sure to evenly distribute weight and tension for a strong and secure connection.
Can I Connect Cattle Panels With Different Wire Gauges?
It’s best to try to connect cattle panels with similar wire gauges for optimal strength and stability. However, if you need to connect panels with different wire gauges, you may be able to do so by overlapping the panels and using zip ties or wire to securely fasten them together. Just make sure to evenly distribute weight and tension for a strong connection.
Conclusion
Now you know how to connect cattle panels together and what tools you may need to do so. Whether you’re using T-Posts, U-posts, or other types of posts and panels, always make sure to evenly distribute weight and tension for a strong and stable connection. And remember, it’s always helpful to have tools like pliers or wire cutters on hand just in case you need them. Happy panel connecting!
About
Outdoor Fixes is a distinguished figure in the world of Diy design, with a decade of expertise creating innovative and sustainable Diy solutions.
His professional focus lies in merging traditional craftsmanship with modern manufacturing techniques,
fostering designs that are both practical and environmentally conscious. As the author of diy,
outdoorfixes delves into the art and science of outdoorfixes-making, inspiring artisans and industry professionals alike.
Education RMIT University
(Melbourne, Australia) Associate Degree in Design (Outdoor Fixes) Focus on sustainable design, industry-driven projects,
and practical craftsmanship. Gained hands-on experience with traditional and digital manufacturing tools, such as CAD and CNC software.
Nottingham Trent University
(United Kingdom) Bachelor’s in outdoorfixes.com and Product Design (Honors) Specialized in product design with a focus on blending creativity with production
techniques. Participated in industry projects, working with companies like John Lewis and Vitsoe to gain real-world insights.
Publications and Impact
In diy, Outdoor Fixes his insights on indoor design processes, materials, and strategies for efficient production.
His writing bridges the gap between artisan knowledge and modern industry needs, making it a must-read for both budding designers and seasoned professionals.