
The conversation around saltwater pools is growing, and for good reason. Pool owners are increasingly tired of the cycle of buying, storing, and handling buckets of chlorine, not to mention the harsh chemical smell and irritated eyes that often come with traditional pool care.
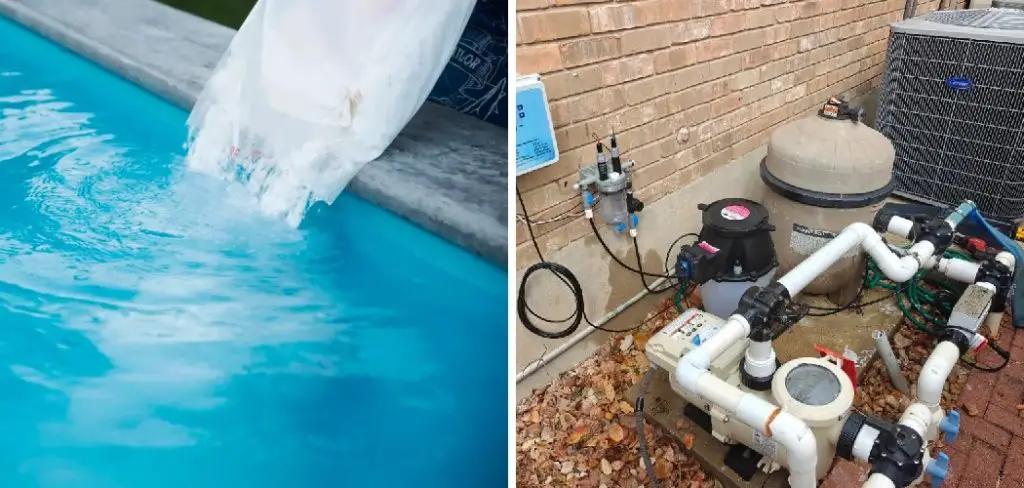
A saltwater pool conjures images of a more natural, gentle swimming experience. However, a common misconception needs clearing up: saltwater pools are not chlorine-free. In fact, they are chlorine pools that have perfected the art of automation.
A saltwater system generates its own chlorine, providing a steady, controlled dose that results in silky-smooth water without the drawbacks of manually added chlorine. The process of making the switch is more straightforward and affordable than most people think. This article will demystify the process and provide a comprehensive guide on how to convert chlorine pool to saltwater pool, paving the way for a more luxurious and low-maintenance swimming experience.
Understanding the Saltwater Difference
Before you start unscrewing pipes, it is important to understand what you are building. The magic of a saltwater pool lies in a process called electrolysis, which is facilitated by a salt chlorine generator (SWG).
How a Salt Chlorine Generator Works
An SWG system has two main components: a control panel and a salt cell. The salt cell is a small chamber containing a series of metallic plates that is plumbed into your pool’s return line. After you add pool-grade salt to your water and it dissolves, the slightly salty water passes through this cell.
The control panel sends a low-voltage electrical charge to the plates, which triggers electrolysis. This process splits the salt molecules (sodium chloride, or NaCl) in the water, converting the chloride into pure, fresh chlorine (hypochlorous acid). This self-made sanitizer is then circulated throughout the pool to kill bacteria and algae before it naturally converts back into salt, ready to repeat the cycle. It is a closed-loop system of sanitation.
Benefits Over Traditional Chlorine
The primary benefit of this system is consistency. Instead of the “highs and lows” of weekly shocking, an SWG produces a slow, steady stream of chlorine whenever your pump is running, keeping sanitizer levels stable.
This eliminates the harsh chemical spikes that cause skin and eye irritation.
Furthermore, there is no need to buy and store bulky buckets of chlorine tablets or liquid shock. The annual cost of running a salt system is typically much lower than buying traditional chlorine. Finally, swimmers universally praise the feel of saltwater pools. The slightly saline water feels softer and silkier on the skin, creating a more pleasant and spa-like experience.
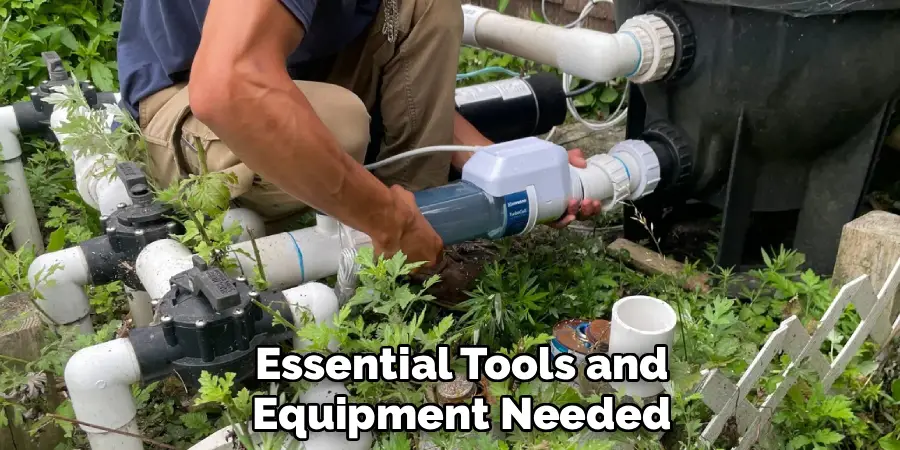
Essential Tools and Equipment Needed
The conversion is a manageable DIY project, but you need the right gear. The salt chlorine generator itself is the biggest investment, and choosing the right one is crucial.
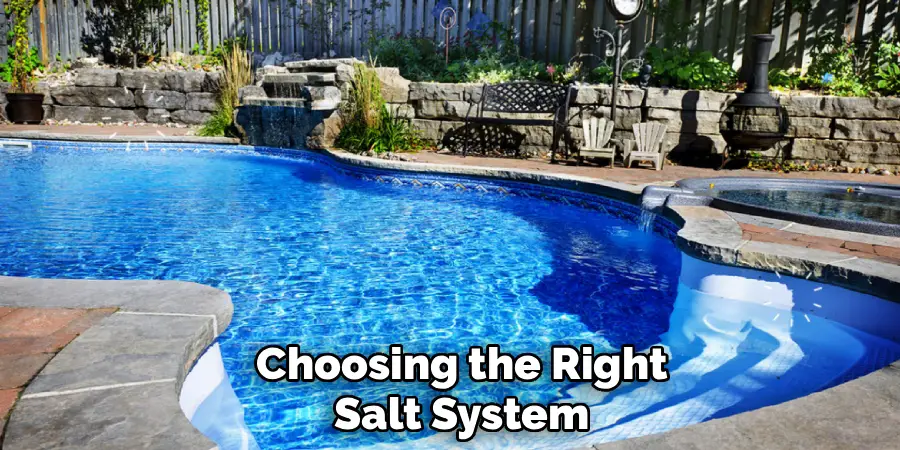
Choosing the Right Salt System
Salt chlorine generators (SWGs) are rated by the maximum number of gallons they can treat. It is a common best practice to “oversize” your system. If you have a 20,000-gallon pool, do not buy a system rated for 20,000 gallons; buy one rated for 30,000 or 40,000 gallons instead.
An oversized unit does not have to work as hard or as long to produce the same amount of chlorine. This means you can run it at a lower output percentage, which significantly extends the life of the expensive salt cell, saving you money in the long run.
Required Installation Tools
The installation involves some basic plumbing and electrical work. For the plumbing, you will need a hacksaw or a PVC pipe cutter, along with PVC primer and cement to glue the new fittings in place.
You will also need a tape measure to ensure you cut the pipe in the correct spot.
For the electrical portion, you will need a drill to mount the control panel to a wall or post, a Phillips head screwdriver, and a pair of wire strippers. If you are not comfortable with basic wiring, this is the one part of the job you may want to hire an electrician for.
Preparing Your Pool for Conversion
You cannot simply install the system and flip a switch. Your pool water must be perfectly prepared to ensure the conversion is successful and to prevent unwanted side effects.
Balancing the Water Chemistry
Before you add a single grain of salt, your pool water needs to be balanced according to ideal parameters. This means your pH should be between 7.4 and 7.6, total alkalinity between 80 and 120 ppm, and calcium hardness between 200 and 400 ppm. Most importantly, your cyanuric acid (CYA or stabilizer) level must be within the 60-80 ppm range for a salt pool. CYA protects the chlorine produced by your SWG from being destroyed by the sun’s UV rays. If your CYA is too low, the generator will not be able to keep up with demand.
Checking for Metal Contaminants
This is a step many people miss. Salt is naturally corrosive, and adding it to water with existing metal contaminants (like copper or iron from well water or old heater components) can cause severe staining on your pool’s surface. Take a water sample to your local pool store and ask for a specific metals test. If metals are present, you will need to treat the water with a metal sequestrant or stain-preventing chemical before adding the salt.
5 Step-by-Step Guide on How to Convert Chlorine Pool to Saltwater Pool
With your pool water balanced and your tools ready, it is time for the installation. Set aside a few hours and work methodically.
Step 1: Install the Control Panel
Find a suitable location to mount the SWG’s control panel. It should be close to your pool’s pump and timer, at least 5-10 feet away from the pool itself, and in a spot that is sheltered from direct rain and sun if possible. Mount it securely to a wall or post using your drill.
Next, you will wire the panel for power. CRITICAL: Turn off the power to your pool equipment at the circuit breaker before you begin. The control panel needs to receive power only when the main circulation pump is running. The easiest way to achieve this is to wire it directly to the load side of the pump’s timer. This ensures the SWG can never run while the pump is off, which would cause a dangerous buildup of concentrated chlorine gas in the pipes.
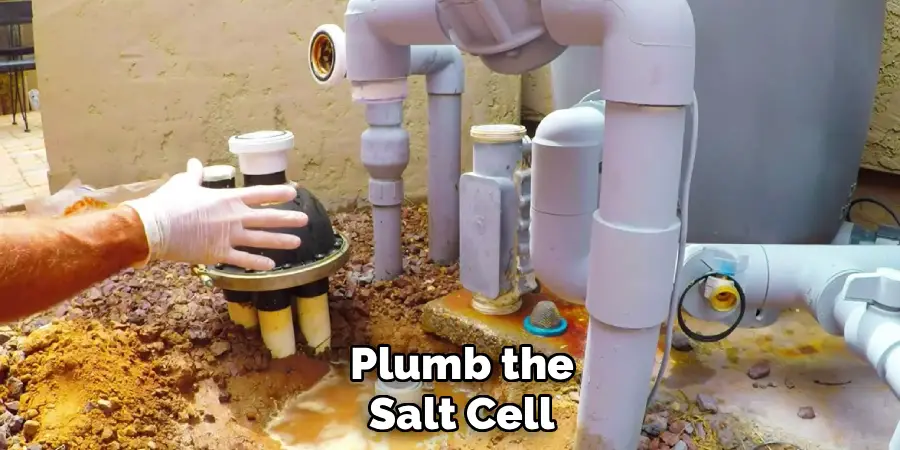
Step 2: Plumb the Salt Cell
The salt cell must be the last piece of equipment in the plumbing line before the water returns to the pool. This means it should be installed after the pump, filter, and heater. Find a straight section of PVC return pipe to install the cell.

Using your tape measure, mark the section of pipe you need to cut out to accommodate the cell unions. Use your hacksaw or PVC cutter to make two clean, straight cuts. Remove the section of pipe.
Next, apply PVC primer to the outside of the pipe ends and the inside of the cell unions, followed by a coat of PVC cement. Push the unions onto the pipe ends, giving them a quarter turn to spread the glue, and hold them firmly in place for about 30 seconds. Allow the glue to cure according to the manufacturer’s directions (usually at least an hour) before screwing the salt cell into the unions.
Step 3: Add the Salt
With the system installed, you are ready to turn your pool into a saltwater pool. You need to use only pool-grade salt, which is at least 99.8% pure sodium chloride. Do not use rock salt or water softener salt, as these contain impurities that can stain your pool.
Your SWG manual will have a chart to help you calculate how much salt you need based on your pool’s volume. A typical target salinity is between 3000 and 3500 ppm. To add it, turn your pump on.
Cut open the salt bags and slowly pour the salt into the shallow end of the pool, walking around the perimeter. The moving water will help it start to dissolve immediately.
Step 4: Let the Salt Dissolve
After adding the salt, use your pool brush to push the salt around the bottom of the pool to help it dissolve and prevent it from forming piles. Now, let your pump run continuously for the next 24 hours.
This is crucial. You must allow the salt to dissolve completely and circulate evenly throughout the entire pool system. Do not turn on the salt chlorine generator during these 24 hours. The system is not yet ready, and running it without fully dissolving salt can damage the cell.
Step 5: Turn On the Generator
After 24 hours of circulation, your water is ready. It is time to power up your new system. Turn the salt chlorine generator on and check the display. Most systems will provide a digital reading of the current salt level.
If it is within the recommended range, you can set the desired chlorine output percentage. Start at around 50% and adjust from there over the next few days. You will also see indicator lights for power and water flow, confirming that the system is operating correctly.
Handling the Initial Salt Demand
Adding hundreds of pounds of salt to your pool requires a bit of care to ensure it dissolves properly and you reach the correct concentration.
Avoiding Granular Piles
When you pour the salt into the pool, it will naturally sink to the bottom. If left in a pile, this high concentration of salt can stain or etch a vinyl liner or plaster surface. This is why brushing is so important. Immediately after adding the salt, brush the piles around until they are spread thinly across the pool floor. The filter pump running will do the rest of the work.
Protecting Your Pool Equipment
Saltwater is more corrosive than traditional pool water. While the salinity is very low (about one-tenth as salty as the ocean), it can still take a toll on certain pool components over time.
Zinc Anodes (Sacrificial Anodes)
Galvanic corrosion occurs when different metals in saltwater create a battery-like effect, causing the “less noble” metal to corrode rapidly. This can damage stainless steel ladders, handrails, and the metal components inside a pool heater. To prevent this, you must install a sacrificial anode.
A zinc anode is a piece of zinc metal that is more “noble” than the other metals in your pool. It sacrifices itself by corroding first, thereby protecting your expensive equipment. These can be plumbed directly into your system or attached to a ladder rail.
Long-Term Maintenance of a Salt Pool
A saltwater pool is low-maintenance, not no-maintenance. There are two key tasks you will need to perform regularly.

Cleaning the Salt Cell
Over time, calcium can build up on the metal plates inside the salt cell, a process called scaling. This buildup insulates the plates, reducing their efficiency and chlorine production.
Most modern systems have a self-cleaning feature (reverse polarity) that helps minimize this, but you will still need to manually inspect the cell every 3 months. If you see white, flaky deposits, you will need to clean them by soaking them in a mild acid solution (or a dedicated cell cleaning solution) according to the manufacturer’s directions.
Conclusion
The switch to a saltwater system is a significant upgrade for any pool owner. While it requires an initial investment of time and money, the long-term rewards are undeniable. Softer water, lower annual chemical costs, and the convenience of automated sanitation make for a more enjoyable and luxurious swimming experience.
By following the steps outlined in this guide, you can confidently and safely learn how to convert chlorine pool to saltwater pool. You will trade the hassle of handling harsh chemicals for a simple routine of monitoring your system and enjoying consistently beautiful water. The result is more time swimming and less time working—and that is a conversion worth making.
About
Outdoor Fixes is a distinguished figure in the world of Diy design, with a decade of expertise creating innovative and sustainable Diy solutions.
His professional focus lies in merging traditional craftsmanship with modern manufacturing techniques,
fostering designs that are both practical and environmentally conscious. As the author of diy,
outdoorfixes delves into the art and science of outdoorfixes-making, inspiring artisans and industry professionals alike.
Education RMIT University
(Melbourne, Australia) Associate Degree in Design (Outdoor Fixes) Focus on sustainable design, industry-driven projects,
and practical craftsmanship. Gained hands-on experience with traditional and digital manufacturing tools, such as CAD and CNC software.
Nottingham Trent University
(United Kingdom) Bachelor’s in outdoorfixes.com and Product Design (Honors) Specialized in product design with a focus on blending creativity with production
techniques. Participated in industry projects, working with companies like John Lewis and Vitsoe to gain real-world insights.
Publications and Impact
In diy, Outdoor Fixes his insights on indoor design processes, materials, and strategies for efficient production.
His writing bridges the gap between artisan knowledge and modern industry needs, making it a must-read for both budding designers and seasoned professionals.