
Are you dreaming of the perfect lawn that will be the envy of your neighborhood? Nothing can give a yard an inviting flair quite like landscaping bricks. Whether it’s part of the sidewalk, side walkway or retaining wall, having the right sized brick is essential to creating a polished look.
As such, learning how to cut landscaping bricks yourself may be necessary to ensure your project looks chic and custom fit for any designation. Keep reading this post for tips on shape options and technique considerations when cutting them!
Necessary Tools and Equipment
When tackling a DIY landscaping project, having the right tools is key. You’ll need to gather some essential supplies before you begin your brick-cutting process. These include:
- Safety Equipment Such as Gloves, Goggles and Ear Protection
- A Measuring Tape or Ruler for Precise Measurements
- A Pencil or Chalk for Marking Cuts on the Bricks
- A Handheld Circular Saw or Masonry Saw With a Diamond Blade for Cutting
- A Chisel and Hammer for Shaping or Refining Cuts
- A Dust Mask or Respirator for Protection Against Brick Dust
10 Step-by-step Guides on How to Cut Landscaping Bricks
Step 1: Measure and Mark Your Bricks
Ensuring precise cuts is crucial for a professional-looking result. Therefore, it’s important to measure and mark out where you want your cuts to be made on the bricks before picking up any tools.
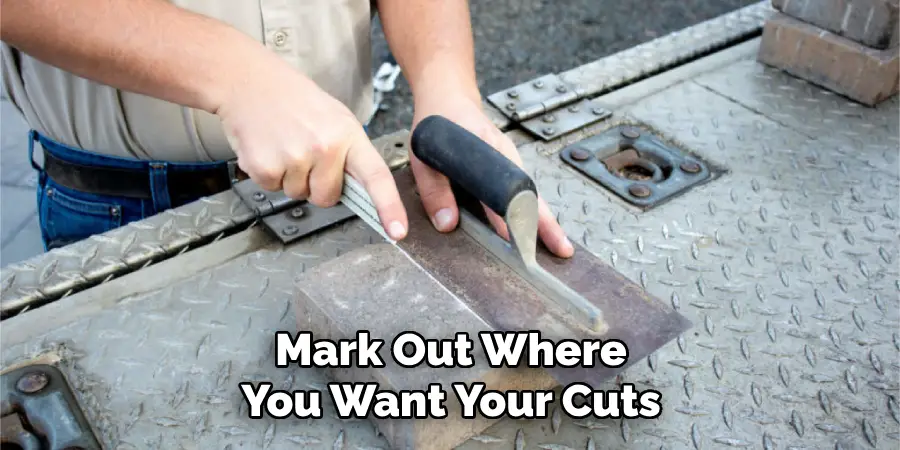
It’s essential to use a straightedge or square to mark out your cuts for accuracy. But if you’re working on a curved section, use a flexible plastic or metal ruler to mark out the curve. You can a pencil for light-colored bricks or chalk to mark out dark bricks.
Step 2: Put your Safety Gear On
Before you start cutting, it’s vital that you protect yourself against any potential hazards. Wear gloves, goggles and ear protection at all times during the cutting process. This will ensure that you’re safe from flying debris, dust or loud noises. It may also be helpful to wear a dust mask or respirator to protect against brick dust. This is especially important if you have any existing respiratory issues.
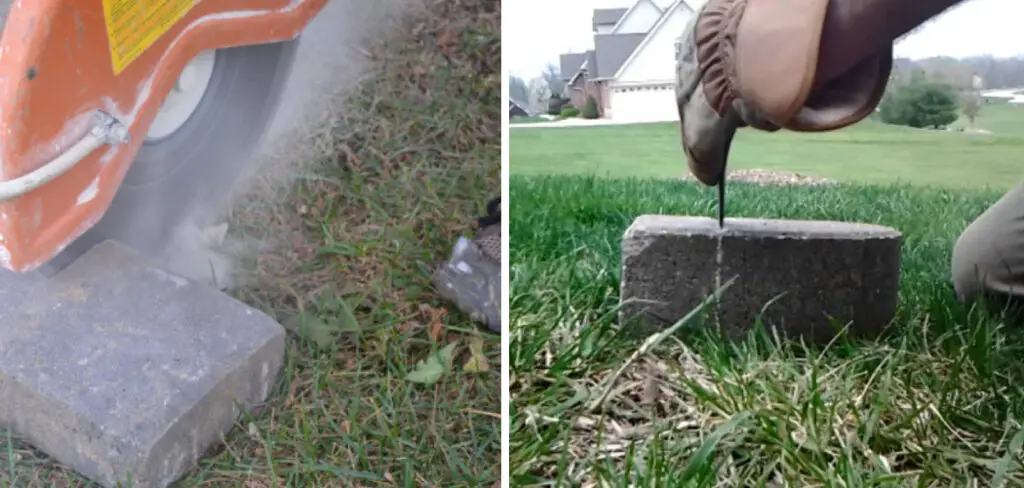
Step 3: Set up Your Saw
If you’re using a handheld circular saw, ensure the blade is at the correct depth for your brick. If you’re using a masonry saw, adjust the table accordingly. It’s important to read and follow the manufacturer’s instructions carefully when setting up your saw to avoid any accidents.
This will also ensure that your saw is functioning at its optimal level for cutting. You may also need to lubricate the blade if it’s a masonry saw to ensure smooth cutting. But be sure to only use water-based lubricant as oil can damage the brick.
Step 4: Make the Cut
Hold the brick securely in place with one hand while using the saw with your other hand. Use a slow and steady cutting motion to avoid any mistakes or accidents. Remember to follow your marked lines and keep the brick in place throughout the entire cut.
You may need to make multiple passes depending on the thickness of the brick and the depth of your blade. It’s important to have a firm grip and maintain control of the saw at all times.
Step 5: Check Your Cut
After making the cut, check to ensure it’s straight and accurate. If adjustments are needed, use a chisel and hammer to refine the cut or shape it accordingly. This is especially important for curved cuts or cuts that require intricate detailing.
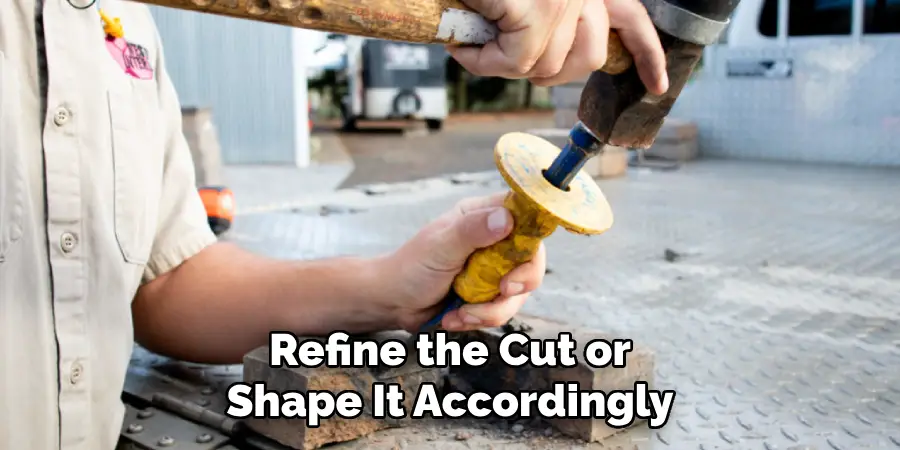
It may take some practice and patience, but the end result will be worth it. By the end of this step, you should have a perfectly cut brick ready for your landscaping project.
Step 6: Clean Up Any Debris
After making your cuts, clean up any debris or dust that may have accumulated. This will ensure a cleaner work area and also help prevent any slips or falls. It’s also important to keep your tools clean and free of debris for optimal performance.
You can use a brush or vacuum to clean up the dust and debris. It’s also recommended to wear a dust mask or respirator during this step.
Step 7: Repeat Steps 4-6 as Needed
Depending on the size of your project, you may need to repeat steps four through six multiple times. Remember to always measure and mark each brick before cutting and to check your cuts for accuracy.
It’s also important to take breaks as needed and stay hydrated during the process. Although it may be tempting to rush through the cutting process, taking your time and ensuring accuracy will result in a better end product.
Step 8: Practice Using Different Cutting Techniques
As you become more comfortable with the cutting process, you can experiment with different techniques. This includes using a chisel and hammer for shaping or refining cuts, as well as using different types of saws for more intricate cuts.
Practice makes perfect, so don’t be afraid to try out different methods. It may also be helpful to watch tutorials or seek advice from experienced landscapers.
Step 9: Consider Safety Precautions
It’s important to always prioritize safety when working with cutting tools and bricks. Be mindful of your surroundings and avoid any distractions while making cuts. It’s also recommended to have a first aid kit on hand in case of any accidents. If you’re unsure about using certain tools or techniques, seek professional help or guidance.

Step 10: Have Fun and Be Creative
Finally, don’t forget to have fun and be creative with your project! Landscaping bricks offer endless design possibilities, so don’t be afraid to think outside the box. Experiment with different shapes, sizes, and patterns to create a unique and inviting look for your yard.
And most importantly, enjoy the process of creating something beautiful for your home. With these step-by-step guides on how to cut landscaping bricks, you’ll be well on your way to becoming a pro at cutting landscaping bricks! Happy brick-cutting!
Do You Need to Hire Professionals?
While cutting landscaping bricks can be a DIY project, it’s important to know your limitations and when it may be necessary to hire professionals. For larger or more complex projects, it may be best to seek the help of experienced landscapers or masons. They have the knowledge, skills, and equipment needed to ensure your project is completed safely and efficiently.
Additionally, they can offer valuable advice and suggestions for your project, making it a more enjoyable experience. Ultimately, the decision to hire professionals will depend on your budget, time constraints, and comfort level with handling cutting tools.
But always remember to prioritize safety and accuracy in any DIY or professional landscaping project. So go ahead and get creative with those cuts! Your beautiful landscaping bricks await.
Frequently Asked Questions
Q1. Do I Need Any Special Tools or Equipment for Cutting Landscaping Bricks?
A1. Yes, you will need safety equipment such as gloves, goggles and ear protection, a measuring tape or ruler, a handheld circular saw or masonry saw with a diamond blade, and a chisel and hammer. A dust mask or respirator is also recommended for protection against brick dust.
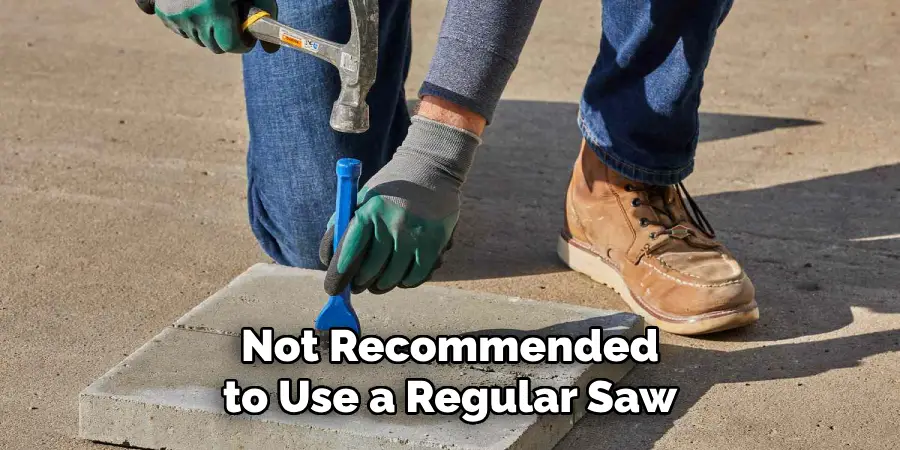
Q2. Can I Use a Regular Saw to Cut Landscaping Bricks?
A2. It’s not recommended to use a regular saw to cut landscaping bricks as they are not designed for this purpose and may cause accidents or damage to the saw. It’s best to use a handheld circular saw or masonry saw with a diamond blade specifically designed for cutting bricks.
Q3. How Can I Ensure My Cuts Are Accurate?
A3. To ensure accurate cuts, it’s important to measure and mark your bricks before cutting, use a straightedge or square as a guide, and make slow and steady cuts. After making the cut, check for accuracy and refine if needed using a chisel and hammer.
Q4. How Do I Clean Up Brick Dust?
A4. You can use a brush or vacuum to clean up brick dust after making cuts. It’s also recommended to wear a dust mask or respirator during this step. Remember to keep your tools clean and free of debris for optimal performance.
Conclusion
To conclude, by following the steps to cutting bricks for landscaping correctly, you will have beautiful and lasting results. The proper use of safety gear and techniques will reduce the risk of injury from missteps. So if you’re looking to add a unique touch to your landscape, taking on the challenge of carefully cutting landscaping bricks is a great solution.
Don’t let fear of making mistakes hold you back – with a little patience and know-how, anyone can learn how to cut landscaping bricks! So find some good quality tools, put on your safety gear, and give it a try. After all, as the saying goes: practice makes perfect.
You Can Check It Out to
About
Outdoor Fixes is a distinguished figure in the world of Diy design, with a decade of expertise creating innovative and sustainable Diy solutions.
His professional focus lies in merging traditional craftsmanship with modern manufacturing techniques,
fostering designs that are both practical and environmentally conscious. As the author of diy,
outdoorfixes delves into the art and science of outdoorfixes-making, inspiring artisans and industry professionals alike.
Education RMIT University
(Melbourne, Australia) Associate Degree in Design (Outdoor Fixes) Focus on sustainable design, industry-driven projects,
and practical craftsmanship. Gained hands-on experience with traditional and digital manufacturing tools, such as CAD and CNC software.
Nottingham Trent University
(United Kingdom) Bachelor’s in outdoorfixes.com and Product Design (Honors) Specialized in product design with a focus on blending creativity with production
techniques. Participated in industry projects, working with companies like John Lewis and Vitsoe to gain real-world insights.
Publications and Impact
In diy, Outdoor Fixes his insights on indoor design processes, materials, and strategies for efficient production.
His writing bridges the gap between artisan knowledge and modern industry needs, making it a must-read for both budding designers and seasoned professionals.