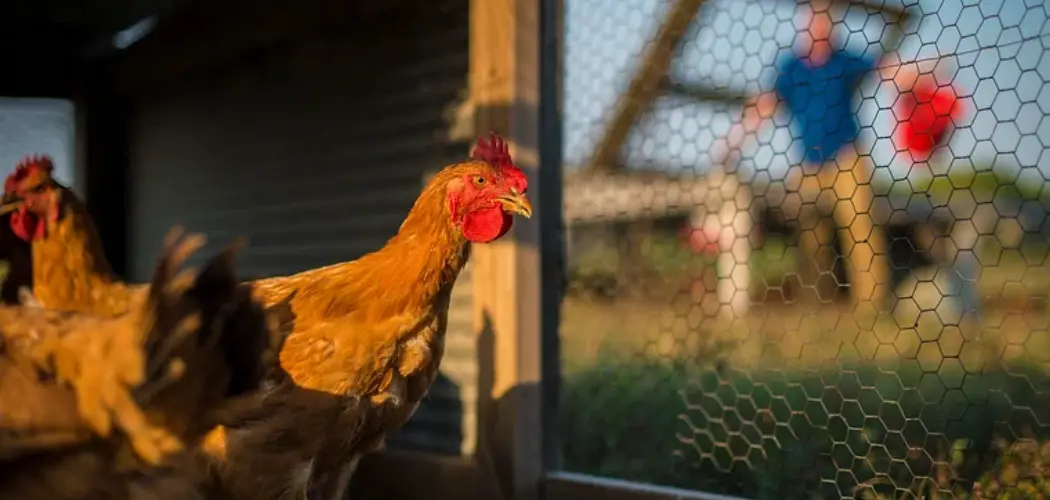
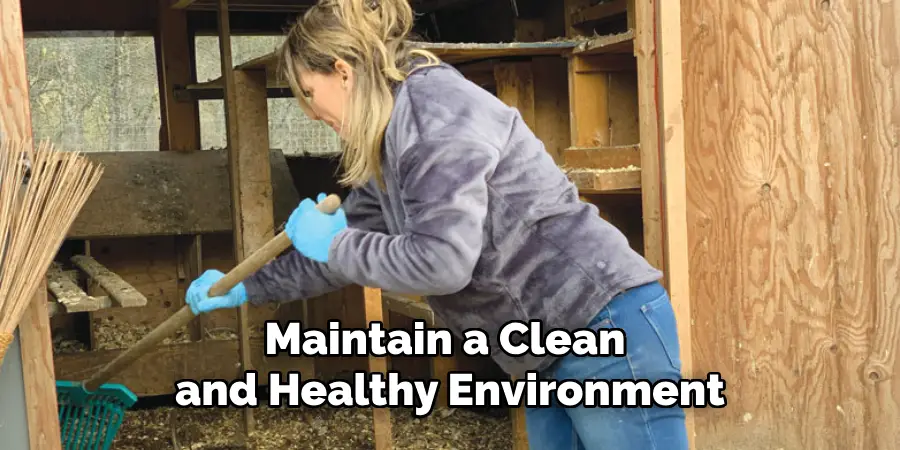
Owning a chicken coop comes with the responsibility of keeping it clean and free from harmful bacteria. Regular cleaning is necessary to maintain a healthy environment for your chickens, which in turn ensures their well-being and productivity.
While there are various methods to disinfect a wooden chicken coop, this guide will focus on the most effective ways how to disinfect a wooden chicken coop.
Why is Disinfection Important?
Before we get into the steps of disinfecting a wooden chicken coop, it is important to understand why this process is necessary. Chickens are susceptible to various diseases and parasites, which can quickly spread in an unclean environment.
By regularly disinfecting your coop, you reduce the risk of these harmful organisms thriving and infecting your chickens. Additionally, disinfection also eliminates unpleasant odors and improves the overall hygiene of the coop.
Supplies Needed
To properly disinfect a wooden chicken coop, you will need the following supplies:
- Rubber gloves
- Face mask
- Protective eyewear
- Water hose or spray bottle
- Scrub brush or sponge
- Mild soap or detergent
- Vinegar or bleach solution (1 part bleach to 9 parts water)
- Broom or vacuum cleaner
- Disinfectant spray or powder
12 Steps on How to Disinfect a Wooden Chicken Coop
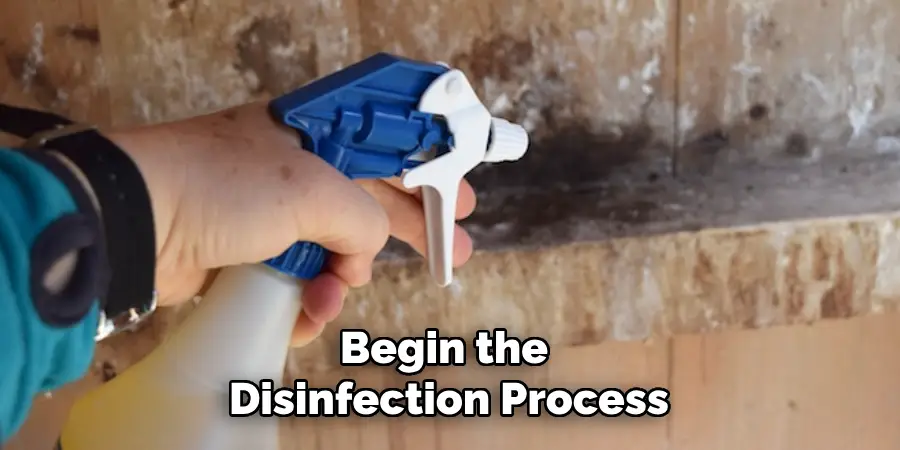
Step 1: Preparation
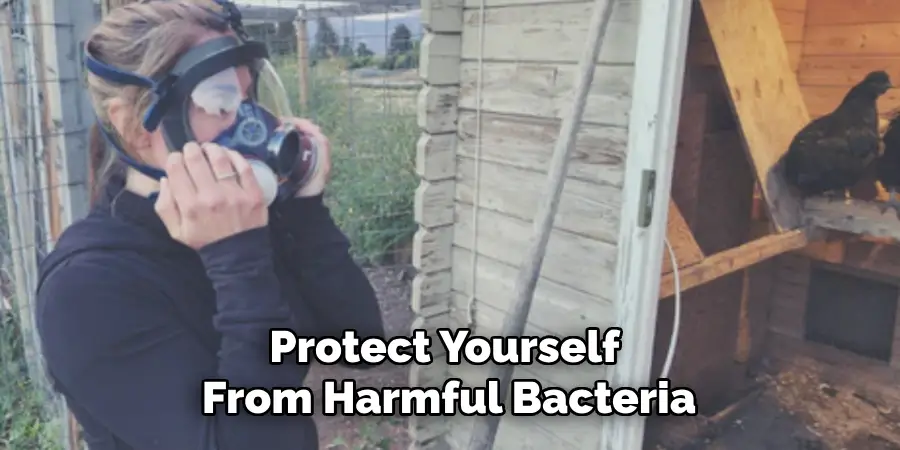
Before you begin the disinfection process, make sure to wear protective gear such as rubber gloves, a face mask, and protective eyewear. This will protect you from any harmful bacteria or chemicals. And if your coop is enclosed, ensure proper ventilation by opening windows or using a fan.
Step 2: Remove Chickens and Equipment
Take out all chickens from the coop and transfer them to a temporary shelter. Remove any equipment, such as feeders and waterers, from the coop as well. Also, remove any droppings or debris from the coop floor.
Step 3: Sweep or Vacuum
Using a broom or vacuum cleaner, sweep or vacuum the entire coop to remove any loose dirt, feathers, and debris. This will make it easier to scrub and disinfect the surfaces. Even if your coop is regularly cleaned, this step should never be skipped.
Step 4: Wash with Soap and Water
Using a mild soap or detergent, wash all surfaces inside the coop. This will help remove any remaining dirt or grime that may have accumulated over time. Make sure to scrub thoroughly with a scrub brush or sponge.
Step 5: Rinse with Water
Using a water hose or spray bottle, rinse off all surfaces inside the coop. This will help remove any soap residue and prepare the surfaces for disinfection. Soaking the surfaces for a few minutes can also help loosen any tough stains or buildup.
Step 6: Prepare Disinfectant Solution
Prepare a disinfectant solution by mixing 1 part bleach to 9 parts water. You can also use vinegar as an alternative, as it is a natural disinfectant. If using bleach, make sure to wear gloves and avoid inhaling the fumes.
Step 7: Disinfect Surfaces
Using a spray bottle or sponge, apply the disinfectant solution to all surfaces inside the coop. Make sure to cover all areas, including corners and crevices. Let the solution sit for at least 10 minutes to effectively kill any bacteria or parasites.
Step 8: Scrub and Rinse
Using a scrub brush or sponge, thoroughly scrub all surfaces inside the coop to ensure the disinfectant solution reaches all areas. Then, rinse off the solution with water. Other disinfectant products, such as powders or sprays, can also be used at this stage.
Step 9: Let Dry
Allow the coop to air dry completely before returning the chickens and equipment. This will ensure that any remaining disinfectant is safe for your chickens. If using a powder or spray, make sure to follow the instructions on the product for proper drying time.
Step 10: Disinfect Equipment
Before returning the equipment to the coop, make sure to disinfect them as well. Soak them in a bleach or vinegar solution for at least 10 minutes before rinsing and drying. Like the coop, make sure they are completely dry before returning them.
Step 11: Return Chickens
Once everything is dry and safe, return your chickens to their clean and disinfected coop. They will appreciate the fresh environment, and you can rest easily knowing they are safe from harmful bacteria.
Step 12: Maintain Regular Cleaning and Disinfection
Regular cleaning and disinfection should be a part of your chicken coop maintenance routine. This will ensure that your chickens stay healthy and productive while also extending the lifespan of your wooden coop.
Keeping a clean and disinfected chicken coop is essential for the well-being of your chickens.
By following these 12 steps on how to disinfect a wooden chicken coop, you can ensure a healthy and hygienic environment for your feathered friends. Remember to also maintain regular cleaning and disinfection to keep your coop in top condition.
9 Safety Measures to Keep in Mind
While disinfecting a wooden chicken coop is important, it is equally crucial to prioritize safety during the process. Here are some safety measures to keep in mind:
1) Wear Protective Gear
Always wear protective gear such as gloves, face masks, and eyewear to protect yourself from harmful bacteria or chemicals. And if your coop is enclosed, make sure to have proper ventilation. However, if you feel uncomfortable or experience any adverse symptoms, stop immediately and seek medical attention.
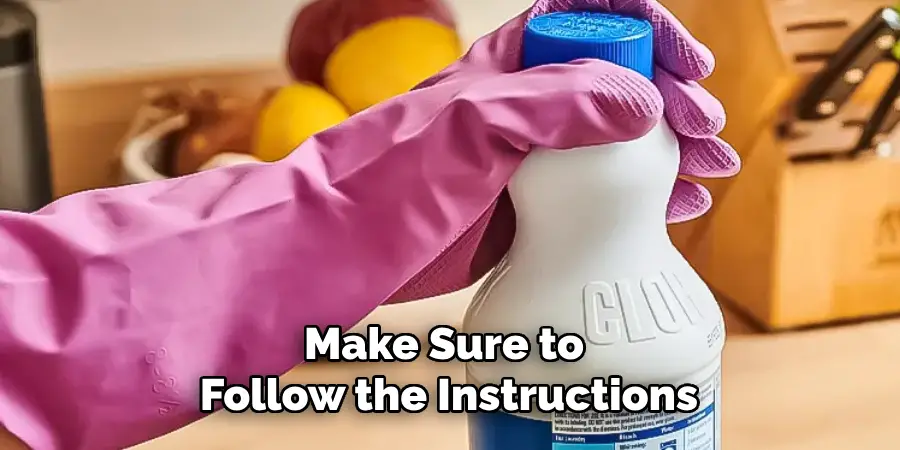
2) Handle Chemicals with Care
Bleach and other disinfectant products can be harmful if not handled properly. Always follow the instructions on the product label, and never mix different chemicals together. Just like with any cleaning product, keep them out of reach of children and pets.
3) Properly Dispose of Waste
Properly dispose of all waste materials, including droppings, debris, and used cleaning supplies. This will prevent the spread of bacteria and parasites to other areas. Consider composting or safely discarding waste in a sealed bag.
4) Keep Chickens Away
During the disinfection process, it is important to keep chickens away from the coop. This will prevent them from ingesting any harmful chemicals and ensure their safety. Even after the coop is dry, wait for a few hours before allowing the chickens back in.
5) Use Natural Alternatives
Consider using natural alternatives such as vinegar or essential oils to disinfect your chicken coop. These options are safer for both humans and chickens while still effectively killing bacteria and parasites. Always do your research and use caution when trying new products.
6) Follow a Regular Schedule
Make sure to regularly schedule cleaning and disinfection for your chicken coop. This will help prevent bacteria or parasites from building up and maintain a healthy environment for your chickens. Stick to a routine that works best for you and your flock.
7) Properly Ventilate the Coop
When using any chemicals, make sure the coop is properly ventilated to avoid inhaling harmful fumes. Open windows or doors and consider using a fan to circulate the air. This will also help with drying the coop after disinfection.

8) Keep Food and Water Clean
During the cleaning process, remove all food and water sources from the coop. This will prevent them from coming into contact with any chemicals or debris. After disinfecting, make sure to replace food and water with clean ones.
9) Monitor Your Chickens
After disinfecting the coop, it is important to monitor your chickens for any signs of illness. If you notice any changes in behavior or appearance, contact a veterinarian for further advice. Prevention is key to keeping your flock healthy and happy.
Keeping a clean and disinfected chicken coop is crucial for the health and well-being of your chickens. Regular cleaning and disinfection should be a part of your maintenance routine to prevent the spread of bacteria and parasites.
By following these safety measures and steps on how to disinfect a wooden chicken coop, you can ensure a healthy environment for your feathered friends. So roll up your sleeves, put on your protective gear, and get ready to give your chicken coop a good disinfecting!
8 Things to Avoid When Disinfecting a Wooden Chicken Coop
While it is important to know what steps to take when disinfecting your wooden chicken coop, it is equally important to know what not to do. Here are 8 things you should avoid when disinfecting your chicken coop:
1) Using Harsh Chemicals
Avoid using harsh chemicals such as ammonia or bleach in high concentrations. These chemicals can be harmful to both humans and chickens and can also damage the wood of your coop. And if you must use them, make sure to dilute them properly and follow safety precautions.
2) Not Wearing Protective Gear
As mentioned earlier, it is important to wear protective gear when handling disinfectants. This includes gloves, face masks, and eyewear. Failure to do so can result in irritation or injury. But keep in mind that protective gear does not guarantee complete protection, so always use caution.
3) Using Dirty Cleaning Supplies
Using dirty cloths or sponges to clean and disinfect your coop can actually spread bacteria instead of eliminating it. Make sure to properly clean and dry all cleaning supplies before using them again. And when finished, wash or replace them to prevent cross-contamination.
4) Not Allowing Enough Drying Time
After disinfecting, it is crucial to allow the coop enough time to dry before allowing your chickens back in. This will prevent them from coming into contact with any residual chemicals or damp surfaces that can harbor bacteria.

5) Not Properly Disposing of Waste
Improper disposal of waste materials can lead to the spread of bacteria and parasites. Make sure to safely discard or compost all waste from your chicken coop. Some states may even have regulations on how to properly dispose of poultry waste, so it is important to do your research.
6) Disrupting the Natural Order
It may be tempting to completely strip and disinfect your coop every time you clean, but this can actually disrupt the natural order and beneficial bacteria in the coop. Instead, focus on spot cleaning and only fully disinfect when necessary.
7) Neglecting to Monitor Your Chickens
It is important to monitor your chickens after disinfecting the coop for any signs of illness. If you notice any changes, it may be a sign that your cleaning methods or products are not suitable for your flock. Make adjustments as needed to ensure their health and well-being.
8) Skipping Regular Cleaning and Maintenance
While disinfecting is important, it should not be the only form of cleaning for your chicken coop. Make sure to regularly clean and maintain the coop by removing droppings and debris, and refreshing bedding. This will help prevent bacteria build-up and ensure a healthy environment for your chickens.
By avoiding these things and following the proper steps for disinfecting a wooden chicken coop, you can maintain a clean and healthy environment for your feathered friends. Remember to always prioritize safety and use caution when handling chemicals.
8 Additional Tips for Keeping a Clean and Healthy Chicken Coop
Aside from regular cleaning and disinfecting, here are 8 additional tips to help you maintain a clean and healthy chicken coop:
1) Use Bedding Material
Using bedding material such as straw, shavings, or sand on the floor of your coop can help absorb moisture and droppings. This will make it easier to clean and prevent bacteria build-up. More importantly, it will keep your chickens clean and comfortable.
2) Provide Dust Baths
Chickens like to take dust baths to help keep their feathers clean and free of parasites. Provide a designated area in the coop or run for them to do so, using sand or dry soil mixed with wood ash or food-grade diatomaceous earth.
3) Regularly Clean and Refresh Nesting Boxes
Nesting boxes can become soiled with droppings and bacteria, which can harm your chickens’ eggs and health. Make sure to regularly clean and refresh the bedding in nesting boxes to prevent this. If you notice any cracked or dirty eggs, promptly remove them to prevent the spread of bacteria.
4) Keep Feeders and Waterers Clean
Food and water sources can quickly become contaminated with droppings and bacteria. Make sure to regularly clean and disinfect feeders and waterers to ensure your chickens have access to clean food and water. And always provide fresh, clean water daily.
5) Practice Isolation and Quarantine
If you introduce new chickens to your existing flock, make sure to practice isolation and quarantine for at least two weeks. This will allow you to monitor the health of the new chickens and prevent any potential spread of diseases or parasites to your existing flock.
6) Use Natural Cleaning Alternatives
If you prefer to use natural cleaning alternatives, there are many options available, such as white vinegar, lemon juice, and essential oils. These can be just as effective in disinfecting your chicken coop while being safer for both humans and chickens.
7) Implement Pest Control Measures
Pests such as rodents and insects can carry diseases and harm your chickens. Make sure to regularly inspect and take measures to prevent and control them in your coop. This can include sealing any entry points, using traps or deterrents, and keeping the area around the coop clean.
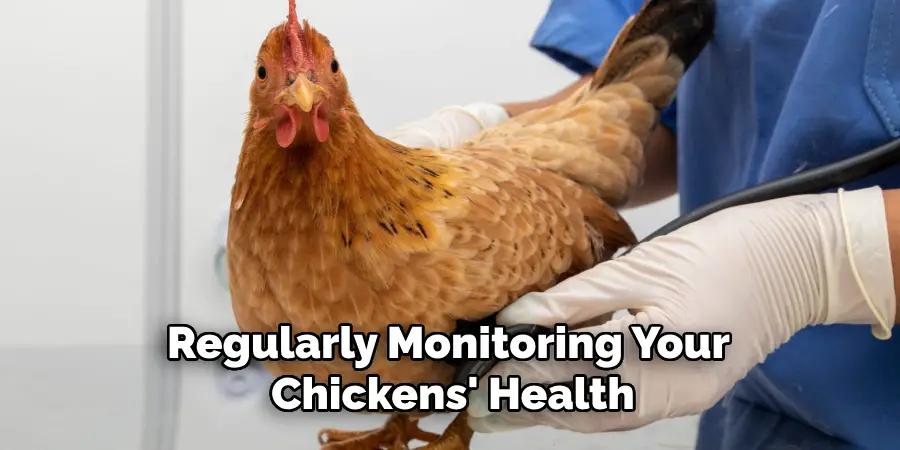
8) Monitor Your Flock’s Health
Regularly monitoring your chickens’ health is crucial for preventing diseases and maintaining a healthy flock. Keep an eye out for any changes in behavior, appetite, or appearance. If you notice any concerning symptoms, consult a veterinarian for proper diagnosis and treatment.
By following these additional tips on how to disinfect a wooden chicken coop and practicing good hygiene and cleaning habits, you can keep your chicken coop clean and maintain the health of your chickens. Remember to always prioritize safety and take necessary precautions when handling chemicals or potentially harmful substances.
Frequently Asked Questions
How Often Should I Disinfect My Chicken Coop?
It is recommended that your chicken coop be disinfected at least once a month or more frequently if needed. This can vary depending on the size of your flock, the cleanliness of the coop, and any potential health concerns.
Can I Use Bleach to Disinfect My Chicken Coop?
While bleach can be effective in disinfecting, it is important to use caution and follow instructions carefully. Avoid using bleach on wooden surfaces as it can damage or discolor them. Also, make sure to properly dilute the bleach and thoroughly rinse all surfaces before allowing chickens back into the coop.
Are There Any Natural Alternatives for Disinfecting a Chicken Coop?
Yes, there are many natural alternatives for disinfecting a chicken coop, such as white vinegar, lemon juice, essential oils, and food-grade diatomaceous earth. These can be just as effective in killing bacteria and safer for both humans and chickens. However, it is important to do thorough research and follow proper instructions when using these alternatives.
Can I Disinfect My Chicken Coop While My Chickens Are Still Inside?
It is not recommended to disinfect your chicken coop while your chickens are still inside. The chemicals used can be harmful to chickens, and it is best to wait until they are outside in their run or free-ranging. If this is not possible, make sure to properly ventilate the coop and use caution when handling chemicals.
Additionally, make sure to thoroughly rinse any surfaces and allow for adequate drying time before allowing the chickens back inside the coop. It may be best to disinfect in the evening after the chickens have gone to roost and before the morning when they are let out. This will give the coop enough time to dry and air out before the chickens return.
Conclusion
Maintaining a clean and healthy chicken coop is essential for the well-being of your flock. By following these tips on how to disinfect a wooden chicken coop and regularly disinfecting your coop, you can prevent diseases and keep your chickens happy and thriving.
Remember to prioritize safety, use caution when handling chemicals, and monitor your flock’s health for any potential issues. You can create a clean and safe environment for your chickens to thrive in with proper care and maintenance.
About
Outdoor Fixes is a distinguished figure in the world of Diy design, with a decade of expertise creating innovative and sustainable Diy solutions.
His professional focus lies in merging traditional craftsmanship with modern manufacturing techniques,
fostering designs that are both practical and environmentally conscious. As the author of diy,
outdoorfixes delves into the art and science of outdoorfixes-making, inspiring artisans and industry professionals alike.
Education RMIT University
(Melbourne, Australia) Associate Degree in Design (Outdoor Fixes) Focus on sustainable design, industry-driven projects,
and practical craftsmanship. Gained hands-on experience with traditional and digital manufacturing tools, such as CAD and CNC software.
Nottingham Trent University
(United Kingdom) Bachelor’s in outdoorfixes.com and Product Design (Honors) Specialized in product design with a focus on blending creativity with production
techniques. Participated in industry projects, working with companies like John Lewis and Vitsoe to gain real-world insights.
Publications and Impact
In diy, Outdoor Fixes his insights on indoor design processes, materials, and strategies for efficient production.
His writing bridges the gap between artisan knowledge and modern industry needs, making it a must-read for both budding designers and seasoned professionals.