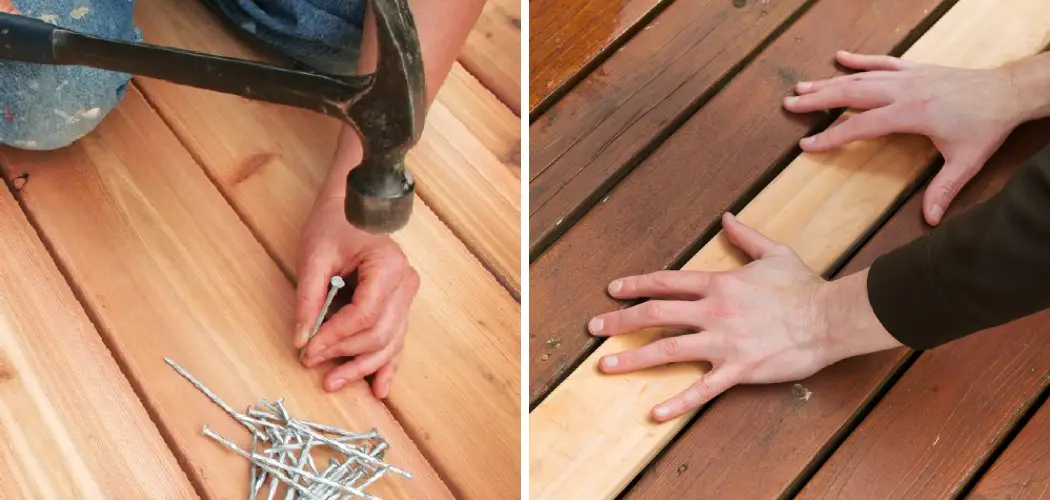
Do you have a wood deck with some gaps and unfortunate wear marks? If so, don’t let it bring down the aesthetic of your outdoor space — take matters into your own hands and repair that wooden surface! It may be time to take action and start getting your outdoor space in tip-top shape.
With a few easy steps, How to Fill Gaps in Wood Deck and restore its beautiful natural color – no matter how aged or weathered it is! While large jobs may require professional help, filling small gaps in wood decks is not only possible but also relatively easy.
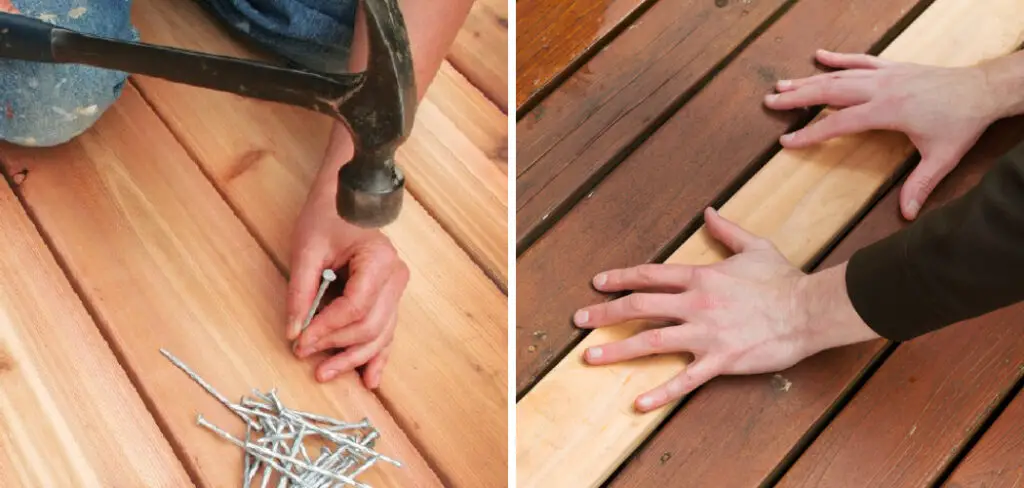
Whether you want to patch up those problem areas out of curiosity or necessity, this guide will provide you with all the helpful tips and tricks on how to fill those pesky gaps quickly and efficiently – right from the comfort of your very own backyard! We’re here today with our guide on filling gaps in wood deck so that you can get back outside enjoying your refreshed backyard sooner rather than later!
Necessary Items
Before beginning this process, you should gather all the necessary items to ensure your wood deck repair goes as smoothly as possible. You will need:
- Wood filler or epoxy (depending on the size and depth of gaps)
- Putty knife or scraper
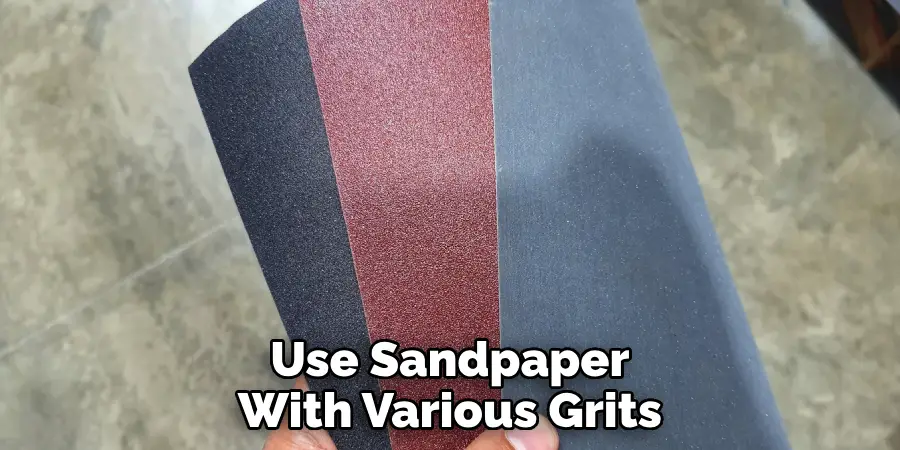
- Sandpaper with various grits (60, 100, 120)
- Vacuum cleaner or broom
- Wood stain or paint (optional)
- Paintbrush (optional)
10 Steps on How to Fill Gaps in Wood Deck
Step 1: Clean the Deck
The first step in filling gaps is to clean the deck thoroughly. Use a broom or vacuum cleaner to remove dirt, debris, or loose wood around and inside the gaps. This will ensure that the filler or epoxy has a clean and smooth surface to adhere to.
Step 2: Assess the Gaps
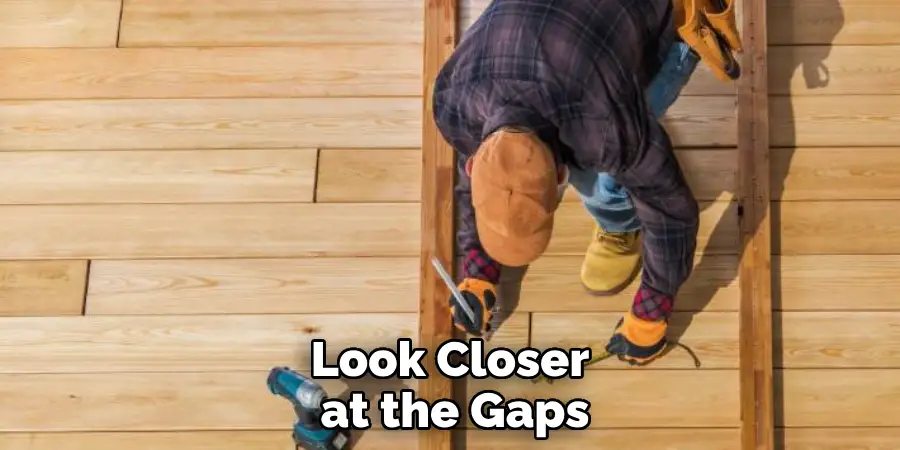
Once you have cleaned the deck, look closer at the gaps. Determine their size and depth, which will help you decide whether to use wood filler or epoxy. Generally, wood filler is suitable for narrow and shallow gaps, while epoxy works better for broader and deeper gaps.
Step 3: Prepare the Filler or Epoxy
Follow the instructions on your chosen product to prepare the filler or epoxy. If using wood filler, you may need to mix it with water or a hardener. For epoxy, you will likely have two separate tubes that must be incorporated.
Step 4: Fill the Gaps
Using a putty knife or scraper, fill the gaps with the prepared filler or epoxy. Press down firmly and remove any excess material from the surface. For more significant gaps, you may need to apply multiple layers until the gap is level with the rest of the deck.
Step 5: Let It Dry
Allow the filler or epoxy to dry completely per the product’s instructions. This usually takes a few hours, but it’s best to leave it overnight for better results. Cover the deck during this time to protect it from debris or weather.
Step 6: Sand the Surface
Once dry, use a sandpaper with various grits (starting with 60 and ending with 120) to smooth out the surface. This will also help blend the filler or epoxy with the rest of the wood deck. Clean up any dust before moving on to the next step.
Step 7: Apply Stain or Paint (Optional)
If desired, you can apply wood stain or paint to the filled gaps. This will help match the color of the filler or epoxy with the rest of the deck and give it a finished look. Use a paintbrush to carefully cover the gaps and let it dry before moving on to the final step.
Step 8: Sand Again (Optional)
If you have applied stain or paint, you may need to sand again to ensure a smooth and even surface. Use a higher grit sandpaper (around 220) for this step and clean up dust afterward.
Step 9: Seal the Deck (Optional)
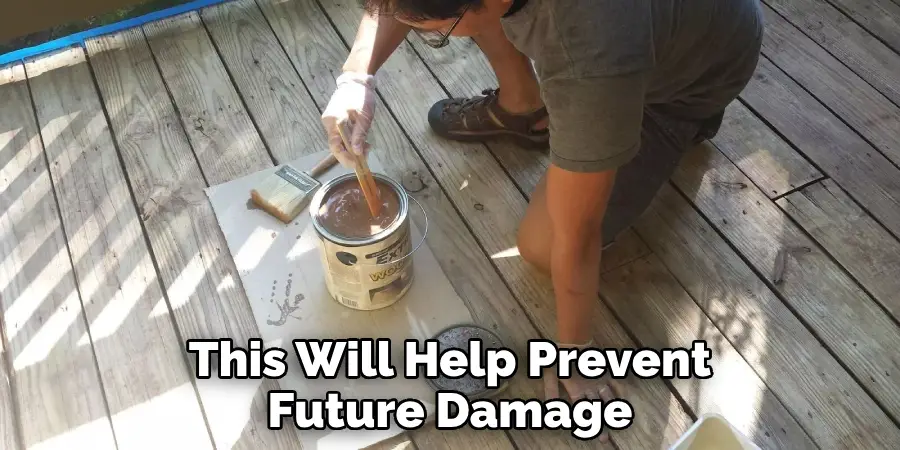
To protect your newly filled gaps and the rest of your wood deck, seal it with a coat of marine varnish or oil. This will help prevent future damage and maintain the beauty of your deck for longer.
Step 10: Regular Maintenance
To avoid filling gaps in your wood deck in the future, it’s essential to maintain and clean your deck regularly. This includes sweeping away debris, sealing it every few years, and addressing any minor issues before they become significant problems.
Filling gaps in wood decks is an easy DIY project that can significantly improve the appearance of your outdoor space. With the right tools and techniques on how to fill gaps in wood deck, you can have a beautiful and sturdy wood deck that will last for years to come.
Remember to regularly maintain your deck to prevent future gaps and damage, and enjoy your refreshed outdoor space! Now go out there and give your wood deck the TLC it deserves!
8 Care Tips for Your Wood Deck
1. Regularly Sweep or Hose Off Your Deck
Debris can build up on your deck, causing discoloration and potential damage. Sweep or hose off your deck regularly to keep it clean.
2. Address Any Issues Immediately
If you notice any issues with your wood deck, such as loose boards or screws, address them immediately before they become more significant problems. This will save you time and money in the long run.
3. Protect Your Deck from Water Damage
Water can cause significant damage to wood decks, so it’s essential to take precautions to protect it. This can include using a sealant or applying oil every few years.
4. Refrain from Using Harsh Chemicals
Harsh chemicals can strip away the protective layer of your wood deck, making it more vulnerable to damage. Stick to mild soap and water for cleaning.
5. Keep Your Deck Free of Moisture
Moisture can lead to mold and rot on your wood deck, so keep it dry by regularly cleaning and sweeping away any standing water.
6. Use Furniture Protectors
To prevent scratches and marks on your deck, use furniture protectors under any outdoor furniture or pots. This will also help improve the longevity of your deck.
7. Trim Back Plants and Trees
Plants and trees can cause damage to your wood deck if they are too close or overgrown. Keep them trimmed back to prevent any potential issues.

8. Schedule Regular Inspections
It’s a good idea to schedule regular inspections of your wood deck to catch any potential issues early on. This will help maintain the integrity of your deck and prevent costly repairs down the road. Overall, proper maintenance and care for your wood deck is essential to ensure its longevity and beauty.
By following these tips on how to fill gaps in the wood deck, you can enjoy your outdoor space for years to come without worrying about filling gaps or significant repairs. Filling gaps in your wood deck is a simple and effective way to improve its appearance and prevent future damage.
With the right tools and proper maintenance, you can have a beautiful and sturdy deck that will last for years. Regularly clean, seal, and inspect your deck for optimal results.
8 Things to Avoid When Filling Gaps in Your Wood Deck
1. Using the Wrong Type of Filler or Epoxy
Carefully choose the right type of filler or epoxy for your specific wood deck needs. Using the wrong product can lead to poor results and potential damage.
2. Skipping Preparation Steps
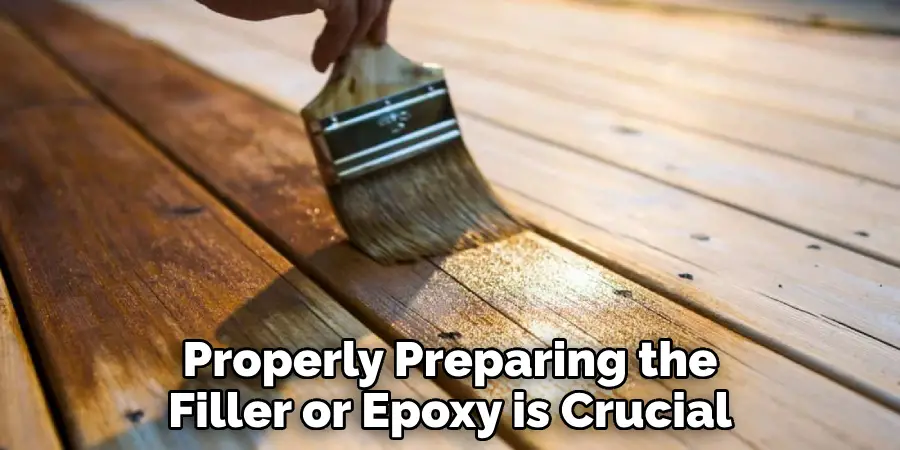
Properly preparing the filler or epoxy is crucial for achieving a smooth and level surface. Skipping this step can result in an uneven finish or the product not adhering correctly.
3. Not Using Enough Filler or Epoxy
Be generous when filling gaps with the chosen product, as it may shrink slightly as it dries. Adding too little filler or epoxy can result in needing to refill the gap again in the future.
4. Not Letting the Product Dry Completely
It’s essential to allow the filler or epoxy to dry completely before sanding or applying stain/paint. Rushing this step can lead to a less-than-desirable finish.
5. Using Too Much Force When Sanding
Take care when sanding the surface, as using too much force can result in unevenness or even damage the wood.
6. Using the Wrong Type of Sandpaper
Different grits of sandpaper are needed for different stages of filling gaps in your wood deck. Make sure to use the correct type and grit for each step.
7. Applying Stain or Paint Before Sanding Again
If you have applied stain or paint, make sure to sand again after it has dried for a smooth and even surface. Skipping this step can result in an uneven finish.
8. Neglecting Regular Maintenance
Regularly maintaining your wood deck is essential for preventing future gaps and damage. Ensure to clean, seal, and inspect your deck periodically to keep it in top shape.
In summary, proper preparation and technique are essential when filling gaps in your wood deck. Avoid these common mistakes to achieve a beautiful and long-lasting result. Now, you’re ready to tackle any gaps that may arise on your wood deck with confidence! Enjoy your refreshed outdoor space for years to come by following these tips on how to fill gaps in the wood deck and maintain regular care.
FAQs about Filling Gaps in Wood Decks
Why Do Gaps Occur in Wood Decks?
Gaps can occur naturally as wood expands and contracts with changes in temperature and humidity, or they can be caused by wear and tear over time.
Can Gaps in Wood Decks Be Prevented?
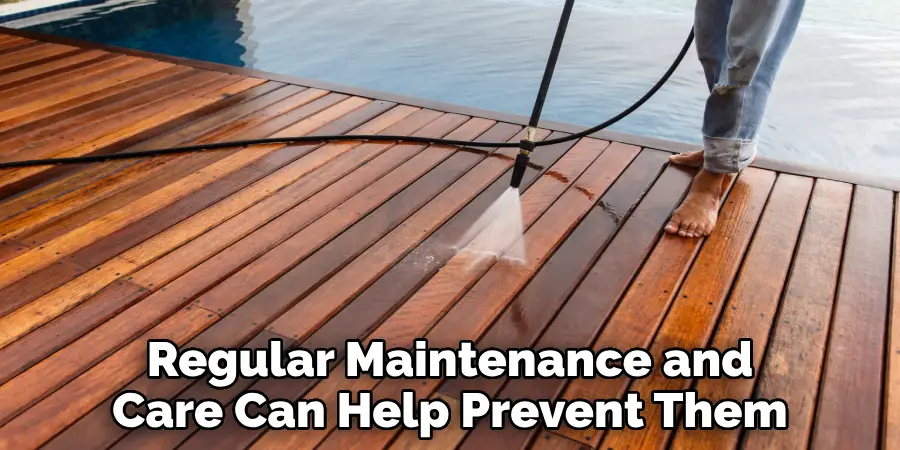
While some gaps may be unavoidable, regular maintenance and care can help prevent them from becoming major issues. Properly sealing and protecting your wood deck can also help minimize the occurrence of gaps.
How Often Should I Fill Gaps in My Wood Deck?
It’s recommended to fill any noticeable gaps in your wood deck as soon as they appear or at least once a year during regular maintenance. This will help prevent the gaps from becoming more extensive and more challenging to fill.
What Tools Do I Need for Filling Gaps in My Wood Deck?
The tools needed may vary depending on the type of filler or epoxy used, but typically, you will need sandpaper, a putty knife or trowel, and a caulking gun (if using an epoxy).
Can I Fill Gaps in My Wood Deck Myself?
Yes, filling gaps in your wood deck can be done with the right tools and materials. However, if you are unsure or uncomfortable with the process, it’s always best to consult a professional. Remember to take your time and follow the steps for the best results.
Is It Necessary to Refill Gaps in My Wood Deck Every Year?
It’s okay to fill gaps in your wood deck every year if they are small and not cause any issues. However, it’s a good idea to inspect your deck annually and fill any noticeable gaps to prevent them from getting more significant.
With these tips and techniques, you can quickly fill gaps in your wood deck and maintain its beauty and durability for years. So get out there and enjoy your outdoor space!
Conclusion
Filling gaps in your wood deck is a simple and effective way to maintain its appearance, durability, and safety. By following these tips on how to fill gaps in wood deck, avoid common mistakes, and properly maintain your deck; you can enjoy it for years to come without having to worry about major repairs.
Remember to always choose the suitable filler or epoxy for your specific needs, appropriately prepare and sand the surface, and regularly inspect and care for your deck. With these steps, you can have a beautiful and long-lasting wood deck you can be proud of.
Overall, filling a gap in your wood deck is relatively easy and can be done with the correct tools and materials. With a few simple steps and determination, you’ll have your wood deck looking good as new in no time. Remember to wear protective gloves and safety glasses while working on your deck. Be sure to clean up all debris when you’re finished. Also, feel free to enlist help from a professional deck repairman.
About
Outdoor Fixes is a distinguished figure in the world of Diy design, with a decade of expertise creating innovative and sustainable Diy solutions.
His professional focus lies in merging traditional craftsmanship with modern manufacturing techniques,
fostering designs that are both practical and environmentally conscious. As the author of diy,
outdoorfixes delves into the art and science of outdoorfixes-making, inspiring artisans and industry professionals alike.
Education RMIT University
(Melbourne, Australia) Associate Degree in Design (Outdoor Fixes) Focus on sustainable design, industry-driven projects,
and practical craftsmanship. Gained hands-on experience with traditional and digital manufacturing tools, such as CAD and CNC software.
Nottingham Trent University
(United Kingdom) Bachelor’s in outdoorfixes.com and Product Design (Honors) Specialized in product design with a focus on blending creativity with production
techniques. Participated in industry projects, working with companies like John Lewis and Vitsoe to gain real-world insights.
Publications and Impact
In diy, Outdoor Fixes his insights on indoor design processes, materials, and strategies for efficient production.
His writing bridges the gap between artisan knowledge and modern industry needs, making it a must-read for both budding designers and seasoned professionals.

