Drip irrigation is a gardener’s best friend, delivering precise hydration directly to thirsty roots while conserving precious water. However, nothing ruins the efficiency of this system faster than an accidental puncture. Whether it was a wayward shovel, a hungry rodent, or just wear and tear over time, discovering a geyser in your garden can be frustrating. That distinct hissing sound and the sight of a muddy puddle often send new gardeners into a panic, assuming they need to replace the entire setup.

The good news is that these leaks are incredibly common and very simple to repair. You do not need to be a professional plumber or buy expensive tools to solve this problem. With a few affordable parts and a little know-how, you can restore your system to full pressure in minutes. This guide is designed to walk you through exactly how to fix hole in drip line tubing, ensuring your plants get the water they need without wasting a single drop.
Why Fixing a Hole in Your Drip Line is Important
Fixing a hole in your drip line is crucial for maintaining an effective and efficient irrigation system. A damaged drip line can lead to water waste, increased utility bills, and uneven watering, which may harm your plants. Unaddressed holes can escalate over time, reducing the water pressure needed to distribute water evenly across your garden.
This not only impacts plant health but also undermines the sustainability of your irrigation system. By repairing holes promptly, you ensure that every drop of water is used effectively, conserving resources while keeping your plants healthy and hydrated.
Step-by-Step Guide on How to Fix Hole in Drip Line
Step 1: Pinpoint the Exact Location of the Leak
The first and most critical part of the repair process involves finding the precise source of the water loss. Sometimes the leak is obvious, creating a visible fountain or a large muddy spot, but other times it might be a subtle trickle hidden beneath mulch or foliage. Turn on your irrigation system manually and walk along the length of the tubing.
Listen carefully for hissing sounds and look for wet spots on the soil surface that do not match up with your emitters. Once you identify the problem area, clear away the dirt and mulch to expose the tubing completely. Mark the spot with a piece of tape or a small scratch so you do not lose track of it once the water is turned off.
Step 2: Shut Off the Water Supply and Drain the Line
Before you make any cuts, you must stop the flow of water to prevent a messy workspace and ensure a proper seal. Return to your timer or faucet and turn the system off completely. It is also helpful to open an end cap or remove an emitter at a lower elevation in the garden to relieve any residual pressure remaining in the pipes. If the line is full of water, cutting into it will result in a splash that makes handling the tubing slippery and difficult. Wait a few moments for the line to drain sufficiently. Working with dry, depressurized tubing is much easier and safer, allowing for a cleaner cut and a more secure connection when you install the repair coupler.
Step 3: Cut Out the Damaged Section
With the water off and the tubing exposed, take a sharp pair of tubing cutters or heavy-duty garden shears. You need to remove the section of the pipe that contains the hole. Make two clean, straight cuts—one on either side of the puncture. Aim to remove only the smallest amount of tubing necessary, usually about an inch or less, to avoid shortening the line too much.
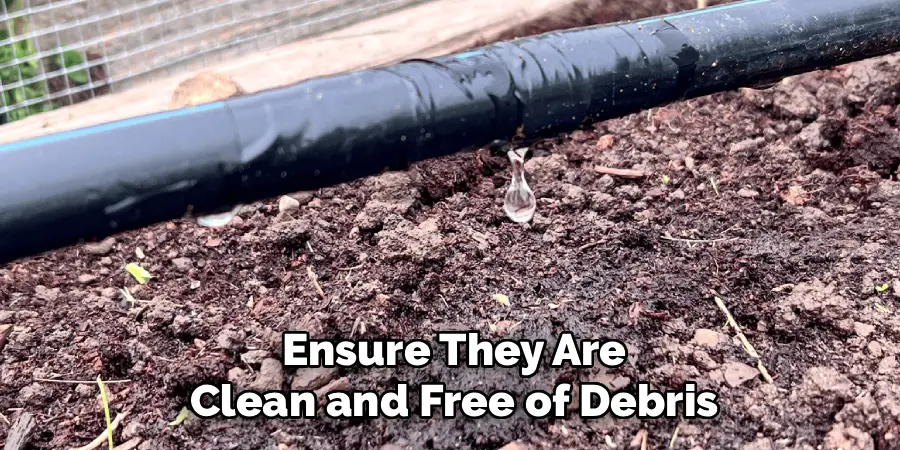
It is vital that these cuts are perpendicular to the tube, creating a flat, even edge rather than an angled one. jagged or slanted edges can prevent the repair fitting from seating correctly, leading to future leaks. Inspect the inside of the remaining tube ends to ensure they are clean and free of debris.
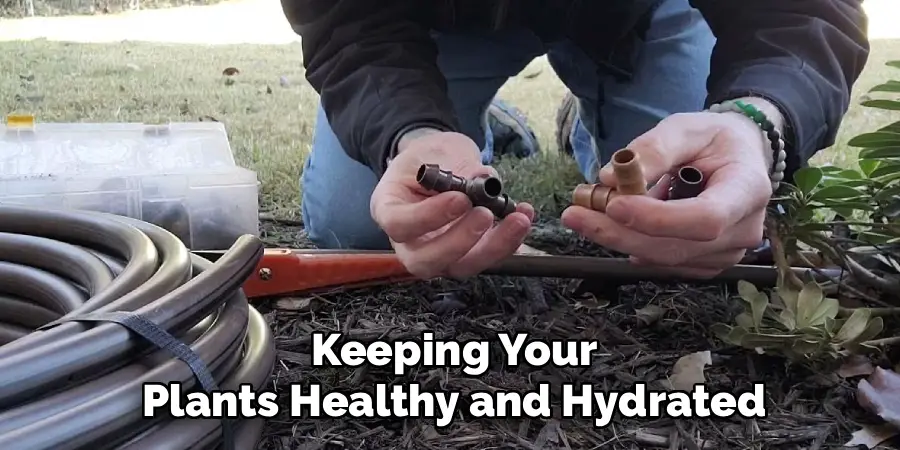
Step 4: Select the Correct Repair Fitting
Choosing the right connector is essential for a lasting repair. For standard 1/2-inch poly tubing, a barbed coupling connector is the most common and effective solution. These simple plastic fittings have ridges on both ends that grip the inside of the tube. If you are working with smaller 1/4-inch micro-tubing, you will need a corresponding micro-barb connector. Alternatively, you can use “compression” fittings, which fit over the outside of the tube, though these are slightly bulkier.
Ensure the size of your coupler matches the diameter of your drip line exactly. Using a fitting that is too small will cause leaks, while one that is too large will tear the plastic. Having a handful of these inexpensive couplers in your tool kit is a smart move for any gardener.
Step 5: Insert the Coupler
This step requires a bit of physical effort and finesse. Take one end of your cut tubing and push it firmly onto one side of the barbed coupler. You need to push the tubing past the first few ridges of the barb to ensure a watertight seal. If the tubing is cold and stiff, this can be difficult. A helpful trick is to dip the end of the tubing into a cup of hot water for about ten seconds, or leave it in the sun for a few minutes.
The heat softens the plastic, making it much more pliable and easier to slide over the barbs. Once the first side is secure, repeat the process with the other end of the cut tubing, connecting the two pieces back together with the coupler in the middle.
Step 6: Verify the Connection and Check for Tension
After you have inserted the coupler, give the tubing a gentle tug to ensure the connection is solid. The barbs should hold the plastic firmly in place. Next, look at how the repaired line sits in the garden. If you removed a large section of damaged tubing, the line might now be too short, creating tension that pulls tightly on your new joint. This stress can cause the repair to fail over time. If the line is too tight, you may need to add a small extension piece of new tubing using two couplers instead of one. The goal is for the repaired line to lay flat on the ground without being stretched or kinked, allowing water to flow smoothly through the new junction.
Frequently Asked Questions
What Are Goof Plugs and When Should I Use Them?
Goof plugs are small plastic stoppers designed specifically for fixing tiny holes in drip tubing. They are double-ended, with a small plug on one side and a larger one on the other.
- Use Case: Use them when you have punched a hole for an emitter in the wrong spot or if an emitter has been removed, leaving a small, clean puncture.
- Installation: Simply push the appropriate end of the plug directly into the unwanted hole until it snaps into place. They are not suitable for cracks or large tears.

Why Does My Drip Line Keep Getting Holes?
If you are finding frequent leaks, investigate the underlying cause to prevent recurrence.
- Rodents: Squirrels and rats often chew lines searching for water. Consider burying lines or providing a separate water source.
- High Pressure: Excessive water pressure can burst lines. Ensure you have a pressure regulator installed at the faucet (usually around 25 PSI).
- Physical Damage: Garden tools are common culprits. Use landscape staples to keep lines pinned down and visible.
Can I Use Tape to Fix a Drip Line Leak?
Generally, no. Duct tape, electrical tape, or silicone sealant are temporary fixes at best and will usually fail quickly under pressure.
- Pressure Issues: The internal water pressure expands the tube, causing tape to peel or water to tunnel underneath the adhesive.
- Moisture: The wet environment degrades adhesives rapidly.
- Recommendation: Always use a proper barbed or compression coupling for a permanent repair; they are inexpensive and reliable.
How Do I Soften the Tubing to Make Installation Easier?
Polyethylene tubing can be very stiff, especially in cool weather, making it hard to insert fittings.
- Hot Water: Dip the end of the tubing into a thermos of hot (not boiling) water for 10–15 seconds.
- Sunlight: Lay the tubing out in direct sunlight for an hour before working.
- Hairdryer: Use a hairdryer on a low setting to gently warm the end of the pipe.
What if the Hole Is Too Large for a Coupler?
If the damage spans several inches or the tubing is shredded, a single coupler won’t work because the line will be too short to reconnect.
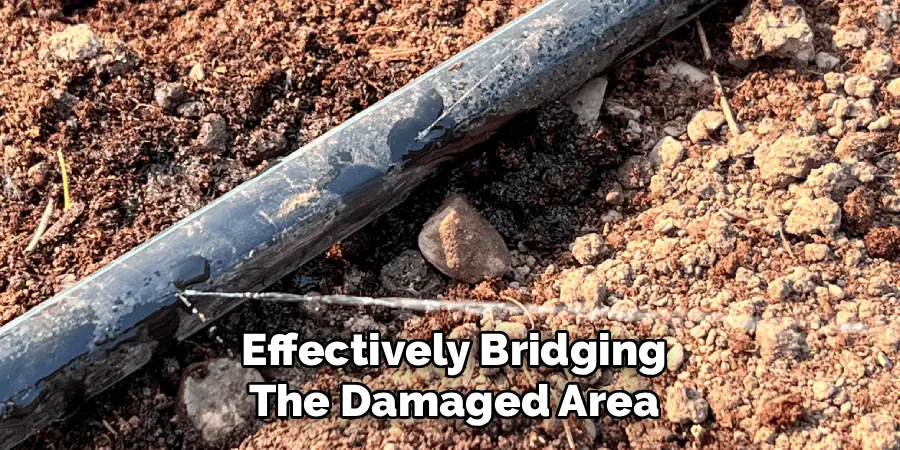
- The Solution: You need to splice in a new section of tubing.
- Method: Cut out the entire damaged length. Cut a fresh piece of tubing of the same length. Use two couplers to connect the new piece into the gap, effectively bridging the damaged area.
Conclusion
Repairing a damaged irrigation system is an essential skill for any home gardener, turning a potential disaster into a minor five-minute maintenance task. By understanding the simple mechanics of your tubing and having a few spare couplers on hand, you can tackle leaks the moment they appear.
This proactive approach saves water, protects your plants from dehydration, and extends the life of your watering system significantly. There is no need to call a professional or dig up the entire yard; you have the power to keep things flowing smoothly. Now that you have mastered how to fix hole in drip line tubing, you can return to enjoying your garden, confident that your hydration system is secure, efficient, and ready to nurture your plants through the hottest days of summer.
About
Outdoor Fixes is a distinguished figure in the world of Diy design, with a decade of expertise creating innovative and sustainable Diy solutions.
His professional focus lies in merging traditional craftsmanship with modern manufacturing techniques,
fostering designs that are both practical and environmentally conscious. As the author of diy,
outdoorfixes delves into the art and science of outdoorfixes-making, inspiring artisans and industry professionals alike.
Education RMIT University
(Melbourne, Australia) Associate Degree in Design (Outdoor Fixes) Focus on sustainable design, industry-driven projects,
and practical craftsmanship. Gained hands-on experience with traditional and digital manufacturing tools, such as CAD and CNC software.
Nottingham Trent University
(United Kingdom) Bachelor’s in outdoorfixes.com and Product Design (Honors) Specialized in product design with a focus on blending creativity with production
techniques. Participated in industry projects, working with companies like John Lewis and Vitsoe to gain real-world insights.
Publications and Impact
In diy, Outdoor Fixes his insights on indoor design processes, materials, and strategies for efficient production.
His writing bridges the gap between artisan knowledge and modern industry needs, making it a must-read for both budding designers and seasoned professionals.