Maintaining a healthy and even lawn can be a source of pride for any homeowner. However, one common issue that can detract from the overall appearance and health of your yard is low spots. These depressions can lead to water pooling, uneven growth, and even tripping hazards. Fortunately, fixing low spots in your lawn is a manageable task with the right approach.

This guide on how to fix low spots in lawn will walk you through the necessary steps and techniques to restore your lawn to its best possible condition.
What is a Low Spot in the Lawn?
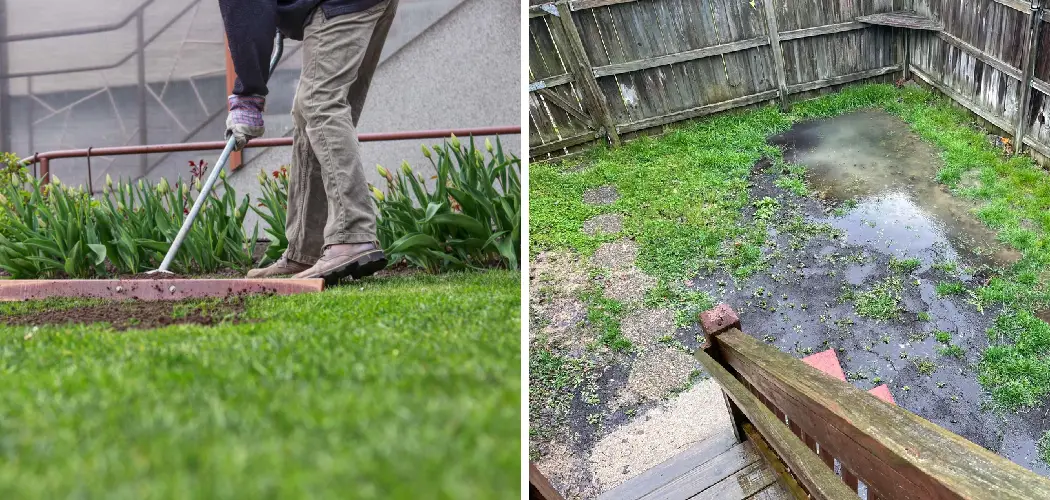
A low spot in a lawn is an area where the grass surface dips below the surrounding ground level. These depressions can form due to various reasons, including soil settling, erosion, heavy foot traffic, or improper grading during initial lawn installation. Low spots can cause several issues, such as water pooling after rain, which can lead to root rot and other grass diseases.
Additionally, these uneven areas can disrupt mowing and create a less visually appealing landscape. Identifying and addressing low spots early is crucial for maintaining the overall health and appearance of your lawn.
Why are Low Spots a Problem?
Low spots in your lawn can cause several issues that affect the health and aesthetics of your yard. Some common problems associated with low spots include:
Water Pooling:
Depressions in your lawn can become waterlogged after rainfall or while watering, leading to root rots, fungus growth, and other water-related issues.
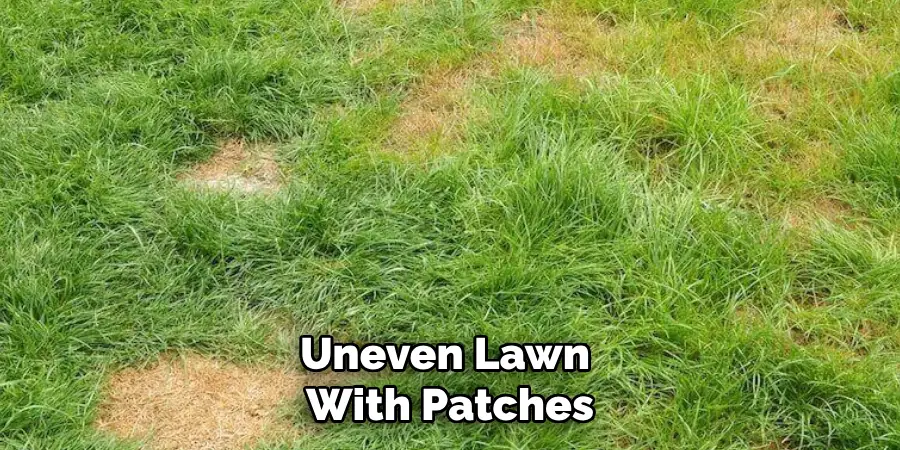
Uneven Growth:
Grass in low spots may struggle to grow since it is often deprived of essential nutrients due to poor drainage. This can result in an uneven lawn with patches of thin or dead grass.
Tripping Hazards:
In areas where the low spots are significant, they can create a safety hazard for people walking on the lawn, especially if not easily visible. This is also a concern for children playing on the lawn.
Needed Materials
Before you start fixing the low spots in your lawn, here are some materials that you will need:
Shovel or Garden Rake:
To dig out and level the low spots, you will need a shovel or garden rake.
Topsoil:
Topsoil is essential for filling in the low spots and creating a level surface. You can buy bags of topsoil at your local gardening store or use compost as an alternative.
Lawn Roller:
A lawn roller will help compact the soil after filling in the low spots to prevent future settling.
9 Step-by-step Guidelines on How to Fix Low Spots in Lawn
Step 1: Identify the Low Spots
The first step in fixing low spots in your lawn is to identify where they are. Walk around your yard and carefully observe the surface, looking for areas where the grass seems to dip or where water tends to pool after rain. It’s beneficial to do this after a storm or watering session, as these are the times when low spots are most visible.
Mark these areas with small flags or stakes to ensure you address each one. Taking the time to accurately identify all the low spots will make the leveling process much more effective and ensure a smoother, more even lawn.
Step 2: Remove Excess Debris
Once you have identified and marked the low spots in your lawn, the next step is to remove any excess debris from these areas. This includes rocks, sticks, leaves, and any other materials that may interfere with the leveling process.
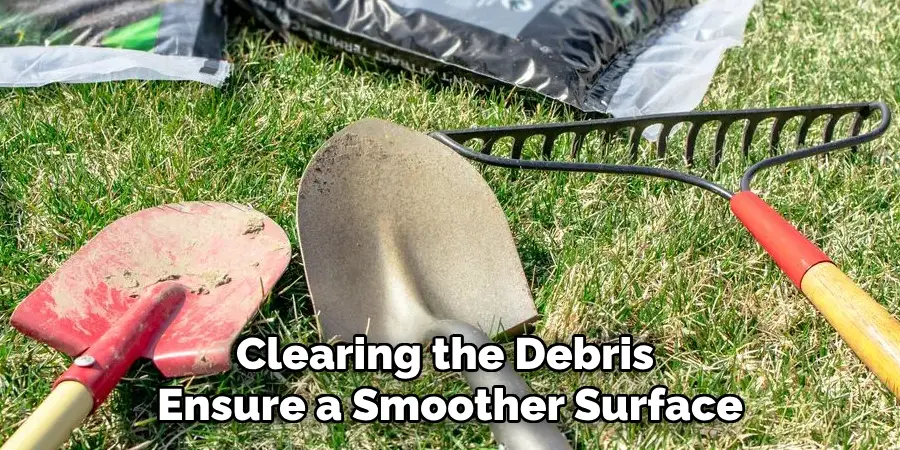
Clearing the debris ensures a smoother surface for the new soil and allows for better integration with the existing lawn. Use a rake or your hands to carefully collect and dispose of the debris. Taking this step not only prepares the low spots for effective filling but also contributes to a healthier and more visually appealing lawn overall.
Step 3: Loosen the Soil
After clearing the debris from the low spots, the next step is to loosen the soil in these areas. Loosening the soil allows the new topsoil to integrate better with the existing soil, promoting healthy grass growth and ensuring a more even lawn. Use a garden rake or a shovel to gently break up the compacted soil in the low spots. Aim to loosen the soil to a depth of about 2-3 inches.
By addressing the compaction, you create a more hospitable environment for grass roots to establish themselves and for the new soil to settle more uniformly. This crucial step not only improves soil aeration but also helps prevent future low spots from forming. Once the soil is adequately loosened, you can move on to adding the topsoil and leveling the area.
Step 4: Add Topsoil
With the soil loosened, it’s time to add new topsoil to fill in the low spots. Use a shovel or garden rake to spread a layer of topsoil over the affected areas, ensuring an even distribution. The thickness of this layer will depend on how significant the depression is; aim for about 1-2 inches above the surrounding ground level.
If you are using compost instead of store-bought topsoil, make sure it is well-composted and free of weeds and other debris that could interfere with grass growth. Adding compost as a natural fertilizer can also benefit your lawn in the long run.
Step 5: Level the Surface
Once you have added the topsoil, it’s time to level the surface. Use a rake or shovel to spread the soil evenly and create a smooth, level surface. Make sure to tamp down the soil lightly as you go to avoid any air pockets that could lead to future settling.
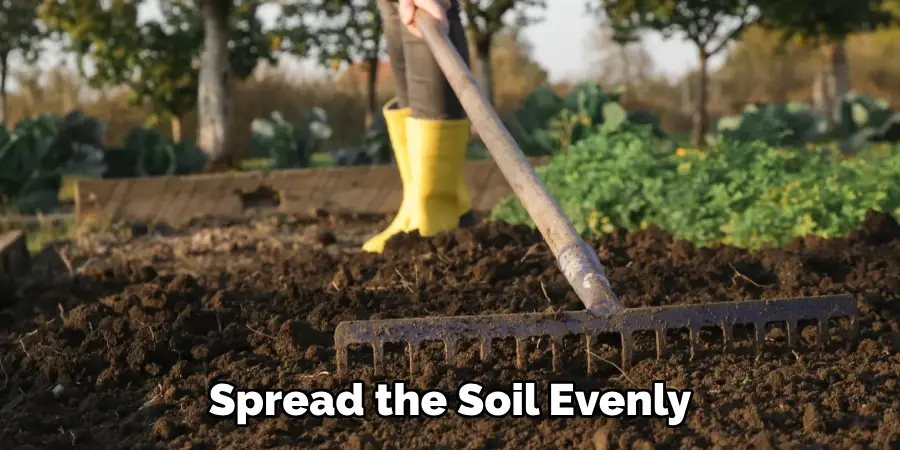
A lawn roller can also be used at this stage to compact the soil further and ensure a stable foundation for your grass. However, if you don’t have access to one, simply tamping down with your feet or a flat object will suffice.
Step 6: Water Thoroughly
After leveling the low spots with new topsoil, it’s essential to water thoroughly. This ensures proper integration of the new soil with the existing lawn and promotes healthy growth. Use a slow, steady trickle of water to avoid washing away the new soil and distribute it evenly.
Watering after leveling also helps reveal any areas that may need further filling or smoothing out. Keep an eye on the low spots and add more soil as needed until you achieve a level surface.
Step 7: Seed and Fertilize
Once the low spots are filled in, it’s time to seed and fertilize if necessary. If the low spots were severe and caused significant damage to your grass, consider reseeding these areas with fresh grass seed. This will help fill in any bare patches caused by poor drainage or insufficient nutrients.
If you choose to seed, make sure to follow the instructions on the packaging for optimal results. Additionally, you can also add a layer of fertilizer to promote healthy grass growth and help prevent future low spots from forming.
Step 8: Keep an Eye on the Lawn
After addressing the low spots in your lawn, it’s important to keep an eye on the affected areas. Watch out for any signs of settling or unevenness and make sure to add more soil as needed. Regularly mowing and watering your lawn will also help maintain a level surface and promote healthy grass growth.
Additionally, if you notice that certain areas of your lawn are prone to developing low spots, consider implementing drainage solutions such as French drains or rain gardens to prevent future issues.
Step 9: Maintain Proper Drainage
In addition to implementing drainage solutions, there are other steps you can take to maintain proper drainage in your lawn. These include aerating the soil regularly, avoiding overwatering, and mowing at the correct height. Good drainage is crucial for preventing low spots from forming and keeping your lawn healthy and visually appealing.
Following these steps on how to fix low spots in lawn will help you effectively address low spots in your lawn and achieve a smoother, more even surface. Regularly monitoring and maintaining proper drainage can also help prevent future issues and keep your lawn looking its best.
So go ahead and give your lawn the care it deserves for a healthier, more beautiful outdoor space. Keep exploring new ways to improve the health and appearance of your lawn throughout the year! Happy gardening!
Frequently Asked Questions
Q: How Often Should I Check for Low Spots in My Lawn?
A: It’s recommended to check for low spots at least once a year, preferably before the start of the growing season. However, keep an eye out for any signs of settling or unevenness and address them as needed throughout the year.
Q: Can I Use Sand Instead of Topsoil to Fill in Low Spots?
A: Sand is not recommended as a filling material for low spots in lawn. It can lead to soil compaction and poor drainage, causing more problems in the long run. Stick to using topsoil or compost instead.
Q: How Long Will It Take for Grass to Grow on Filled-in Low Spots?
A: The time it takes for grass to grow on filled-in low spots will vary depending on various factors such as weather conditions, grass type, and maintenance. It can range from a few weeks to a couple of months. Make sure to follow proper watering and fertilizing techniques to promote healthy grass growth.
Q: What Can I Do If Low Spots Keep Forming in My Lawn?
A: If low spots keep forming despite your efforts, it’s best to consult a professional lawn care service. They can assess the underlying causes, such as poor soil quality or improper grading, and provide solutions for long-term prevention. Moreover, regularly maintaining good drainage practices can also help prevent future low spots from forming. So keep an eye out for any signs of poor drainage and address them promptly to maintain a level and visually appealing lawn.

Conclusion
Addressing and fixing low spots in your lawn is an essential step in maintaining a beautiful and healthy outdoor space. By following the detailed steps on how to fix low spots in lawn outlined above, from identifying and marking low spots to maintaining proper drainage, you can ensure that your lawn remains level and robust.
Regularly monitoring for signs of unevenness and implementing preventative measures will help avoid the recurrence of low spots. Investing time and effort in these maintenance practices not only enhances the aesthetic appeal of your lawn but also promotes a healthier environment for grass growth. Embrace the process and enjoy the rewards of a lush, even, and vibrant lawn all year round. Happy gardening!
About
Outdoor Fixes is a distinguished figure in the world of Diy design, with a decade of expertise creating innovative and sustainable Diy solutions.
His professional focus lies in merging traditional craftsmanship with modern manufacturing techniques,
fostering designs that are both practical and environmentally conscious. As the author of diy,
outdoorfixes delves into the art and science of outdoorfixes-making, inspiring artisans and industry professionals alike.
Education RMIT University
(Melbourne, Australia) Associate Degree in Design (Outdoor Fixes) Focus on sustainable design, industry-driven projects,
and practical craftsmanship. Gained hands-on experience with traditional and digital manufacturing tools, such as CAD and CNC software.
Nottingham Trent University
(United Kingdom) Bachelor’s in outdoorfixes.com and Product Design (Honors) Specialized in product design with a focus on blending creativity with production
techniques. Participated in industry projects, working with companies like John Lewis and Vitsoe to gain real-world insights.
Publications and Impact
In diy, Outdoor Fixes his insights on indoor design processes, materials, and strategies for efficient production.
His writing bridges the gap between artisan knowledge and modern industry needs, making it a must-read for both budding designers and seasoned professionals.