
There is nothing quite as deflating as planning a relaxing evening swim or a weekend pool party, only to dip your toe in and find the water shockingly cold. You expect a warm embrace, but instead, you get an icy shiver. Pool heaters are fantastic appliances when they work, extending your swimming season and maximizing the enjoyment of your investment. But when they fail, they quickly become a source of frustration and anxiety about potential repair bills.
Before you panic and call an expensive service technician, take a deep breath. While modern pool heaters are complex machines involving gas, electricity, and water flow, many of the most common issues are surprisingly simple to diagnose and resolve. Often, the problem isn’t a broken part, but a maintenance oversight. This guide is designed to walk you through the troubleshooting process, helping you understand how your system works and teaching you how to fix pool heater problems safely and effectively.
Understanding How Your Pool Heater Works
To fix something, you first need a basic understanding of how it operates. Most residential pools use one of two types of heaters: gas heaters or electric heat pumps. While they generate heat differently, they both rely on the same fundamental principle of water flow.
Gas vs. Electric Heat Pumps
Gas heaters are the most common type for rapid heating. They burn either natural gas or propane in a combustion chamber. This fire heats a series of copper or cupro-nickel tubes, known as a heat exchanger. As your pool water passes through these hot tubes, it warms up and returns to the pool. They are powerful and can heat water quickly regardless of the outside temperature.
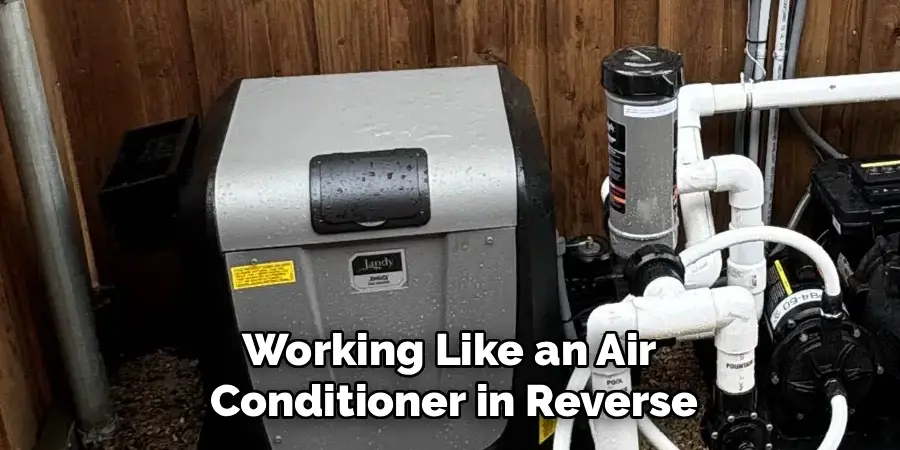
Electric heat pumps, on the other hand, do not generate heat; they move it. Working like an air conditioner in reverse, they use a fan to pull in warm outside air over an evaporator coil. The heat from the air is absorbed by a refrigerant, compressed to increase its temperature, and then transferred to the pool water via a heat exchanger. They are incredibly energy-efficient but rely heavily on ambient air temperature to function.
The Role of Flow Rates
Regardless of the fuel source, every pool heater has a “pressure switch.” This is a safety mechanism designed to prevent the heater from firing up if there isn’t enough water moving through it. If a heater ran without water, it would melt its own internal components in minutes. Therefore, the heater constantly monitors water pressure. If the flow drops below a certain rate—perhaps due to a dirty filter or a clogged basket—the pressure switch trips and shuts the heater down instantly. This simple safety feature is the culprit behind the majority of heater “failures.”
Safety First: Precautions Before Troubleshooting
Troubleshooting a pool heater involves working near gas lines, high-voltage electricity, and pressurized water. It is not a task to take lightly. Your safety is paramount.
Shutting Off Power and Gas
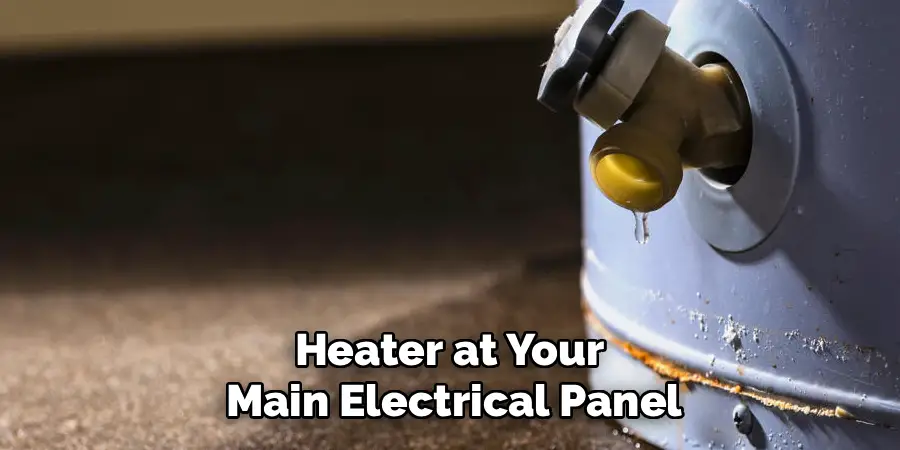
Before you remove any service panels or touch any internal wiring, you must disconnect the power. Turn off the circuit breaker that controls the heater at your main electrical panel. Do not rely on the keypad or a toggle switch on the unit itself, as live power may still be present inside the cabinet.
If you have a gas heater, locate the gas shut-off valve on the yellow piping feeding the unit and turn it to the “Off” position (perpendicular to the pipe). This ensures that no gas can flow while you are inspecting the unit. Never attempt to repair a gas leak yourself.
Recognizing Dangerous Situations
Use your senses before you start. If you smell the rotten-egg odor of natural gas or propane around the heater, stop immediately. Do not flip any switches or use your phone nearby. Leave the area and call your gas utility provider or the fire department.
Additionally, look for signs of soot. If you see black, powdery soot building up around the exhaust vents or on the side of the heater, this indicates incomplete combustion. This is a serious fire hazard and a sign of carbon monoxide production. Do not attempt to run the heater; call a licensed professional immediately. Finally, if you see melted wires or evidence of burning inside the cabinet, do not touch them.
Common Reasons Why Pool Heaters Fail
When a heater stops working, we often assume a catastrophic mechanical failure. However, the root cause is frequently much more mundane.
Clogged Filters and Flow Issues
As mentioned earlier, flow is everything. A dirty pool filter is the single most common reason a heater won’t turn on. As dirt accumulates in your filter cartridge or sand bed, the pressure inside the tank rises, and the flow of water returning to the pool slows down. Once that flow drops below the manufacturer’s minimum requirement (usually around 20-40 gallons per minute), the pressure switch opens, and the heater displays an error or simply refuses to ignite.
Pilot Light Problems (Gas Heaters)
For older gas heaters with a standing pilot light (millivolt systems), the pilot flame is a frequent point of failure. If the pilot blows out, the gas valve will not open. This can be caused by strong winds, a clogged pilot tube (spiders love to nest in them), or a failing thermocouple—the small sensor that sits in the flame and tells the gas valve it’s safe to open. Modern heaters use electronic ignition, which eliminates the standing pilot but introduces igniters that can crack or fail over time.
Thermostat and Sensor Malfunctions
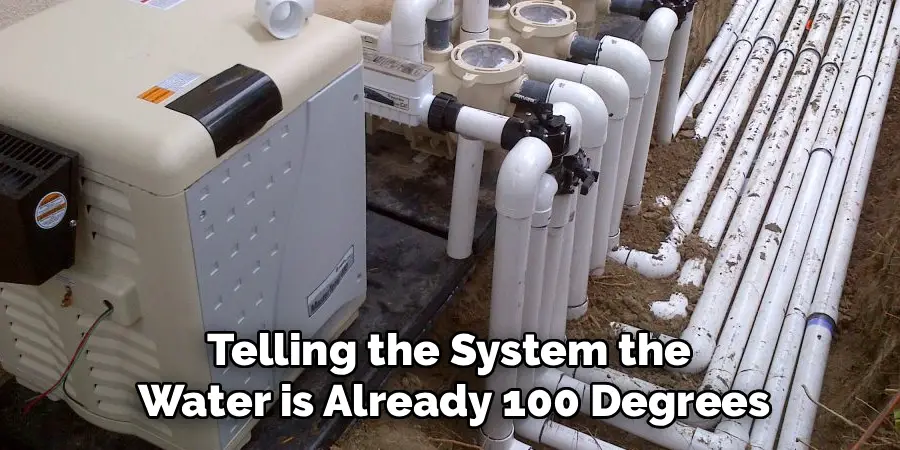
Sometimes the heater is fine, but its brain is confused. Temperature sensors can corrode or fail, telling the system the water is already 100 degrees when it is actually 70. On older units with analog dials, the thermostat knob can break, or the internal copper sensor bulb can corrode, preventing the heater from registering the demand for heat.
Step-by-Step Guide on How to Fix Pool Heater Flow Issues
Since flow issues account for such a high percentage of heater problems, this is always the first place to start your troubleshooting. You can perform these steps without any special tools.
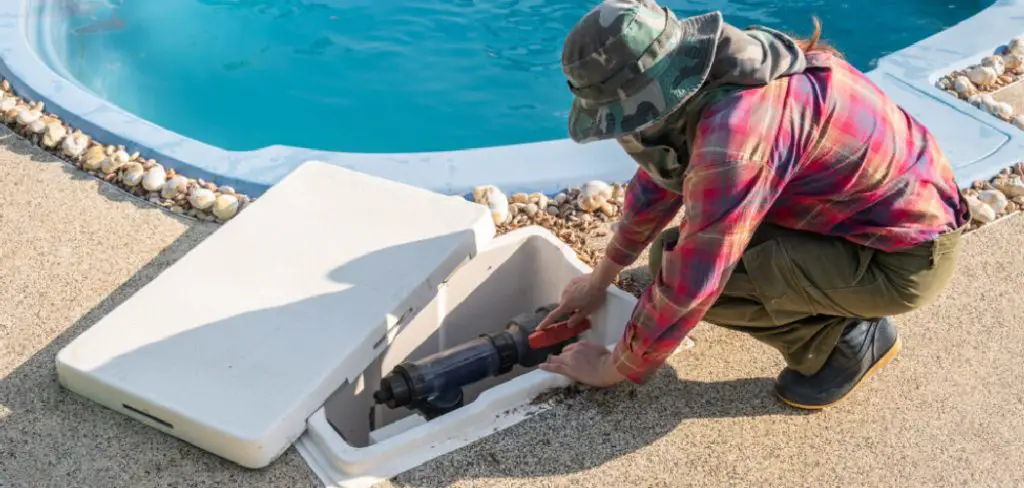
Step 1: Check the Pump Basket and Skimmer
Walk around to your pool skimmers. Are the baskets full of leaves? A clogged skimmer basket starves the pump of water. Empty them out. Next, go to your equipment pad and check the pump basket. Turn off the pump, open the lid, and remove any debris. A clear path for water intake is essential for building the pressure the heater needs.
Step 2: Clean or Backwash the Filter
Check the pressure gauge on your pool filter. If it is 8-10 PSI higher than your “clean” starting pressure, it is time to clean it. If you have a sand or DE filter, perform a thorough backwash cycle. If you have a cartridge filter, remove the elements and hose them down aggressively. You might be surprised to find that simply cleaning the filter instantly solves the heater problem. Many digital heaters will display a “LO” or “PS” (Pressure Switch) error code that disappears the moment clean water flow is restored.
Step 3: Inspect the Pressure Switch
If the filter is clean but the heater still thinks there is no water flow, the pressure switch itself might be faulty or out of calibration. Locate the switch (it looks like a small round cylinder with two wires connected to it, screwed into the plumbing inside the heater). Check that the wires are securely connected and not chewed by rodents. If you are comfortable using a multimeter, you can test the switch for continuity while the pump is running. If it doesn’t show continuity despite good water pressure, the switch needs to be replaced.
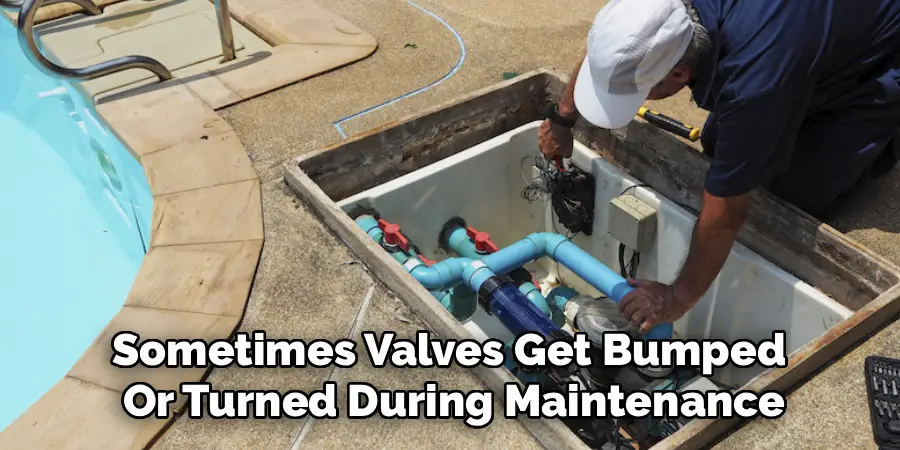
Step 4: Verify Valve Positions
It sounds obvious, but check your plumbing valves. If you have a heater bypass loop installed, make sure the valves are turned to direct water into the heater rather than around it. Sometimes valves get bumped or turned during maintenance and forgotten. Ensure the intake and output valves for the heater are fully open.
Step 5: Test the System Again
Once you have cleared the baskets, cleaned the filter, and verified the valving, turn the power back on and start the pump. Wait for the system to prime fully. Then, turn on the heater thermostat. Listen for the click of the pressure switch engaging and the subsequent ignition sequence. If the heater fires up, you have successfully resolved the flow issue.
Troubleshooting Gas Heater Specifics
If your flow is good but the gas heater still won’t light, you need to look at the ignition components.
Inspecting the Pilot Assembly
If you have a millivolt heater (one with a constant pilot flame), check to see if the pilot is lit. If it’s out, follow the instructions on the inside panel to relight it. Usually, this involves turning the gas knob to “Pilot,” holding it down, and clicking the spark generator. If it lights but goes out immediately after you release the knob, your thermocouple is likely bad and needs replacing. This is an inexpensive part available at most pool supply stores.
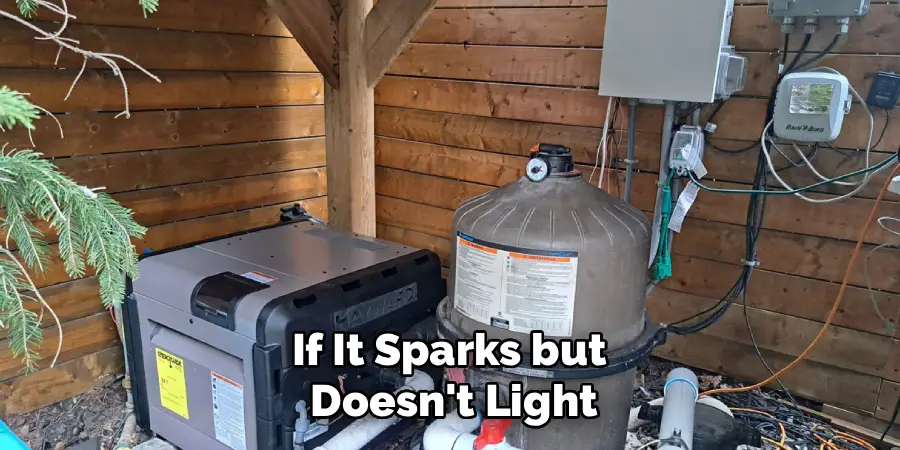
For electronic ignition heaters, listen for the “click-click-click” of the spark igniter or look for the glow of the hot surface igniter through the viewing window. If it sparks but doesn’t light, ensure the gas supply is actually turned on. If it doesn’t spark at all, you may have a bad igniter board or a blown fuse.
Checking the Gas Supply Valve
Verify that the gas shut-off valve on the pipe leading to the heater is parallel to the pipe (Open). Also, check the gas valve inside the heater cabinet; the knob should be turned to “ON.” If you use propane, double-check your tank percentage. It is embarrassing, but not uncommon, for a heater to fail simply because the propane tank is empty.
Troubleshooting Electric Heat Pump Specifics
Heat pumps have different vulnerabilities, mostly related to airflow and ambient conditions.
Clearing Airflow Obstructions
An electric heat pump needs to breathe. It pulls massive amounts of air through its side panels and exhausts cold air out the top. If the unit is crowded by overgrown bushes, piled-up leaves, or a fence that is too close, it cannot extract heat efficiently. This can cause the unit to shut down on a high-pressure refrigerant fault. Clear at least 24 inches of space around the entire unit and ensure the top is completely unobstructed.
Checking for Ice Buildup
If you try to run your heat pump when the outside air is below 50 degrees Fahrenheit, you may see ice forming on the evaporator coils (the fins on the side of the unit). This is normal physics, but it prevents the unit from working. Most modern units have a defrost cycle, but if the ice is thick, simply turn the unit off and let it thaw naturally. Do not try to chip the ice off, as you will puncture the delicate coils.
Dealing with Error Codes and Electronics
Modern heaters are computerized, which can be both a blessing and a curse.
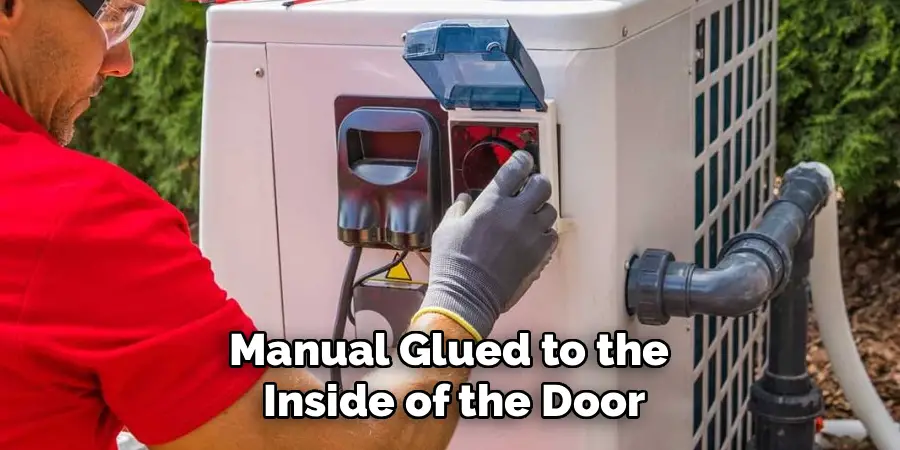
Interpreting Digital Displays
If your heater has a digital screen, it is likely trying to tell you exactly what is wrong. Instead of guessing, look at the code. Common codes include “LO” (Low Pressure/Flow), “SF” (Sensor Failure), or “IGN” (Ignition Failure). Do a quick internet search for your specific model’s error codes or consult the manual glued to the inside of the door. This will point you directly to the component that needs attention.
Inspecting Wiring for Rodent Damage
Heaters provide a warm, dry home for mice and rats during the winter. Unfortunately, these critters love to chew on wire insulation. With the power off, open the front panel and inspect the wiring harnesses. If you see shredded insulation, droppings, or nesting material, you have likely found your problem. Small wire repairs can be done with electrical tape and wire nuts, but extensive damage may require a new wiring harness.
When to Call a Professional Technician
While DIY troubleshooting is empowering, knowing when to stop is equally important.
Dealing with Gas Leaks or Soot
If your troubleshooting leads you to suspect a gas leak, a cracked heat exchanger, or issues with the combustion venting, call a professional immediately. Sooting is a sign that the fuel isn’t burning cleanly, which can produce dangerous levels of carbon monoxide. Adjusting gas pressures and air-fuel mixtures requires specialized manometers and training that the average homeowner does not possess.
Electrical Component Replacement
Replacing a pressure switch or a temperature sensor is a reasonable DIY task. However, if the diagnostic points to a main control board, a transformer, or the fan motor in a heat pump, it is often safer to hire a pro. These parts are expensive, and installing them incorrectly can fry the new part instantly or void your warranty.
Conclusion
A cold pool doesn’t always signal a disaster. In fact, the vast majority of heater issues stem from simple maintenance neglect—usually a dirty filter or a closed valve—rather than a catastrophic mechanical failure. By understanding the basics of water flow and safety switches, you can confidently troubleshoot the problem. Knowing how to fix pool heater flow issues yourself can save you the cost of a service call and get you back in the water the same afternoon.
Remember, the best fix is prevention. Keep your filter clean, empty your skimmer baskets regularly, and keep rodents away from your equipment. With a little attention to detail, your heater will keep your pool warm and inviting for seasons to come.
About
Outdoor Fixes is a distinguished figure in the world of Diy design, with a decade of expertise creating innovative and sustainable Diy solutions.
His professional focus lies in merging traditional craftsmanship with modern manufacturing techniques,
fostering designs that are both practical and environmentally conscious. As the author of diy,
outdoorfixes delves into the art and science of outdoorfixes-making, inspiring artisans and industry professionals alike.
Education RMIT University
(Melbourne, Australia) Associate Degree in Design (Outdoor Fixes) Focus on sustainable design, industry-driven projects,
and practical craftsmanship. Gained hands-on experience with traditional and digital manufacturing tools, such as CAD and CNC software.
Nottingham Trent University
(United Kingdom) Bachelor’s in outdoorfixes.com and Product Design (Honors) Specialized in product design with a focus on blending creativity with production
techniques. Participated in industry projects, working with companies like John Lewis and Vitsoe to gain real-world insights.
Publications and Impact
In diy, Outdoor Fixes his insights on indoor design processes, materials, and strategies for efficient production.
His writing bridges the gap between artisan knowledge and modern industry needs, making it a must-read for both budding designers and seasoned professionals.