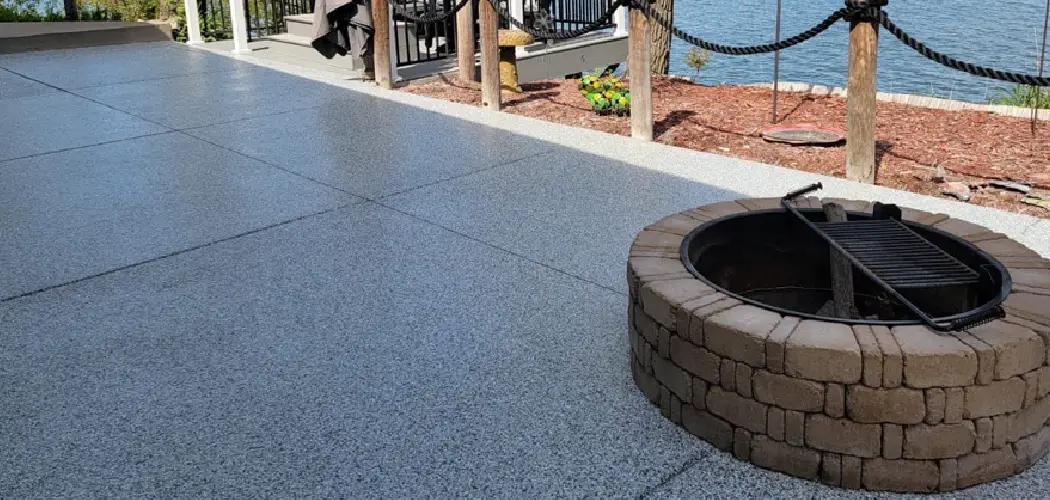
A swimming pool is the centerpiece of summer fun, offering a cool respite from the heat and a gathering place for friends and family. However, that sparkling oasis can quickly become a hazard if the deck surrounding it loses its traction. Wet concrete is notoriously slick, and combined with excited children running or guests walking with wet feet, the risk of dangerous slips and falls increases significantly.

Ensuring the safety of your pool area is just as important as maintaining the water chemistry. Fortunately, you do not need to replace your entire deck to solve this problem. With the right materials and a free weekend, you can transform a hazardous surface into a secure, textured zone. This comprehensive guide will teach you how to fix slippery concrete around pool decks using proven anti-slip coatings and additives, restoring both safety and peace of mind to your outdoor sanctuary.
Slippery concrete around your pool area can pose a significant risk to anyone enjoying the space, especially during the humid summer months. The combination of water, smooth surfaces, and high foot traffic can result in accidents if proper precautions aren’t taken. Fortunately, tackling this issue doesn’t have to be expensive or complicated. By applying simple and effective solutions, you can improve traction around your pool and create a safer environment for your family and guests.
Why Creating a Safer Pool
Creating a safer pool area is crucial for preventing accidents and ensuring that everyone can enjoy the space without worry. Slips and falls around the pool can lead to serious injuries, especially for children and elderly individuals who may be more vulnerable. By addressing the risk of slippery surfaces, you not only protect your loved ones but also reduce potential liability concerns as a property owner. Investing time and effort into improving safety demonstrates care and responsibility, fostering peace of mind for everyone who uses the pool area.
Step-by-Step Guide: How to Fix Slippery Concrete Around Pool
Step 1: Perform a Detailed Safety and Surface Inspection
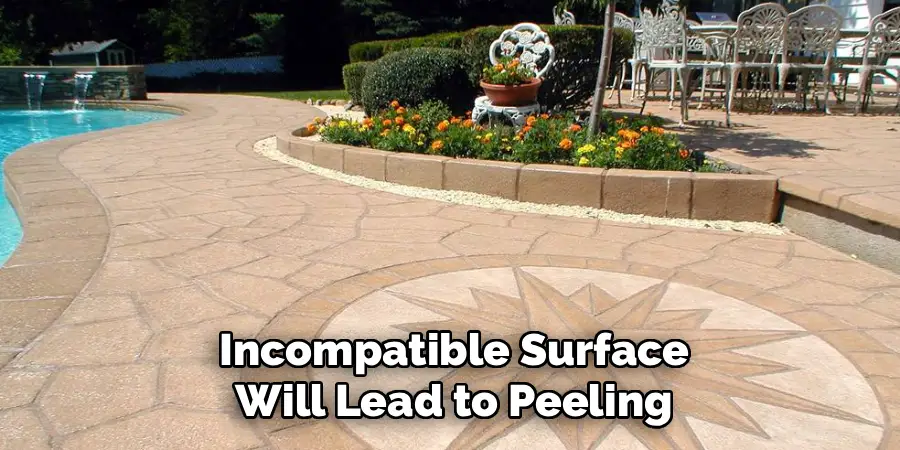
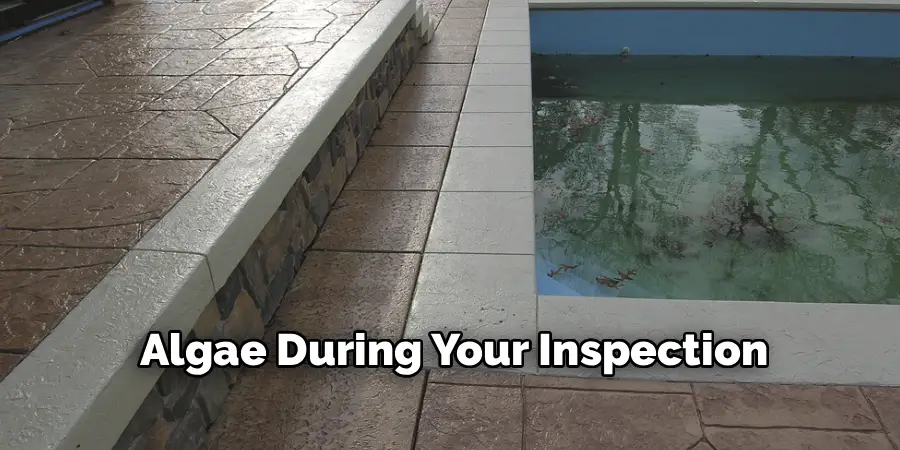
Before you purchase any products or begin the actual labor, you must conduct a thorough inspection of your entire pool deck. You need to determine if the slipperiness is caused by the concrete finish itself or by external factors like algae, mold, or accumulated grime. Walk the perimeter of the pool and look for green or black spots, which indicate organic growth that becomes like ice when wet. You should also check for existing sealers by pouring a small amount of water on the concrete. If the water beads up, there is an existing sealer that might need to be stripped. Identifying the root cause and the current state of the concrete is the foundation of a successful project because applying a new coating over a dirty or incompatible surface will lead to peeling and failure within months.
Step 2: Clear the Area and Protect Surroundings
Once you have assessed the condition of the concrete, you need to prepare the workspace to ensure nothing gets damaged during the cleaning and sealing process. Start by removing all patio furniture, planters, loungers, and pool toys from the deck area. You want a completely empty canvas so you do not have to stop and move heavy items while working with wet chemicals. Next, use plastic sheeting and painter’s tape to protect the pool water, coping stones, and any adjacent landscaping.
Preventing runoff from cleaning agents or sealers from entering your pool water is critical for maintaining your water chemistry. You should also tape off any skimmer lids or drains to ensure they do not get sealed shut. Taking the time to mask off these areas now will save you hours of tedious cleanup later.
Step 3: Deep Clean the Concrete Surface
The most labor-intensive but vital part of this process is achieving a chemically clean surface. You cannot simply hose off the deck; you must remove all dirt, sunscreen oils, body fats, and atmospheric grime that have embedded themselves in the concrete pores over time. Use a pressure washer with a surface cleaner attachment for the best results, combined with a high-quality concrete degreaser or a stiff bristle brush and TSP (Trisodium Phosphate).
If you found mold or algae during your inspection, use a bleach solution or a specialized algaecide to kill the spores completely. If you skip this deep cleaning step, the anti-slip coating will bond to the dirt rather than the concrete, leading to flaking and a patchy finish that will require you to start all over again next season.
Step 4: Repair Cracks and Surface Damage
A fresh coat of sealer will highlight, not hide, imperfections in your concrete, so you must address any structural issues before proceeding. Inspect the deck for hairline cracks, spalling (flaking), or pitting. For small cracks, use a concrete patch or a liquid crack filler that is compatible with the sealer you intend to use. For larger areas of damage, you may need a two-part epoxy patch kit or hydraulic cement. Apply the repair material according to the manufacturer’s instructions and smooth it out with a trowel so it is flush with the surrounding surface. Allow these repairs to cure fully, which can take anywhere from a few hours to a few days depending on the product. A smooth, repaired surface ensures that your anti-slip coating applies evenly and provides consistent traction across the entire deck.
Step 5: Select the Correct Sealer and Additive
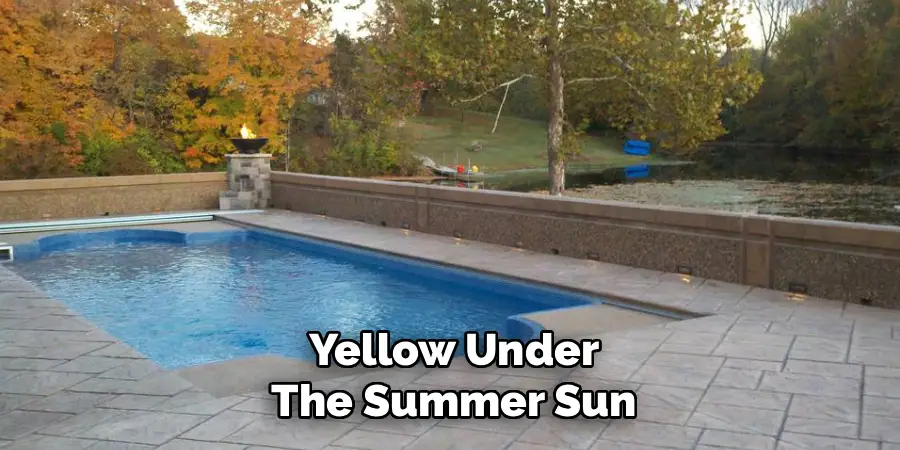
Success in this project largely depends on choosing the right products for your specific type of concrete. When researching how to fix slippery concrete around pool surfaces, you will find two main components: the sealer and the anti-slip additive. You can choose between an acrylic sealer, which is easy to apply and cost-effective, or a penetrating sealer, which offers a more natural look. For the grit, you generally have a choice between silica sand, which is heavy and cheap but can alter the look of the sealer, and polymer beads (often made of micronized plastic), which are lightweight, transparent, and suspend better in the liquid. Polymer beads are usually preferred for pool decks because they are less abrasive on bare feet than sand while still providing excellent grip. Ensure your chosen sealer is UV-stable so it does not yellow under the summer sun.
Step 6: Prepare the Anti-Slip Mixture
Properly mixing your anti-slip additive into the sealer is a step that requires precision and patience. You cannot simply dump the grit into the bucket and start rolling. Ideally, you should mix the additive into the sealer shortly before application to prevent it from settling at the bottom of the can. Follow the manufacturer’s recommended ratio carefully; usually, a specific amount of additive is prescribed per gallon of sealer. Use a power drill with a mixing paddle attachment to stir the sealer thoroughly while slowly pouring in the additive. This ensures an even distribution of the grit particles throughout the liquid. If the grit is not evenly suspended, you will end up with some areas of the pool deck that are extremely rough and sandpaper-like, while other areas remain dangerously smooth and slippery.
Step 7: Plan Your Application Strategy
Before you open the can of sealer, map out your path of travel. You never want to paint yourself into a corner where you have to walk over wet sealer to escape. Plan to start at the farthest point from your exit and work your way back. If you are working on a large pool deck, it is often helpful to work in sections defined by the expansion joints in the concrete. This breaks the project down into manageable squares and provides natural stopping points if you need a break. Decide whether you will use a roller or a sprayer; for anti-slip sealers, a roller is almost always the better choice. A 3/8-inch or 1/2-inch nap roller cover is typically ideal for picking up the grit and depositing it effectively onto the concrete surface.
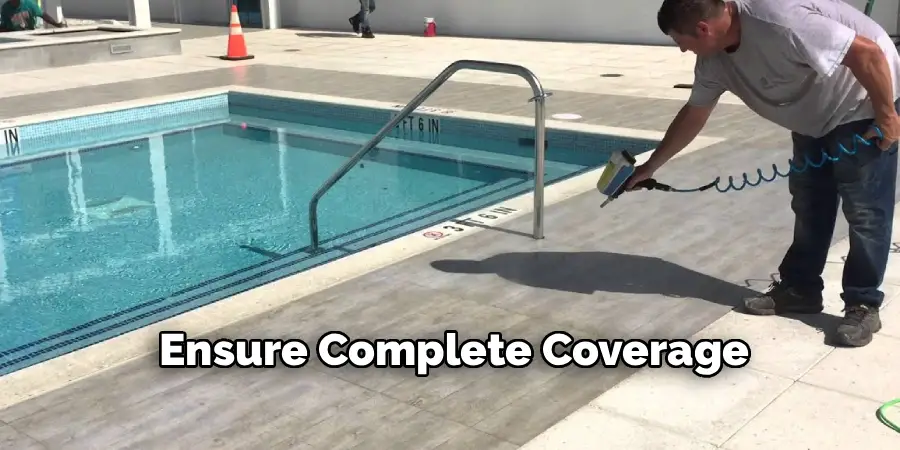
Step 8: Apply the Sealer with Grit
Now you are ready to apply the coating to the concrete. Pour a manageable amount of your mixed sealer into a paint tray. It is crucial to stir the sealer in the bucket or tray frequently—every few minutes—because the anti-slip particles will naturally want to sink to the bottom. If you fail to stir, the last section of your deck will have too much grit and look cloudy. Apply the sealer in thin, even coats using your roller. Avoid puddling, as thick layers of sealer can become slippery themselves or turn white and hazy as they dry. Work the roller in a “V” or “W” pattern to ensure complete coverage, and back-roll to smooth out any lap marks. Consistency is key here to ensure the texture is uniform across the entire poolside area.
Step 9: Evaluate Texture and Apply Second Coat
Most concrete sealing professionals recommend applying two thin coats rather than one thick coat. After the first coat has dried to the touch (usually 2 to 4 hours, depending on humidity and temperature), walk on it carefully to test the texture. It should feel like fine sandpaper—grippy but not sharp. If the surface is still too slick for your liking, or if the coverage looks uneven, proceed with a second coat. You can add more anti-slip additive to the second coat if necessary, but be cautious not to overdo it, as too much grit can make the surface difficult to clean later. Apply the second coat perpendicular to the first (cross-hatching) to ensure that no spots were missed and to create a stronger, more durable barrier against water and UV damage.
Step 10: Allow for Proper Curing Time
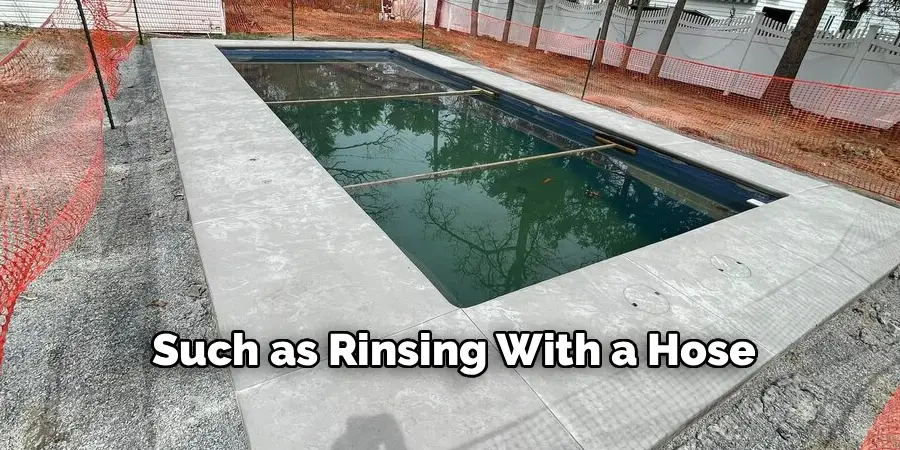
The final step in understanding how to fix slippery concrete around pool decks is respecting the cure time. Although the concrete might feel dry to the touch within a few hours, the chemical bond is still forming. Prematurely dragging heavy patio furniture across the surface or allowing heavy foot traffic can mar the finish and compromise the seal. Generally, you should keep foot traffic off the deck for at least 24 hours and wait 48 to 72 hours before replacing furniture or allowing pets into the area. During this time, try to keep the surface dry if possible. Once fully cured, your new surface will be water-resistant, stain-resistant, and, most importantly, slip-resistant. Regular maintenance, such as rinsing with a hose and occasional re-sealing every few years, will keep your pool deck safe for seasons to come.
Pool Deck Cleaning Tips
Maintaining a clean pool deck is essential for safety and longevity. Start by sweeping the surface regularly to remove dirt, leaves, and debris that can accumulate over time. For deeper cleaning, use a mild detergent mixed with water and scrub the surface with a soft-bristle broom or brush to avoid damaging the seal. Pressure washing is another effective method, but make sure to use a low-pressure setting to prevent chipping or wear. Address any stains promptly, especially from grease or rust, by using a suitable cleaner designed for pool decks. Avoid harsh chemicals, as they can deteriorate the sealant or affect the surrounding pool water. Finally, rinse thoroughly after cleaning to remove any residue, and allow the deck to dry completely before use. Regular cleanings will not only enhance the appearance of your pool area but also ensure it remains safe and slip-resistant.
Frequently Asked Questions
What Is the Best Anti-Slip Additive for Pool Decks?
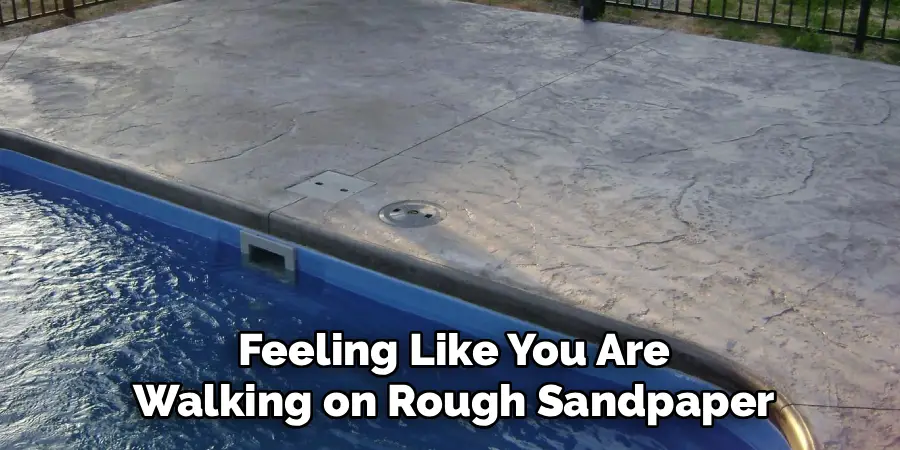
Polymer or plastic grit additives are widely considered the best option for pool decks. Unlike silica sand or aluminum oxide, which can be heavy, sharp, and visible, micronized plastic beads are lightweight and transparent. This means they stay suspended in the sealer longer during application and provide a texture that is comfortable for bare feet. They create enough traction to prevent slips without feeling like you are walking on rough sandpaper, which is crucial for sensitive skin and children’s feet.
How Often Do I Need to Reseal My Concrete Pool Deck?
The frequency of resealing depends on the type of sealer used, the amount of foot traffic, and the harshness of your local weather. Generally, a high-quality acrylic sealer will last between 1 to 3 years. You will know it is time to reseal when you notice water soaking into the concrete rather than beading up on the surface, or if the texture begins to wear down and the deck feels slippery again. Regular cleaning can help extend the lifespan of the sealer.
Can I Apply Anti-Slip Sealer Over Old Paint?
Applying sealer over old paint is risky. If the existing paint is peeling, flaking, or glossy, the new sealer will not bond correctly and will likely lift off, taking the new anti-slip coating with it. For the best results, it is highly recommended to strip the old paint or sand the surface to create a rough profile for the new coating to grab onto. If the old paint is in perfect condition, you must ensure the new product is chemically compatible with the old one.
Will Anti-Slip Additives Change the Look of My Concrete?
If you use the correct product, the change in appearance should be minimal. Clear polymer additives are designed to be virtually invisible once the sealer dries, leaving a matte or satin finish depending on the sealer’s sheen. However, if you use silica sand or aluminum oxide, you might notice a slight sparkle or cloudiness in the finish. Additionally, adding texture can sometimes reduce the gloss level of high-shine sealers, resulting in a more matte appearance, which is generally preferred for outdoor stone and concrete.
Is It Better to Mix the Grit in or Broadcast It by Hand?
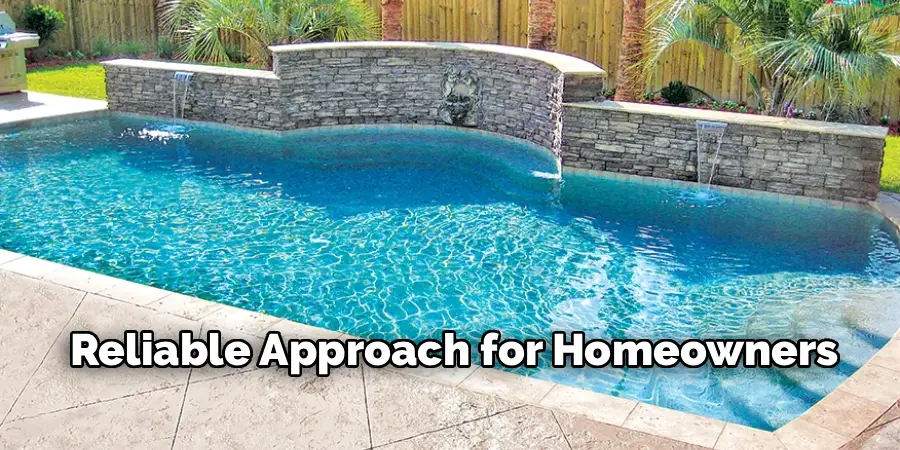
Mixing the grit directly into the sealer bucket is the easiest method for DIYers and ensures a more uniform application, provided you stir frequently. “Broadcasting,” or throwing the grit by hand over wet sealer, requires a practiced technique. If done incorrectly, broadcasting can result in clumps of grit in some areas and bald spots in others. For a consistent, professional-looking finish without the learning curve, mixing the additive into the liquid sealer is the safer and more reliable approach for homeowners.
Conclusion
Transforming a slippery, hazardous pool deck into a safe zone is a manageable DIY project that pays immediate dividends in safety and peace of mind. By taking the time to properly clean the surface, repair any damage, and apply a high-quality sealer with the right anti-slip additive, you eliminate the anxiety of watching loved ones navigate wet concrete. Remember that preparation is just as important as the application; a clean, dry surface ensures your hard work lasts for years. Now that you know the basics of pool deck maintenance, let’s explore some additional tips and tricks to keep your pool area safe and beautiful.
About
Outdoor Fixes is a distinguished figure in the world of Diy design, with a decade of expertise creating innovative and sustainable Diy solutions.
His professional focus lies in merging traditional craftsmanship with modern manufacturing techniques,
fostering designs that are both practical and environmentally conscious. As the author of diy,
outdoorfixes delves into the art and science of outdoorfixes-making, inspiring artisans and industry professionals alike.
Education RMIT University
(Melbourne, Australia) Associate Degree in Design (Outdoor Fixes) Focus on sustainable design, industry-driven projects,
and practical craftsmanship. Gained hands-on experience with traditional and digital manufacturing tools, such as CAD and CNC software.
Nottingham Trent University
(United Kingdom) Bachelor’s in outdoorfixes.com and Product Design (Honors) Specialized in product design with a focus on blending creativity with production
techniques. Participated in industry projects, working with companies like John Lewis and Vitsoe to gain real-world insights.
Publications and Impact
In diy, Outdoor Fixes his insights on indoor design processes, materials, and strategies for efficient production.
His writing bridges the gap between artisan knowledge and modern industry needs, making it a must-read for both budding designers and seasoned professionals.