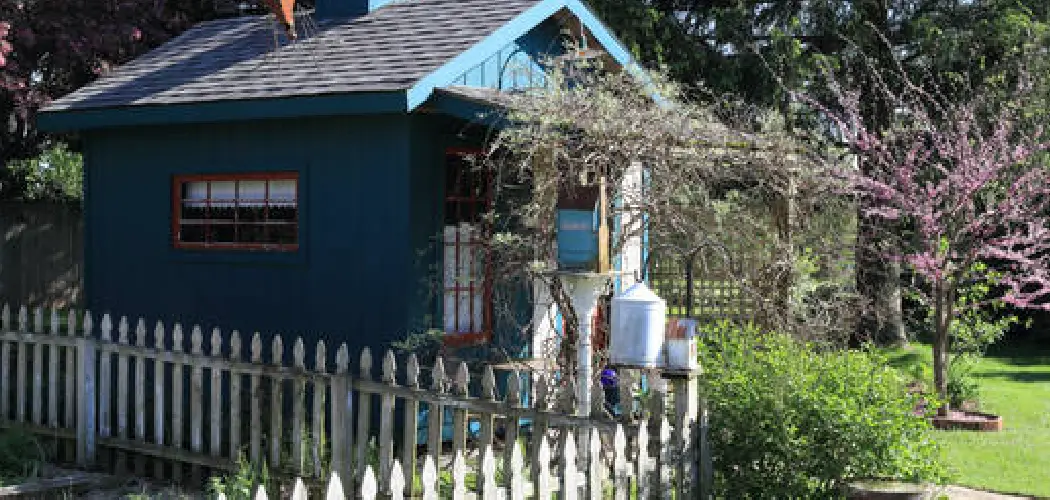
For many homeowners, navigating around an existing fence challenges the dream of adding a backyard shed. Whether it’s for storage, a workspace, or a cozy retreat, a shed can transform your outdoor living space. Yet, fences—meant to offer privacy and security—can pose an obstacle to this enhancement.

In this guide, we will explore various approaches to this quandary: temporary fence removal, permanent fence modification, and the selection of a shed that adheres to the limitations of your fence.
We will delve into the importance of careful planning, highlight the need to consider local regulations, and ultimately guide you in choosing the right method that aligns with your specific needs. Through thoughtful consideration and strategic actions, the goal of “how to get shed in backyard with fence” is within reach, turning backyard boundaries into opportunities for functional upgrades.
Assessing Your Situation
A. Fence Details
To navigate the process of “how to get a shed in the backyard with a fence,” gathering specific details about your existing fence is crucial. Start by identifying the material of your fence—whether it is made of wood, vinyl, or metal—as this will impact both the feasibility of modifications and the methods you’ll use.
Next, examine the height and post structure; fences with concrete-set posts, for example, will offer different challenges and opportunities than those with buried posts. Measure the interior perimeter of your fenced area to establish the maximum size for your shed, considering not only the dimensions but also the shape of the available space. It’s also important to assess access points to your yard.
Consider where the shed will enter and how it will maneuver around obstacles like trees, gardens, or other structures. Anticipating these challenges early on will aid in selecting the right sized shed and determining the best approach for installation.
B. Local Regulations
Understanding local zoning laws and building regulations is another critical step in your planning process. Check with your city or county’s planning department to learn about any permits you may need to install a shed or modify your fence. Ignoring this step could lead to fines or required removal of unapproved structures.
Also, investigate any setback regulations dictating the distance structures from property lines. Awareness of these rules before beginning your project will prevent legal issues and ensure that your efforts to enhance your backyard with a shed are fully compliant with local standards.
How to Get Shed in Backyard with Fence: A Comprehensive Guide
A. Temporary Fence Removal
When considering “how to get shed in backyard with fence,” a feasible approach involves the temporary removal of fence sections. This method can be ideal when dealing with small fence sections or when installing pre-built sheds that won’t fit through standard gates.
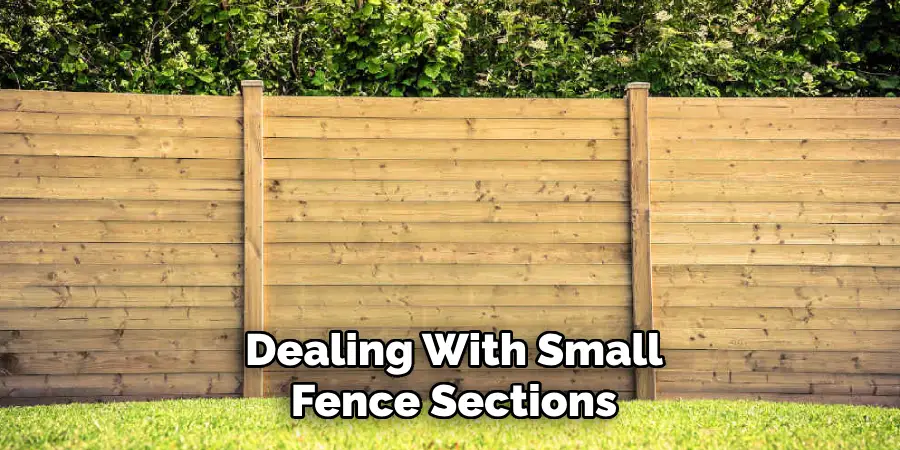
It requires cautious planning to ensure the integrity of the fence during disassembly, with necessary support structures to maintain stability. The process of removing and reinstalling the fence must be handled diligently to avoid misalignment or damage that could incur additional costs for repair.
Moreover, it’s crucial to account for the labor and time investment and the potential for unforeseen complications that might arise during this undertaking.
B. Permanent Fence Modification
Permanent fence modifications offer a more enduring solution to the question of “how to get a shed in a backyard with a fence.” Options include installing an access gate, which can serve as a permanent entry point for larger items; raising fence sections to allow for taller storage solutions; or the careful removal of specific fence panels.
Each of these tactics requires meticulous attention to preserving the fence’s structural integrity. Proper framing and reinforcement are essential to ensure the modifications withstand the test of time. As with any significant alteration, obtaining the necessary permits and adhering to local building regulations is imperative to prevent legal and safety issues.
C. Shed Selection for Existing Fence
Choosing a shed pre-designed to complement an existing fence setup can circumvent the need for modifying the fence altogether. Look for features such as narrow profiles, low heights, or sections that can be assembled within the confined space.
Many manufacturers offer such sheds, and a wealth of options can be found online. By opting for a shed tailored to fit through existing gate openings or under fence lines, homeowners can save time, minimize potential damage to fencing, and ease the installation process.
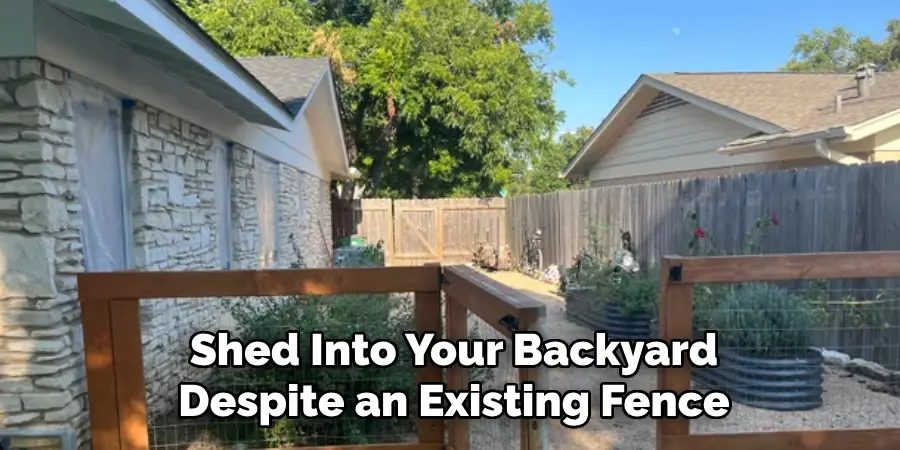
Choosing the Right Approach
Deciding on the most appropriate method to introduce a shed into your backyard despite an existing fence involves weighing several key factors. Your budget is one of the primary considerations—temporary fence removal can be a cost-effective option if you have the means to do it yourself, but it could become expensive if you need to hire professionals.
On the other hand, permanent fence modifications will likely incur higher costs due to the need for materials and skilled labor to ensure the fence remains structurally sound post-modification. Prefabricated sheds designed to fit specific spaces can vary in price, so compare these options with potential modification costs.
Your own skill level is a significant consideration as well. If you’re comfortable with DIY projects and have the time to dedicate to the task, temporary fence removal or even permanent modifications may be within reach. Otherwise, you may need to factor in the cost of professional services. The fence material is also crucial; wood may be easier to modify than metal or vinyl but requires maintenance after alterations are made.
The shed size and type are next—pre-built sheds are convenient but may not always fit your space or access paths, while DIY kits allow for more customization and potentially easier transportation into your yard. When selecting a shed, also consider the ease of assembly within the confined space of your fenced area.
Finally, local regulations can’t be ignored. Before committing to any approach, verify that your plans comply with local ordinances to avoid legal repercussions or fines.
To assist you in making an informed decision, below is a decision-making flowchart that addresses the factors discussed:
| Factor | Decision Point |
|——————–|——————————————————————–|
| Budget | Lower budget ➔ DIY temporary removal \ Higher budget ➔ Professional services or prefab sheds |
| Skill Level | DIY comfortable ➔ Temporary removal or modifications \ Uncomfortable DIY ➔ Specialized sheds |
| Fence Material | Wood ➔ Easier modifications \ Metal/Vinyl ➔ Consider prefab sheds |
| Shed Size & Type | Small, simple structure ➔ DIY kit \ Larger, complex ➔ Pre-built option |
| Local Regulations | Compliance required ➔ Verify with planning department before proceeding |
By considering your specific circumstances against this flowchart, you can narrow down the best approach to your needs and capabilities.
Temporary Fence Removal: Step-by-Step Guide
A. Prepping the Fence
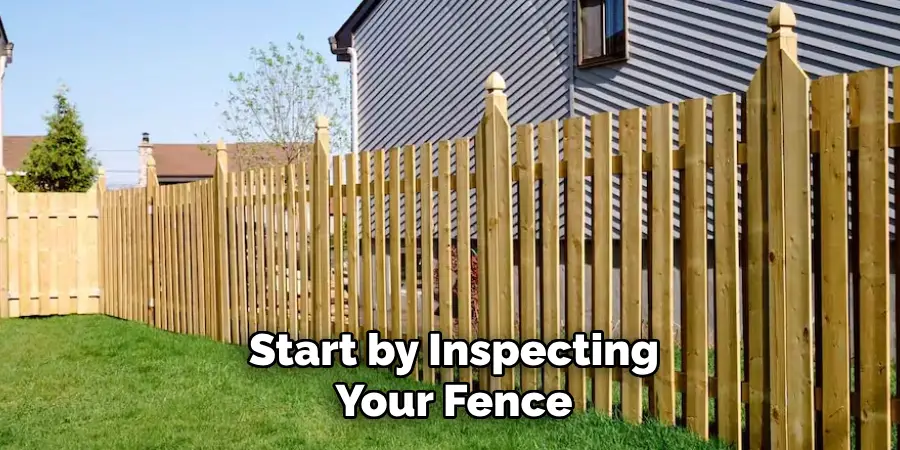
Proper preparation is crucial to ensure the process is efficient and safe before the physical work begins. Start by inspecting your fence and identifying the sections you need to remove to allow the shed to pass through. Use brightly colored tape or markers to clearly indicate these sections.
Next, plan and construct any temporary support structures that will maintain the integrity of the remaining fence during the removal. Such supports will prevent sagging or collapse, which could lead to costly repairs. Now, it’s time to gather your tools and materials.
You’ll need a saw (hand saw or reciprocating saw, depending on the material of your fence), a screwdriver or drill for the screws, a hammer for any nails, a level to ensure supports are correctly installed, and possibly a shovel for any foundation work. Lay these out so they’re readily accessible, as you’ll be using them extensively throughout the process.
B. Removing the Fence Sections
The actual removal of the fence sections must be executed with care to minimize damage to the fence material and the surrounding landscaping. Begin by gently prying away any connecting hardware using the screwdriver or drill. If you encounter nails that are not easily accessible, use a hammer and a nail punch to drive them out.
Be mindful of potential hidden hazards, such as electrical wires that may run along the fence or unexpected foundational elements underground. Always wear appropriate safety gear, such as gloves and eye protection. If the fence section feels stuck, check for screws or nails you may have missed. Once the section is detached, handle it gently to avoid warping or breaking, which could make reinstallation difficult.

C. Delivering and Placing the Shed
Now that the path is clear, bringing in the shed is time. Plan the delivery route in advance, ensuring no obstacles may hinder the smooth transition of the shed to its assigned location. Factors such as overhead wires, low-hanging branches, or uneven terrain should be accounted for.
When maneuvering the shed into place, it is essential to remember the weight and dimensions; tools like dollies or hand trucks can significantly ease the process. If the shed is particularly heavy or bulky, don’t hesitate to enlist additional people to help or even consider a professional delivery service that can carefully place the shed using specialized equipment.
D. Reinstalling the Fence Sections
The final step is to securely reattach the removed fence sections. Begin by ensuring that the ground and remaining fence posts are level and have not shifted during the delivery. Place the fence section back against the original posts and, using the level, make sure it aligns properly with the rest of the fence. Reattach using new screws or nails, as the old holes can be stripped and provide less stability.
If the shed placement necessitates slight adjustments to the fence, ensure these are made sensitively to maintain the aesthetic and structural cohesion of the fence. Once all sections are reinstalled, double-check that they are secure and inspect the entirety of the fence for stability before concluding your project.
Permanent Fence Modification: Techniques and Safety
A. Creating a Gate
When contemplating adding a gate to an existing fence, selecting the appropriate size and type is vital. First, consider the purpose of the gate—either for pedestrian access or larger equipment—and then determine the available space. Swing gates are a traditional choice for wide areas, whereas sliding gates are more appropriate for limited space.
When installing a gate, begin by measuring and marking the fence where the gate will go. Use a saw compatible with the fence material to cut out the marked section. Attach hinges to the fence post, ensuring they can bear the weight of the gate without compromising the integrity of the post.

Precise placement and alignment are essential for smooth operation when installing the gate hardware. The final step involves framing the gate with the same or complementary material to uphold fence strength and aesthetics, blending seamlessly with the existing structure while also enhancing overall functionality.
B. Raising Fence Sections
Raising existing fence sections can be a viable option for enhanced privacy or security. Whether your fence posts are set in concrete or buried, it is crucial to verify their condition and stability before any modification. For concrete-set posts, additional height may require an extension or additional bracing. With buried posts, carefully excavate around each post to add length and reinforce with concrete.
When raising the fence, do so one section at a time to ensure that each part maintains steady alignment with the next. Support structures should be used temporarily to guarantee stability during the transition, while permanent additions must maintain or exceed the original structural integrity.
Remember that heightening a fence can increase wind load, so calculate these forces in your plans to prevent future issues. Safety must be the priority throughout the process; always wear personal protective equipment and work with a partner for handling heavy materials.
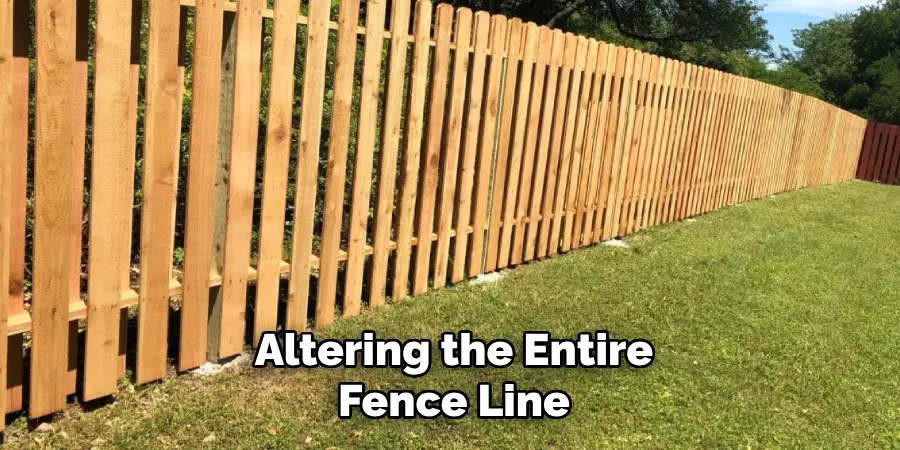
C. Removing Specific Panels
Removing specific fence panels, whether creating passages for utility access or landscape redesign, may be necessary. This method is suitable when selective adjustments are required without altering the entire fence line. Start by inspecting the panel to ascertain how it is affixed to the posts and the neighboring panels.
Carefully unscrew or pry out the connecting elements, and gently remove the panel to minimize damage to the material. The remaining fence sections may need reinforcement to compensate for the loss of stability caused by the removed panel.
This reinforcement can include the installation of additional horizontal rails or placing cross-braces for added support, ensuring fence longevity and resilience. Remember that any changes should align with the aesthetic of the overall fence and adhere to local guidelines.
Choosing a Fence-Friendly Shed: Tips and Resources
When selecting a shed that will complement your existing fence, it’s important to opt for one that harmonizes with the limited space and avoids compromising fence integrity. Narrow-profile sheds take up minimal yard space and fit easily between fence lines.
A low height helps maintain a clear line of sight and ensures compliance with most residential zoning regulations. Collapsible designs offer versatility and ease of storage when the shed is not in use. Moreover, sheds with pre-assembled sections simplify installation, as they can be easily maneuvered through tight spaces or gates.
For homeowners seeking suitable sheds, it’s beneficial to investigate online resources such as ShedFinder.com or CompactOutdoorSolutions.com, which showcase an array of products designed to respect existing landscape and fence constraints. Manufacturers like SlimFit Sheds and EasyInstall Garden Co. specialize in units that reflect these fence-friendly characteristics.
While browsing options, be mindful of the trade-off between shed size and the ease of installation or access through your fence. A larger shed provides more storage but may require the temporary removal of fence panels for installation. Conversely, a smaller model might compromise storage capacity, but it greatly simplifies positioning and fitting within the fenced area.
Balancing these factors is key to selecting the most fitting option. Always consult with the manufacturer’s customer service to confirm product specifications and ensure that your choice is the most practical for your landscaping needs.
Additional Considerations and Resources
A. Managing Terrain and Environmental Factors
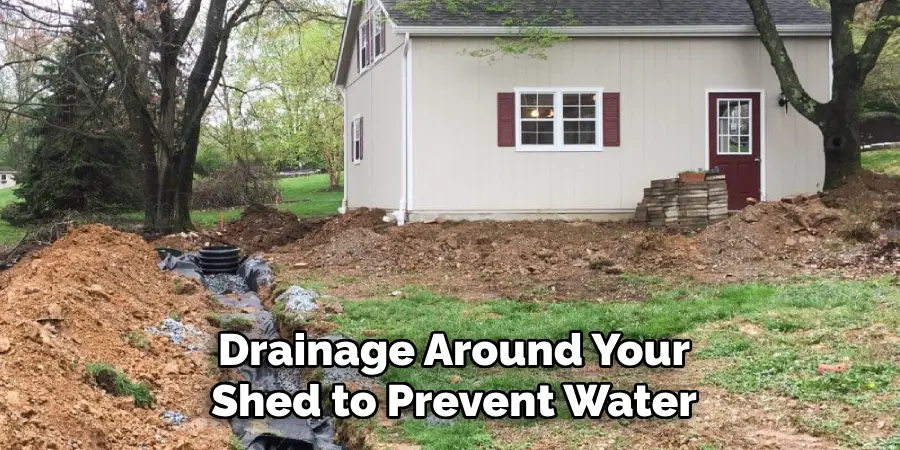
When installing a shed next to an existing fence, uneven ground can create challenges that require leveling to achieve a stable foundation. Consider using spirit level and ground compaction methods or installing an adjustable foundation, available at hardware stores or through resources like YourLevelGround.com.
In areas with heavy rain, ensure proper drainage around your shed to prevent water accumulation by installing gutters or a French drain system, which can be researched on EffectiveDrainageSolutions.com. Furthermore, pre-built or custom shed foundations may be necessary; these can be explored at SolidFoundations.com, offering DIY solutions and professional assistance.
B. Navigating Building Permits and Regulations
Before modification begins, obtaining the necessary permits is crucial for legal compliance. Local government websites often provide resources on permitting processes, while services like PermitAdvisors.com offer specialized assistance in obtaining permits.
Understanding zoning laws and regulations is equally important; resources such as LocalLawLookup.com can help homeowners navigate these complexities to ensure that their shed meets all requirements.
C. Inspirational Integrations
For inspiration, browse architecture blogs and online portfolios like FenceHarmonyDesigns.com or ShedMeetsFence.com, which display an array of sheds that blend seamlessly with different fence styles. These sites showcase innovative uses of space, materials, and design aesthetics that can spark ideas for your project.
Conclusion
In wrapping up, understanding how to get shed in backyard with fence requires careful planning, compliance with regulations, and a creative approach to integration. By respecting the dynamics of your outdoor space and the structural integrity of your existing fence, you’ll be able to select a shed that not only meets your storage needs but also enhances the aesthetics of your property.
May this guide serve as a valuable resource for homeowners embarking on this journey, and remember, a well-placed and thoughtfully chosen shed is more than a convenience—it’s an investment in the harmony and functionality of your home.
About
Outdoor Fixes is a distinguished figure in the world of Diy design, with a decade of expertise creating innovative and sustainable Diy solutions.
His professional focus lies in merging traditional craftsmanship with modern manufacturing techniques,
fostering designs that are both practical and environmentally conscious. As the author of diy,
outdoorfixes delves into the art and science of outdoorfixes-making, inspiring artisans and industry professionals alike.
Education RMIT University
(Melbourne, Australia) Associate Degree in Design (Outdoor Fixes) Focus on sustainable design, industry-driven projects,
and practical craftsmanship. Gained hands-on experience with traditional and digital manufacturing tools, such as CAD and CNC software.
Nottingham Trent University
(United Kingdom) Bachelor’s in outdoorfixes.com and Product Design (Honors) Specialized in product design with a focus on blending creativity with production
techniques. Participated in industry projects, working with companies like John Lewis and Vitsoe to gain real-world insights.
Publications and Impact
In diy, Outdoor Fixes his insights on indoor design processes, materials, and strategies for efficient production.
His writing bridges the gap between artisan knowledge and modern industry needs, making it a must-read for both budding designers and seasoned professionals.