Installing a chlorinator is a crucial step in maintaining a clean and healthy swimming pool. Chlorinators play a vital role in regulating the chlorine levels, effectively sanitizing the water and preventing the growth of harmful bacteria. This article serves as a comprehensive guide on how to install a chlorinator, offering step-by-step instructions and valuable insights for pool owners and enthusiasts.
From selecting the right type of chlorinator for your pool to understanding the intricacies of plumbing and electrical connections, this guide covers essential aspects of the installation process. Whether you’re a seasoned pool maintenance professional or a DIY enthusia.
Mastering the art of chlorinator installation ensures that your pool water remains crystal clear, safe, and inviting. Dive into this guide to discover the key considerations and practical tips that will make the installation process smooth, allowing you to enjoy your pool with confidence and peace of mind.
Importance of Chlorinators in Water Treatment
Water is essential for our survival, and clean water plays a crucial role in maintaining our health. With the increase in pollution and contamination of water sources, it has become necessary to treat our water before consuming it. This is where chlorinators come into play.
Chlorination is a common method used to disinfect water by adding chlorine or other chemicals to kill harmful microorganisms. It is an efficient and cost-effective way to ensure that water is safe for consumption. Chlorinators are commonly used in public water treatment facilities, swimming pools, and even individual households.
Benefits of Installing a Chlorinator
Installing a chlorinator is an important step in maintaining a clean and safe swimming pool. Not only does it save you time and effort, but it also has several other benefits that make it a worthwhile investment. In this section, we will discuss some of the key advantages of installing a chlorinator.
Cost-effective
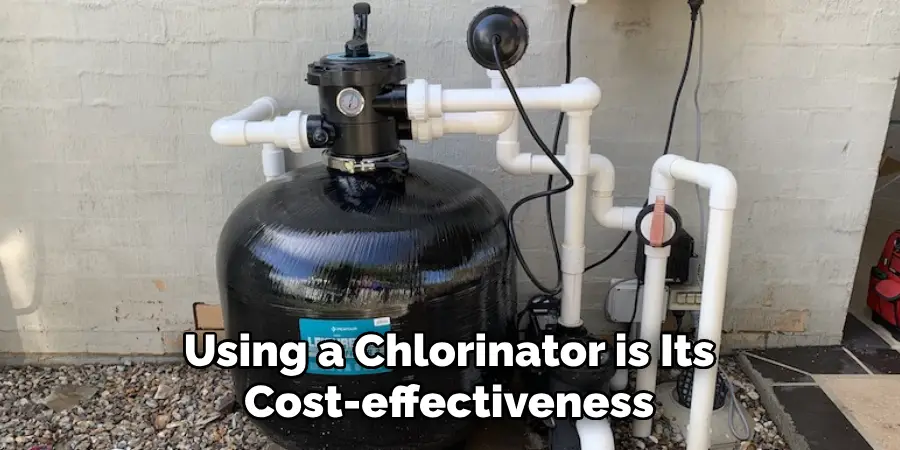
One of the main benefits of using a chlorinator is its cost-effectiveness. While traditional methods of chlorination involve constantly adding chemicals to your pool, a chlorinator works by continuously adding small amounts of chlorine as needed. This not only saves you money on buying large quantities of chemicals but also reduces the frequency of maintenance and cleaning.
Consistent Chlorine Levels
Another advantage of using a chlorinator is that it helps maintain consistent levels of chlorine in your pool. This is important for keeping the water clean and safe for swimming. With a chlorinator, you can set the desired level of chlorine and it will automatically maintain it, ensuring that your pool always has the right amount of sanitizer.
Easy to Install
Many people are hesitant to install a chlorinator because they think it will be a complicated and time-consuming process. However, this is not the case. In fact, installing a chlorinator is very straightforward and can be done in just a few simple steps. Most chlorinators come with an instruction manual that walks you through the installation process.
Low Maintenance
Maintaining a pool can be a tiring task, but with a chlorinator, it becomes much easier. As mentioned earlier, a chlorinator continuously adds small amounts of chlorine, which means you don’t have to constantly check and add chemicals to the water. This not only saves time but also reduces the amount of maintenance required for your pool.
Safe and Efficient
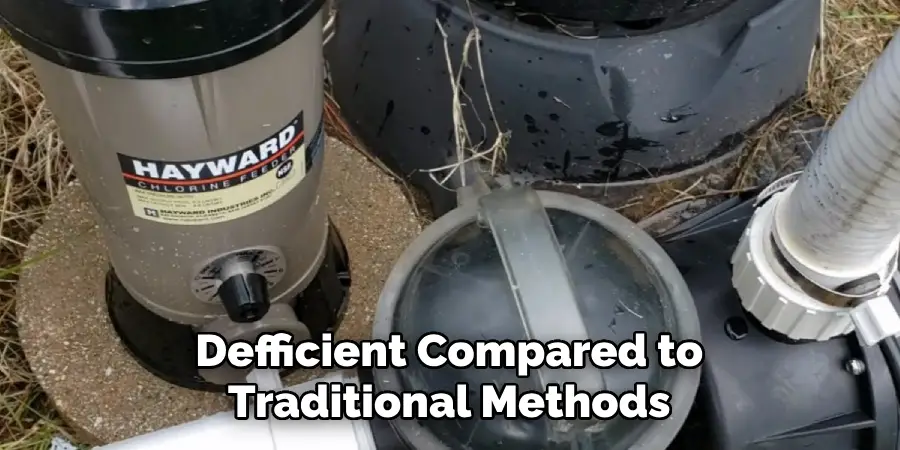
Using a chlorinator is both safe and efficient compared to traditional methods of chlorination. It eliminates the need for handling and storing large quantities of chemicals, which can be dangerous if not done properly. Additionally, a chlorinator only adds the necessary amount of chlorine to keep your pool clean, reducing the risk of over-chlorination.
10 Methods How to Install a Chlorinator
1. Choose the Right Location
The first step in installing a chlorinator is to choose the right location for it. The ideal location should be near the pool equipment and have easy access to electricity and water supply. It should also be well-ventilated and protected from direct sunlight. While a chlorinator can be installed indoors, it is recommended to install it outdoors as chlorine gas can be hazardous if leaked.
2. Gather Materials
Before starting the installation process, make sure you have all the necessary materials on hand. This includes the chlorinator unit, PVC pipes, pipe fittings, Teflon tape, and tools such as a hacksaw, drill, and screwdriver. It is also important to have a measuring tape and level to ensure proper installation.
3. Turn off Power
For safety purposes, make sure to turn off power to your pool equipment before beginning the installation process. This will prevent any electrical accidents from occurring. To turn off power, locate the designated breaker switch for your pool equipment and flip it to the “off” position.
4. Install Check Valve
A check valve is an important component of a chlorinator system as it prevents backflow of water into the chlorinator unit. Install this valve between the pool pump and filter. Make sure to position the valve in such a way that the water flows through it in one direction only. This will prevent any cross-contamination of pool water and chlorinated water.
5. Connect PVC Pipes
Using PVC pipes and fittings, connect the pool pump outlet to one side of the check valve and connect the other side of the check valve to the chlorine feeder inlet. Make sure all connections are tight and secure.
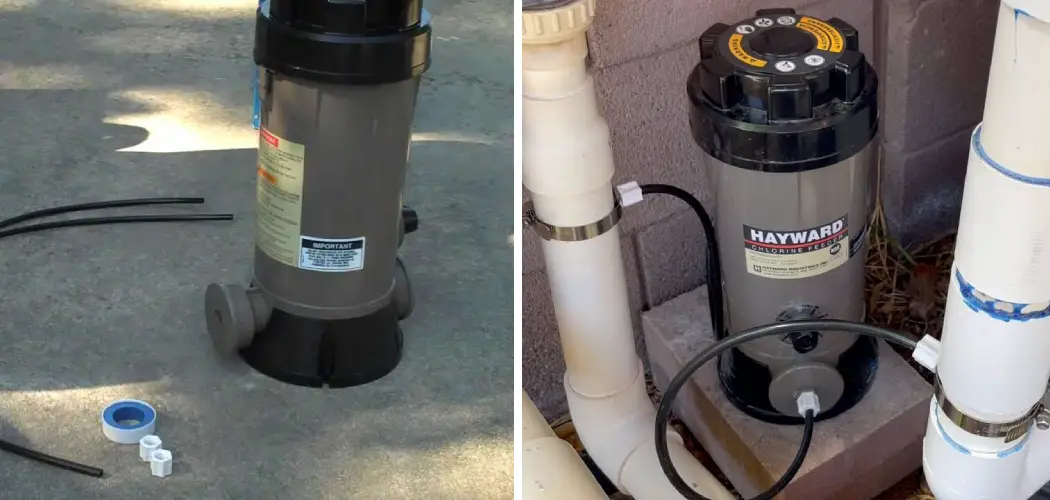
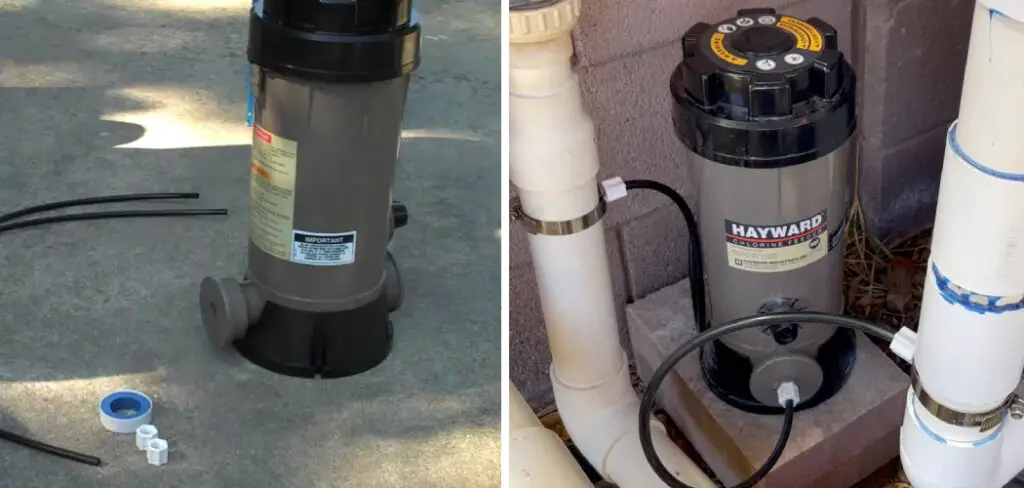
6. Install Chlorine Feeder
Next, install the chlorine feeder onto its stand or mount it on a wall near your pool equipment. Make sure it is securely attached. Most chlorine feeders come with instructions for installation, so follow the manufacturer’s directions carefully.
7. Connect Water Supply
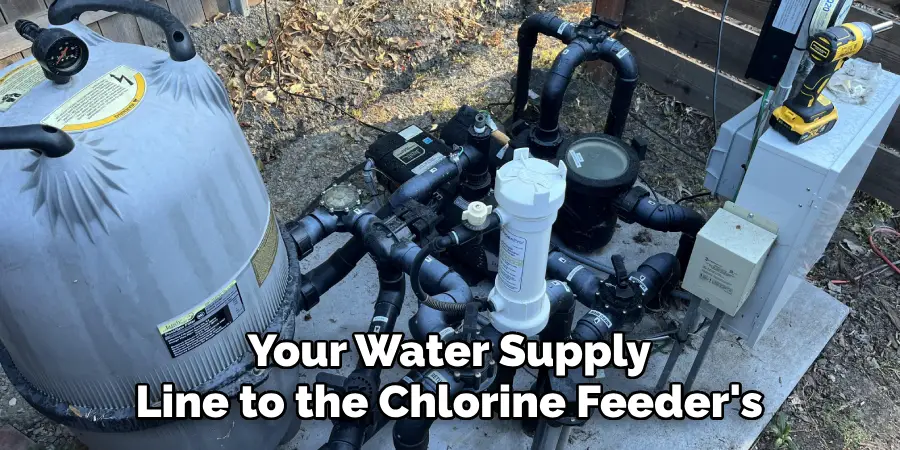
Connect a flexible hose from your water supply line to the chlorine feeder’s inlet port using pipe fittings and Teflon tape for a secure connection. Then, install the check valve on the feeder by attaching it to the outlet port. The check valve will prevent water from flowing back into your water supply line and contaminate it with chlorine.
8. Connect Return Line
Connect another PVC pipe from the chlorine feeder outlet to your pool’s return line using appropriate fittings. Make sure to use the correct measurements according to your pool’s size and distance between the feeder and return line. It is recommended to use a check valve on the return line to avoid backflow of water into the feeder.
9. Turn on Power & Adjust Settings
Once all connections are made, turn on power to your pool equipment and adjust settings on your chlorine feeder according to manufacturer instructions. This may include setting the desired chlorine level, adjusting the feed rate, or setting a timer for automatic operation. Ensure that all settings are appropriate for your pool size and usage to achieve safe and effective chlorination.
10. Test & Monitor Levels
After installation is complete, test your pool’s chlorine levels regularly using test strips or a testing kit. Monitor and adjust the settings on your chlorine feeder as needed to maintain proper chlorine levels in your pool. It’s important to maintain a consistent chlorine level to keep your pool clean and safe for swimming.
Things to Consider When Installing a Chlorinator
A chlorinator is an essential component of a swimming pool’s filtration system. It helps to keep the water clean and safe for swimmers by adding chlorine or other chemicals to the pool in controlled amounts. If you have recently purchased a new pool or are thinking about upgrading your existing filtration system, learning how to install a chlorinator is crucial.
Type of Chlorinator
The first thing you need to determine is the type of chlorinator you want to install. There are three main types: inline, offline, and automatic. Inline chlorinators are attached to the pool’s plumbing system and are installed in-line with the existing filtration system.
Offline chlorinators are separate units that are connected to the pool’s pump and filter. Automatic chlorinators, also known as saltwater generators, use salt to produce chlorine for your pool.
Pool Size
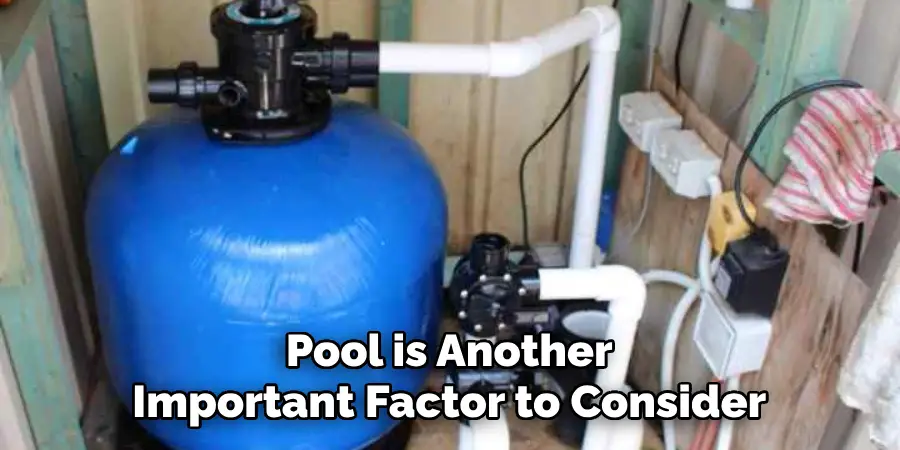
The size of your pool is another important factor to consider. The larger the pool, the more chlorine it will require, and therefore, you may need a more powerful chlorinator. For example, if you have an Olympic-sized pool, an inline chlorinator may not be sufficient.
Know Your Water Chemistry
Before installing a chlorinator, it’s essential to test your pool’s water chemistry. This will give you a better understanding of the current levels of chlorine and other chemicals in your pool. It will also help you determine how much chlorine your pool needs, which can influence the type and size of chlorinator you need.
Common Mistakes to Avoid While Installing a Chlorinator
Whether you are installing a new pool or replacing an old one, adding a chlorinator is an essential step in maintaining the cleanliness and hygiene of your pool. A chlorinator dispenses chlorine into the water to kill harmful bacteria and keep it safe for swimming.
While installing a chlorinator may seem like a straightforward task, there are some common mistakes that homeowners make that can lead to problems later on. In this guide, we will discuss some of these mistakes and how you can avoid them while installing a chlorinator.
Not Selecting the Right Size Chlorinator
One of the most common mistakes people make is not selecting the right size chlorinator for their pool. A chlorinator’s size is determined by its capacity to hold chlorine and the size of your pool.
If you select a chlorinator that is too small for your pool, it will not be able to keep up with the chlorine demand, leading to inadequate sanitation. On the other hand, choosing a larger chlorinator than needed can result in unnecessary expenses.
To avoid this mistake, make sure to measure your pool’s dimensions and calculate the required chlorine capacity. Also, consider any future expansions or changes to your pool while selecting the chlorinator.
Not Checking the Water Flow Rate
A chlorinator requires a specific water flow rate to work efficiently. If the flow rate is too high, it can dissolve the chlorine tablets faster than needed and lead to over-chlorination of the pool.
On the other hand, low flow rate can cause the tablets to dissolve slowly and result in inadequate sanitation.
Before installing a chlorinator, check your pool’s water flow rate and choose a model that is compatible with it. If you have a variable speed pump, make sure to adjust the flow rate accordingly.
Incorrect Placement of Chlorinator
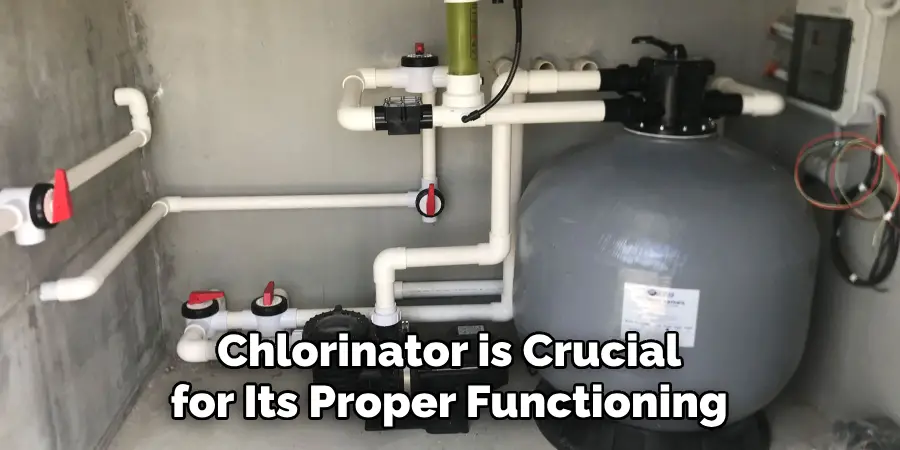
The placement of the chlorinator is crucial for its proper functioning. Placing it too close to the pool’s return line can cause the tablets to dissolve too quickly, while placing it too far away can result in slow dissolving.
It is recommended to place the chlorinator at least three feet away from the pool and ensure that it is securely attached to avoid any accidents or damage.
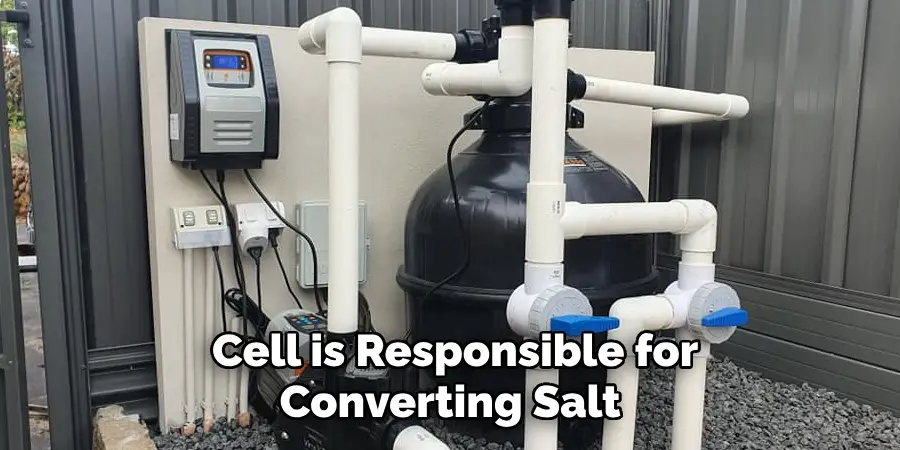
Not Cleaning the Cell Regularly
A chlorinator’s cell is responsible for converting salt into chlorine, making it an essential component. However, over time, the cell can get clogged with debris and affect its efficiency. Not cleaning the cell regularly can lead to inadequate sanitation and damage to the chlorinator.
Make sure to follow the manufacturer’s instructions on how often you should clean the cell and do so accordingly. It is also essential to check the cell for any damage and replace it if necessary.
Conclusion
In conclusion, learning how to install a chlorinator may seem daunting at first, but with the right knowledge and tools, it can actually be quite simple. By following the steps outlined in this post, you’ll not only save money on professional installation fees, but you’ll also have the satisfaction of knowing that your pool’s water is being properly sanitized for you and your loved ones to enjoy.
Remember to always carefully read the manufacturer’s instructions before beginning the installation process and to consult a professional if you have any doubts or concerns. Whether you’re a seasoned pool owner or a novice, installing a chlorinator is an essential step in maintaining clean and clear pool water. So gather your supplies and get ready to dive into a hassle-free swimming season!
About
Outdoor Fixes is a distinguished figure in the world of Diy design, with a decade of expertise creating innovative and sustainable Diy solutions.
His professional focus lies in merging traditional craftsmanship with modern manufacturing techniques,
fostering designs that are both practical and environmentally conscious. As the author of diy,
outdoorfixes delves into the art and science of outdoorfixes-making, inspiring artisans and industry professionals alike.
Education RMIT University
(Melbourne, Australia) Associate Degree in Design (Outdoor Fixes) Focus on sustainable design, industry-driven projects,
and practical craftsmanship. Gained hands-on experience with traditional and digital manufacturing tools, such as CAD and CNC software.
Nottingham Trent University
(United Kingdom) Bachelor’s in outdoorfixes.com and Product Design (Honors) Specialized in product design with a focus on blending creativity with production
techniques. Participated in industry projects, working with companies like John Lewis and Vitsoe to gain real-world insights.
Publications and Impact
In diy, Outdoor Fixes his insights on indoor design processes, materials, and strategies for efficient production.
His writing bridges the gap between artisan knowledge and modern industry needs, making it a must-read for both budding designers and seasoned professionals.