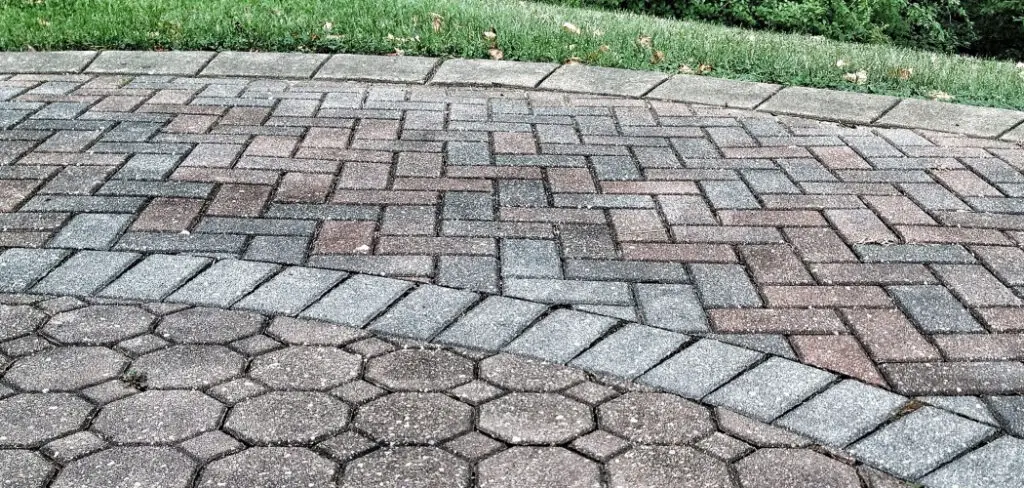
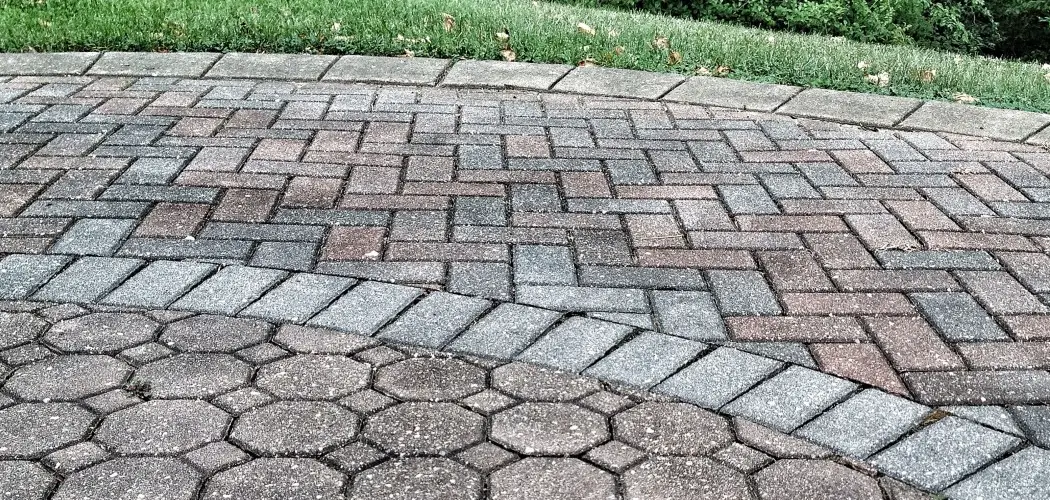
Cobblestone driveways are a great way to create a unique and attractive entryway for your home. Installing a cobblestone driveway can be done in just a few simple steps, with the right tools and supplies.

In this blog post, we will go through the steps on how to install cobblestone driveway. So let’s get started.
Tools and Materials You Will Need to Install Cobblestone Driveway
- Cobblestones
- Weed barrier fabric
- Hammer
- Rake
- Shovel
- Leveler
- Sand/gravel mixture (for leveling)
- Polymeric sand (for filling gaps)
Step-by-Step Guidelines on How to Install Cobblestone Driveway
Step 1: Measure and Lay Out the Driveway
Start by measuring out the area where you want your cobblestone driveway to be. Then, using stakes and string, lay out a guide for yourself, making sure that the lines are all straight. When measuring, also take into account the size of the cobblestones you will be using. This will make it easier to determine how many stones you will need.

Step 2: Prepare the Base for Your Driveway
Once you have your guide in place, it’s time to start preparing the base for your cobblestone driveway. Start by removing any existing grass, weeds, and debris from the area. Then, lay down a weed barrier fabric over the entire area you want to cover. This will help keep the weeds from coming back up through your cobblestones.
Step 3: Level the Ground
Using a leveler and sand/gravel mixture, make sure that the ground is properly leveled before you start laying down cobblestones. This will prevent any unevenness or sinking in your driveway as time goes on.
Step 4: Install the Cobblestones
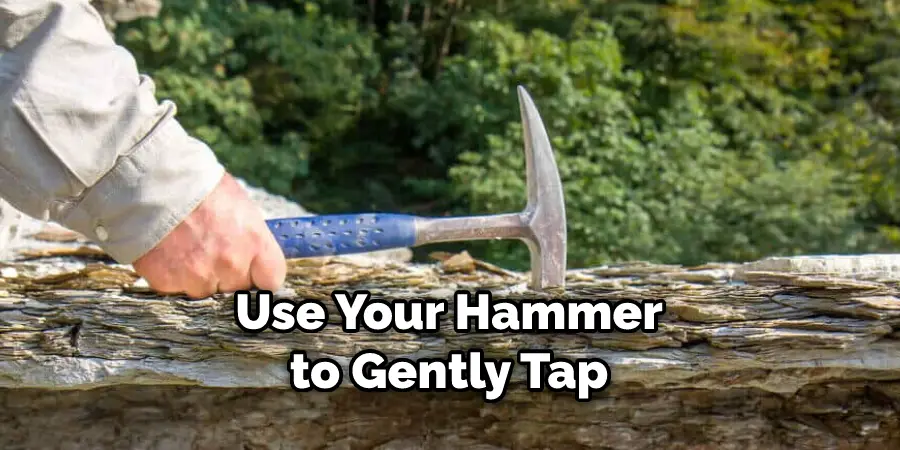
Now it’s time to start laying down your cobblestones. Starting in one corner of your guide, begin by laying down the stones one at a time. Use your hammer to gently tap them into place and make sure that each stone is even with the one before it so you don’t have any uneven spots.

Step 5: Fill Gaps with Polymeric Sand
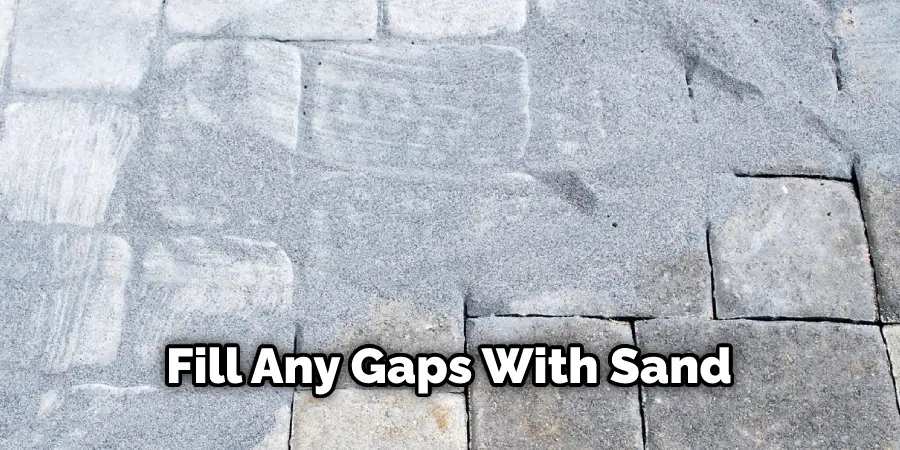
When you’re finished laying down your cobblestones, use polymeric sand to fill in any gaps that may have been left between the stones. This will help keep everything together and make sure the stones don’t shift or move over time. Filling gaps will also help protect your cobblestones from weeds.
Step 6: Cover with a Layer of Sand
Once all the gaps are filled in, spread a thin layer of sand over the entire area to help keep everything in place. This will also provide extra protection and make sure that dirt or debris doesn’t get into any of the cracks and crevices between the cobblestones.
And that’s it! You’ve now successfully installed a cobblestone driveway. Be sure to keep up with regular maintenance, such as sealing the stones every few years, to keep your driveway looking its best for many years to come. Thanks for reading and we hope this guide was helpful in getting you one step closer to a unique and attractive entryway for your home!
Additional Tips and Tricks to Install Cobblestone Driveway
1. Choose the Right Type of Stones:
You should select cobblestones that are suitable for driveways, as they will be more durable and require less maintenance over time. Look for sturdy stones with a flat surface and no sharp edges that could damage tires or cause other safety hazards.
2. Prepare the Base Layer:
Before you place the stones, it is important to prepare a stable base layer. This will ensure that your cobblestone driveway does not settle over time and create an uneven surface. The base layer should be made up of crushed gravel, compacted soil, or concrete, depending on how large the cobblestones are.
3. Use Sand to Fill Gaps:
Once you have laid out the stones in the desired pattern, it is important to fill any gaps with sand. The sand should be spread evenly between all of the stones and then lightly tamped down so that the surface remains even. While using sanding is not essential, it will help to keep the stones in place and ensure that they do not move.

4. Seal the Cobblestones:
Once you have finished laying out the cobblestones, it is important to seal them with a sealant or polyurethane spray. This will protect them from moisture, dirt, and other elements that can cause them to degrade over time. Be sure to follow the instructions on the sealant or spray for optimal results.
Following these tips and tricks will help ensure that you have a long-lasting and attractive cobblestone driveway. With proper installation, care, and maintenance, your cobblestone driveway can last for years to come. So, don’t hesitate to get started on your cobblestone driveway installation today!
Things Need to Consider While Installing Cobblestone Driveway
- Make sure the area is level and solid enough to support a cobblestone driveway. If there are any large bumps or dips in the ground, they must be smoothed out before laying the stones down.
- Check your local building codes and obtain any necessary permits for installing the driveway if required.
- Choose the right cobblestone. There are a variety of sizes, shapes, and colors available for cobblestones, so make sure to pick one that fits your desired aesthetic.
- Install a base layer of gravel before laying down the stones. Gravel helps keep the stones in place and ensures proper drainage from the driveway.
- Lay the stones in an even pattern. Depending on your design, this can be a herringbone pattern or simply laying them in rows with slight overlap from one row to the next.
- Use mortar to glue down any particularly stubborn stones that won’t stay put.
- Seal the cobblestone driveway with a sealant to protect it from the elements and keep the stones looking their best.
- Make sure to routinely clean and maintain your cobblestone driveway in order to prevent any damage or moss growth. Cleaning can be done using a pressure washer or garden hose, while maintenance may require repointing any loose stones or replenishing sealant as needed.
That is how to install a cobblestone driveway. With the right preparation, materials, and patience, you can transform your outdoor space into an aesthetically pleasing and durable surface that will last many years to come.
Precautions Need to Follow for Installing Cobblestone Driveway

- Always wear protective gear such as gloves, long pants, and closed-toe shoes when handling cobblestone driveways. This will protect your hands and feet from the sharp edges of the stones and potential slips or falls that may occur while working on the installation.
- Make sure to lay out a base foundation before installation to avoid potential cracking and settling of the cobblestones. The base should be made up of gravel, sand, or both depending on your preference to ensure that it is stable enough to support the weight of the cobblestones and provide a smooth surface for them to rest on.
- Avoid using any power tools with sharp blades near the cobblestones as they can easily chip or crack them. Instead, use tools with rounded edges to move the stones into place and provide a smooth finish.
- Be sure to check the height of the cobblestones when laying them out to ensure that they are all even. This will help prevent any potential tripping hazards later on and also create an aesthetically pleasing look.
- Once the cobblestones are installed, be sure to seal them with a concrete sealant or epoxy resin to protect them from moisture and other elements that may cause damage over time. This will also help keep the colors vibrant and prevent fading due to exposure.
- Regularly check your cobblestone driveway for signs of damage or wear and tear, and make necessary repairs as soon as possible. This will help maintain the lifespan of your cobblestone driveway and keep it looking great for years to come.
- If you notice that your cobblestones are becoming uneven due to settling, you can easily adjust them by adding a layer of gravel or sand underneath them to level them out. This will also help prevent further settling in the future.
By following these simple steps and taking the necessary precautions, you can easily install a cobblestone driveway that looks great and lasts for years! With proper care and maintenance, your cobblestones will remain vibrant and provide a beautiful entryway for your home. So what are you waiting for? Get started on installing your cobblestone driveway today!
Conclusion
Knowing how to install cobblestone driveway can help you create a beautiful outdoor area. With the right materials, preparation, and installation process, your new driveway will last for many years to come. It’s easy to maintain and requires little maintenance.
With the proper steps taken and care given, your cobblestone driveway will be able to hold up to anything that nature has in store! Remember to take your time and consult professionals if you are unsure about the installation process. With their help, you can ensure that your new driveway is properly installed and ready for use. Good luck with installing your cobblestone driveway!
About
Outdoor Fixes is a distinguished figure in the world of Diy design, with a decade of expertise creating innovative and sustainable Diy solutions.
His professional focus lies in merging traditional craftsmanship with modern manufacturing techniques,
fostering designs that are both practical and environmentally conscious. As the author of diy,
outdoorfixes delves into the art and science of outdoorfixes-making, inspiring artisans and industry professionals alike.
Education RMIT University
(Melbourne, Australia) Associate Degree in Design (Outdoor Fixes) Focus on sustainable design, industry-driven projects,
and practical craftsmanship. Gained hands-on experience with traditional and digital manufacturing tools, such as CAD and CNC software.
Nottingham Trent University
(United Kingdom) Bachelor’s in outdoorfixes.com and Product Design (Honors) Specialized in product design with a focus on blending creativity with production
techniques. Participated in industry projects, working with companies like John Lewis and Vitsoe to gain real-world insights.
Publications and Impact
In diy, Outdoor Fixes his insights on indoor design processes, materials, and strategies for efficient production.
His writing bridges the gap between artisan knowledge and modern industry needs, making it a must-read for both budding designers and seasoned professionals.

