
Changing the look of your outdoor space can be daunting. But, with a few simple and easy steps, you can create a beautiful and truly unique area that will last for years. One way to accomplish this is by installing deck tiles on the ground in less time than you might think!

Whether it’s transforming an old cracked concrete patio or giving a boring backyard some contemporary flair, the possibilities are endless. If you’re looking to upgrade your outdoor living space quickly and easily without breaking the bank, why not give these quick-to-install deck tiles a try?
In this blog post, we’ll guide you through everything you need to know about how to install deck tiles on ground successfully!
What are the Benefits of Deck Tiles?
Before we jump into the installation process, let’s take a quick look at why deck tiles are an excellent option for your outdoor space. These modular, interlocking tiles offer a variety of benefits, such as:
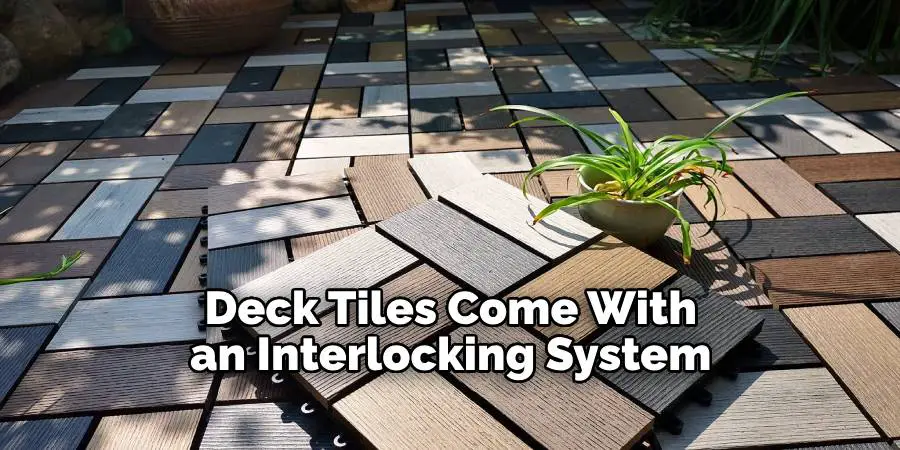
- Easy and Quick Installation: Most deck tiles come with an interlocking design, which can be quickly snapped together without any tools or adhesives. This makes them a great DIY project that can be completed in just a few hours.
- Versatile Options: Deck tiles come in various materials, colors, and patterns, allowing you to create a customized look for your outdoor space. Mix and match different tile types to create unique designs or stick with one type for a cohesive look.
- Durable and Weather-resistant: Deck tiles are typically made from durable materials such as wood, composite, or stone. This makes them resistant to harsh weather conditions and ensures they can withstand heavy foot traffic.
- Cost-effective: Compared to other outdoor flooring options, deck tiles are relatively inexpensive. They also require minimal maintenance, making them a great long-term investment.
What Will You Need?
Before you start installing your deck tiles, make sure you have all the necessary tools and materials. Here’s what you’ll need:
- Deck tiles of your choice
- Measuring tape
- Chalk or pencil for marking
- Utility knife (if needed)
- A level
- Rubber mallet or hammer
Once you have all these items ready, it’s time to start installing your deck tiles!
8 Easy Steps on How to Install Deck Tiles on Ground
Step 1: Prepare the Ground
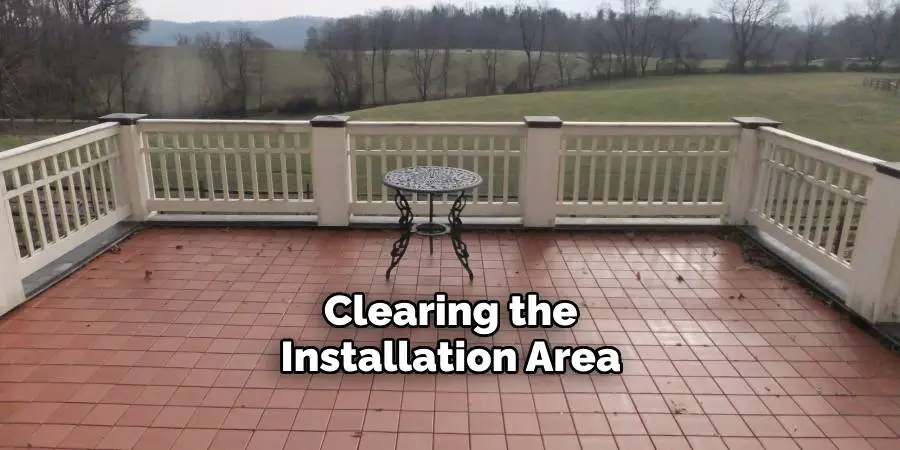
Start by clearing the installation area. Remove any grass, weeds, or other debris from the surface where you place the deck tiles. This will ensure a clean, flat surface for installation. If the ground is uneven, consider leveling it to prevent any instability of the tiles. Clear more space than the size of your deck to account for any adjustments during installation.
Step 2: Measure the Area
Use a measuring tape to measure the area where you’ll install the deck tiles. Ensure accurate measurements to determine the number of tiles you’ll need. It’s a good idea to buy a few extra tiles in case of measurement errors or if a tile gets damaged. Once you’ve got the measurements, you can lay out your tiles to ensure they fit within your designated area. Remember, the tiles can be cut to fit around obstacles or to fill smaller areas at the edges of your deck.
Step 3: Start Laying the Tiles
Begin at one corner of the area and place the first tile there. The position of the loops and the pins on the tile’s bottom side will determine its direction. Generally, the loops should face away from the edge, while the pins should be towards the edge.
This is because the next tile’s loops will connect with this tile’s pins, allowing them to interlock. Make sure the tile is straight and aligned with your corner reference. Use a level to check that the tile is flat. If it’s not, adjust it until it is. Should you need to cut a tile to fit, mark the cut line with chalk or a pencil, then use a utility knife to cut the tile along the drawn line carefully.
Step 4: Connect the Tiles
Take the following tile and align it with the first tile by fitting the pins into the loops. Be sure the tiles are correctly aligned before you apply any pressure. Once aligned, press down on the edges of the tile to snap it into place. You may use a rubber mallet or hammer, but be careful not to damage the tile. Repeat this process, consistently checking the alignment and flatness with your level until you have covered the entire area.
Step 5: Check and Adjust Tiles
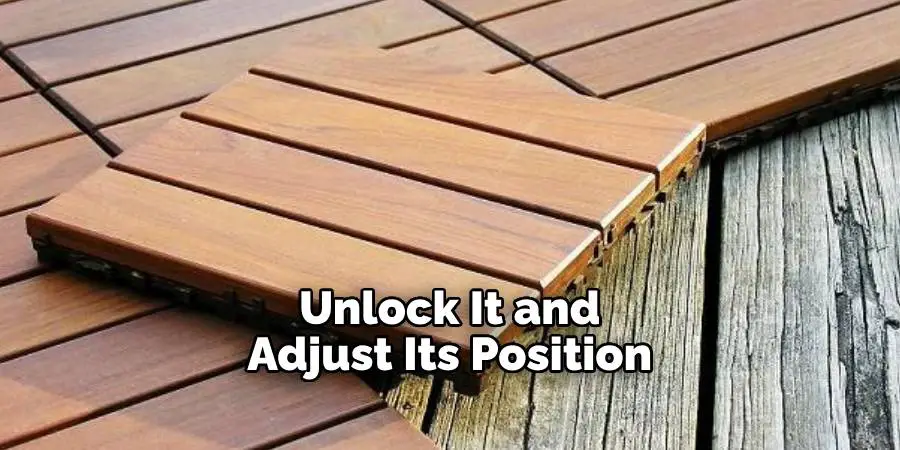
Inspect your work periodically as you proceed with the installation. If a tile is not aligned or level, you can easily unlock it and adjust its position. When you reach an obstacle, such as a tree or post, measure the space carefully, mark it on the tile, and cut it to fit with a utility knife. Always remember the golden rule of “measure twice, cut once” to avoid any mistakes. This step ensures that your deck is installed correctly, looks professional, and is safe to use.
Step 6: Finishing the Edges
For a clean and professional finish, ensure the edges of your deck are neat and well-defined. If your deck tiles do not have edge pieces, you may need to cut some tiles to fit them along the perimeter. Using a utility knife, carefully trim the interlocking tabs to give them a smooth edge. Alternatively, you could use a similar material for a border to create a framed look.
Step 7: Care and Maintenance
After successfully installing your deck tiles on the ground, it’s essential to take steps to maintain them. Regularly sweep or vacuum the tiles to remove any debris. If your tiles are made of composite or wood, consider applying a sealer to protect them from the elements. In case of spills or stains, clean them promptly to prevent lasting damage.
Step 8: Enjoy Your New Deck
Now that your deck tiles are successfully installed and maintained, it’s time to enjoy your new outdoor space! You can add outdoor furniture, plants, or even an outdoor rug to make the space more comfortable and welcoming. Remember, the beauty of deck tiles is that they can be easily replaced if damaged or rearranged if you want to change up the look.
Whether you use your new deck for entertaining, relaxing, or dining outside, you’ve added value and functionality to your home with your DIY project. Congratulations on your successful installation of deck tiles on the ground!
Following these easy steps, you can create a beautiful and functional outdoor space with deck tiles. Remember to choose high-quality tiles that are suitable for your climate and needs. With proper installation and maintenance, your deck tiles will provide a durable, cost-effective, and stylish solution for years.
5 Additional Tips and Tricks
- Layout Plan: Lay out your tiles before you start installing them. This allows you to envision the design and make any necessary adjustments to the layout. Remember to factor in any odd-shaped tiles that might be needed around edges or obstacles.
- Click System: Most deck tiles come with an interlocking system, often called the ‘click system.’ Ensure you understand how this works before installing to ensure a seamless fit.
- Expansion Gaps: Keep in mind that wood expands and contracts with changes in humidity and temperature. Therefore, when installing deck tiles, leave small gaps between them to account for this natural movement.
- Keep it Level: Use a level to ensure each deck tile is even with the others. If any tiles are not level, remove them and adjust the underlying surface as needed before reinstalling.
- Use a Saw: For any odd-shaped cuts, use a saw to trim the tiles to fit carefully. This will ensure a professional and polished finish.
With these additional tips and tricks, you should now feel more confident installing deck tiles on the ground.
5 Things You Should Avoid
- Avoid Uneven Surfaces: Do not install your deck tiles on uneven ground or over large roots, as this can cause the tiles to be unstable and potentially hazardous.
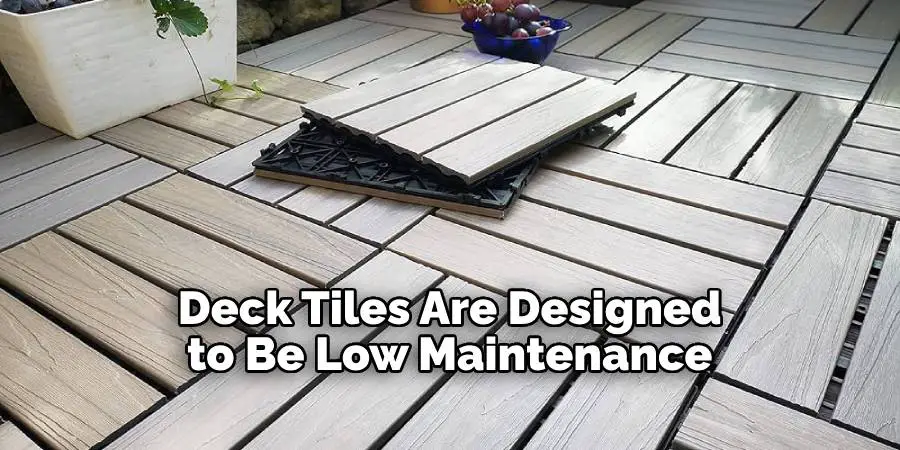
- Don’t Ignore Maintenance: Although deck tiles are designed to be low maintenance, they still require regular cleaning and occasional sealing to keep them looking their best and prolong their lifespan.
- Don’t Skimp on the Foundation: Only install deck tiles directly on soil with any form of base. A solid, well-drained foundation is crucial for the longevity of your deck.
- Avoid Rushing the Installation: Take your time during the installation process. Rushing may lead to mistakes and inconsistencies in the layout of your deck tiles.
- Don’t Dismiss the Weather: Don’t ignore the impact of environmental conditions. If you live in a region with severe weather conditions, ensure your deck tiles are suitable for such conditions to avoid any premature wear and tear.
By avoiding these common mistakes, you can ensure a successful installation of your deck tiles.
Conclusion
In conclusion, how to install deck tiles on ground is not only a cost-effective and hassle-free alternative to traditional decking solutions, but it is also an excellent way to add character and give your outdoor space some character.
With a few tools and some know-how, anyone can effectively install deck tiles on the ground in no time. Don’t be afraid to get creative – you can create unique shapes with borderless transitions or layer one type of tile (like wood) over another type (like stone). Remember that when selecting your tiles, always stay mindful of the climatic conditions in your area and choose accordingly. Finally, always stay within your budget while creating something beautiful.
So go ahead – take the initiative and start installing deck tiles on the ground today!
About
Outdoor Fixes is a distinguished figure in the world of Diy design, with a decade of expertise creating innovative and sustainable Diy solutions.
His professional focus lies in merging traditional craftsmanship with modern manufacturing techniques,
fostering designs that are both practical and environmentally conscious. As the author of diy,
outdoorfixes delves into the art and science of outdoorfixes-making, inspiring artisans and industry professionals alike.
Education RMIT University
(Melbourne, Australia) Associate Degree in Design (Outdoor Fixes) Focus on sustainable design, industry-driven projects,
and practical craftsmanship. Gained hands-on experience with traditional and digital manufacturing tools, such as CAD and CNC software.
Nottingham Trent University
(United Kingdom) Bachelor’s in outdoorfixes.com and Product Design (Honors) Specialized in product design with a focus on blending creativity with production
techniques. Participated in industry projects, working with companies like John Lewis and Vitsoe to gain real-world insights.
Publications and Impact
In diy, Outdoor Fixes his insights on indoor design processes, materials, and strategies for efficient production.
His writing bridges the gap between artisan knowledge and modern industry needs, making it a must-read for both budding designers and seasoned professionals.