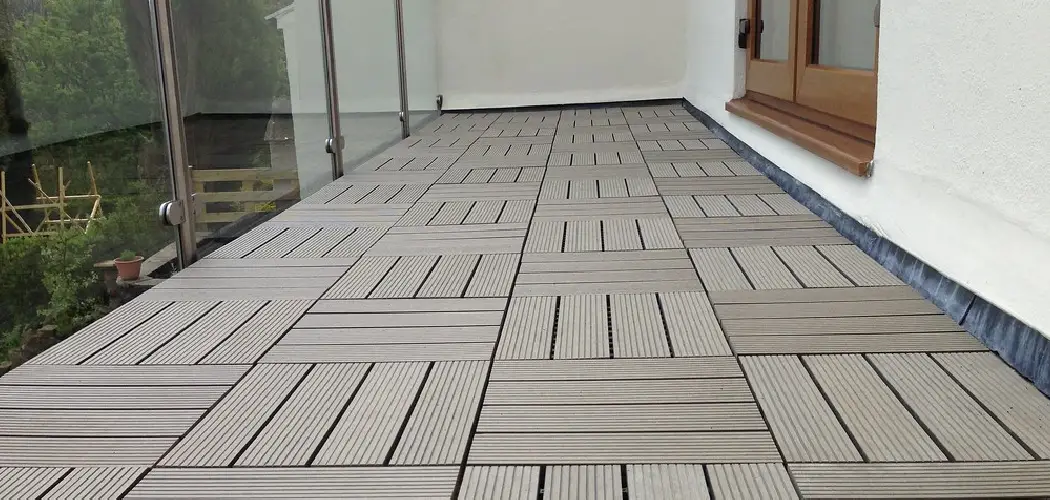
If you’ve considered updating your outdoor space, look no further! Installing deck tiles on a wood deck is an easy and cost-effective way to give any backyard a whole new feel. Deck tiles come in endless colors and design styles – allowing for complete customization when creating a beautiful oasis.

Not only will installing your deck tile create an impressive transformation to the entire area, but the satisfaction of materializing something so unique that it holds personal meaning can also be gratifying.
Whether you choose traditional natural stone or vivid colors – this project has something special for everyone! So buckle up and get ready to take on one of the most satisfying DIY projects out there: how to install deck tiles on wood deck.
Necessary Items
Before diving into the installation process, ensure you have all the necessary items. These include:
- Deck tiles of your choice.
- Measuring tape and pencil for accurate measurements.
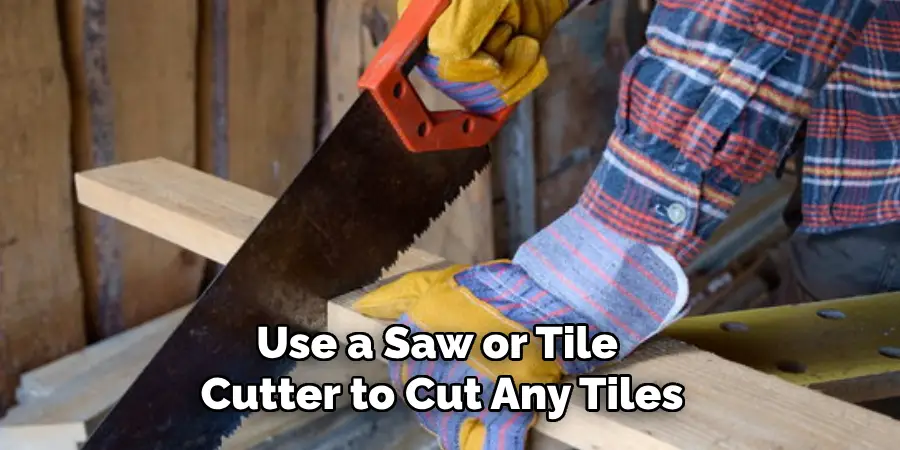
- Saw or tile cutter to cut any tiles that need adjustments.
- Hammer and nails or adhesive for securing the tiles in place.
- Leveling tool to ensure a flat surface for installation.
- Cleaning supplies to prepare the wood deck for installation.
10 Steps on How to Install Deck Tiles on Wood Deck
Step 1:Preparation
The first step in installing deck tiles on a wood deck is to clean the surface thoroughly. This will ensure proper adhesion of the tiles and prevent any dirt or debris from getting trapped underneath. Use a broom, mop, or power washer to remove any dust, dirt, or stains from the deck. Allow the deck to dry completely before proceeding to the next step.
Step 2: Measure and Plan
Measure the area of your wood deck you want to cover with tiles. This will help you determine how many tiles you need to purchase. Next, plan out the layout of your tiles by placing them on the deck in different orientations until you find a pattern that works best for you.
Step 3: Cut any Tiles
If necessary, use a saw or tile cutter to cut any tiles that need adjustments to fit in the designated area. Make sure to measure accurately and wear protective gear while using cutting tools.
Step 4: Start from One Corner
Begin laying your deck tiles from one corner of the deck, working your way outwards. This will ensure a clean and seamless look once the project is completed.
Step 5: Use Spacers
To create even spaces between each tile, use spacers during installation. These can be purchased at any hardware store or made using small pieces of wood.
Step 6: Check for Levelness
As you lay down the tiles, use a leveling tool to ensure a flat surface. This will prevent any unevenness in the outcome.
Step 7: Secure Tiles
Once you have completed a section, use either adhesive or hammer and nails to secure the tiles in place. Follow the manufacturer’s instructions for the proper application of adhesive.
Step 8: Continue Installing
Continue laying out tiles until you have covered the entire deck area. Make sure to check for levelness and adjust, if necessary, periodically.
Step 9: Cut Edge Tiles
For tiles that need to be cut to fit along the edges of the deck, measure and cut them accordingly.
Step 10: Enjoy Your New Deck!
Once all tiles are installed, take a step back and admire your new deck! Sit back, relax, and enjoy your beautiful outdoor space.
In conclusion, installing deck tiles on a wood deck is a simple and fun DIY project that can completely transform any outdoor space. With the right tools and materials, anyone can create their unique oasis quickly. So why wait? Start planning your deck tile installation today, and get ready to impress your friends and family with your stunning outdoor space.
8 Care Tips for Your Deck Tiles
1. Regularly Sweep or Hose Off Your Deck
Debris can build up on your deck, causing discoloration and potential damage. Sweep or hose off your deck regularly to keep it clean.

2. Wipe up Spills Immediately
To prevent staining, it is essential to wipe up any spills immediately. This will also help preserve the color of your deck tiles.
3. Avoid Using Harsh Chemicals
Harsh chemicals can damage and discolor your deck tiles. Stick to mild soap and water for regular cleaning.
4. Use Furniture Pads
To prevent scratches and dents on your deck tiles, use furniture pads under any heavy or movable items, such as chairs and tables.
5. Trim Nearby Plants
If you have plants near your deck, make sure to regularly trim them to prevent any damage or staining from leaves and branches.
6. Avoid High Heels
High heels can cause damage to your deck tiles, so it is best to avoid wearing them on your deck. Opt for flat shoes or bare feet instead.
7. Store Furniture During Winter Months
If you live in an area with harsh winters, consider storing your outdoor furniture during this time to prevent any potential damage to your deck tiles.
8. Regularly Check for Loose Tiles
Periodically check for any loose tiles and secure them back in place if necessary. This will help maintain the integrity of your deck and prevent any accidents.
By following these simple steps and care tips on how to install deck tiles on wood deck, you can easily install deck tiles on your wood deck and enjoy a beautiful outdoor space for years to come. So gather your tools and transform your deck into a stunning oasis that reflects your style! So why wait? Start planning your project today and create a relaxing haven in the comfort of your backyard.
8 Things to Avoid When Installing Deck Tiles
While installing deck tiles is relatively simple, some common mistakes can be easily avoided. Here are five things to avoid when installing deck tiles on a wood deck:
1. Not Preparing the Surface
Skipping the step of properly cleaning and preparing your wood deck can lead to poor adhesion and potential damage to your tiles.
2. Not Measuring Accurately
Measure accurately to ensure tiles are manageable for the designated area, leading to a less-than-perfect finished look.
3. Skipping Spacers
Using spacers is crucial for achieving even spacing and a professional-looking installation. Take advantage of this step!

4. Not Checking for Levelness
Neglecting to check for levelness throughout the installation process can result in an uneven surface that is unattractive and potentially unsafe.
5. Using Harsh Chemicals for Cleaning
As mentioned before, harsh chemicals can damage and discolor your deck tiles. Stick to mild soap and water for regular cleaning.
6. Not Protecting the Tiles During Installation
Protect your tiles during the installation process by covering them with a tarp or sheet. This will prevent any potential damage from tools, debris, or spills.
7. Forgetting Regular Maintenance
Even though deck tiles are low maintenance, it is essential to regularly clean and check for any loose tiles to ensure their longevity and safety.
8. Not Following Manufacturer’s Instructions for Adhesive
If you are using adhesive to secure your tiles, make sure to follow the manufacturer’s instructions carefully. Improper application can result in a weak bond and potential damage to your tiles.
In conclusion, while installing deck tiles is a simple and fun DIY project, it is essential to avoid these common mistakes for a successful and long-lasting outcome.
With the right tools, proper preparation, and regular maintenance, your deck tiles will provide you with a beautiful outdoor space for years. By avoiding these common mistakes and following the reasonable installation steps, you can ensure a successful project and a beautiful result. Remember to follow the care tips in this guide to maintain your deck tiles for years. Now, go forth confidently and create the outdoor space of your dreams!
Frequently Asked Questions
Can Deck Tiles Be Installed on Any Type of Wood Deck?
Yes, deck tiles can be installed on most wood decks if the surface is clean and level. However, it is always best to consult the manufacturer’s instructions for specific guidelines.
How Long Do Deck Tiles Last?
The longevity of deck tiles depends on various factors, such as weather conditions and proper care. With regular maintenance and care, they can last for several years.
Can I Install Deck Tiles Myself, or Do I Need a Professional?
With the right tools and materials, deck tiles can be easily installed by anyone. However, if you are uncomfortable with DIY projects, it is always best to consult a professional for assistance.
Are Deck Tiles Slip-Resistant?
Most deck tiles are designed to be slip-resistant, but it is always recommended to check the manufacturer’s specifications before purchasing.
Can I Use Deck Tiles Indoors?
Yes, deck tiles can be used indoors as well. However, it is crucial to ensure the surface is arid and level before installation.
Conclusion
Installing deck tiles on a wood deck is a great way to upgrade your outdoor space without breaking the bank. With proper preparation, accurate measurements, and regular maintenance, you can enjoy a beautiful and functional deck for years.
So why not see the amazing transformation for yourself? Remember the endless possibilities for creating a stunning outdoor space with deck tiles! So what are you waiting for? Start planning your project today, and get ready to relax, unwind, and enjoy your little piece of paradise right in your backyard
About
Outdoor Fixes is a distinguished figure in the world of Diy design, with a decade of expertise creating innovative and sustainable Diy solutions.
His professional focus lies in merging traditional craftsmanship with modern manufacturing techniques,
fostering designs that are both practical and environmentally conscious. As the author of diy,
outdoorfixes delves into the art and science of outdoorfixes-making, inspiring artisans and industry professionals alike.
Education RMIT University
(Melbourne, Australia) Associate Degree in Design (Outdoor Fixes) Focus on sustainable design, industry-driven projects,
and practical craftsmanship. Gained hands-on experience with traditional and digital manufacturing tools, such as CAD and CNC software.
Nottingham Trent University
(United Kingdom) Bachelor’s in outdoorfixes.com and Product Design (Honors) Specialized in product design with a focus on blending creativity with production
techniques. Participated in industry projects, working with companies like John Lewis and Vitsoe to gain real-world insights.
Publications and Impact
In diy, Outdoor Fixes his insights on indoor design processes, materials, and strategies for efficient production.
His writing bridges the gap between artisan knowledge and modern industry needs, making it a must-read for both budding designers and seasoned professionals.