
Are you ready to take on the task of installing gravel under your deck? Gravel installation projects can be problematic, and when it comes to laying gravel under your deck, the process is often more complex than expected. It can seem daunting at first, but with the right tools and know-how, it doesn’t have to be.
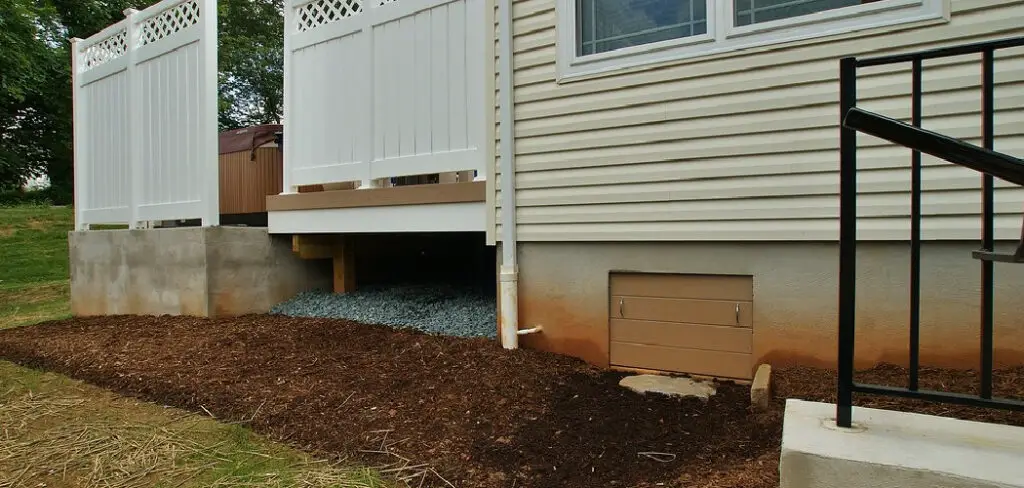
How to Install Gravel Under Deck will help promote drainage, prevent weed growth, and give you a more comfortable space to enjoy some outdoor time.
Thankfully, this project doesn’t have to be daunting! With a bit of knowledge and some determination, installing gravel underneath your deck is surprisingly straightforward—and with our easy-to-follow advice and guidance on how to install gravel under the deck in this article, you can enjoy an attractive outdoor area beneath your beloved decks fast. Let’s take a look at how to install gravel correctly under your deck today!
Necessary Items for Installing Gravel Under Deck
Before you begin installing gravel under your deck, it’s essential to gather all the necessary items and tools. Having everything prepared beforehand will make the installation process much more manageable and ensure that you don’t encounter any unexpected issues along the way.
- Gravel: First, you need to get enough gravel for your project! The amount of gravel you need will depend on the size of your deck and how much space you want to cover. A good rule of thumb is to get approximately 2 inches of gravel for every foot below the deck.
- Landscaping Fabric: This fabric will act as a barrier between the soil and the gravel, preventing weed growth and promoting proper drainage. Get enough landscaping fabric to cover the entire area under your deck.
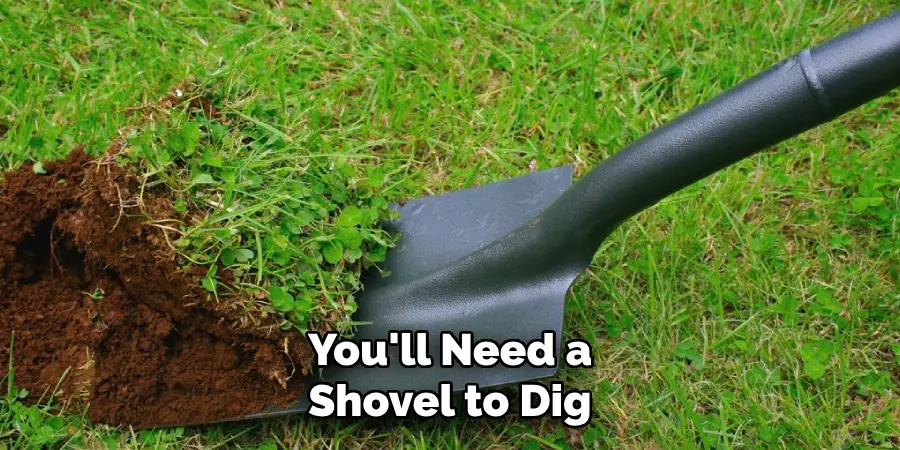
- Shovel: You’ll need a shovel to dig and move the gravel around. A flat-edged shovel is best for this type of project.
- Rake: A rake will come in handy when it’s time to spread the gravel evenly.
- Wheelbarrow: If you have a large area to cover, a wheelbarrow will save you time and effort when transporting the gravel.
- Tamper: This tool will help compact the gravel, making it more stable and preventing it from shifting or washing away over time.
- Safety Gear: It’s always important to prioritize safety. Wear gloves, goggles, and a dust mask during installation to protect yourself from potential hazards.
- Optional: Handyman’s Level, Water Hose, and Spray Paint. These tools can be helpful when ensuring the ground is level and marking out areas for easier installation.
10 Steps on How to Install Gravel Under Deck
Once you have all your necessary items ready, it’s time to start installing the gravel under your deck. Here are the steps you need to follow:
Step 1: Clear the Area
The first thing you need to do is clear the area beneath your deck. Remove any existing plants, rocks, or debris that may interfere with the installation process. Use a rake or shovel to smooth the ground, making it more even and easier to work with.
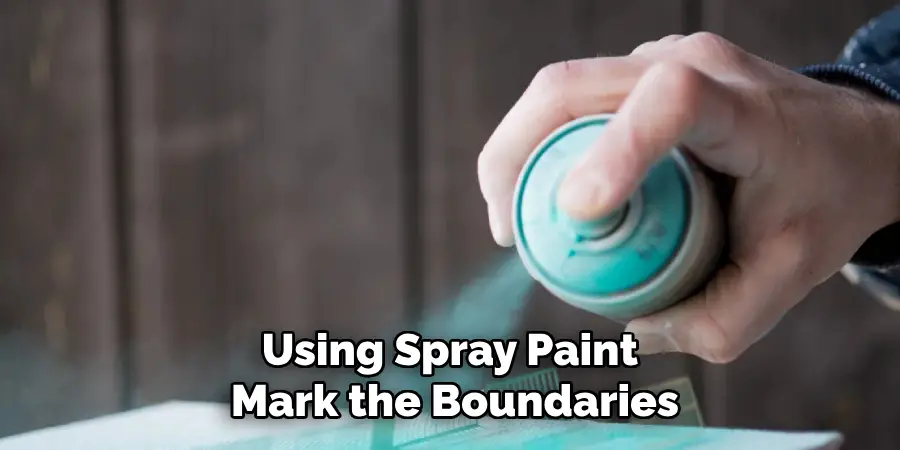
Step 2: Mark the Area
Using spray paint, mark the boundaries of where you want to lay the gravel. This step is optional, but it can help guide you during installation and ensure you stay within your desired area. You can also use a water hose to mark out the area.
Step 3: Measure and Cut Landscaping Fabric
Measure the length and width of the marked area, then cut your landscaping fabric accordingly. Add a few extra inches on each side to ensure complete coverage. Lay the fabric over the area, ensuring it reaches the edges.
Step 4: Secure the Fabric
Use landscape staples or pins to secure the fabric to the ground. This will prevent it from shifting during installation and ensure proper coverage. If you don’t have landscape staples, rocks or bricks can also hold the fabric in place.
Step 5: Start Pouring Gravel
Pouring gravel onto the fabric, spread it evenly, and fill any gaps or low spots. Depending on the space under your deck, you may need to use a wheelbarrow to transport and distribute the gravel evenly.
Step 6: Use a Tamper to Compact Gravel
Once you have completed pouring all the gravel, use a tamper to compact it. This will help stabilize the gravel and prevent it from shifting or washing away over time. Continue tamping until you have a firm and level surface.
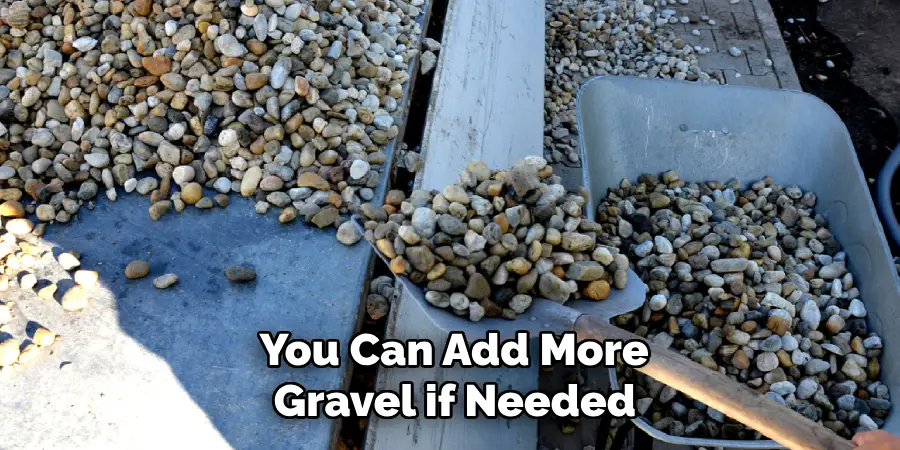
Step 7: Check for Levelness
Use a handyman’s level or a straightedge to ensure the gravel is evenly distributed and level. If needed, add more gravel to any low spots and tamp again. It’s essential to have a level surface to prevent water from pooling and promote proper drainage.
Step 8: Trim Excess Fabric
If there is any excess landscaping fabric sticking out, use scissors or a utility knife to trim it. This will give your installation a neater and more polished look. Be careful not to cut too close to the edge, which may cause the fabric to come loose.
Step 9: Water and Tamp Again
After trimming any excess fabric, water the gravel lightly and tamp it again. This will help settle the gravel and ensure maximum stability. You can add more gravel if needed and continue tamping until you have a firm and level surface.
Step 10: Enjoy Your New Gravel Under Deck Area
Congratulations, you have successfully installed gravel under your deck! Now it’s time to sit back, relax, and enjoy your new outdoor space. Whether you use the area for storage or as an additional seating area, the gravel will provide a stable and attractive base for your deck.
Regularly check and maintain the gravel to ensure its longevity and prevent potential issues.
As you can see, installing gravel under your deck is a relatively simple project that can add value and functionality to your outdoor space. With suitable materials, tools, and steps, you can have a stable, well-draining, and aesthetically pleasing area under your deck in no time. So gather your supplies and get to work – you’ll be glad you did! Now that you know how to install gravel under the deck, you can explore different ways to enhance the space further. Add potted plants, lighting, or even a small garden area.
8 Care Tips for Your Gravel Under Deck
To ensure the longevity and functionality of your gravel under the deck area, here are some care tips to keep in mind:
1. Regularly Inspect and Maintain the Gravel
Check the gravel for any signs of erosion, shifting, or weed growth regularly. If needed, add more gravel and tamp it down to maintain a stable surface. Remove any weeds or debris that may accumulate on the surface.
2. Monitor Drainage
Ensure that water is properly draining away from your deck and the surrounding area. If you notice any pooling or stagnant water, make adjustments to promote proper drainage. You can also use a water hose to simulate rain and ensure adequate drainage.
3. Use a Leaf Blower
If you have trees or plants above your deck, consider using a leaf blower regularly to remove any fallen leaves or debris from the gravel surface. This will prevent them from decomposing and creating an unsightly mess on top of your gravel.
4. Consider Installing a Drainage System
In areas with heavy rainfall, it may be beneficial to install a drainage system beneath the gravel. This will help prevent potential issues, such as pooling or erosion, and keep your gravel under the deck area in top shape.
5. Add Lighting for Safety and Ambiance
Installing lighting around your gravel under the deck area can not only enhance the aesthetics but also improve safety. Consider using solar-powered or low-voltage lights to create a warm and inviting atmosphere.
6. Use Edging for a Neat Look
Adding edging around the perimeter of your gravel area can give it a polished and tidy appearance. It can also help contain the gravel and prevent it from spilling into other areas. You can use bricks, stones, or metal edging for various styles.
7. Add Potted Plants for Color and Texture
Add potted plants around your gravel under the deck area to add pops of color and texture. These can be changed seasonally or according to your preferences, making it a versatile and low-maintenance option for sprucing up the space.
8. Protect the Gravel During Harsh Weather
In areas with harsh weather conditions, it’s essential to protect your gravel under the deck area from potential damage. You can use a tarp or cover to shield the area during winter or heavy storms and remove it when the weather improves.
FAQs About Gravel Under Deck
How Much Gravel Do I Need for My Under Deck Area?
The amount of gravel needed will depend on the size and depth of your under-deck area. It’s best to consult with a professional or use a gravel calculator to determine the required amount.
What Type of Gravel Should I Use?
Crushed stone or pea gravel are commonly used for under-deck areas as they provide good drainage and stability. However, you can also choose from a variety of colors and sizes to suit your personal preference and style.
Conclusion
By following these care tips on how to install gravel under deck, you can ensure that your gravel under deck area remains attractive, functional, and well-maintained for years to come. So go ahead and enjoy your new outdoor space – with proper care, it will continue to provide you with a stable base and an inviting atmosphere for many seasons to come!
So why wait? Get started on your gravel under-deck project today and reap the benefits of this simple yet practical addition to your outdoor space.
About
Outdoor Fixes is a distinguished figure in the world of Diy design, with a decade of expertise creating innovative and sustainable Diy solutions.
His professional focus lies in merging traditional craftsmanship with modern manufacturing techniques,
fostering designs that are both practical and environmentally conscious. As the author of diy,
outdoorfixes delves into the art and science of outdoorfixes-making, inspiring artisans and industry professionals alike.
Education RMIT University
(Melbourne, Australia) Associate Degree in Design (Outdoor Fixes) Focus on sustainable design, industry-driven projects,
and practical craftsmanship. Gained hands-on experience with traditional and digital manufacturing tools, such as CAD and CNC software.
Nottingham Trent University
(United Kingdom) Bachelor’s in outdoorfixes.com and Product Design (Honors) Specialized in product design with a focus on blending creativity with production
techniques. Participated in industry projects, working with companies like John Lewis and Vitsoe to gain real-world insights.
Publications and Impact
In diy, Outdoor Fixes his insights on indoor design processes, materials, and strategies for efficient production.
His writing bridges the gap between artisan knowledge and modern industry needs, making it a must-read for both budding designers and seasoned professionals.