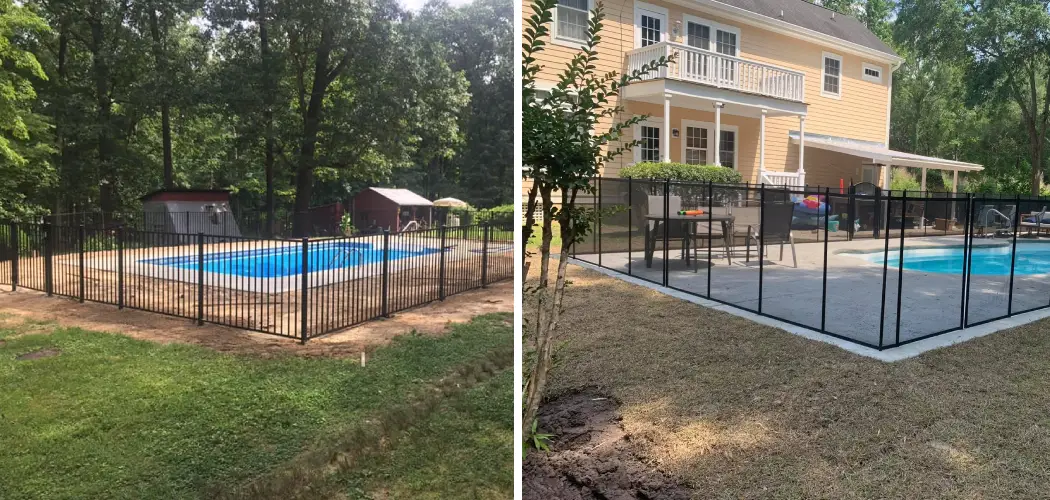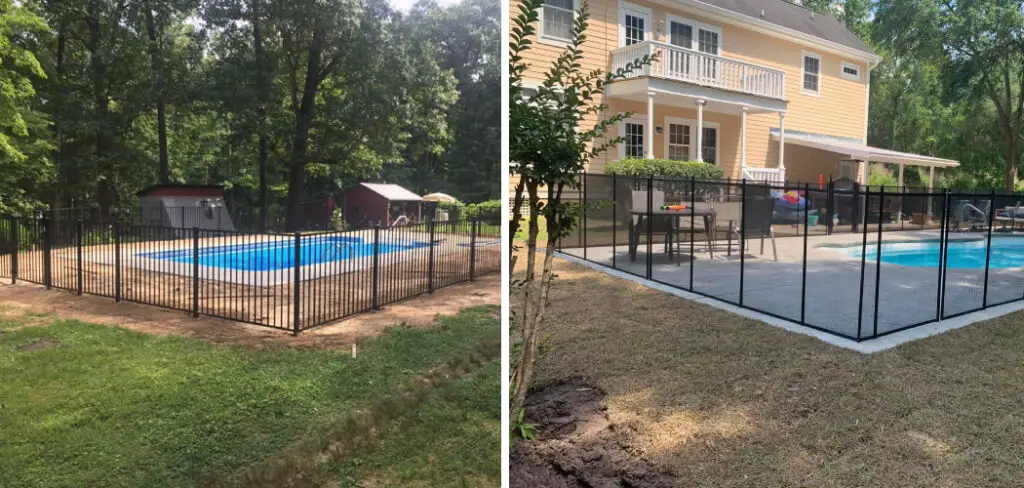
If you have a swimming pool and kids or pets, installing a pool fence is not an option but a must. A pool fence helps to prevent accidental drowning and keeps your loved ones safe. Before you begin the installation process, ensure that you know your state laws regarding pool fencing, including the height, materials, and type of gate used. If your pool is on a dirt surface, installing a pool fence may be a bit challenging. In this comprehensive guide, we’ll dive into how to install pool fence in dirt.
Can You Install a Pool Fence in The Dirt?
As a homeowner, having a pool in your backyard can be a great way to beat the summer heat and entertain guests. However, safety should always be a priority, especially if you have children or pets. One common safety measure is installing a pool fence, but what if your pool is surrounded by dirt?
The good news is that you can still install a pool fence, even if you don’t have a traditional concrete or deck surface. Steel, aluminum, and mesh can be anchored into the dirt with specialized hardware to create a sturdy and effective barrier. So, whether your pool is edged with grass, rocks, or soil, you can rest easy knowing that your loved ones are protected from accidental drowning.
Why Should You Install Pool Fence in The Dirt?
Installing a pool in your backyard is an exciting addition to any home, but it’s important to remember the safety precautions that come along with it. One crucial step is installing a pool fence in the dirt. This not only keeps children and pets safe from accidentally falling into the water, but it also provides privacy and security for your family.
A fence also helps to prevent unwanted visitors from accessing your pool when you’re not around. So, when you’re enjoying a dip in your pool, you can relax knowing that your loved ones are safe and secure. Don’t take any chances regarding your family’s safety; invest in a pool fence today.
A Comprehensive Guide on How to Install Pool Fence in Dirt
1. Determine the Type of Fence You Want
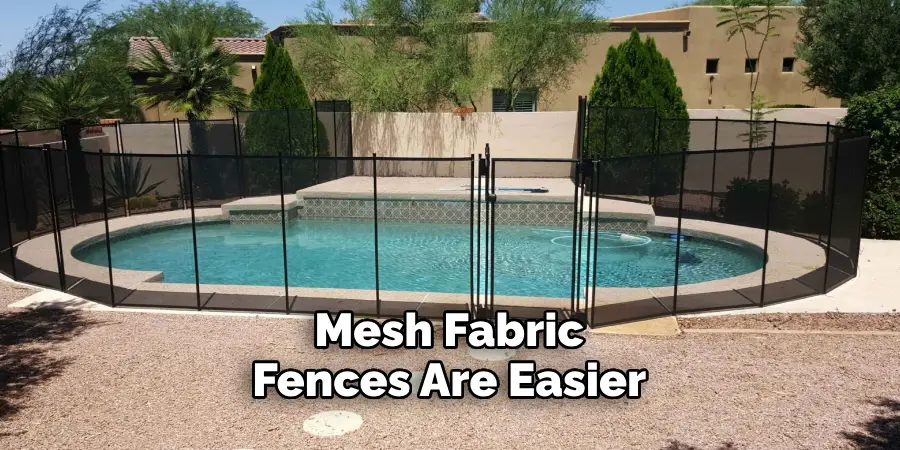
Before you set out to install your fence, you’ll need to decide on the type of fence you want. The two most common types are a traditional wood fence and a mesh fabric fence. Mesh fabric fences are easier to install and typically less expensive than wood fences. To install a mesh fence, begin by measuring the dimensions of the area where you want the fence to be. You must buy enough material to cover the entire area and add a few extra feet for overlap.
2. Gather the Necessary Tools
Next, gather the necessary tools. You’ll need a shovel or post-hole digger, a drill and drill bits, a level, a measuring tape, and a saw. You may also need to rent a power auger or digger for larger projects. If your fence will have a gate, you’ll need hinges, screws, and a latch.
3. Prepare the Area for Installation
After getting the tools together, prepare the area for installation. Begin by clearing the area where you’ll be installing the fence. Remove any rocks, roots, or debris that may interfere with the installation. Once the area is clear, mark the spots where you want to place your fence posts. To ensure that the fence is installed in a straight line, use a rope or string and stretch it from one end to the other.
4. Install the Posts and Fence
Once the area is prepped and the post holes are dug, it’s time to install the fence posts. Insert the posts into the holes and pack the dirt around them for stability. Be sure to keep the posts level throughout the process. After the posts are set, it’s time to attach the fence. Depending on the style, this can involve screwing the fence to the posts or weaving it through pre-made holes in the posts. If you are using a mesh fabric fence, you’ll typically slide the material into a pre-cut rail system.
5. Install the Gate
Finally, you’re ready to install your gate. Begin by attaching the hinges to the gate and post, ensuring everything is level. Then, attach the latch and test the gate to ensure that it opens and closes smoothly. Some pool fence gates may require a self-closing mechanism, so read the instructions carefully.
6. Finishing Touches
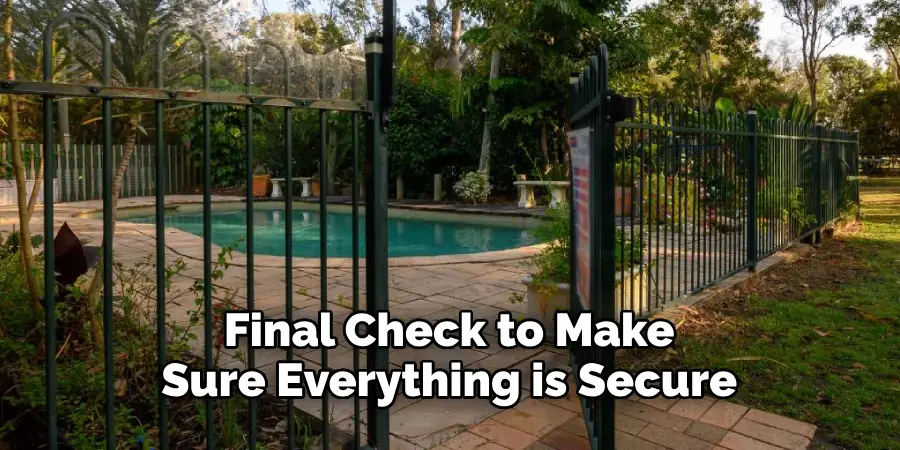
After the fence and gate are installed, do a final check to make sure everything is secure and level. If necessary, add any additional support or reinforcements to the posts. You may also choose to paint or stain the wood fence for added protection and aesthetics.
7. Regular Maintenance
To ensure the longevity of your pool fence, it’s important to regularly maintain it. This includes checking for any loose or damaged parts, repairing any damage, and cleaning the fence as needed. Regular maintenance will not only keep your pool area safe but also prolong the life of your fence.
By following these steps, you can easily install a pool fence in the dirt without much hassle. Remember to always prioritize safety and properly maintain your fence to ensure the safety of your pool area. With a little bit of effort, you can have a beautiful and functional pool fence that provides peace of mind for you and your family. So start planning and installing your very own pool fence today!
5 Considerations Things When You Need to Install Pool Fence in Dirt
1. Measure the Area Carefully
Before you begin installing a pool fence in dirt, it is important to take accurate measurements of the area that you will be fencing off. This will ensure that your fence is the correct size and shape for your pool and will fit properly when installed. Additionally, you should also measure any existing structures or landscaping features around your pool so that you can plan where to place your posts accordingly.
2. Choose a Durable Fence Material
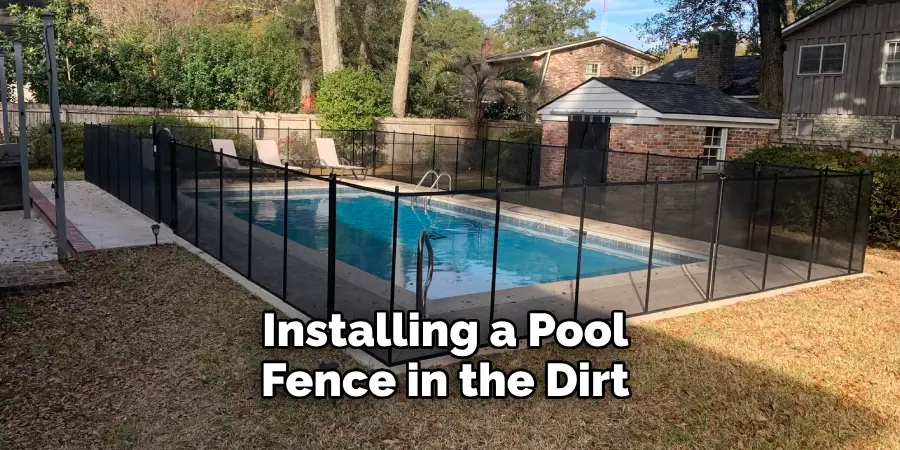
When installing a pool fence in the dirt, it is important to choose a material that is durable enough to withstand the elements. Vinyl fences are often the best choice for this type of installation as they are weather-resistant and require minimal maintenance. If you prefer a more natural look, wood or bamboo fences may also be suitable options. Whichever material you choose, ensure it meets all local building codes for safety and strength requirements.
3. Dig Holes for Posts
Once you have chosen your fence material and measured the area, it’s time to start digging holes for the posts. The depth of each hole should be at least two feet deep so that the posts are firmly anchored in the ground and able to support the weight of the fence panels without shifting or moving over time. If necessary, use a posthole digger or other tools to make deeper holes if needed.
4. Install Posts
Once all of your postholes have been dug, it’s time to start installing your posts into each hole one by one. Make sure that each post is level before securing them with concrete or other anchors, such as rebar stakes or metal spikes, depending on the material you’re using for your fence panels. Once all of your posts are installed securely, you can attach the panels themselves according to manufacturer instructions.
5. Add Extra Support with Anchors
Finally, after all of your posts and panels have been installed securely, consider adding extra support with anchors such as rebar stakes or metal spikes around each posthole if necessary, depending on what type of soil conditions exist in your area. This additional support will help ensure that your fence remains secure even during high winds or heavy rains, which could potentially cause damage if not properly secured beforehand.
4 Benefits of Install Pool Fence in Dirt
1. Increased Safety
Installing a pool fence in the dirt is one of the best ways to ensure your pool is safe and secure. A pool fence will help to prevent children and pets from accidentally entering the pool area, as well as keep out unwanted visitors. Pool fences also provide an additional layer of security for your home, as they can be difficult for intruders to climb over or break through.
2. Improved Aesthetics
Installing a pool fence in dirt can also improve the aesthetics of your outdoor space. Pool fences come in various styles and materials, so you can choose one that complements the look and feel of your backyard. Additionally, many pool fences are designed with ornamental features such as latticework or decorative posts, which can add visual interest to your landscape design.
3. Increased Privacy
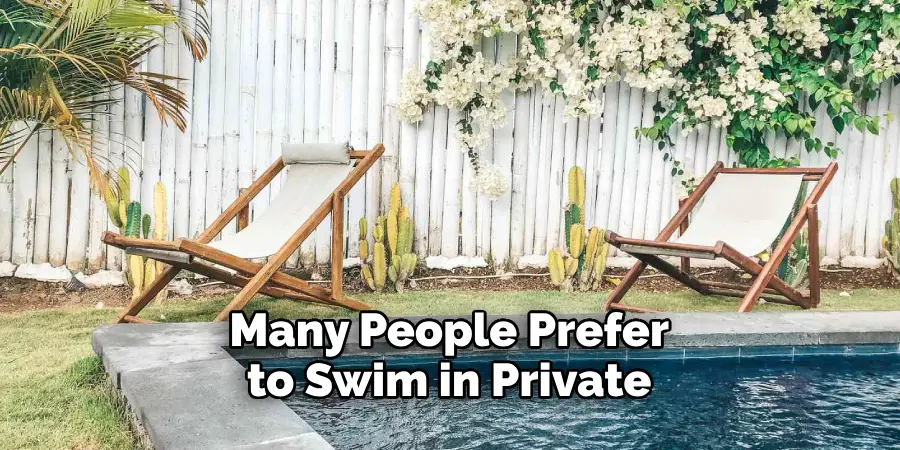
Pool fences are also effective at providing privacy for your swimming area. Many people prefer to swim in private, and installing a pool fence can help to create a more intimate atmosphere for you and your family or friends. Additionally, if you live close to neighbors or busy streets, a pool fence can help block out noise and reduce distractions while you’re swimming or relaxing by the water.
4. Long-Lasting Durability
Finally, installing a pool fence in the dirt is an excellent way to ensure long-lasting durability for your swimming area. Pool fences made from metal or vinyl are especially durable and designed to withstand harsh weather conditions such as high winds and heavy rainstorms without rusting or rotting away over time. When properly maintained, these fences can last for many years with minimal upkeep required on your part.
Conclusion
Installing a pool fence in dirt may seem intimidating, but with the right tools and preparation, it’s a task anyone can do. Remember to measure accurately, prepare the area, and keep everything level throughout the process. Installing a pool fence is an investment in the safety of your loved ones, and it’s well worth the effort. Thanks for reading our post about how to install pool fence in dirt.
About
Outdoor Fixes is a distinguished figure in the world of Diy design, with a decade of expertise creating innovative and sustainable Diy solutions.
His professional focus lies in merging traditional craftsmanship with modern manufacturing techniques,
fostering designs that are both practical and environmentally conscious. As the author of diy,
outdoorfixes delves into the art and science of outdoorfixes-making, inspiring artisans and industry professionals alike.
Education RMIT University
(Melbourne, Australia) Associate Degree in Design (Outdoor Fixes) Focus on sustainable design, industry-driven projects,
and practical craftsmanship. Gained hands-on experience with traditional and digital manufacturing tools, such as CAD and CNC software.
Nottingham Trent University
(United Kingdom) Bachelor’s in outdoorfixes.com and Product Design (Honors) Specialized in product design with a focus on blending creativity with production
techniques. Participated in industry projects, working with companies like John Lewis and Vitsoe to gain real-world insights.
Publications and Impact
In diy, Outdoor Fixes his insights on indoor design processes, materials, and strategies for efficient production.
His writing bridges the gap between artisan knowledge and modern industry needs, making it a must-read for both budding designers and seasoned professionals.

