
Insulating a shed roof is essential for maintaining a comfortable and functional space, whether you use it for storage, hobbies, or as a workshop. A well-insulated roof helps regulate temperature, reduces energy costs, and protects stored items from temperature fluctuations and moisture. In this guide, we’ll walk you through the process of how to insulate a shed roof, covering everything from selecting the right insulation materials and tools to step-by-step installation techniques.
Whether you’re preparing for winter or seeking year-round comfort, our comprehensive instructions will ensure your shed roof is properly insulated for maximum efficiency and usability.
Importance of Insulating a Shed Roof
Insulating a shed roof is crucial for several reasons. Firstly, it significantly improves temperature regulation within the shed, making the space more comfortable to use throughout the year, regardless of outside weather conditions. In winter, insulation helps retain heat, preventing the interior from becoming excessively cold, while in summer, it helps keep the space cooler by reducing heat ingress.
Secondly, proper insulation contributes to energy efficiency, reducing the need for additional heating or cooling devices that can incur higher energy bills. Additionally, insulation acts as a barrier against moisture, preventing condensation that can lead to mold growth and damage to stored items.
Furthermore, a well-insulated shed roof can also contribute to soundproofing, minimizing noise from rainfall or external sources. Overall, investing in good insulation enhances the durability and functionality of your shed, ensuring a better-protected and more versatile space.
Understanding Shed Roof Insulation
Before diving into the insulation process, it’s important to understand the different types of insulation materials and their respective benefits. The most common types of insulation for shed roofs include fiberglass batts, foam board, spray foam, and reflective insulation.
- Fiberglass batts are widely used due to their affordability and ease of installation. They provide good thermal resistance and are available in various thicknesses to fit different roof structures.
- Foam board insulation offers high insulating value with minimal thickness, making it ideal for shed roofs with limited space. It is resistant to moisture and can provide additional structural strength.
- Spray foam insulation is an excellent option for filling gaps and sealing air leaks. It expands to fit irregular spaces and provides superior thermal insulation and moisture resistance. However, it can be more expensive and may require professional installation.
- Reflective insulation works by reflecting radiant heat rather than absorbing it, making it particularly effective in hot climates. It is usually installed as a barrier in combination with other types of insulation for maximum efficiency.
When selecting insulation, consider factors such as your climate, the shed’s purpose, and your budget. Proper understanding and selection of insulation materials will ensure that your shed roof is effectively insulated, providing optimal thermal performance and protection.
10 Methods How to Insulate a Shed Roof
1. Assessing the Shed Roof Structure
Before beginning any insulation project, it’s crucial to assess the shed roof structure. Determine whether your shed roof has a pitched or flat design, as this will influence the insulation method you choose. Inspect the roof for any damage, leaks, or structural weaknesses.
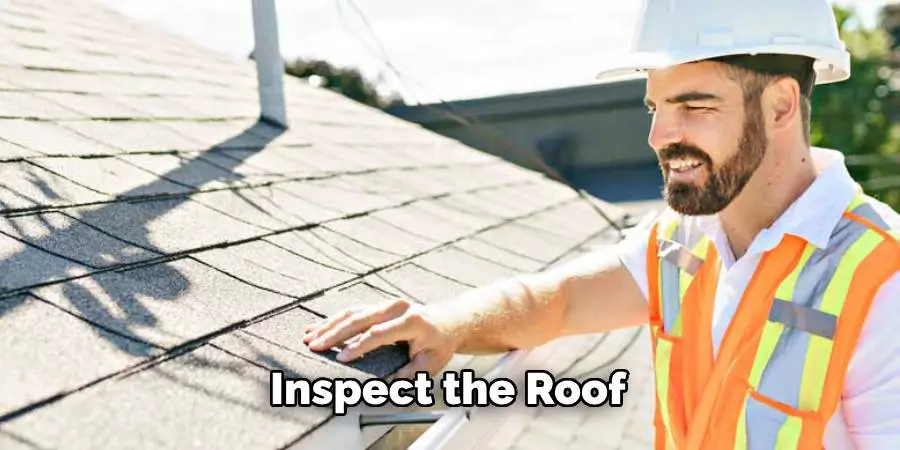
Make necessary repairs to ensure the roof is in good condition before adding insulation. Understanding the roof structure and its condition ensures that the insulation will be effective and that the roof can support the additional weight.
2. Choosing the Right Insulation Material
Selecting the appropriate insulation material is essential for achieving the desired thermal efficiency. Common options for shed roof insulation include fiberglass batts, rigid foam boards, spray foam, and reflective foil. Fiberglass batts are affordable and easy to install but require a vapor barrier to prevent moisture buildup.
Rigid foam boards provide excellent insulation and are moisture-resistant, making them suitable for damp environments. Spray foam offers superior insulation but can be more expensive and requires professional installation. Reflective foil is ideal for hot climates, as it reflects heat away from the shed. Consider the climate, budget, and specific needs of your shed when choosing insulation material.
3. Measuring and Cutting Insulation
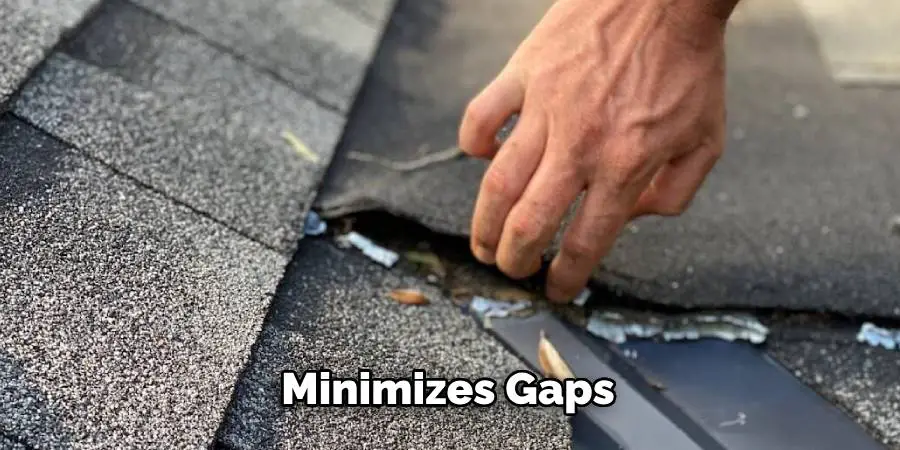
Accurate measurement and cutting of insulation materials are critical for a proper fit and maximum efficiency. Measure the dimensions of the roof area you plan to insulate, including the spacing between rafters or joists. Cut the insulation material to fit snugly between these structural elements.
Use a sharp utility knife or a specialized cutting tool for clean, precise cuts. Properly measured and cut insulation ensures a tight fit, minimizes gaps, and enhances the overall effectiveness of the insulation.
4. Installing a Vapor Barrier
A vapor barrier is an essential component of roof insulation, particularly in humid or damp environments. It prevents moisture from penetrating the insulation and causing mold or mildew growth. Install the vapor barrier on the warm side of the insulation, which is typically the interior side of the shed roof.
Use heavy-duty plastic sheeting or specialized vapor barrier materials, securing them tightly with staples or adhesive. Overlap the seams by at least 6 inches and seal them with waterproof tape to ensure a continuous barrier. Installing a vapor barrier protects the insulation and prolongs its effectiveness.
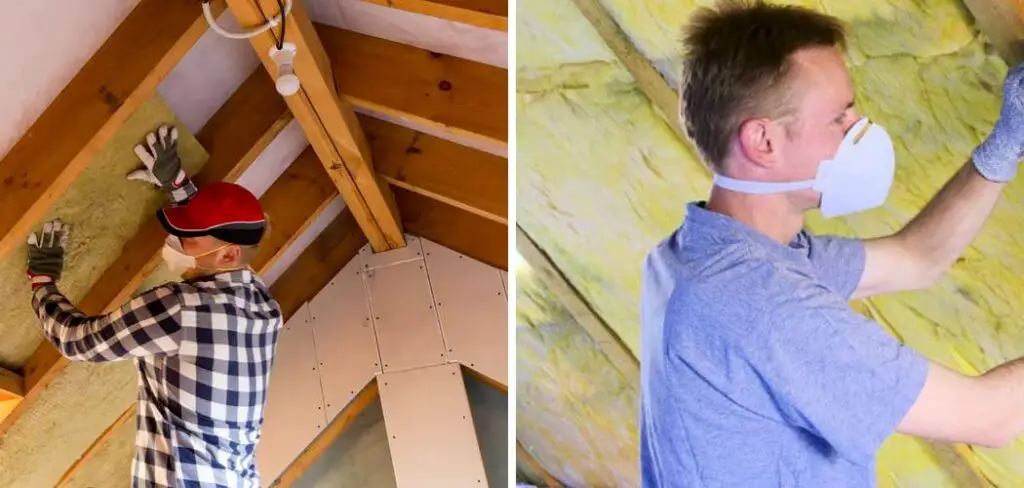
5. Applying Fiberglass Batt Insulation
Fiberglass batt insulation is a popular choice for insulating shed roofs due to its affordability and ease of installation. Fit the batts between the rafters or joists, ensuring they are snug but not compressed. Use insulation supports or wire rods to hold the batts in place if necessary. Cover the fiberglass insulation with a vapor barrier to prevent moisture buildup.
Be sure to wear protective clothing, gloves, and a mask when handling fiberglass insulation to avoid skin irritation and inhalation of fibers. Properly installed fiberglass batt insulation provides effective thermal protection for your shed.
6. Using Rigid Foam Board Insulation
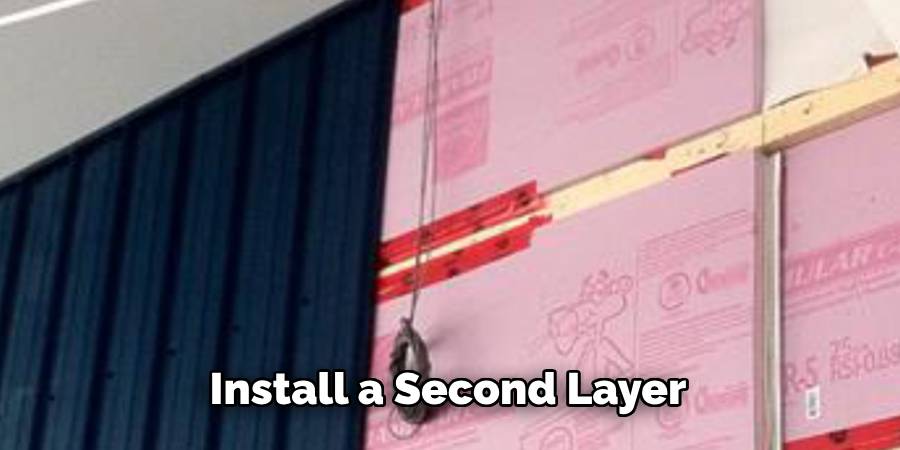
Rigid foam board insulation offers high R-value and moisture resistance, making it an excellent choice for shed roofs. Measure and cut the foam boards to fit between the rafters or joists. Apply adhesive to the back of the foam boards and press them firmly into place. Seal the edges and seams with foil tape or spray foam to create an airtight barrier.
For additional insulation, you can install a second layer of foam boards perpendicular to the first layer, staggering the seams to minimize thermal bridging. Rigid foam board insulation provides excellent thermal efficiency and durability.
7. Spray Foam Insulation
Spray foam insulation offers superior thermal performance and airtight sealing, making it ideal for insulating shed roofs. This method involves spraying a liquid foam that expands and hardens, filling all gaps and crevices. Spray foam can be applied directly to the underside of the roof deck and between rafters or joists.
It creates a seamless, continuous insulation barrier that is highly effective at preventing air leaks and moisture infiltration. Due to the complexity and potential health risks, it is recommended to hire a professional for spray foam insulation installation. This method provides the highest level of insulation and energy efficiency.
8. Reflective Foil Insulation
Reflective foil insulation is particularly effective in hot climates, as it reflects radiant heat away from the shed, keeping the interior cooler. This type of insulation consists of a layer of reflective foil backed by foam or bubble wrap. Install the reflective foil on the underside of the roof deck, securing it with staples or adhesive.
Ensure there is an air gap between the foil and the roof deck to maximize its reflective properties. Reflective foil insulation can be used alone or in combination with other insulation materials for enhanced thermal protection. This method is lightweight, easy to install, and helps reduce cooling costs in warm weather.
9. Insulating the Roof from the Outside
In some cases, it may be more practical to insulate the shed roof from the outside, particularly if the interior space is limited or already finished. This involves removing the existing roofing material, installing insulation, and then replacing the roofing material. Rigid foam boards or spray foam are suitable for exterior insulation due to their moisture resistance and durability.
Ensure the insulation is securely attached and covered with a waterproof membrane to protect it from the elements. Reinstall the roofing material, ensuring it is properly sealed to prevent leaks. Exterior insulation can provide an uninterrupted insulation layer and improve the overall thermal efficiency of the shed.
10. Finishing the Interior
After installing the insulation, it’s important to finish the interior of the shed to protect the insulation and enhance the appearance. Cover the insulated roof with drywall, plywood, or another suitable material. This finishing layer helps secure the insulation in place and provides a clean, finished look. Paint or seal the interior finish to protect it from moisture and wear.
Adding shelving or storage options can also help make the shed more functional. Properly finishing the interior not only protects the insulation but also improves the usability and aesthetics of the shed.
Conclusion
By following these ten detailed methods for insulating a shed roof, you can significantly improve the thermal efficiency and comfort of your shed. Each method addresses a specific aspect of the insulation process, providing a comprehensive approach to achieving a well-insulated shed.
Proper planning, material selection, and installation techniques are crucial to ensuring that your shed remains comfortable and energy-efficient year-round. Thanks for reading, and we hope this has given you some inspiration on how to insulate a shed roof!
About
Outdoor Fixes is a distinguished figure in the world of Diy design, with a decade of expertise creating innovative and sustainable Diy solutions.
His professional focus lies in merging traditional craftsmanship with modern manufacturing techniques,
fostering designs that are both practical and environmentally conscious. As the author of diy,
outdoorfixes delves into the art and science of outdoorfixes-making, inspiring artisans and industry professionals alike.
Education RMIT University
(Melbourne, Australia) Associate Degree in Design (Outdoor Fixes) Focus on sustainable design, industry-driven projects,
and practical craftsmanship. Gained hands-on experience with traditional and digital manufacturing tools, such as CAD and CNC software.
Nottingham Trent University
(United Kingdom) Bachelor’s in outdoorfixes.com and Product Design (Honors) Specialized in product design with a focus on blending creativity with production
techniques. Participated in industry projects, working with companies like John Lewis and Vitsoe to gain real-world insights.
Publications and Impact
In diy, Outdoor Fixes his insights on indoor design processes, materials, and strategies for efficient production.
His writing bridges the gap between artisan knowledge and modern industry needs, making it a must-read for both budding designers and seasoned professionals.