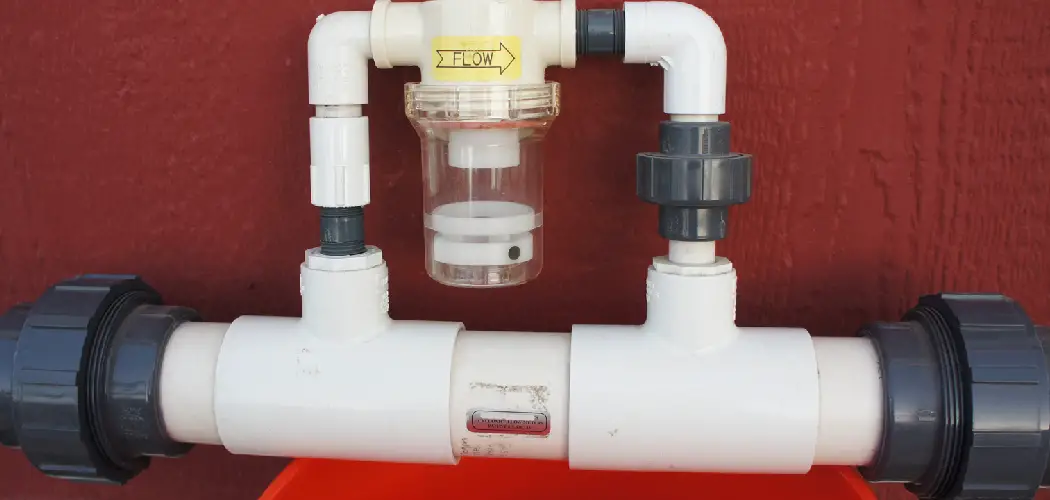
Insulating pool pipes can help reduce heat loss, maintain a consistent water temperature, and save energy costs. The pipes that run from your pool pump to the filter and back again are responsible for circulating the pool water. If these pipes are not properly insulated, they can lose heat quickly, especially in colder climates.
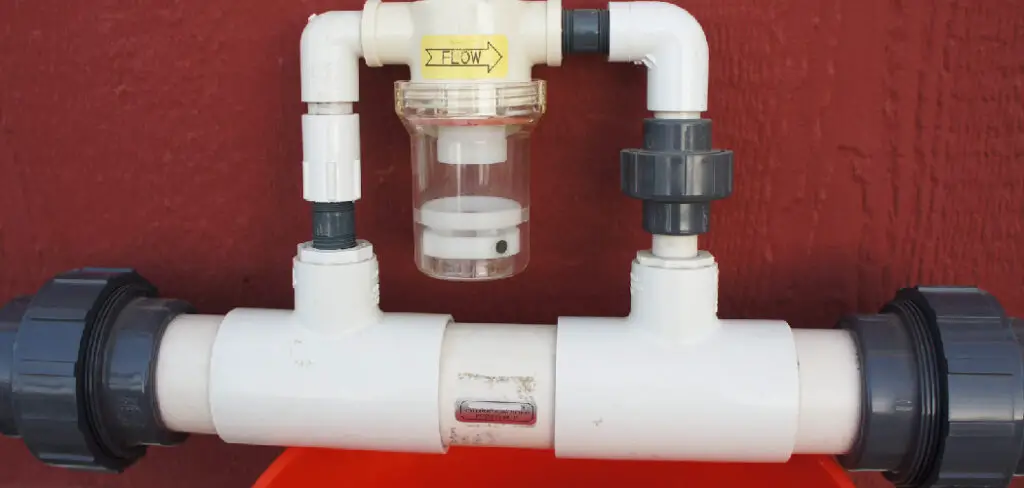
The main advantage of insulating pool pipes is to prevent the heat loss and avoid freezing during winter. It also helps to reduce energy consumption and save money on heating costs, as well as extending the lifespan of your pool equipment. There are different ways to insulate pool pipes depending on the type of pipe, location, and climate conditions. The most common methods include using foam insulation sleeves, fiberglass insulation, or heat tape. You can find step-by-step instructions on how to insulate pool pipes in this blog article.
Step by Step Processes for How to Insulate Pool Pipes
Step 1: Inspect the pool pipes
Before beginning the insulation process, it is important to inspect all of your pool pipes. Look for any areas where there may be damage or holes that could potentially lead to leaks.
Step 2: Purchase insulation materials
For this project, you will need to purchase a few key materials including pipe sleeves and foam insulation tape. Make sure to measure your pool pipes to ensure you purchase the right amount of material. Before adding insulation, make sure your pool pipes are clean and free of any dirt or debris. This will help the insulation adhere better and provide a tighter seal.
Step 3: Apply Pipe Sleeves
Pipe sleeves are a great way to protect your pool pipes from freezing temperatures. Simply slip the sleeve over the pipe and secure it with adhesive or tape. Using a utility knife, carefully cut foam insulation tape to fit the length of your pool pipes. Make sure to cut enough pieces to cover all exposed areas.
Step 4: Wrap foam Insulation Tape
Wrap the foam insulation tape around the pool pipes, making sure to overlap each piece slightly. This will create a tight seal and prevent any heat from escaping. To ensure the foam insulation tape stays in place, use duct tape or electrical tape to secure the ends and any loose sections.
Step 5: Use Reflective Insulation
For added protection against freezing temperatures, consider using reflective insulation on top of the foam tape. This will help reflect heat back towards the pool pipes. To further secure the insulation, use heat shrink wrap to seal all of the edges and any exposed areas. Use a hairdryer or heat gun to activate the adhesive.
Step 6: Install Additional Heating Elements
If you live in an area with extremely cold temperatures, you may need to install additional heating elements such as heat cables or heated mats. These can be placed around the pool pipes for added warmth. After completing the insulation process, it is important to monitor your pool pipes regularly. Check for any signs of damage or leaks, and make repairs as needed.
Step 7: Re-insulate as Needed
Over time, the insulation on your pool pipes may wear down or become damaged. It is important to regularly re-insulate as needed to maintain proper protection against freezing temperatures.
By following these steps, you can effectively insulate your pool pipes and prevent them from freezing during the colder months. This will not only save you money on potential repairs but also ensure your pool is ready for use when warmer weather returns.
Safety Tips for How to Insulate Pool Pipes
- Before starting the insulation process, make sure you are wearing protective gear such as gloves and safety glasses. This will prevent any irritation or injury from coming into contact with the insulation material.
- When selecting insulation material for your pool pipes, be sure to choose one that is specifically designed for outdoor use and can withstand harsh weather conditions.
- Before insulating, check the condition of your pool pipes. If there are any leaks or damages, these need to be fixed before proceeding with the insulation process.
- When cutting and installing the insulation material, make sure to follow the manufacturer’s instructions carefully. Improper installation could result in gaps or air pockets that can reduce the effectiveness of insulation.
- If your pool pipes are located in an area with limited ventilation, consider using a vapor barrier along with the insulation material. This will prevent condensation from forming and causing damage to the pipes.
- Always use caution when working near electrical components such as pumps and heaters. Insulation materials should not come into contact with these components as they can be a fire hazard.
- After the insulation process is complete, regularly check the pipes for any signs of wear and tear. If you notice any damage or deterioration, it’s important to address it immediately to prevent further issues.
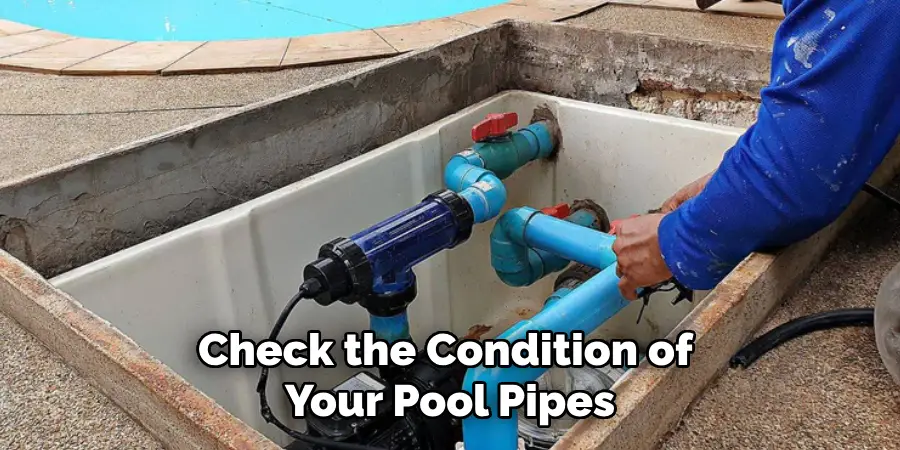
Insulating your pool pipes not only helps in maintaining the water temperature but also protects them from freezing during colder months. It also reduces energy costs and prevents potential leaks. Remember to follow these safety tips to ensure a successful insulation process for your pool pipes.
What is the Best Way to Insulate Pool Pipes?
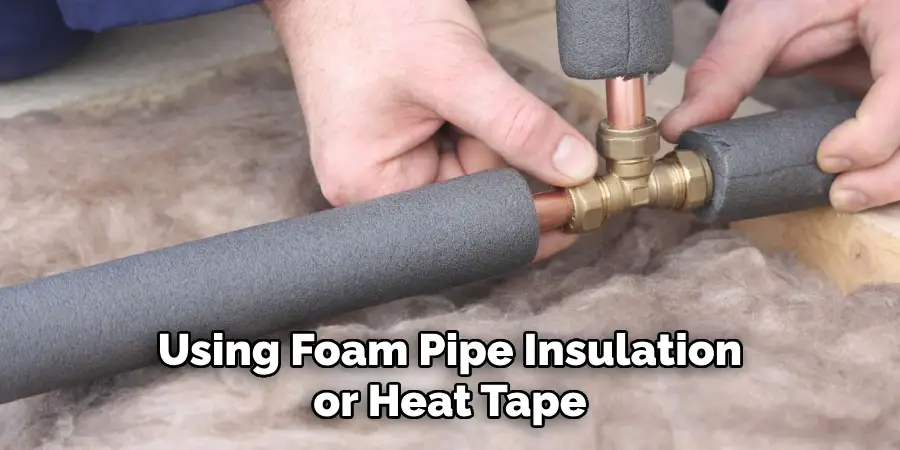
When it comes to keeping your pool pipes insulated, there are a few things to consider. Not only do you want to prevent any damage from freezing temperatures, but proper insulation can also help conserve energy and save you money on heating costs. One of the best ways to insulate pool pipes is by using foam pipe insulation. This type of insulation is made specifically for pipes and is easy to install. It comes in different lengths and widths, making it suitable for all types of pipes.
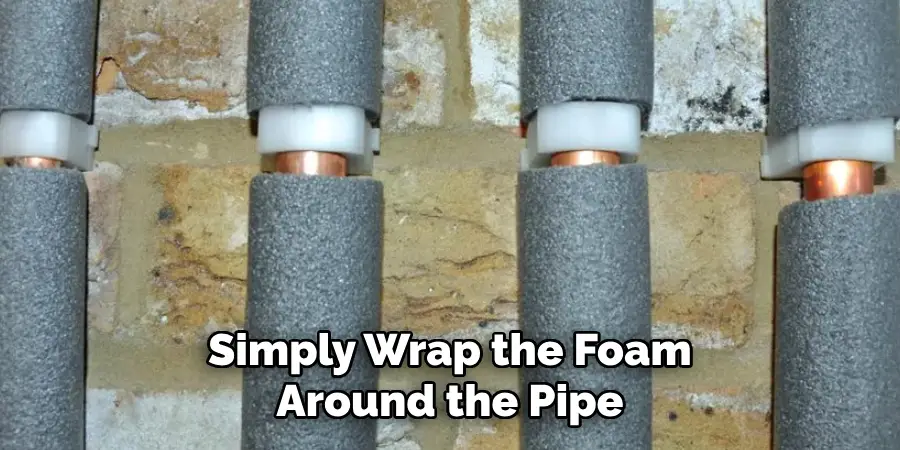
To start, measure the length of your pool pipes and cut the foam insulation to fit accordingly. Then, simply wrap the foam around the pipe and secure it with tape or zip ties. This will create a barrier between the cold air and your pipes, preventing them from freezing. Another option for insulating pool pipes is using heat tape. This is a self-regulating heating cable that can be wrapped around the pipes and plugged into an outlet. The heat tape will keep the pipes warm and prevent them from freezing, even in extremely low temperatures.
What Are the Benefits of Insulating Pool Pipes?
Insulating pool pipes is an essential step in maintaining a healthy and functional pool. It helps to prevent heat loss, reduce energy costs, and prolong the life of your pool equipment. In this section, we will discuss the benefits of insulating pool pipes in more detail.
1. Prevent Heat Loss
One of the main benefits of insulating pool pipes is preventing heat loss. Pool pipes are typically made of metal, which is a good conductor of heat. This means that without insulation, the hot water in your pool pipes will lose heat as it travels from the heater to the pool.
Insulating the pipes keeps the hot water at a consistent temperature, ensuring that your pool stays warm and comfortable for swimming.
2. Reduce Energy Costs
Insulating pool pipes can also help to reduce energy costs. As mentioned before, insulating the pipes prevents heat loss, which means that your pool heater does not have to work as hard to maintain the desired temperature. This results in lower energy consumption and ultimately, lower utility bills.
3. Prolong the Life of Pool Equipment
By protecting against heat loss and reducing strain on your pool heater, insulating pool pipes can help to prolong the life of your pool equipment. Constantly heating and reheating water puts a lot of stress on your pool heater, but with proper insulation, it can work more efficiently and last longer.
What Steps Should You Take to Make Sure Pool Pipes Are Properly Insulated?
Aside from using foam pipe insulation or heat tape, there are a few other steps you can take to ensure that your pool pipes are properly insulated. First, make sure that all of the pipes are completely covered with insulation and that there are no gaps or exposed areas. This will help to maintain consistent temperatures throughout the entire system.
Next, regularly check for any signs of damage or wear on the insulation. Over time, foam pipe insulation can become brittle and crack, which can lead to gaps in the coverage. If you notice any damage, it’s important to replace the insulation as soon as possible.
Lastly, consider investing in a pool cover. When your pool is not in use, a cover can help to further insulate the water and prevent heat loss. This will not only keep your pool warmer, but it will also reduce the amount of energy needed to maintain a comfortable temperature.
Conclusion
In conclusion, knowing how to insulate pool pipes can be extremely beneficial, especially during the colder months. However, like with any home improvement project, there are some disadvantages that should be considered before diving into this task.
Firstly, the cost of materials and labor for insulating pool pipes can add up quickly. This may not be a feasible option for those on a tight budget. Additionally, the process of insulating pipes can be time-consuming and require some technical knowledge, making it a daunting task for DIY-ers.
Furthermore, if not done properly, insulation can cause condensation buildup on the pipes which can eventually lead to mold growth. This is not only harmful to your health but also damaging to your pool’s infrastructure. I hope this article has been beneficial for learning how to insulate pool pipes. Make Sure the precautionary measures are followed chronologically.
About
Outdoor Fixes is a distinguished figure in the world of Diy design, with a decade of expertise creating innovative and sustainable Diy solutions.
His professional focus lies in merging traditional craftsmanship with modern manufacturing techniques,
fostering designs that are both practical and environmentally conscious. As the author of diy,
outdoorfixes delves into the art and science of outdoorfixes-making, inspiring artisans and industry professionals alike.
Education RMIT University
(Melbourne, Australia) Associate Degree in Design (Outdoor Fixes) Focus on sustainable design, industry-driven projects,
and practical craftsmanship. Gained hands-on experience with traditional and digital manufacturing tools, such as CAD and CNC software.
Nottingham Trent University
(United Kingdom) Bachelor’s in outdoorfixes.com and Product Design (Honors) Specialized in product design with a focus on blending creativity with production
techniques. Participated in industry projects, working with companies like John Lewis and Vitsoe to gain real-world insights.
Publications and Impact
In diy, Outdoor Fixes his insights on indoor design processes, materials, and strategies for efficient production.
His writing bridges the gap between artisan knowledge and modern industry needs, making it a must-read for both budding designers and seasoned professionals.

