
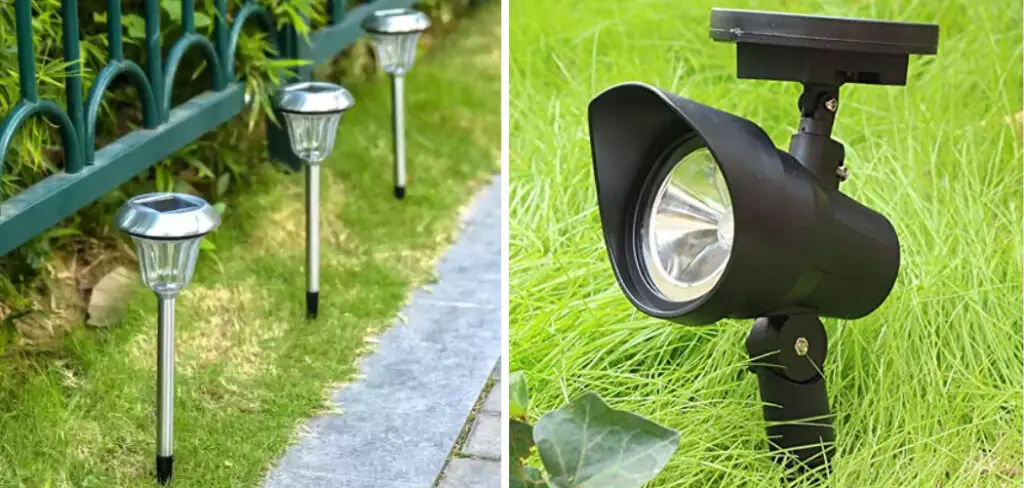
Over the years, nothing has frustrated me more than landscape lighting that doesn’t stay put. No matter how deep I buried the posts or how rock-solid I backfilled the holes, within a few months, the lights would always start tilting at odd angles like drunken sailors.
Every time I walked by my yard at night, it was a different funhouse mirror reflection staring back at me. I tried different post weights, stabilizer plates, concrete mixes – you name it.
But nothing seemed to stop the inexorable gravitational pull downward into the soil. Then, one day, I had a simple “aha” moment that has kept my landscape lit up straight and true ever since. In this post about how to keep landscape lights from tilting, I’ll share that lightweight, low-cost solution that may just save your lighting layout from a similar tilting fate.
What Will You Need?
Before we get into the details, let’s review the materials and tools you’ll need to implement this solution.
- Landscape lights
- PVC pipes (preferably with a larger diameter)
- Drill
- Screws or bolts
- Measuring tape
Once you have these materials, follow the steps below to keep your landscape lights from tilting.
10 Easy Steps on How to Keep Landscape Lights From Tilting
Step 1: Measure and Cut PVC Pipes
The first step is to measure the height of your landscape lights and cut the PVC pipes according to that length. Using larger diameter pipes is advisable, as they offer more stability and support. If your landscape lights are 12 inches tall, cut the PVC pipes into 14-inch lengths.
Step 2: Insert the Landscape Lights into PVC Pipes
After you have cut the PVC pipes to the necessary length, the next step is to insert your landscape lights into these pipes. Ensure the pipes fit snugly around the base of the lights. These pipes will be a barrier to prevent the lights from tilting over time, providing additional support and stability.

Step 3: Secure the Lights within the Pipe
Now that your landscape lights are inserted into the PVC pipes, it’s time to securely fasten them. Using your drill, make a hole through both the PVC pipe and the base of the light fixture. Then, take a screw or bolt and fasten it through the drilled hole. This will secure the light within the PVC pipe, further enhancing its stability and reducing the chance of tilting.
Step 4: Dig Holes for PVC Pipes
With your landscape lights securely fitted within the PVC pipes, the next step is to prepare the ground for installation. Use a post hole digger to create holes at your preferred spots for the lights. The holes should be deep enough to accommodate the PVC pipes and provide a firm base for your landscape lights.
Step 5: Install PVC Pipes into the Ground
Place a PVC pipe with the attached landscape light into each hole you’ve dug. Make sure the pipes are inserted straight, as they will dictate the posture of your lights. Push them until just two inches of the PVC pipe are visible above ground level.
Step 6: Backfill the Holes
The final step is to backfill the holes around the PVC pipes. Use soil or a mix of soil and gravel, compacting it around the base of the pipe to secure it firmly in the ground. This process provides additional support, further preventing your landscape lights from tilting.
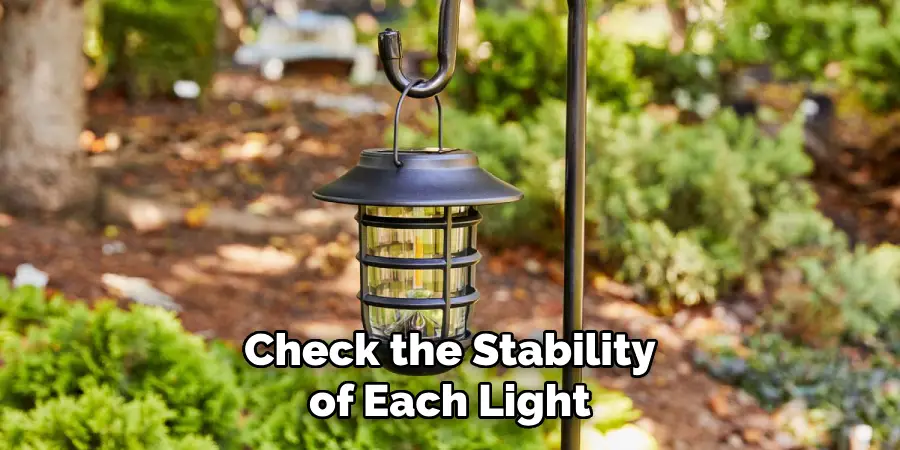
Step 7: Check the Stability
After backfilling the holes, it’s essential to check the stability of each light. Gently try to rock each light back and forth, and observe if there is too much movement. If a light seems unstable, add more soil or gravel around the base of the PVC pipe and compact it further to increase stability. This step ensures that your landscape lights are well-supported and reduces the likelihood of tilting.
Step 8: Monitor and Adjust
Once your landscape lights are installed and stable, remember to check on them periodically. Monitor them over several weeks to see if any of the lights are beginning to tilt.
If so, the soil may be settling, and you might need to add more soil or gravel, followed by additional compacting. By staying vigilant and making any necessary adjustments, you can ensure your landscape lights remain upright and functional for the long term.
Step 9: Regular Maintenance
Even after taking these comprehensive steps, maintenance is key to keep the landscape lights from tilting. If you notice any lights leaning, remove the soil around the PVC pipe, straighten the light, and refill and compact the soil.
Also, consider a quick check after any severe weather conditions, as they can influence the lights’ positioning. Regular maintenance can prevent minor tilts from becoming major ones, ensuring your landscape lights always appear as you intended.
Step 10: Enjoy Your Landscape Lighting
After completing the installation and ensuring all the lights are stable, the final step is enjoying your landscape lighting! Turn them on as dusk settles in to add a welcoming ambiance to your outdoor environment. The straight and evenly spaced lights will enhance the beauty of your landscape, making your home more attractive and comfortable.

Rest assured, knowing the efforts invested to keep landscape lights from tilting will undoubtedly pay off, transforming your yard into a well-lit, inviting space.
Following these ten steps, you can keep your landscape lights from tilting and maintain the perfect lighting for your outdoor space.
5 Additional Tips and Tricks
- Use Stabilizer Stakes: These can be driven into the ground to hold the base of your landscape lights, thus preventing them from tilting.
- Install a Concrete Base: Consider installing a concrete base for each light for a more permanent solution. This will ensure the light stays upright even in strong wind or heavy rain.
- Landscape Fabric: When installing your lights, consider using a layer of landscape fabric beneath the soil. This helps reduce soil erosion, leading to your lights tilting over time.
- Regular Maintenance: Regular checkups and tightness adjustments can prevent your landscape lights from tilting. If the bulbs flicker or the light leans, it’s a sign to inspect and correct any issues.
- Use Heavier Materials: Consider using landscape lights made from heavier materials in an area with heavy winds or unstable ground conditions. These are less likely to tilt due to their extra weight.

With these additional tips and tricks, you can keep your landscape lights from tilting and maintain a beautiful and functional outdoor lighting display. Don’t let tilted lights ruin your outdoor ambiance; use these methods to keep them upright and shining bright all year round.
5 Things You Should Avoid
- Avoid Placing Lights in High Traffic Areas: To prevent your landscape lights from being knocked over or tilted, avoid installing them where they might be frequently bumped or disturbed.
- Don’t Neglect Regular Maintenance: Failing to monitor and maintain your landscape lights can lead to accidental tilting. Regular checkups are crucial to keeping your lights upright and functional.
- Avoid Shallow Installation: When installing your lights, ensure they are deep enough in the ground. Shallow installations may result in the lights tilting over time.
- Don’t Use Low-Quality Stakes or Bases: Avoid using poor-quality stakes or bases to support your lights. They may not provide the necessary stability, which could result in the lights tilting.
- Avoid Ignoring Weather Conditions: Harsh weather conditions can significantly influence the stability of your landscape lights. It’s essential to consider the weather patterns in your area and make the necessary provisions to keep your lights from tilting.
By avoiding these common mistakes, you can enhance the longevity and aesthetics of your landscape lighting. Remember, the goal is to have a beautiful, well-lit outdoor space free of tilted lights.
5 Different Design Ideas
- Pathway Lighting: Use low-lying landscape lights along walkways and paths to guide visitors and add a touch of elegance to your outdoor space.
- Up-lighting: Install lights at the base of trees or shrubs, pointing upwards to create a dramatic effect and highlight their natural beauty.
- Water Feature Lighting: Add underwater lights to a pond, fountain, or waterfall to create a stunning nighttime display.
- Accent Lighting: Use landscape lights to highlight specific features in your garden, such as statues, flower beds, or architectural elements.
- Moonlighting: Place lights high up in trees to mimic the effect of moonlight and create a soft and ethereal glow over your outdoor space.
With these design ideas, you can create a unique and visually appealing outdoor lighting display to make your home stand out. Get creative and experiment with different types of lights and placement to find the perfect combination for your landscape.
Conclusion
Ultimately, how to keep landscape lights from tilting is relatively easy when you understand the techniques involved. From staking them firmly in the ground, installing tilt collars, or setting your lights into reinforced housing, using one of these hacks can help keep your lights upright and shining strong for years.
Remember that you could also opt for solar-powered lighting designed to adjust automatically in sunny and shady areas! Not only will this free you from having to worry about staking and collaring your lights securely, but it also has big payoffs for the environment; solar energy is renewable and carbon-free.
In summary, ensuring that your landscape lighting remains secure and steady doesn’t have to be a chore – try one of these methods out today and save yourself the daily headache of tilted lighting fixtures!
About
Outdoor Fixes is a distinguished figure in the world of Diy design, with a decade of expertise creating innovative and sustainable Diy solutions.
His professional focus lies in merging traditional craftsmanship with modern manufacturing techniques,
fostering designs that are both practical and environmentally conscious. As the author of diy,
outdoorfixes delves into the art and science of outdoorfixes-making, inspiring artisans and industry professionals alike.
Education RMIT University
(Melbourne, Australia) Associate Degree in Design (Outdoor Fixes) Focus on sustainable design, industry-driven projects,
and practical craftsmanship. Gained hands-on experience with traditional and digital manufacturing tools, such as CAD and CNC software.
Nottingham Trent University
(United Kingdom) Bachelor’s in outdoorfixes.com and Product Design (Honors) Specialized in product design with a focus on blending creativity with production
techniques. Participated in industry projects, working with companies like John Lewis and Vitsoe to gain real-world insights.
Publications and Impact
In diy, Outdoor Fixes his insights on indoor design processes, materials, and strategies for efficient production.
His writing bridges the gap between artisan knowledge and modern industry needs, making it a must-read for both budding designers and seasoned professionals.