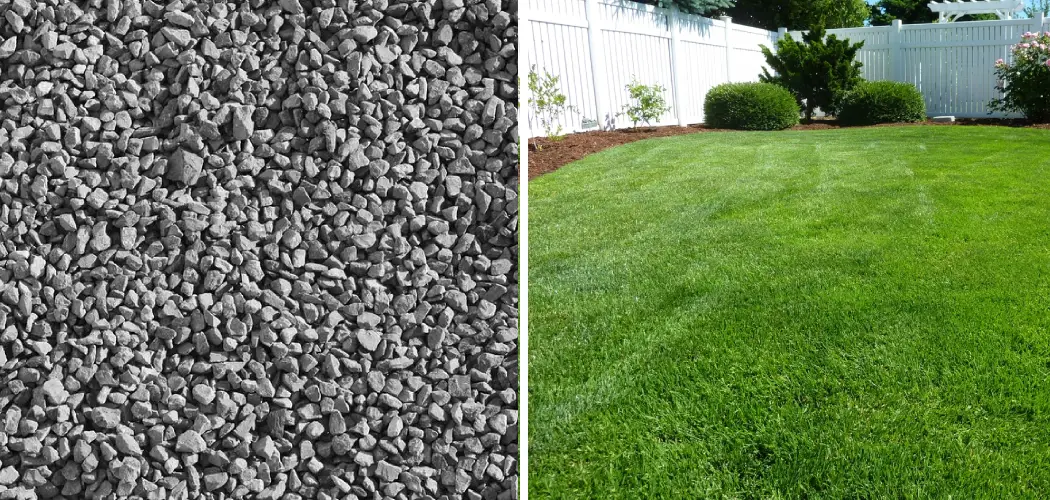
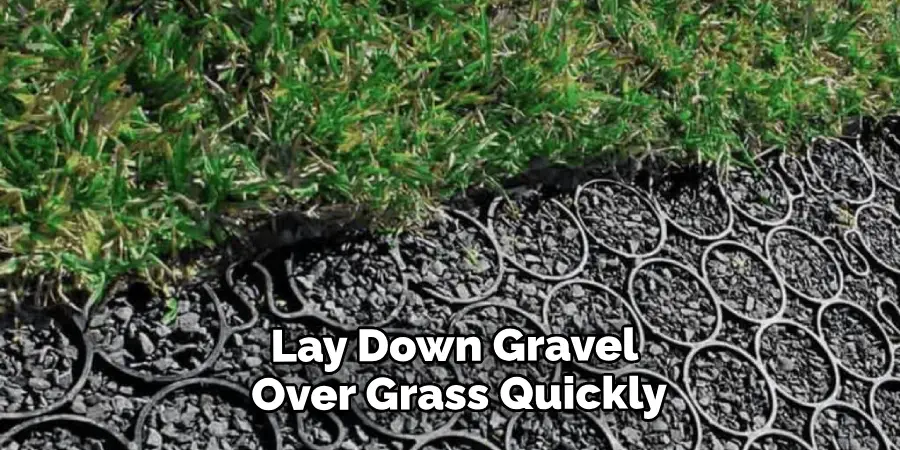
Do you want an easy and relatively inexpensive way to update your outdoor space? Laying gravel over grass is a great solution that will take any garden, driveway or walkway from drab to fab in no time! Not only is it incredibly simple, but the effects can also be stunning.
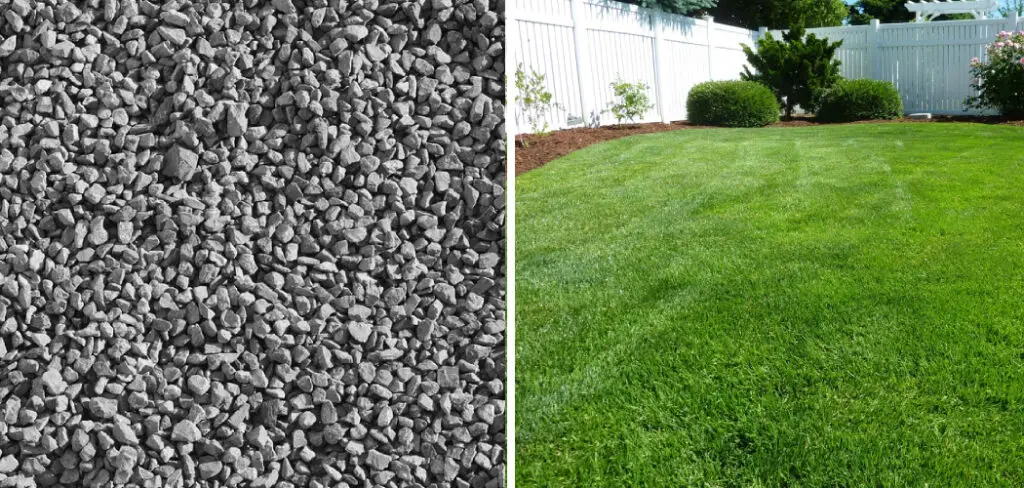
From crystal-like gravels such as quartzite which glisten in the sun, to calming blues of beach pebbles, there are endless possibilities for creating the perfect look. In today’s blog post on how to lay gravel over grass we will guide you through everything required for laying down pea gravel or other types of decorative stones on top of an existing grassy area. Let’s get started!
Why Do You Need to Lay Gravel Over Grass?
Laying gravel over grass is a great way to quickly and inexpensively update an existing outdoor space. The area will look fresh and new with minimal effort. Gravel can also be a great solution if you are looking for a ground cover that requires minimal maintenance, such as in areas that are prone to weeds or need water drainage control. Not only does it act as a weed control, it also adds an aesthetically pleasing and inviting look to any area!
Needed Tools and Materials
Given below is a list of tools and materials you will need for laying gravel over grass.
A Shovel
This is necessary for digging out the grass and preparing the area. Make sure to use a shovel with a good blade, as this is essential for removing the grass.
A Wheelbarrow
This is necessary for transporting the gravel efficiently and quickly moving it from one area to another.
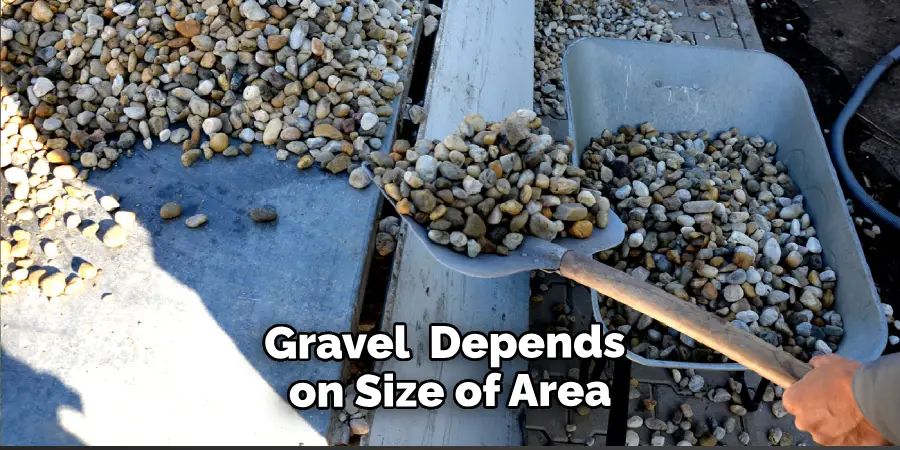
Gravel
The type and amount of gravel you need will depend on the size of the area that needs to be covered. You may use pea gravel, quartzite, or other types of decorative stones.
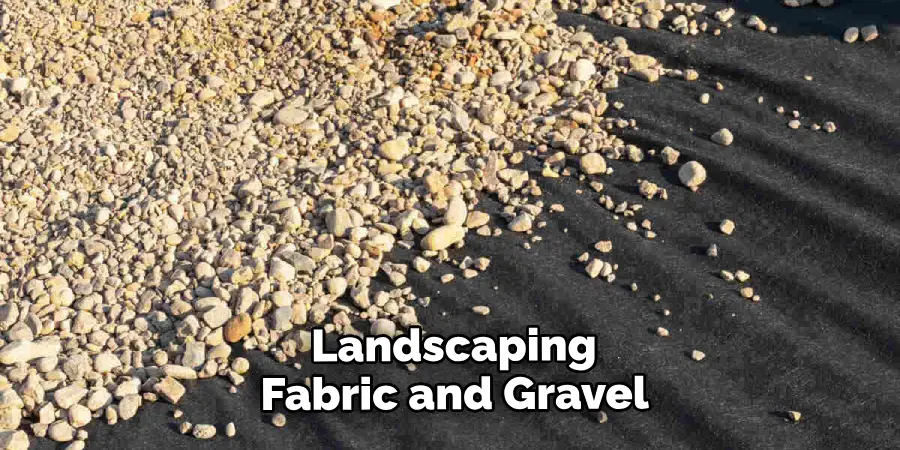
Landscaping Fabric
A landscaping fabric is necessary for providing a layer of protection between the soil and the gravel. This will help to prevent weeds from growing through and make sure your work lasts for many years.
11 Step-by-step Guidelines on How to Lay Gravel Over Grass
Step 1: Clear the Area of Debris
Start by removing any debris or stones that may be present in the area. This will ensure the surface of your finished result is even and consistent. If necessary, use a rake to clear away any remaining debris. This will make the surface even and ready for you to start laying gravel. You can throw away the debris or use it to fill in any dips or low points in the area. Although not essential, it is recommended that you level the area out beforehand.
Step 2: Measure the Area
Once the area is clear, it’s time to measure it to determine how much gravel you will need. Use a measuring tape or ruler and note down the length and width of the area that needs covering. This will help you work out exactly how much gravel you need to buy for your project. You should allow for a few inches of gravel to cover the entire area. But remember, you can always add more if needed.
Step 3: Remove Existing Grass
Once you have measured the area, start by removing existing grass using a shovel. Dig out as much of the grass as possible, taking care not to damage any nearby plants or flowers in the process. Make sure to dig deep enough so that all roots are removed – this will ensure they do not grow back through your finished layer of gravel! It’s also important to remove any rocks or stones that may be present in the area.
Step 4: Add Landscaping Fabric
Once you have removed the grass, it’s time to add a layer of landscaping fabric. This will provide an extra layer of protection between the gravel and soil, preventing weeds from growing back through. To ensure your work is as long-lasting as possible, use heavy-duty landscaping fabric which is designed for this purpose. Make sure to cover the entire area with no gaps or overlaps in order to get the desired result.

Step 5: Spread Out Gravel
Now that you have prepared the area for laying gravel over grass, it’s time for the fun part – spreading out the actual gravel! Start by pouring small amounts of gravel onto the surface at one time and spread it out with a rake. Make sure to cover the entire area evenly and that there are no gaps or overlaps in the gravel.
If necessary, you can use a water sprayer to help the gravel settle into place. This will help to bind it together for a polished finish. It is also important to ensure there are no large rocks or stones that could potentially damage the surface.
Step 6: Check for Low Points
Once you have spread all of your gravel, it’s important to check for any low points on the surface. If there are any dips, fill them in with extra gravel until they become even with the rest of the surface.
This will ensure your finished result looks uniform and professional! But remember to leave a few inches between the top of your gravel layer and any nearby plants or flowers. It’s also important to ensure there are no rocks or stones that could potentially damage the surface.
Step 7: Compact Gravel
Once you have finished spreading out and leveling your gravel, it’s time to compact it down so that it is firmly set into place. Without compaction, your work may not last as long as desired and could easily be moved by the wind or other elements.
Use a hand tamper or plate compactor to compact your gravel and make sure it is firmly set in place. If necessary, you can also use a roller to ensure it is firmly packed down. Otherwise, your gravel may shift and move.
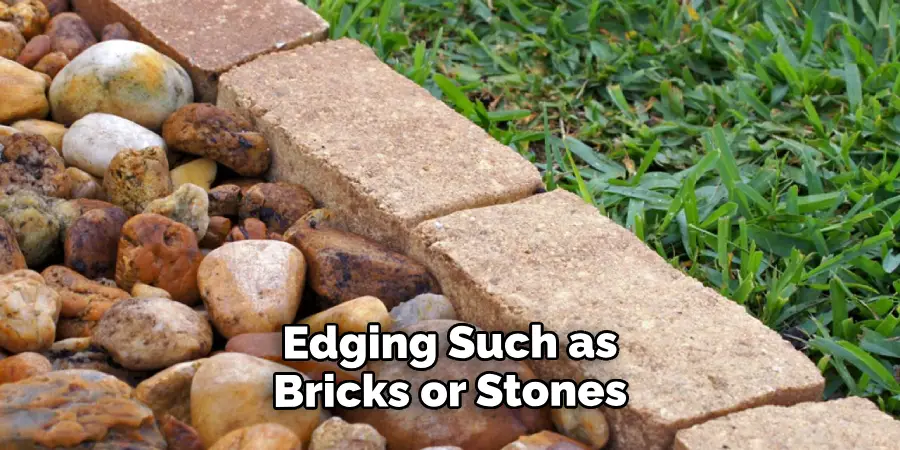
Step 8: Add Edging
If you are looking for a more polished look, opt for adding edging such as bricks or stones around the perimeter of the area. This will not only give your work an aesthetically pleasing appearance but will also help keep the gravel contained in one place, rather than having it spread out all over your garden! If you choose to add edging, make sure to use a strong material that will withstand the elements.
Step 9: Check
Once you have completed all of the above steps, take a step back and check that everything looks even and uniform. Make sure there are no gaps or overlaps in the landscaping fabric or the gravel, and that all low points have been filled in.
This is the best time to make any changes or adjustments, as it’s much easier to do this before everything has been firmly set in place. You can then move on to the final step.
Step 10: Add Finishing Touches
To complete your work, add any finishing touches such as plants or decorative stones to further enhance the look of your area. This is an optional step but can really bring your work to life! It is best to choose plants or stones that are suitable for the conditions in your area, such as those that require little maintenance and can withstand harsh weather. Further, adding a layer of mulch can also help to keep your plants and flowers healthy.
Step 11: Enjoy Your New Space
Finally, sit back and admire your freshly-laid gravel over grass – you’re done! Now comes the best part – enjoy your new outdoor space and bask in the glory of a job well done.
Congratulations! You have successfully completed a project you can be proud of. It’s now time to put your feet up and relax in your new outdoor space. This is the perfect opportunity to enjoy some quality time with family and friends in your beautiful new area. Always remember to take the time to appreciate your hard work!
By following these steps on how to lay gravel over grass, you will be able to lay down gravel over grass quickly and easily. With a little bit of effort and the right materials, you can transform your outdoor space into an inviting area that looks beautiful and professional. So get started today! And happy gravel-laying!
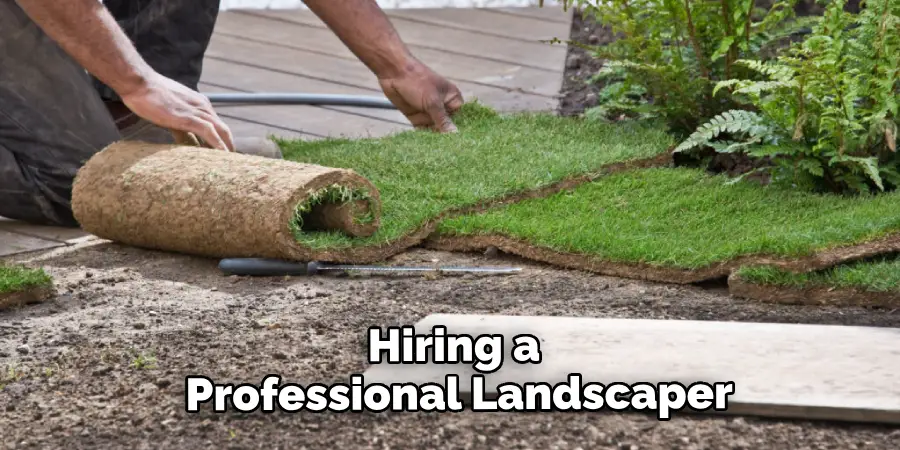
Do You Need to Use Professionals?
If you’re unsure of where to start or don’t have the time or energy to do it yourself, hiring a professional landscaping company may be the best option for achieving the look you desire. Professionals will have all the necessary tools and materials needed for tackling this type of job and can get it done quickly and correctly.
Regardless of whether you decide to handle the job yourself or hire a professional, laying gravel over grass is an easy and cost-effective way to give any area an aesthetically pleasing and inviting look! So why not give it a try today? You won’t regret it. Good luck!
How Much Could It Cost?
The cost of a job such as this really depends on the size of the area you are covering and the type of materials you use. Landscaping fabric and gravel can be purchased from most home improvement stores at fairly reasonable prices, but if you decide to hire a professional landscaper to do the job for you, keep in mind that this will likely increase your costs significantly.
However, it is worth noting that professionally done work often lasts much longer than DIY jobs – so if you have the money to spare, it may be worth considering!
Frequently Asked Questions
Q: Does Laying Gravel Over Grass Require a Lot of Maintenance?
A: No, not necessarily. Once you have laid down the gravel and it is firmly set in place, it requires very little maintenance. You may need to occasionally rake the gravel to smooth out any bumps and fill in any areas that have become sparse, but other than that, your job should be good to go!
Q: Can I Lay Gravel Over Concrete?
A: Yes, you can lay gravel over concrete. However, it is important to ensure that the surface is clean and free of any debris before you begin, as this will help to prevent weeds from sprouting up in between the stones. Additionally, you may need to use a sealer or coating over the concrete in order to protect it from moisture damage.
Q: How Long Does It Take to Lay Gravel Over Grass?
A: Depending on the size of the area, it can take anywhere from a few hours to a day to lay the gravel over the grass. If you are doing it yourself, make sure to allow for enough time in your schedule to complete the job correctly and thoroughly. Additionally, if you are hiring a professional landscaper, it will likely take several days or even weeks to finish the job – so plan accordingly!
Q: What Type of Gravel Is Best for Laying Over Grass?
A: The type of gravel you choose will depend on your individual needs and preferences. Consider things such as the size, color, shape, and texture of the stones in order to create a look that suits your space. Some popular choices include river rock, pea gravel, crushed stone, or even decorative stones.
Conclusion
As you can see, laying gravel over grass is a relatively easy and straightforward way to create a nice-looking, low-maintenance area on your property. Fortunately, it doesn’t have to take too much time or energy on your part either; all it takes is a little elbow grease and following the steps highlighted in this article on how to lay gravel over grass. With the right supplies ready at hand, you should be able to complete the job with no worries at all.
In addition, don’t miss out on utilizing these steps as a guide if you ever need to lay down other materials like rocks or mulch over a larger area of level ground. Whether for function or ornamentation, adding gravel will instantly update any outdoor space and give it that polished look. Now you’re ready to maximize your outdoor living space and start enjoying the beauty of gravel!
About
Outdoor Fixes is a distinguished figure in the world of Diy design, with a decade of expertise creating innovative and sustainable Diy solutions.
His professional focus lies in merging traditional craftsmanship with modern manufacturing techniques,
fostering designs that are both practical and environmentally conscious. As the author of diy,
outdoorfixes delves into the art and science of outdoorfixes-making, inspiring artisans and industry professionals alike.
Education RMIT University
(Melbourne, Australia) Associate Degree in Design (Outdoor Fixes) Focus on sustainable design, industry-driven projects,
and practical craftsmanship. Gained hands-on experience with traditional and digital manufacturing tools, such as CAD and CNC software.
Nottingham Trent University
(United Kingdom) Bachelor’s in outdoorfixes.com and Product Design (Honors) Specialized in product design with a focus on blending creativity with production
techniques. Participated in industry projects, working with companies like John Lewis and Vitsoe to gain real-world insights.
Publications and Impact
In diy, Outdoor Fixes his insights on indoor design processes, materials, and strategies for efficient production.
His writing bridges the gap between artisan knowledge and modern industry needs, making it a must-read for both budding designers and seasoned professionals.