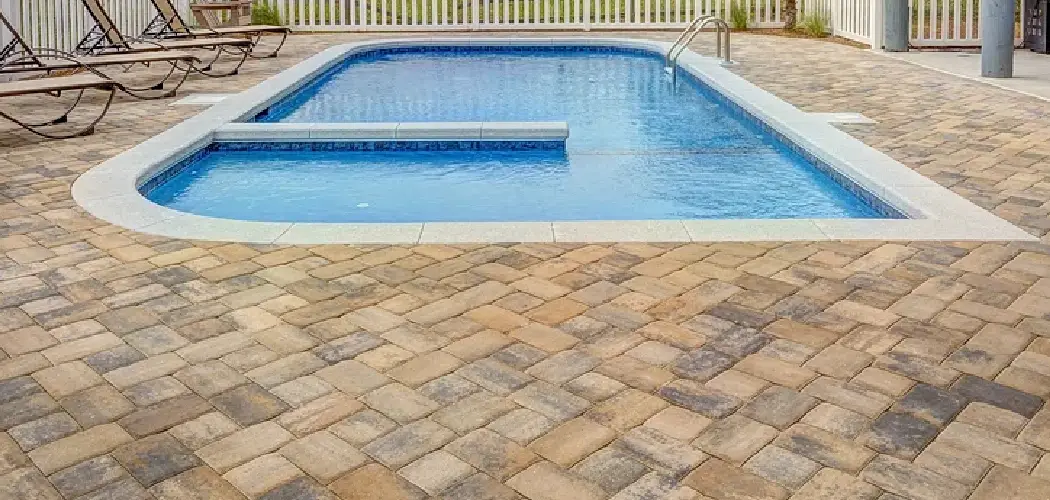
Travertine tiles are a popular choice for pool decks due to their durability and aesthetics. Not only do they add an elegant touch to your pool area, but they also provide a safe and slip-resistant surface, making them a practical option for high-traffic areas like pool decks.
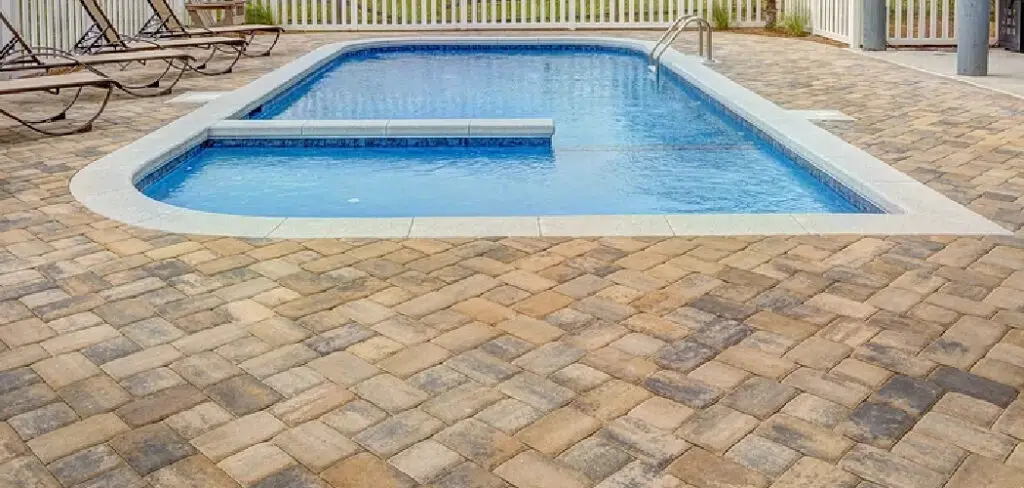
The main advantage of laying travertine tiles around a pool is the aesthetic appeal it brings to the area. Travertine is a natural stone that comes in various colors and patterns, making it a versatile option for poolscapes. It can give your pool area a luxurious and elegant look, making it the perfect place to relax and unwind. Read this blog post to learn how to lay travertine tiles around a pool.
Materials You Will Need
- Measuring tape
- Leveling tool
- Travertine tiles
- Tile cutter or wet saw
- Thin-set mortar
- Trowel
- Rubber mallet
- Grout
- Grout float
- Sealant
- Safety glasses
Step by Step Processes for How to Lay Travertine Tiles Around a Pool
Step 1: Inspect the Area Around Your Pool
Before starting any tile installation, it is important to inspect the area around your pool. Look for any cracks or uneven surfaces that may need to be repaired before laying down travertine tiles.
Step 2: Measure and Plan
Measure the area around your pool and create a detailed plan for the placement of the tiles. This will help you determine the amount of materials needed and ensure that your finished project looks symmetrical and visually appealing.
Step 3: Gather Materials
To lay travertine tiles around a pool, you will need to gather all the necessary materials including:
- Travertine tiles
- Thinset mortar
- Grout
- Tile spacers
- Trowel
- Rubber mallet
- Wet saw (if needed)
Step 4: Prepare the Surface
Before laying any tiles, make sure that the surface is clean and free of debris. If necessary, use a pressure washer to remove any dirt or buildup. Mix the thinset mortar according to the manufacturer’s instructions. Make sure that it has a smooth consistency and is free of lumps.
Step 5: Apply Thinset Mortar
Using a trowel, apply the thinset mortar onto the surface in small sections. Make sure to spread it evenly and only cover an area that you can work on within 15-20 minutes. Carefully place each tile on top of the thinset mortar, using tile spacers to ensure even spacing between each tile. Use a rubber mallet to gently tap the tiles into place.
Step 6: Cut Tiles If Needed
If you need to cut any tiles to fit around corners or edges, use a wet saw or score and snap method. Allow the thinset mortar to dry for at least 24 hours before proceeding. Once the thinset mortar is completely dry, remove the tile spacers and fill in the gaps between tiles with grout. After allowing it to dry, use a sealant to protect your travertine tiles from water damage.
By following these steps, you can successfully lay travertine tiles around your pool and create a beautiful, durable surface that will enhance your outdoor space. Remember to always take proper safety precautions when working with tools and materials, and consult with a professional if you have any doubts or concerns.
Safety Tips for How to Lay Travertine Tiles Around a Pool
When it comes to laying travertine tiles around a pool, safety should always be a top priority. Not only is it important for the health and well-being of yourself and your loved ones, but also for the longevity and quality of your tile installation.
- Before beginning any tile installation, make sure to wear appropriate protective gear such as safety glasses, gloves, and knee pads. This will help prevent injuries from sharp or heavy materials.
- Make sure to have all the necessary tools and equipment before starting your project. This includes a tile cutter, grout float, trowel, and safety goggles.
- If you are working with larger tiles or heavy materials, it is always a good idea to have someone assist you. This will not only make the installation process easier but also reduce the risk of injury from lifting and handling heavy objects.
- Double check that your work area is free from any potential hazards such as loose wires, tools, or debris. This will prevent accidents and ensure a smooth installation process.
- Be cautious when handling wet tiles as they can be slippery. Make sure to wear appropriate footwear with good traction and always work in a well-ventilated area to avoid any fumes from adhesives or sealants.
- Never rush the installation process. Take your time to carefully lay each tile, ensuring proper alignment and spacing. This will not only result in a better-looking installation but also reduce the risk of accidents or mistakes.
- Lastly, always follow manufacturer instructions for any adhesives, sealants, or other materials used during the installation process. Improper use can not only affect the quality of your installation but also pose safety hazards.

In addition to these safety tips, it is important to plan and prepare for your tile installation around a pool. This includes measuring the area accurately, choosing the right type of travertine tiles, and properly sealing them to withstand exposure to water and chemicals in a pool environment.
What is the Recommended Pattern for Laying Travertine Tiles Around a Pool?
When it comes to laying travertine tiles around a pool, there are several recommended patterns that can be used depending on your specific needs and preferences. These patterns not only add visual interest to the area, but also help to ensure proper water drainage and prevent slippage. In this section, we will discuss the most commonly used patterns for laying travertine tiles around a pool and their benefits.
1. Straight Stack Pattern
This is the most basic and commonly used pattern for laying travertine tiles around a pool. The tiles are simply stacked in straight rows, creating a clean and modern look. This pattern works well for both rectangular and square pools, as it allows for easy customization to fit any shape or size. However, one drawback of this pattern is that it can be slippery when wet, so it may not be the best choice for families with young children or elderly individuals.
2. French Pattern
Also known as “Versailles” or “Ashlar” pattern, the French pattern involves a mixture of different sized tiles laid in a repeating sequence. This creates a more natural and random look, similar to old European cobblestone streets. The different tile sizes also add texture and dimension to the pool area, making it visually appealing. This pattern is great for those looking for a rustic or Mediterranean feel, but it may not be suitable for small pools as it can make the space look busy.
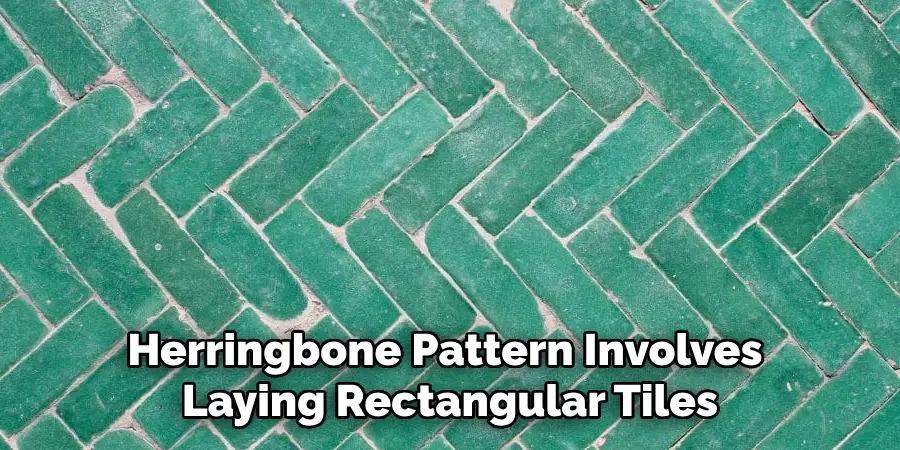
3. Herringbone Pattern
The herringbone pattern involves laying rectangular tiles at a 45-degree angle, creating a diagonal “V” shape. This pattern not only adds visual interest but also provides better traction and prevents slippage around the pool area. It can also make smaller pools appear larger and is ideal for those looking for a classic or traditional look.
4. Running Bond Pattern
Similar to the herringbone pattern, the running bond pattern also involves laying rectangular tiles at an angle. However, instead of creating a diagonal “V” shape, the tiles are laid in a staggered pattern, similar to brickwork. This pattern is great for those looking for a contemporary and modern look, but it may not be suitable for curved or irregularly shaped pools.
Ultimately, no matter which pattern you choose, ensure that the tiles are properly sealed and maintained to prolong their lifespan and keep them looking beautiful for years to come. So, take your time and consider all the factors before deciding on the best pattern for laying travertine tiles around your pool.
What is the Best Way to Clean and Maintain Travertine Tiles Around a Pool?
After investing time and effort into laying travertine tiles around your pool, it’s important to properly clean and maintain them to keep them looking their best. The following are some tips for cleaning and maintaining your travertine tiles:
1. Regular Sweeping or Vacuuming
Regularly sweeping or dry vacuuming the area around your pool will help prevent dirt, debris, and leaves from settling into the small crevices between the tiles. This will also help prevent any potential scratching or damage to the tiles.
2. Mopping with Neutral pH Cleaner
Every few weeks, you should mop the travertine tiles with a neutral pH cleaner specifically designed for natural stone. Avoid using harsh chemicals or acidic cleaners that can damage the sealant on your tiles.
3. Spot Cleaning Spills
In the event of any spills, be sure to clean them up immediately to prevent staining or damage to the tiles. Use a soft cloth and a mild cleaner to gently remove the spill.
4. Reseal Every 3-5 Years
To maintain the longevity of your travertine tiles, it’s recommended to reseal them every 3-5 years. This will help protect them from water, stains, and other outdoor elements.
By following these simple cleaning and maintenance tips, you can ensure your travertine tiles around the pool stay looking beautiful for many years to come. Don’t forget to also keep an eye out for any cracks or damage that may need professional repair.
Conclusion
The main disadvantage of laying travertine tiles around a pool is the high maintenance required. Due to its porous nature, travertine can easily absorb water and other substances, causing it to stain or discolor over time. This means that regular cleaning and sealing is necessary in order to keep your travertine tiles looking their best.
In conclusion, laying travertine tiles around a pool is an excellent choice for both practical and aesthetic reasons. The natural stone’s durability, slip-resistant surface, and elegant appearance make it a popular option for pool areas. By following the proper steps outlined in this guide, you can successfully complete the installation process yourself. I hope this article has been beneficial for learning how to lay travertine tiles around a pool. Make Sure the precautionary measures are followed chronologically.
About
Outdoor Fixes is a distinguished figure in the world of Diy design, with a decade of expertise creating innovative and sustainable Diy solutions.
His professional focus lies in merging traditional craftsmanship with modern manufacturing techniques,
fostering designs that are both practical and environmentally conscious. As the author of diy,
outdoorfixes delves into the art and science of outdoorfixes-making, inspiring artisans and industry professionals alike.
Education RMIT University
(Melbourne, Australia) Associate Degree in Design (Outdoor Fixes) Focus on sustainable design, industry-driven projects,
and practical craftsmanship. Gained hands-on experience with traditional and digital manufacturing tools, such as CAD and CNC software.
Nottingham Trent University
(United Kingdom) Bachelor’s in outdoorfixes.com and Product Design (Honors) Specialized in product design with a focus on blending creativity with production
techniques. Participated in industry projects, working with companies like John Lewis and Vitsoe to gain real-world insights.
Publications and Impact
In diy, Outdoor Fixes his insights on indoor design processes, materials, and strategies for efficient production.
His writing bridges the gap between artisan knowledge and modern industry needs, making it a must-read for both budding designers and seasoned professionals.

