Are you tired of replacing your old wooden fence gates every year? With metal posts, you can make a durable, long-lasting fence gate.
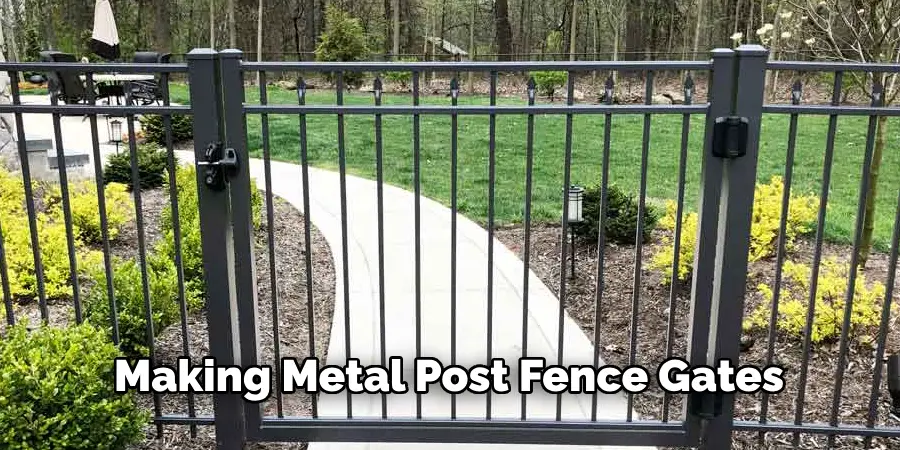
How to make a fence gate with metal posts is a practical and sturdy solution for adding security and aesthetic appeal to your property.

This guide will walk you through the steps necessary to build a durable and visually pleasing gate. Metal posts provide a strong foundation that is resistant to weathering, decay, and pests, unlike their wooden counterparts. This introduction sets the stage for a project that combines functionality with style, allowing you to enhance the entrance to your home or garden while ensuring longevity and stability.
Whether you are a DIY enthusiast or a professional looking to expand your skills, this guide will equip you with the knowledge and techniques needed to achieve a successful outcome.
What are the Benefits of Using Metal Posts for Fence Gates?
Metal posts offer numerous advantages over wooden ones. Here are some of the benefits that make them a popular choice for fence gate construction:
- Durability: Metal posts, especially those made of steel or aluminum, are highly durable and can withstand harsh weather conditions without rotting, warping, or being eaten by termites. This means your fence gate will last many years without frequent replacements.
- Strength: Metal posts are extreme and can support heavy gates, making them suitable for use in high-security areas. Compared to wooden posts, which can easily break or bend under pressure, metal posts provide a sturdy foundation for your gate.
- Easy Maintenance: Unlike wood, metal does not require regular staining, painting, or sealing to maintain its appearance and functionality. This makes metal posts a low-maintenance option for fence gate construction.
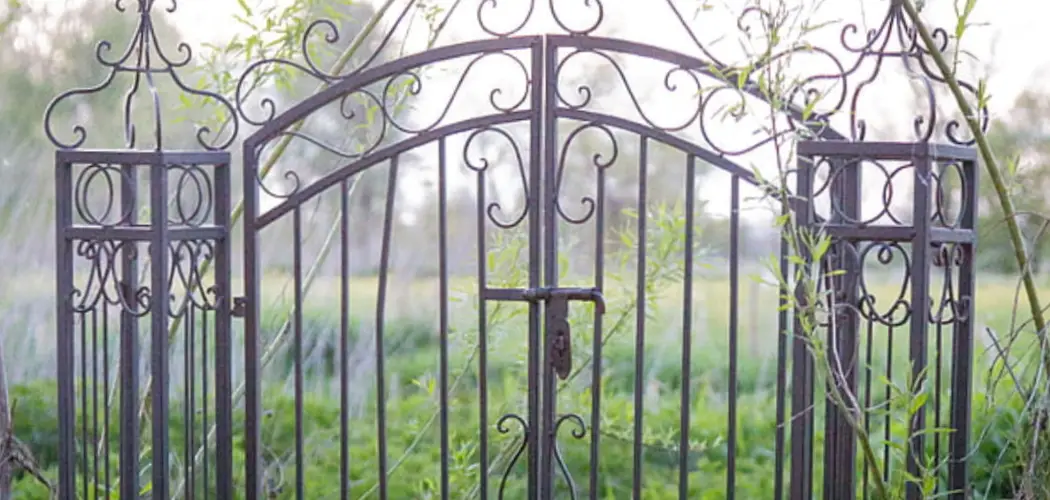
- Variety of Designs: Metal posts can be shaped and welded into various designs, giving you more creative freedom when it comes to designing your fence gate. Depending on your personal style and preferences, you can opt for a simple and elegant design or a more ornate and elaborate one.
- Cost-effective: While metal posts may have a higher upfront cost than wooden ones, their durability and low maintenance requirements make them a cost-effective option in the long run. You will save money on frequent repairs and replacements, making metal post fence gates a wise investment for your property.
These benefits make metal posts a versatile and practical choice for building fence gates that serve their purpose and add value to your property.
Materials and Tools Needed
Before you start building your fence gate with metal posts, gather all the necessary materials and tools to ensure a smooth construction process. Here is a list of items you will need:
- Metal Posts (steel or aluminum)
- Fence Gate Panels (steel or aluminum)
- Hinges and Latch
- Concrete Mix
- Gravel
- Water
- Leveling Tool
- Post Hole Digger
- Tape Measure
- Screwdriver
- Screws and Bolts
Choose high-quality materials for the best results. You can also consult a professional at your local hardware store for recommendations on the best materials to use for your specific project.
10 Easy Steps on How to Make a Fence Gate With Metal Posts
Step 1: Plan and Design Your Fence Gate
Planning its design and layout is the first step in creating a sturdy and attractive fence gate. Take accurate measurements of where you want the gate to be installed to ensure it fits perfectly. Consider the height and width that will best suit your needs—whether it’s for pedestrian access or to allow vehicles through.
Think about the overall aesthetics and how the gate will blend with the existing fence and the landscape. It’s essential to decide on the type of metal posts (steel or aluminum) and gate panels you will use, as this will influence both the functionality and the style of your gate.
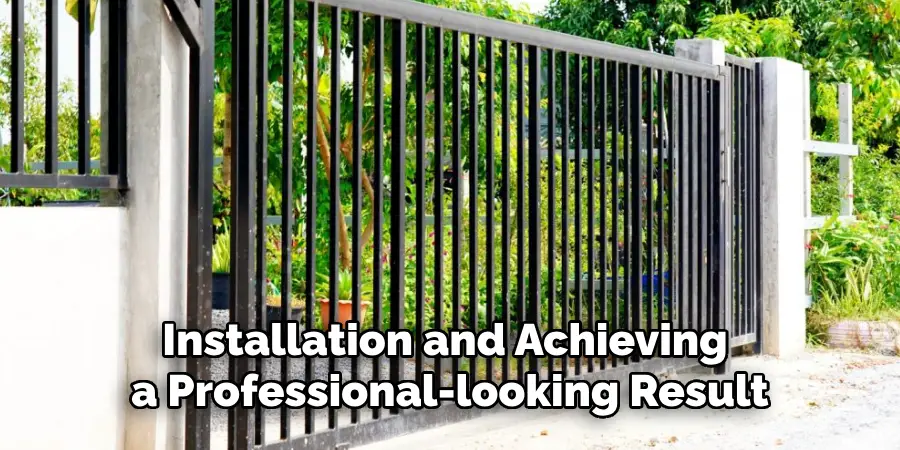
Draft a simple sketch of your design, noting the dimensions and materials, to guide the construction process. This preparatory step is crucial for a seamless installation and achieving a professional-looking result.
Step 2: Mark the Post Locations
After finalizing your gate design, the next step is to accurately mark the locations where the metal posts will be installed. Use a tape measure to determine the exact spots based on the width of your gate and the layout you’ve planned.
Mark these locations on the ground using spray paint or stakes. Ensure there’s sufficient space between the posts to accommodate your fence gate panels, including any additional room needed for hinges and latches. It’s vital to double-check these measurements to prevent any issues during installation. This careful preparation lays the groundwork for a stable and well-aligned gate structure.
Step 3: Dig the Post Holes
With the post locations marked, the next step involves digging the holes for your metal posts. Using a post-hole digger, dig holes that are at least one-third as deep as your posts are tall. For example, if your posts are 6 feet high, you should dig at least 2 feet deep holes. This depth ensures that the posts will be stable and secure once installed.
Additionally, make the holes wide enough to accommodate the posts plus some room for the concrete mix – typically, the hole diameter should be about three times the post’s width. If your soil is particularly soft or if you’re installing a larger gate, consider digging a bit deeper to provide extra stability. Remember to check for any underground utilities before digging to avoid potential hazards.
Step 4: Prepare the Post Holes and Install Metal Posts
Once the holes are dug, prepare them for the metal posts by filling the bottom with gravel. This aids in drainage and helps prevent water from accumulating around the posts, which can lead to corrosion over time. Fill each hole with about 4 inches of gravel and then set the metal posts in the center of the holes.
Use a leveling tool to ensure that each post is perfectly vertical in all directions. This step is critical for the structural integrity of your fence gate, as improperly installed posts can lead to a sagging or misaligned gate. Once the posts are positioned correctly, mix the concrete according to the manufacturer’s instructions and pour it around them.

Be sure to fill up to just below the ground level, leaving enough space to cover the concrete with soil or grass for aesthetic purposes. Allow the concrete to cure as advised, usually for at least 24 to 48 hours, before proceeding with the installation of the fence gate panels. This curing period is essential to ensure the posts are firmly anchored.
Step 5: Attach the Fence Gate Panels
It’s time to attach the fence gate panels after the concrete has fully cured and the metal posts are securely in place. Start by aligning the gate panels with the posts, ensuring they are centered and at the correct height. If your gate design includes a single panel, position it between the posts. For double panels, divide the space equally.
Attach the hinges to the gate panel(s) first, then align them with the corresponding posts. Use a screwdriver and the screws or bolts provided with the hinges to secure them in place. Ensure that the screws are tightened properly, but be careful not to strip or over-tighten them. Once the hinges are attached, test the gate swing to make sure it moves freely and doesn’t sag. Adjust as necessary before installing the latch, which will keep the gate securely closed.
Step 6: Install the Latch
Selecting the right latch is crucial for the functionality and security of your fence gate. There are several types of latches available, so choose one that best suits your needs and aligns with the style of your gate. Once you have your latch, position it on the gate panel, where it will easily catch onto the post or the opposite gate panel (if you’re installing double panels). Use a tape measure to ensure it’s placed at a convenient height and centered for ease of use.
Mark the screw holes with a pencil, then pre-drill if necessary to make the installation smoother. Secure the latch with the provided screws, ensuring it’s tight and aligned properly. Test the latch mechanism several times to ensure it engages and releases smoothly without any issues. This step is crucial for ensuring the gate operates seamlessly and provides the desired level of security.

Step 7: Finishing Touches and Maintenance
After the latch is installed and your gate is functional, the final step involves adding any finishing touches and considering the maintenance requirements. If you haven’t done so already, now is the time to paint or seal the metal posts and gate panels according to your preference and the material specifications.
A protective coat will not only enhance the appearance of your gate but also safeguard it against rust and weather-related wear and tear. Regularly inspect your gate for signs of damage or corrosion and address these issues promptly to maintain its functionality and aesthetic appeal. Lubricate the hinges and latch mechanism as needed to ensure smooth operation. Lastly, ensure that the area around the gate is clear of debris and vegetation that could hinder its movement or contribute to rust formation.
Step 8: Periodic Inspection and Adjustment
Regularly scheduled inspections of your fence gate to ensure its stability and functionality over time. Pay close attention to the metal posts, hinges, and latch systems for any signs of wear or damage. If the gate begins to sag or becomes difficult to open and close, it may require minor adjustments to the hinges or the realignment of the gate itself.
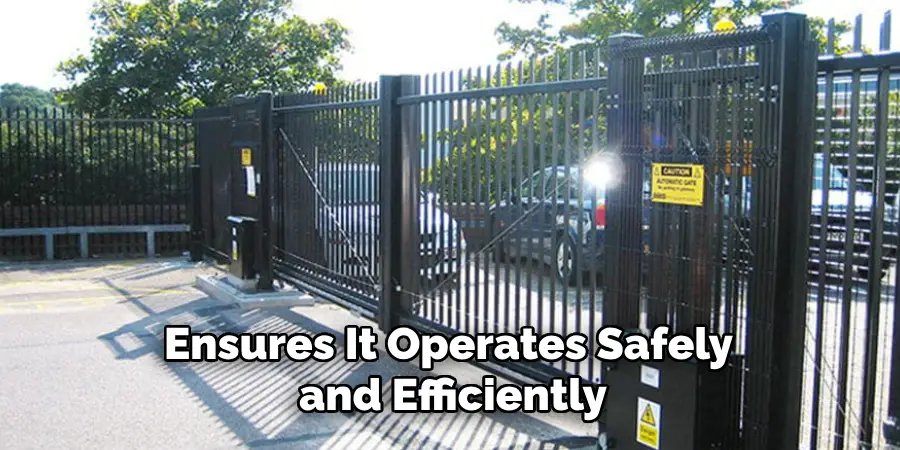
Over time, ground movement can also affect the positioning of the posts, so it’s crucial to check their vertical alignment during these inspections. For maintenance, tighten any loose screws or bolts, and replace any corroded or damaged parts immediately. Keeping a maintenance schedule not only prolongs the life of your gate but also ensures it operates safely and efficiently.
Step 9: Enhancing Security Features
Consider installing locks or security cameras at strategic points around your fence gate for those requiring additional security. A sturdy padlock can be added to the gate latch for extra protection when the property is vacant. Alternatively, smart locks provide a more advanced security level, allowing you to control access remotely.
Positioning security cameras to cover the gate area can also deter unauthorized access and provide peace of mind. Ensure that any added security features do not hinder the gate’s functionality and are installed following local regulations and guidelines. Regularly check these security additions to ensure they remain in good working order and replace or upgrade as technology advances or your security needs change.
Step 10: Evaluate for Upgrades or Improvements
Over time, your needs or aesthetic preferences may change, prompting a reevaluation of your fence gate setup. Periodically review your gate’s design, materials, and functionality to identify potential upgrades or improvements. This could involve replacing older materials with more durable options, integrating new security technologies, or simply refreshing the paint or sealant for an updated look.
Additionally, consider integrating smart home technologies for enhanced convenience, such as automatic gate openers or motion-sensor lighting to improve visibility and security during nighttime. Staying proactive in evaluating and updating your fence gate will ensure it continues to meet your needs and retains its value as part of your property.
By following these steps and incorporating regular maintenance and inspections, you can ensure your fence gate remains functional, secure, and aesthetically pleasing for years to come.
5 Additional Tips and Tricks
- Choose the Right Materials: It’s crucial to select high-quality metal posts and gate materials that are resistant to rust and corrosion, especially in harsh weather conditions. Galvanized steel or aluminum are excellent choices for their durability and longevity.
- Ensure Proper Alignment: When installing your gate, ensure your metal posts are perfectly aligned. Misalignment can lead to issues with the gate’s functionality and aesthetic appeal.
- Use Reinforcements: Depending on the size and weight of your gate, you may need to reinforce it with additional metal bars or braces to prevent sagging or warping over time.
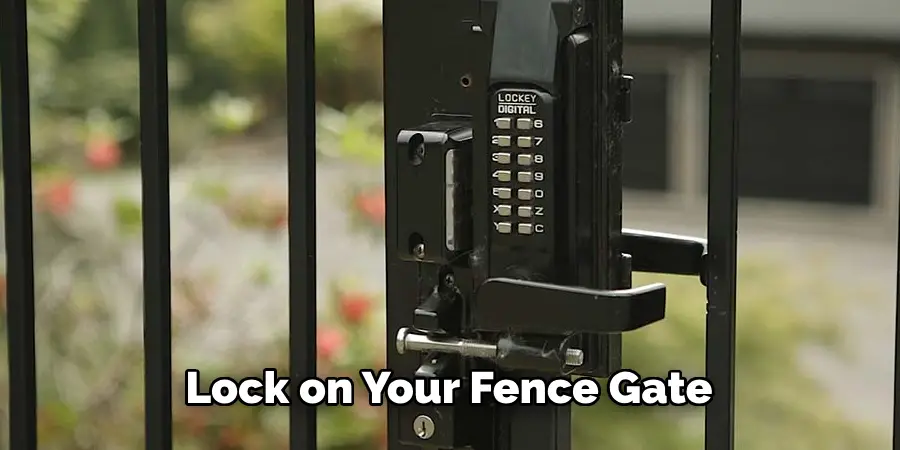
- Add a Latch or Lock: Consider installing a latch or lock on your fence gate for added security. This will prevent unwanted entry and keep your property secure.
- Add a Finishing Touch: To enhance the look of your metal gate, consider adding decorative elements such as scrolls, finials, or other designs. These can add a touch of elegance and personality to your fence gate.
With these additional tips and tricks, you can ensure that your metal fence gate not only serves its practical purpose but also enhances the overall appearance of your property.
5 Things You Should Avoid
- Ignoring Local Building Codes: One of the first mistakes to avoid is not checking local building codes and regulations before starting your project. These can significantly influence your fence gate’s materials, design, and installation process.
- Skimping on Materials: Choosing cheaper, lower-quality materials might save costs upfront but can lead to more expenses in the long run due to repairs or replacements. It’s essential to invest in good-quality, durable materials that can withstand environmental conditions.
- Improper Spacing: Avoid placing your metal posts too far apart. This can weaken the structure of your fence gate and may cause it to sag or fail. Make sure to measure the exact distance needed to support the gate properly.
- Overlooking Maintenance: Metal posts, especially those not treated or coated, can be susceptible to rust and corrosion. Neglecting maintenance or opting for materials that require extensive upkeep can diminish the lifespan and functionality of your fence gate.
- DIY Without Research: While it might be tempting to tackle the project independently without prior experience, improperly installed fence gates can lead to security issues and may not last as long. Take the time to research or consult with a professional before beginning your project to ensure a successful installation.
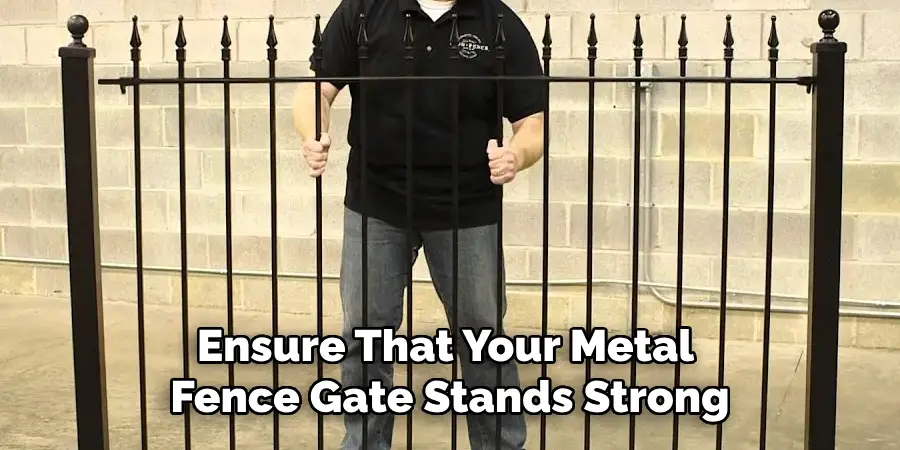
By avoiding these common mistakes, you can ensure that your metal fence gate stands strong and adds value to your property.
How to Secure a Metal Gate?
Once your metal gate is installed, it’s essential to take steps to secure it properly. Here are some tips to ensure the security of your metal gate:
- Use High-quality Locks: Invest in a sturdy latch or lock made specifically for outdoor use. This will prevent tampering and unauthorized entry.
- Install Motion Sensor Lights: Installing motion-activated lights near your fence gate can deter potential intruders and provide additional security to your property.
- Consider Adding a Keypad or Intercom System: You can install a keypad or intercom system to control access to your property through the metal gate for added convenience and security.
By following these steps, you can effectively secure your metal gate and provide peace of mind for yourself and your property.
Conclusion
How to make a fence gate with metal posts is a project that combines both functionality and design. From selecting the right materials to ensuring proper installation and maintenance, each step contributes to your gate’s overall success and longevity.
By following the detailed tips and avoiding common pitfalls outlined earlier, you can create a secure and stylish entrance to your property. Remember, the quality of the materials, alignment, and attention to finishing touches will greatly influence the effectiveness and appeal of your fence gate. Furthermore, incorporating advanced security features will not only enhance the safety of your premises but also provide you with peace of mind.
With careful planning and execution, your metal fence gate will stand as a testament to your commitment to quality and security, offering a welcoming yet protective boundary for your home or business.
About
Outdoor Fixes is a distinguished figure in the world of Diy design, with a decade of expertise creating innovative and sustainable Diy solutions.
His professional focus lies in merging traditional craftsmanship with modern manufacturing techniques,
fostering designs that are both practical and environmentally conscious. As the author of diy,
outdoorfixes delves into the art and science of outdoorfixes-making, inspiring artisans and industry professionals alike.
Education RMIT University
(Melbourne, Australia) Associate Degree in Design (Outdoor Fixes) Focus on sustainable design, industry-driven projects,
and practical craftsmanship. Gained hands-on experience with traditional and digital manufacturing tools, such as CAD and CNC software.
Nottingham Trent University
(United Kingdom) Bachelor’s in outdoorfixes.com and Product Design (Honors) Specialized in product design with a focus on blending creativity with production
techniques. Participated in industry projects, working with companies like John Lewis and Vitsoe to gain real-world insights.
Publications and Impact
In diy, Outdoor Fixes his insights on indoor design processes, materials, and strategies for efficient production.
His writing bridges the gap between artisan knowledge and modern industry needs, making it a must-read for both budding designers and seasoned professionals.