
In the world of poultry care, ensuring the well-being of your flock goes beyond providing food and shelter. One often-overlooked aspect is protecting hens from potential injuries caused by overzealous roosters during mating. This is where the ingenious solution of a hen saddle comes into play.
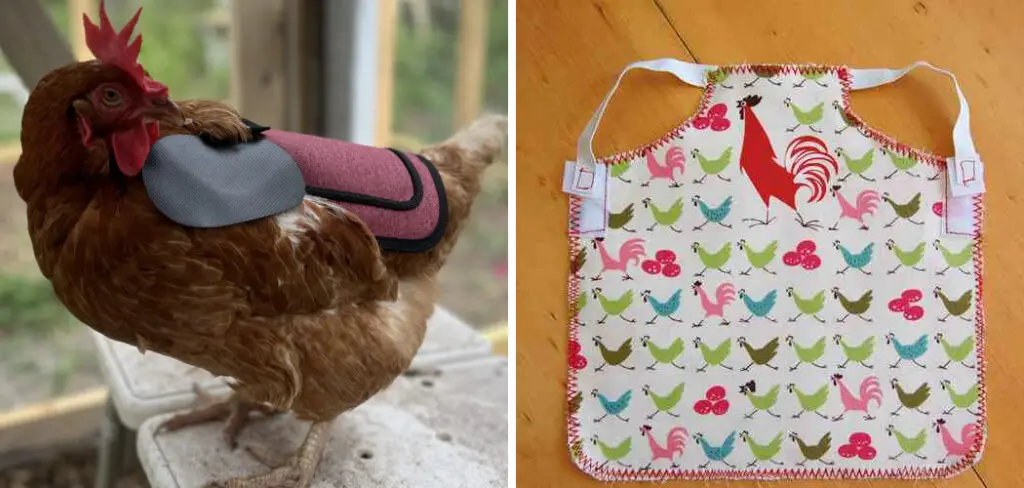
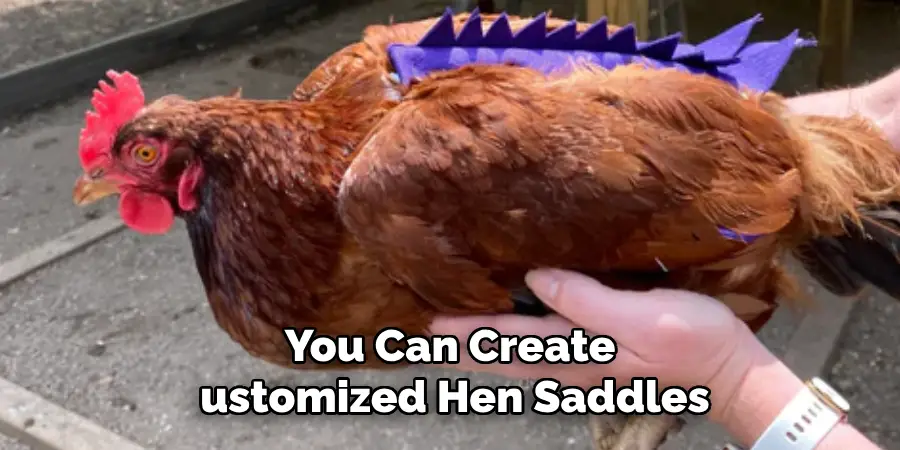
Also known as a chicken apron or hen protector, a hen saddle is a simple yet effective garment designed to shield a hen’s back from abrasions and feather loss. This article aims to provide a comprehensive guide on how to make a hen saddle. Making a hen saddle requires minimal materials and basic sewing skills, making it an accessible DIY project for poultry enthusiasts.
By crafting hen saddles, you not only safeguard your hens’ physical health but also extend the lifespan of their plumage, ensuring they remain comfortable and happy in your coop. In this guide, we’ll delve into the step-by-step process of creating these protective garments, empowering you to enhance the welfare of your feathered friends.
Importance of Hen Saddles for Chicken Welfare
Hen saddles play a crucial role in maintaining the overall welfare of chickens within a flock. These protective garments serve not just as a barrier against physical harm, but also contribute significantly to the emotional well-being of the hens. When a hen suffers from back injuries or feather loss due to mating activities, it can lead to stress, vulnerability to the elements, and even pecking from other chickens, exacerbating the injury and compromising the hen’s health.
By effectively preventing these issues, hen saddles ensure that hens remain healthy, stress-free, and fully feathered, thereby promoting a more harmonious and hygienic environment within the coop. Furthermore, hens in good physical condition are likely to exhibit better laying behaviors, which in turn benefits poultry keepers.
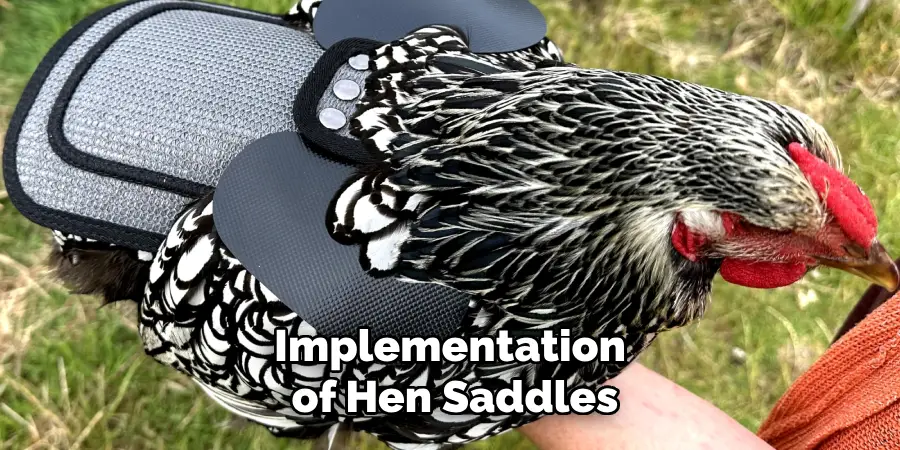
Thus, the implementation of hen saddles is a testament to the commitment to animal welfare, showcasing a proactive approach to mitigating potential welfare issues before they arise.
Understanding Hen Saddles
Hen saddles, while simple in design, are incredibly effective in providing protection and comfort to hens during their breeding season. These garments are tailored to fit comfortably over the back of the hen, covering the areas most susceptible to injuries and feather loss. Made from durable, yet lightweight materials, hen saddles do not impair the mobility or natural behaviors of the hens.
They can be constructed from a variety of fabrics, from soft denim to breathable cotton, and are often lined or padded for extra protection. The design includes straps that gently wrap around the wings to keep the saddle in place without causing discomfort or stress to the bird. Understanding how hen saddles function is crucial for selecting or crafting the right protective wear for your flock.
Their effectiveness lies not only in their ability to protect but also in their adaptability to different sizes and breeds of hens. With the right hen saddle, poultry keepers can significantly reduce the chances of injury, ensuring that hens maintain a high-quality life within the coop.
Definition and Purpose of Hen Saddles
Hen saddles are protective garments designed specifically for hens to shield their backs from potential harm during mating or from other external factors that could cause injury or feather loss. The primary purpose of these saddles is to prevent wounds, abrasions, and the loss of feathers, which can occur when roosters mate with hens or as a result of pecking by other members of the flock.
These issues not only affect the physical health of the hen but can lead to stress, decreased egg production, and vulnerability to illnesses or adverse weather conditions. By using hen saddles, poultry keepers can ensure their hens retain their plumage integrity, remain stress-free, and maintain optimal health, thereby contributing positively to the overall well-being of the entire flock.
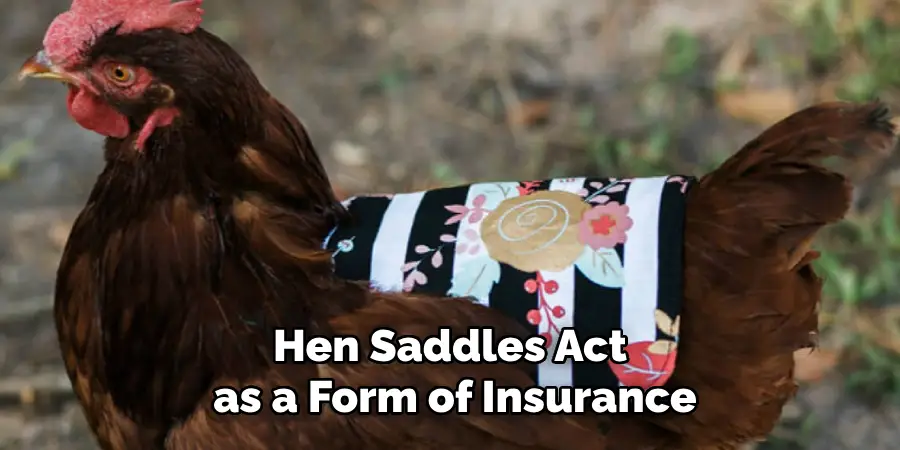
In essence, hen saddles act as a form of insurance for both the hen’s comfort and the productivity of the coop.
Choosing Materials and Tools
Selecting the right materials and tools is a crucial step in creating a durable and comfortable hen saddle. For the saddle itself, breathable and soft fabrics are recommended to ensure the hen’s comfort and protect its plumage. Commonly used materials include:
- Denim: Due to its durability, denim is a popular choice for hen saddles. Its thick weave offers excellent protection against abrasions.
- Cotton: Lightweight and breathable, cotton is ideal for keeping hens comfortable, especially in warmer climates. Opt for tightly woven cotton for better durability.
- Canvas: Similar to denim, canvas provides a robust barrier against injuries while maintaining breathability.
For the lining, consider softer materials such as flannel or fleece to add an extra layer of protection without causing overheating. These fabrics also help to cushion the hen’s back and prevent the saddle from shifting.
When it comes to tools, the essentials include:
- Sewing Machine: A basic sewing machine is sufficient for crafting a hen saddle, although hand sewing is an option for those without a machine.
- Scissors: A sharp pair of fabric scissors makes cutting patterns and materials easier and more precise.
- Measuring Tape: Essential for taking accurate measurements of your hens to ensure a proper fit for the saddle.
- Fabric Markers or Chalk: Useful for marking out patterns on your fabric before cutting.
- Elastic or Velcro: Necessary for securing the saddle in place. Elastic offers flexibility, while Velcro allows for adjustability.
With these materials and tools at hand, you’re well-prepared to begin crafting a hen saddle that will provide lasting protection and comfort for your feathered friends.
Selecting the Most Suitable Fabric for Hen Saddles
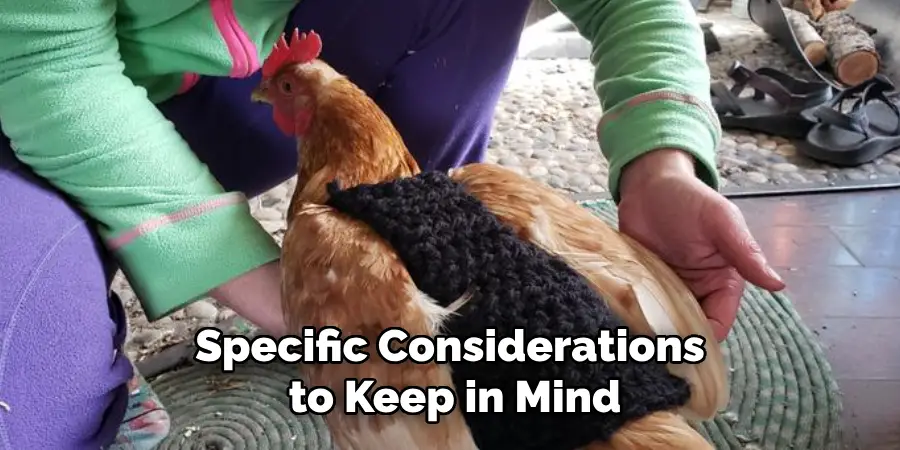
When it comes to creating hen saddles, the selection of fabric is paramount for achieving both comfort for the hen and durability of the garment. Although several types of fabric are mentioned above, such as denim, cotton, and canvas, there are specific considerations to keep in mind to ensure that you choose the most appropriate material for your needs.
- Climate and Weather Conditions: In warmer climates or during the summer months, opting for a lighter, more breathable fabric like cotton can prevent your hens from overheating. Conversely, in cooler climates, a heavier fabric like denim can provide additional warmth.
- Hen’s Comfort: The fabric should be soft enough to prevent irritation to the hen’s skin and strong enough to protect the hen from injuries. Materials that blend both softness and durability, such as a lightweight denim or a durable grade of cotton, are ideal.
- Ease of Cleaning: Given that hen saddles will require regular washing, selecting a fabric that is easy to clean and dries quickly is advantageous. Materials that can withstand frequent laundering without significant wear are preferable.
- Environmental Considerations: For those looking for more sustainable options, organic cotton or recycled fabrics might be worth considering. These options offer an eco-friendly alternative without compromising on functionality or comfort for the hen.
Each fabric has its unique benefits and potential drawbacks, so the final decision should be influenced by the specific needs of your hens and the conditions in which they live. Experimenting with different materials and observing your flock’s response can also provide valuable insights into the most suitable fabric choice for your hen saddles.
Measurement Techniques for Crafting Hen Saddles

Proper measurement is the key to crafting hen saddles that not only fit comfortably but also offer effective protection. Incorrect sizing can lead to discomfort or, worse, saddles that fail to stay in place, thus negating their protective purpose. Here’s how to correctly measure your hens to ensure a perfect saddle fit:
- Length Measurement: Start by measuring from the base of the hen’s neck to the start of its tail. This measurement determines the length of the saddle, ensuring it covers the back without restricting movement or tail function.
- Width Measurement: Measure the width of the hen’s back at its widest point, usually found midway between the neck and the tail. This measurement helps in determining the ideal width of the saddle, ensuring it isn’t too narrow to slip or too wide to hinder mobility.
- Girth Measurement: For saddles that wrap around the body, measuring the girth is crucial. Wrap your measuring tape around the hen’s body, just behind the wings, to get the correct circumference. This ensures the straps or elastic used will neither be too tight, causing discomfort, nor too loose, allowing the saddle to shift or fall off.
- Adjustments for Growth: If you’re measuring young hens or breeds known to fluff up during colder months, consider adding a little extra length and width to accommodate growth or seasonal changes in feather density.
- Marking for Custom Features: If your saddle design includes openings for wing movement or additional straps for extra security, mark these spots on your hen carefully. Remember, the goal is maximum protection without impeding natural behaviors and movement.
- Tools for Accurate Measurement: Ensure accuracy by using a soft measuring tape, which can easily wrap around the hen’s body contours. For nervous or skittish hens, distractions like treats can help keep them calm during the measuring process.
By meticulously following these measurement techniques, you can create customized hen saddles that are both comfortable for your hens and effective in providing protection, thereby contributing to the health and happiness of your flock.
10 Methods How to Make a Hen Saddle
1. Gather Materials and Tools:
Before starting your hen saddle project, gather all the necessary materials and tools. For fabric, consider using durable options like denim, canvas, or even upholstery fabric. You’ll also need sewing supplies such as scissors, thread in a matching color, needles, pins, measuring tape, and marking tools like chalk or fabric marker. Optional materials include padding for added comfort and decorative embellishments for personalization.
2. Create a Pattern:
Creating a well-fitting pattern is essential for making a comfortable hen saddle. Measure your chicken’s back from the base of the neck to the base of the tail and across the width of the back. Use these measurements to draw a basic saddle shape on paper or cardboard, ensuring it covers the back without restricting movement. Cut out the pattern and adjust as needed for size and shape, considering factors like breed and individual chicken size.
3. Select Fabric and Cut Pieces:
Once you have a pattern, select your fabric and lay it out on a flat surface. Place the pattern on the fabric and trace around it using chalk or a fabric marker. Be sure to leave a seam allowance of about 1/4 to 1/2 inch around the edges to allow for sewing. Cut out the fabric pieces carefully, following the traced lines to ensure accuracy and precision.
After you have cut out all the necessary pieces, it is important to properly organize them before beginning the sewing process. This will help you stay organized and prevent any confusion or mistakes while sewing. You can use pins or clips to keep your fabric pieces together and label each piece according to its corresponding pattern piece.
4. Sew Fabric Pieces Together:
With the fabric pieces cut out, it’s time to sew them together to form the hen saddle. Place the pieces together with the right sides facing in and pin them in place along the edges. Use a sewing machine or sew by hand using a strong, straight stitch. Start sewing from one end and work your way around the edges, leaving one side open for turning the saddle right side out. Trim any excess fabric and turn the saddle right side out through the open side.
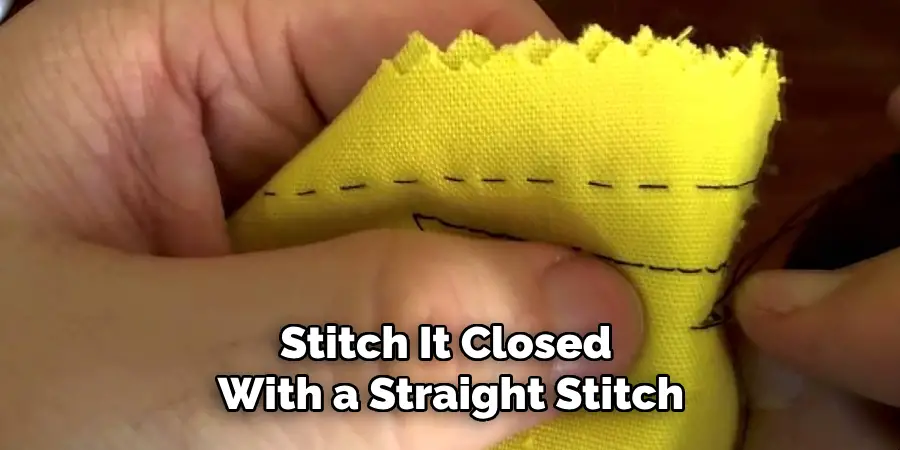
After turning the saddle right side out, use a pencil or chopstick to push out the corners and ensure they are fully turned. Then, fold in the edges of the open side and pin them closed. You can either hand sew this edge closed or use your sewing machine to stitch it closed with a straight stitch.
5. Turn Saddle Right Side Out and Press:
After sewing, carefully turn the saddle right side out through the open side. Use a blunt tool, such as a chopstick or pencil, to gently push out the corners and edges for a smooth finish. Once turned right side out, press the saddle with an iron on a low heat setting to flatten the seams and create a crisp shape. Take care not to iron over any embellishments or decorations.
6. Add Straps and Fasteners:
Determine where you want the straps and fasteners to be placed on the hen saddle. Cut straps from the same fabric or use sturdy materials such as webbing or elastic. Attach the straps to the saddle using sewing techniques like stitching, riveting, or using hardware like snaps or buckles. Ensure the straps are securely attached and adjustable for a comfortable fit, and double-check their placement before finalizing.
7. Customize and Decorate:
Personalize your hen saddle with optional embellishments and decorations to make it unique. Consider adding decorative stitching, appliques, or embroidery for a special touch. If desired, incorporate padding or lining into the saddle design for extra comfort, especially if your chicken has sensitive skin or is prone to irritation. Take your time with this step to ensure a finished product that reflects your creativity and style.
8. Fit and Adjust:
Once the hen saddle is complete, carefully fit it onto your chicken’s back. Adjust the straps and fasteners as needed to ensure a snug but comfortable fit. Pay attention to your chicken’s movements and behavior while wearing the saddle, and make any necessary adjustments to prevent discomfort or restriction of movement. Monitor your chicken closely during this process to ensure the saddle is well-tolerated and does not cause any undue stress.
9. Maintain and Clean:
Regular maintenance and cleaning are essential for keeping your hen saddle in good condition. Periodically inspect the saddle for signs of wear and tear, such as loose stitching or frayed edges, and repair as needed. Remove the saddle periodically to allow your chicken’s feathers to breathe and prevent irritation or chafing. Follow care instructions for washing and sanitizing the saddle to keep it clean and fresh, using gentle detergent and lukewarm water.
10. Monitor and Replace:
Keep an eye on your chicken’s saddle over time and replace it as needed. As chickens grow, their size and shape may change, requiring adjustments or a new saddle altogether.
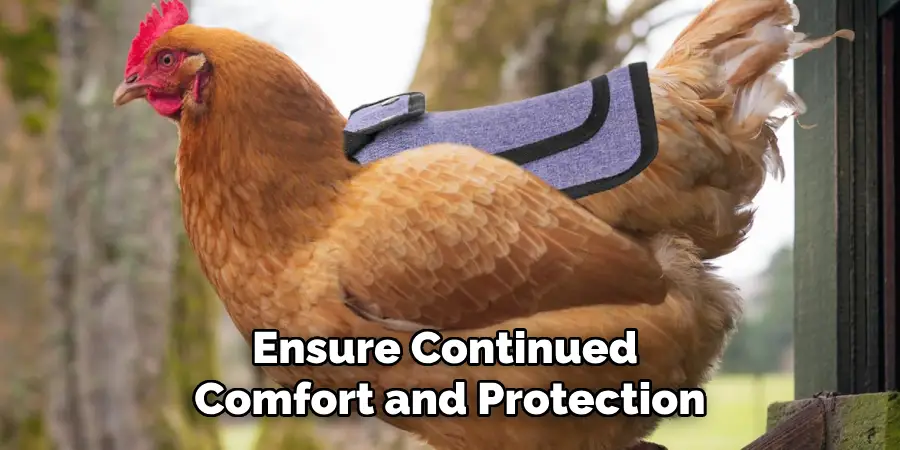
Monitor the condition of the saddle for signs of damage or wear, such as fading or stretching, and replace it promptly to ensure continued comfort and protection for your chicken. Regularly assess your chicken’s comfort and mobility while wearing the saddle, and make adjustments as necessary to ensure their well-being.
Conclusion
In conclusion, crafting hen saddles is a simple yet impactful way to promote the well-being of your poultry flock. By providing a protective barrier against injuries and feather loss caused by mating behaviors, these homemade garments offer practical solutions to common challenges faced by chicken keepers.
Moreover, engaging in DIY projects like making hen saddles fosters a deeper connection with your flock, allowing you to actively participate in their care and welfare. As you embark on this journey of poultry stewardship, remember that even small interventions can make a significant difference in the health and happiness of your feathered companions. Thanks for reading, and we hope this has given you some inspiration on how to make a hen saddle!
You Can Check It Out to Scare Foxes Away From Chickens
About
Outdoor Fixes is a distinguished figure in the world of Diy design, with a decade of expertise creating innovative and sustainable Diy solutions.
His professional focus lies in merging traditional craftsmanship with modern manufacturing techniques,
fostering designs that are both practical and environmentally conscious. As the author of diy,
outdoorfixes delves into the art and science of outdoorfixes-making, inspiring artisans and industry professionals alike.
Education RMIT University
(Melbourne, Australia) Associate Degree in Design (Outdoor Fixes) Focus on sustainable design, industry-driven projects,
and practical craftsmanship. Gained hands-on experience with traditional and digital manufacturing tools, such as CAD and CNC software.
Nottingham Trent University
(United Kingdom) Bachelor’s in outdoorfixes.com and Product Design (Honors) Specialized in product design with a focus on blending creativity with production
techniques. Participated in industry projects, working with companies like John Lewis and Vitsoe to gain real-world insights.
Publications and Impact
In diy, Outdoor Fixes his insights on indoor design processes, materials, and strategies for efficient production.
His writing bridges the gap between artisan knowledge and modern industry needs, making it a must-read for both budding designers and seasoned professionals.