
Making a living fence enhances the charm of your garden and reaps the benefits of nature’s own privacy screen. With the right selection of shrubs, trees, and winding vines, a living fence is an ecologically friendly alternative to man-made barriers, providing a habitat for wildlife and a natural air filter for your environment.
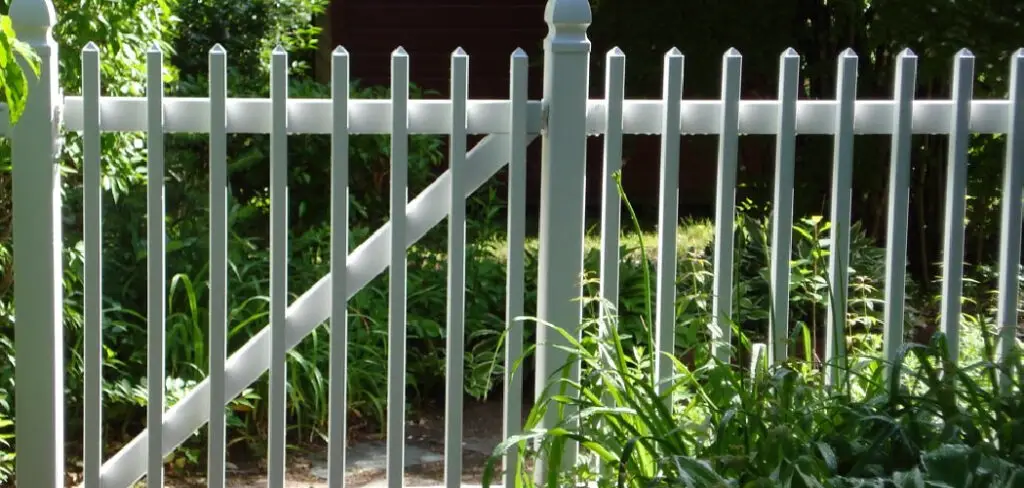
Choosing the right type of living fence for your needs is crucial, whether you’re seeking a flowering shrub that offers a seasonal display of blooms or robust conifers that promise year-round greenery.
In this guide, we’ll explore various plant options, from the fragrant lilacs to the grandeur of tall evergreens, and detail the importance of planning and selecting plants that will thrive in your regional climate and meet your landscaping desires.
Join us as we delve into the verdant world of living fences and learn how to make a living fence that is both a functional boundary and a flourishing cornerstone of your outdoor living space.
Planning Your Living Fence
A. Choosing the Right Plants
Several factors come into play when planning a living fence to ensure its success and longevity. The climate of your area dictates which plants will thrive; for example, Boxwood may flourish in temperate regions, while Bougainvillea is suited to warmer climates.
Soil type must also be considered; whether it’s clay, sand, loam, or chalk, it will impact both plant selection and potential soil amendments. Desired height is crucial for privacy and aesthetics—tall species like Arborvitae make excellent screens. Maintenance needs cannot be overlooked; some plants require more pruning and care, so opt for low-maintenance shrubs like Privet if your time is limited.
The growth rate will determine how quickly your living fence becomes established; for instance, Bamboo is a rapid grower that can quickly fill in a space. Lastly, consider whether you desire the seasonal interest of flowering or fruiting plants. For privacy, consider fast-growing, dense evergreens like Thuja. For aesthetics, deciduous flowering shrubs like Forsythia provide seasonal color, and for wildlife attraction, consider berry-producing plants like Hawthorn that offer food sources.
B. Design and Layout
The design and layout of a living fence are integral to its functionality and appearance. Consider a single or double-row layout; double rows increase density and soundproofing, while single rows are more space-efficient. Decide if you want straight or curved lines—curved lines create a natural look, while straight lines offer formality.
If incorporating existing trees or structures, ensure they complement your living fence aesthetically and don’t disrupt growth patterns. Spacing is vital for plant health and fence density; for example, spacing Thuj a occidentalis 2-3 feet apart provides a thick barrier.

Always check for local regulations to obtain necessary permits, especially if your living fence will be near property lines or affect sightlines.
C. Preparing the Planting Area
Properly preparing the planting area lays the foundation for a thriving living fence. Start with a soil test to determine pH and nutrient levels and make amendments as needed—for example, adding lime to raise pH or sulfur to lower it.
Remove weeds and clear debris to minimize competition for resources. Lastly, mark planting locations, ensuring proper spacing to allow each plant ample room to grow. Careful site preparation prevents future problems and sets the stage for a healthy living fence.
How to Make a Living Fence: A Beginner’s Guide
A. Planting Techniques
When it comes time to plant your chosen species, it’s crucial to dig holes that are twice the width of the root ball and just as deep, ensuring roots have ample space to spread. Be gentle when handling the roots to prevent damage; teased roots can encourage more robust growth.
Position the plants in the center of the holes, then backfill with a mix of native soil and compost, pressing down to remove air pockets. Applying a 2 to 3-inch layer of mulch around the base of each plant conserves moisture, regulates soil temperature, and prevents weed invasion—just be careful to leave some space around the plant stem to allow for proper aeration.
Water thoroughly after planting to settle the soil, giving plants a good start. A slow trickle of water for 20-30 minutes ensures moisture reaches deep into the root zone, establishing an efficient watering routine from the start.
B. Supporting Young Plants
Young plants may require additional structural support to withstand weather and maintain growth direction. Use stakes or cages for small trees and shrubs; trellises can provide a climbing structure for vines. Install support at planting time to avoid root disturbance later on.
Regularly check and gently adjust ties to prevent damage as your plants grow and gain strength. Monitoring and adapting the support system during growth is key to training plants to form a stable and desirable living fence.
C. Initial Care and Maintenance
The inaugural year of your living fence is critical—regular watering facilitates root establishment. For the first year, water weekly or more frequently during hot, dry spells. Drip irrigation systems can be a water-wise method to provide consistent moisture.
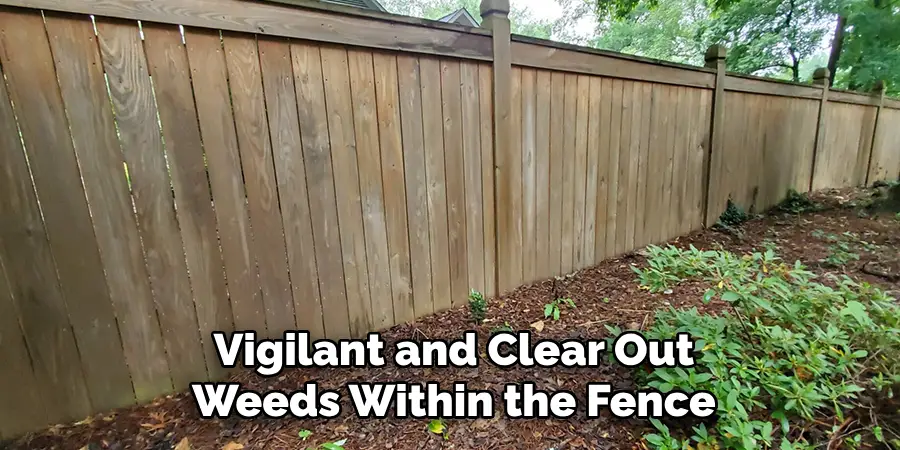
Weed competition can be fierce, so stay vigilant and clear out weeds within the fence boundaries to prevent them from siphoning off nutrients and water. Mulch serves as a double agent, retaining soil moisture and deterring weed growth. In terms of fertilization, it’s imperative to follow the specific needs of your plants; some may benefit from a balanced fertilizer, while others may require a formula that is high in particular nutrients like nitrogen or phosphorus.
Always adhere to the recommended rates to avoid over-fertilization, which can be as detrimental as neglect. With conscientious watering, weeding, mulching, and fertilizing practices, your living fence will be well on its way to establishing itself as a permanent, lush feature of your landscape.
Training and Pruning Techniques
A. Training Young Plants
In the early stages, directing the growth of your young plants is essential for achieving the desired form, whether it be upright, bushy, or a specialized structure like an espalier. Staking is common for guiding vertical growth, ensuring that the main stem grows straight and strong.
Ties should be loose enough to allow growth but firm enough to correct any leaning. For a bushier appearance, pinch back the tips of young plants to encourage side branching. Espalier training is a precise art for those interested in more formal shapes or growing fruit-bearing plants against a flat surface.
Stretch wires or install a trellis against a wall and prune to create a two-dimensional pattern, tying branches flat along the support structure to promote horizontal growth.
B. Ongoing Pruning and Maintenance
Maintaining the established shape of your living fence requires regular pruning to keep plants at the desired size and remove any dead or diseased branches, which helps prevent the spread of decay or pests.
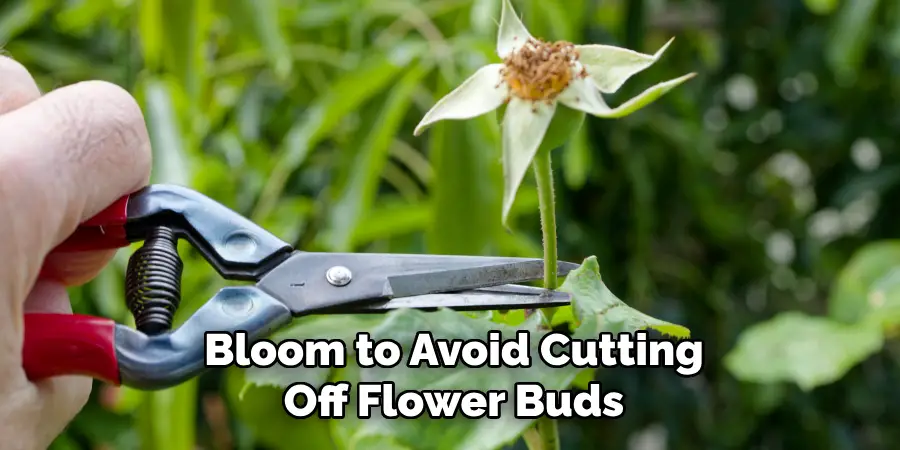
It’s also vital to thin out some branches to improve air circulation and light penetration within the canopy, which reduces the risk of disease and promotes healthy, evenly dense growth. The best time to prune is generally in late winter or early spring before the growing season begins. For flowering shrubs, wait until after they bloom to avoid cutting off flower buds.
C. Advanced Techniques
For gardeners looking to explore advanced pruning techniques, espaliering, and pleaching can create visually stunning effects. Espaliering involves training trees into decorative patterns on a flat plane, often against a wall, which is ideal for fruit trees as it can increase sun exposure and yield. Preaching, on the other hand, involves interweaving the branches of multiple trees to form a dense, leafy screen or wall. Lastly, for a more formal, sculpted look, hedging involves careful cutting to shape the foliage into geometric forms, such as balls, cubes, or pyramids, providing an element of classic garden design.
Choosing Different Types of Living Fences
A. Flowering Shrubs
Flowering shrubs create a visually appealing living fence and play a vital role in attracting pollinators to your garden. Roses are a classic choice, with their endless variety of colors and fragrances offering a stunning and traditional boundary option.
Lilacs contribute to a versatile living fence with their lush green foliage and abundant blooms that exude a sweet, heady scent in spring. The butterfly bush lives up to its name, drawing butterflies with its elongated floral spikes and a wide array of available colors, boosting biodiversity.
Spirea, too, comes in many varieties, flaunting cascades of flowers that can give your living fence a soft, frothy look. Each of these flowering shrubs not only adds seasonal color but also supports local ecosystems and provides sensory experiences throughout the blooming periods.
B. Evergreen Shrubs
For those seeking year-round coverage and protection, evergreen shrubs are the go-to choice for a living fence. Holly offers privacy and adds a touch of classic beauty with its glossy leaves and bright red berries, which are particularly striking in winter. Boxwood is favored for its dense foliage and ability to be shaped precisely, making it ideal for formal garden designs.

Arborvitae, with its tall and conical form, works excellently for creating private spaces and offering a sound barrier against noisy areas. While semi-evergreen in some climates, Privet is fast-growing and easily pruned to maintain a neat, tidy appearance, making it a practical choice for a living fence that requires minimal effort to keep its shape.
C. Vines and Climbing Plants
For gardeners with limited space but a desire for height, vines and climbing plants like Clematis offer a versatile solution. These plants climb upward, bringing vibrant color and often pleasant scents to your living fence. Wisteria is renowned for its stunning drapery of blue to violet flowers and robust growth habit, which can create a spectacular vertical display. Honeysuckle not only exudes a sweet fragrance but also attracts wildlife, such as hummingbirds and bees. Additionally, some varieties of these climbers can bear fruit, introducing another functional benefit to your garden alongside the aesthetic appeal.
That’s it! You’ve now learned how to make a living fence and maintain its health and shape. Remember to choose the right plants for your specific needs, train them carefully in their early stages, and regularly prune and care for them to ensure a beautiful, functional living fence. With dedication and proper techniques, your living fence will provide privacy, beauty, and environmental benefits for years to come.
Living Fences for Specific Purposes
A. Privacy Screens

When creating a living fence aimed at providing privacy, selecting species that grow quickly and possess dense foliage is key. Plants such as bamboo or fast-growing evergreens like thuja are excellent for this purpose; their rapid growth rate and lush leaves offer seclusion in a short amount of time. Spacing is also critical – planting too close may inhibit growth, while too far can leave unwanted gaps. Positioning plants so their mature widths barely overlap can ensure a dense screen. Also, layering different plants can fill in any gaps and increase the opacity of the barrier, creating a secluded retreat in your backyard.
B. Windbreaks and Noise Reduction
For protection against wind and noise, sturdy and tall plants are indispensable. A living fence with strong-rooted trees, such as the Norway Spruce or the robust foliage of the Green Giant arborvitae, can serve this purpose well. These species are not only resistant to strong winds but also absorb sound effectively.
To maximize wind deflection and noise reduction, planting in staggered rows can distribute the force of the wind and disperse noise more efficiently. This technique also ensures that the plants support one another, growing stronger as a unit rather than individually.
C. Wildlife-Friendly Habitats
Designing a living fence to support wildlife involves choosing native plants that provide nectar, berries, nuts, and shelter. Species like hawthorn or berry-producing shrubs such as viburnum are excellent options that cater to the needs of birds and butterflies alike.
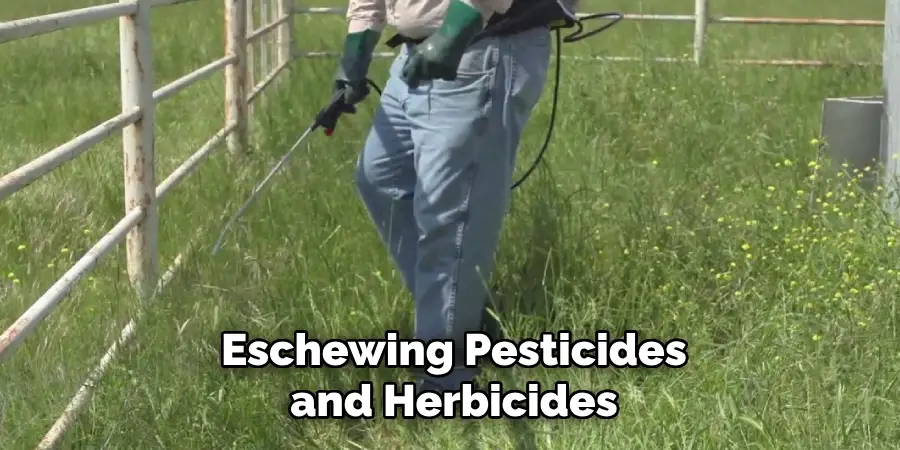
By eschewing pesticides and herbicides, your living fence can become a haven for beneficial wildlife, contributing to the local ecosystem’s health and diversity. These plants enhance the beauty of your landscape and promote a symbiotic relationship with nature, where your garden is a pivotal part of the lifecycles of numerous creatures.
Troubleshooting and Common Challenges
A. Plant Diseases and Pests
A thriving living fence can occasionally be compromised by plant diseases and pests, which, if left unattended, have the potential to spread and cause extensive damage. Early identification of common issues such as leaf spots, powdery mildew, or harmful insects like aphids and borers is crucial. Organic solutions, such as neem oil or insecticidal soap, can manage minor infestations and diseases without resorting to harsh chemicals.
Integrating pest-resistant plant varieties and fostering beneficial insects are preventative strategies that maintain a balanced ecosystem. Regular monitoring and promptly addressing the signs of distress ensure the long-term health of your living fence.
B. Plant Growth Issues
Stunted plant growth can result from various factors, including inadequate sunlight, poor soil conditions, or incorrect spacing. Nutrient deficiencies often manifest as discolored leaves or weak stems and may require adjustments in fertilization. Over or under-watering can also inhibit growth, so establishing a consistent watering schedule tailored to your climate and soil type is essential.
Judicious pruning can stimulate plants to produce more vigorous growth, but it must be done at the correct time of year for each species. Understanding the specific needs of your living fence plants is the key to resolving growth issues.
C. Maintaining a Healthy Living Fence
Regular observation is as important as any intervention to maintain the vibrancy of a living fence. Early detection of abnormalities can prompt a timely response, preventing minor issues from becoming major setbacks. Sustainable care practices, such as mulching, proper irrigation, season-specific fertilization, and strategic pruning, contribute to the lasting health and aesthetic appeal of a living fence. These practices not only conserve the vitality of the plants but also enhance the overall environment of your garden ecosystem.
Frequently Asked Questions
Q1: How Often Should I Water My Living Fence?
A1: The watering needs of your living fence depend on the specific plants you have chosen, the local climate, and the season. It’s best to establish a consistent watering schedule that reflects the needs of the plants during their growth season and to adjust accordingly during winter months when plants are dormant. Make sure the soil is well-draining to prevent root rot.
Q2: When Is the Best Time to Prune a Living Fence?
A2: The best time for pruning varies, depending on the plant species. Generally, it’s ideal to prune flowering shrubs right after they bloom to avoid cutting off the next year’s buds. Evergreens can be pruned in late winter or early spring before they start growing. Research the pruning time for each species in your living fence for optimal results.
Q3: How Can I Encourage Wildlife to Settle in My Living Fence?
A3: To make your living fence appealing to wildlife, choose native plants that yield fruits, nuts, nectar, and have sheltering foliage or branches. Avoiding pesticides and creating a layered planting approach that includes ground cover, shrubs, and trees also promotes a natural habitat for various species.
Q4: Can I Install a Living Fence on My Own, or Do I Need a Professional?

A4: You can install a living fence on your own if you have some gardening experience and are willing to invest the time and effort. However, consulting a professional landscaper could be beneficial for a large or complex project or if you need advice on plant selection and design for your specific region.
Q5: What Should I Do if Parts of My Living Fence Die?
A5: If portions of your living fence die off, you must first determine the cause, whether it’s disease, pest infestation, or environmental conditions. Once identified and addressed, you can replant the affected area using the same or a different type of plant that may be more suited to the location or more resistant to the problem. Remember, diversity in plant selection can increase resilience.
Conclusion
As we conclude this guide on how to make a living fence, it’s evident that these green structures are more than just a barrier; they’re a testament to the harmonious blend of functionality and natural beauty.
The journey of creating your own living fence requires patience and attention to detail, from selecting the right plants to mastering the art of training and pruning. By embracing the practices outlined in this article, you’ll enhance the aesthetic appeal of your outdoor space and promote biodiversity and sustainable living. Remember, a living fence is not just a landscape feature—it’s a living, breathing entity that will grow and evolve with your garden for years to come.
About
Outdoor Fixes is a distinguished figure in the world of Diy design, with a decade of expertise creating innovative and sustainable Diy solutions.
His professional focus lies in merging traditional craftsmanship with modern manufacturing techniques,
fostering designs that are both practical and environmentally conscious. As the author of diy,
outdoorfixes delves into the art and science of outdoorfixes-making, inspiring artisans and industry professionals alike.
Education RMIT University
(Melbourne, Australia) Associate Degree in Design (Outdoor Fixes) Focus on sustainable design, industry-driven projects,
and practical craftsmanship. Gained hands-on experience with traditional and digital manufacturing tools, such as CAD and CNC software.
Nottingham Trent University
(United Kingdom) Bachelor’s in outdoorfixes.com and Product Design (Honors) Specialized in product design with a focus on blending creativity with production
techniques. Participated in industry projects, working with companies like John Lewis and Vitsoe to gain real-world insights.
Publications and Impact
In diy, Outdoor Fixes his insights on indoor design processes, materials, and strategies for efficient production.
His writing bridges the gap between artisan knowledge and modern industry needs, making it a must-read for both budding designers and seasoned professionals.