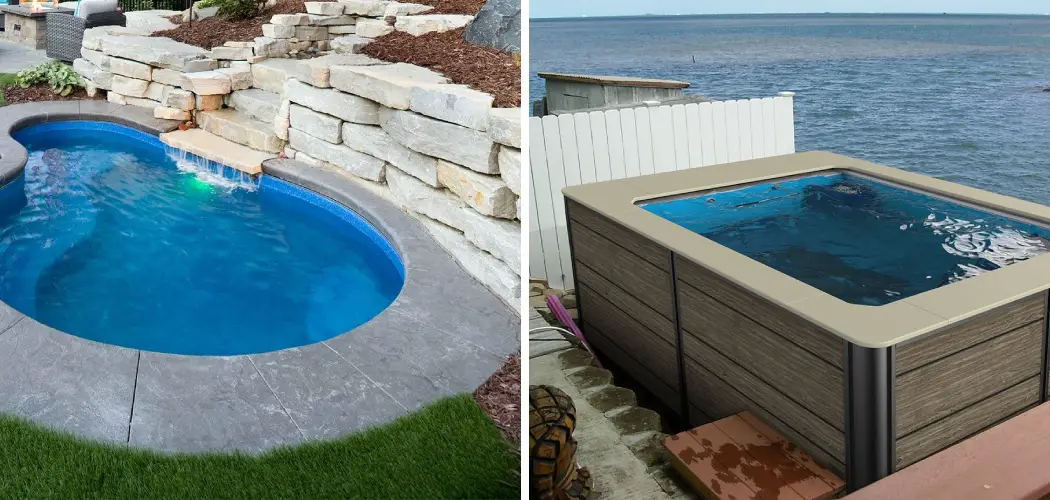
Are you tired of hitting the public swimming pools or rosing spa fees just to relax and take a dip? A plunge pool can be an excellent addition to anyone’s backyard, providing a refreshing and soothing experience.
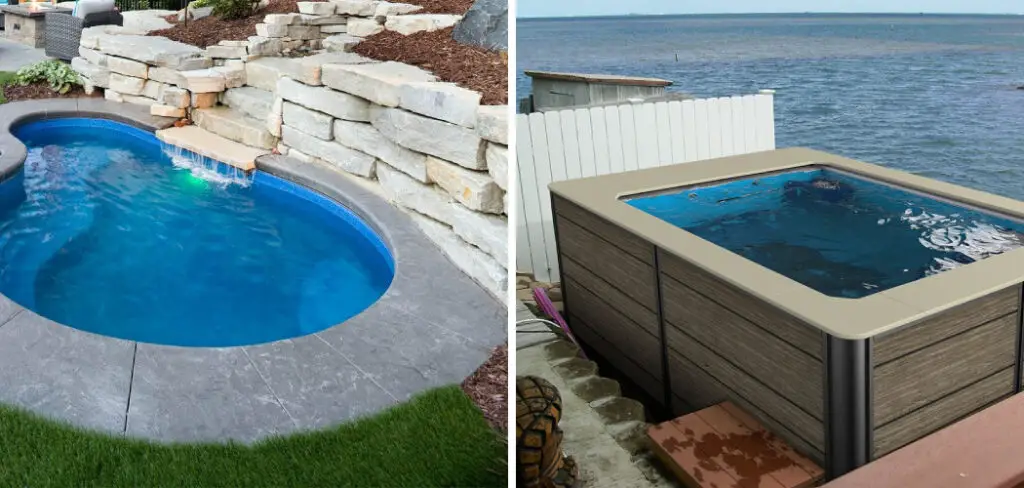
A plunge pool is a unique feature that is designed to give homeowners a way to have an on-demand, full-body soak without the hassle of a large swimming pool. In this post, we will go through the necessary steps for how to make a plunge pool. So, let’s dive in!
What Is a Plunge Pool?
A plunge pool is a small, shallow pool that is designed for sitting or standing rather than swimming. It is an excellent option for people looking to have a pool in their backyard but not enough space for a full-sized swimming pool. The pool is typically around 5-7 feet deep and can be built either inground or above ground, depending on your preference.
Can You Make a Plunge Pool?
Do you dream of escaping the heat and enjoying your oasis in the comfort of your backyard? A plunge pool may be just what you need. This small pool is perfect for those who desire the refreshing feeling of a swim without sacrificing too much space or breaking the bank. With a little bit of creativity and effort, creating your own plunge pool is achievable.
From repurposed livestock tanks to DIY construction with materials like concrete or fiberglass, there are many ways to create the perfect plunge pool. Before you know it, you could be diving into your own relaxing retreat on hot summer days.
Why Should You Make a Plunge Pool?
Are you looking to add some excitement and relaxation to your backyard oasis? Look no further than a plunge pool! The benefits of having a plunge pool are numerous. Not only can they serve as a great place to cool off and unwind during hot summer days, but they can also provide a perfect spot for exercising or practicing your swimming skills.
Plus, their compact size allows for easy installation and maintenance, meaning you can enjoy your new backyard addition without the hassle of a larger pool. So why settle for a run-of-the-mill backyard when you can make a splash with a plunge pool?
A Guide on How to Make a Plunge Pool on Your Own
Step 1: Choose Your Location and Plan the Design
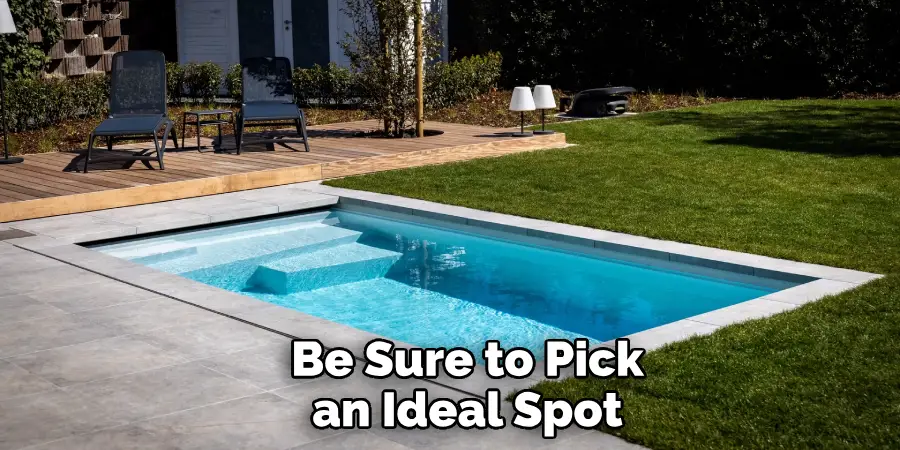
The first step in creating a plunge pool is to determine the location where you want it to be. Be sure to pick an ideal spot that is flat or gently sloping, easily accessible, and gets enough sun exposure. Once you’ve selected the location, you can start designing and planning the pool. You can either purchase a pre-made pool kit or build it from scratch. A good idea is to have an experienced builder check it once you have decided on your design.
Step 2: Prepare the Excavation Area
After picking the location and design, the next step is to prepare the excavation area. This includes removing any obstacles like bushes, trees, and debris. You will also need to dig up a hole that is roughly the size and shape of the pool design. Ensure that the base of the excavation area is solid, flat, and leveled.
Step 3: Build the Pool Walls
After excavating, the next thing is to start constructing the pool walls. The walls can be made of concrete, fiberglass, or vinyl liner and must have a good-quality finish. Once the walls are in place, you will need to add a waterproof membrane to ensure water doesn’t seep out. It is essential to ensure that the pool is proportionate to the surrounding area so it doesn’t seem awkward.
Step 4: Install Plumbing and Electrical Works
The next step is installing the plumbing and electrical works. You’ll need to connect the pool to your home’s water supply with the appropriate plumbing connections. Also, ensure that the pool’s drainage system is adequately fitted to prevent water buildup. Ensure you have a licensed electrician to install the wiring for the pump, filter, and any lighting fixtures.
Step 5: Fill and Finish the Pool
Finally, it’s time to fill up your pool with the daily water supply and add the finishing touches to bring it to life. Adding stones or tiles is essential to providing a non-slip surface and giving your pool a stylish look. You can also add lighting to your pool to make it stand out at night. Once all of these processes are complete, you can start enjoying your pool!
Step 6: Maintain Your Pool
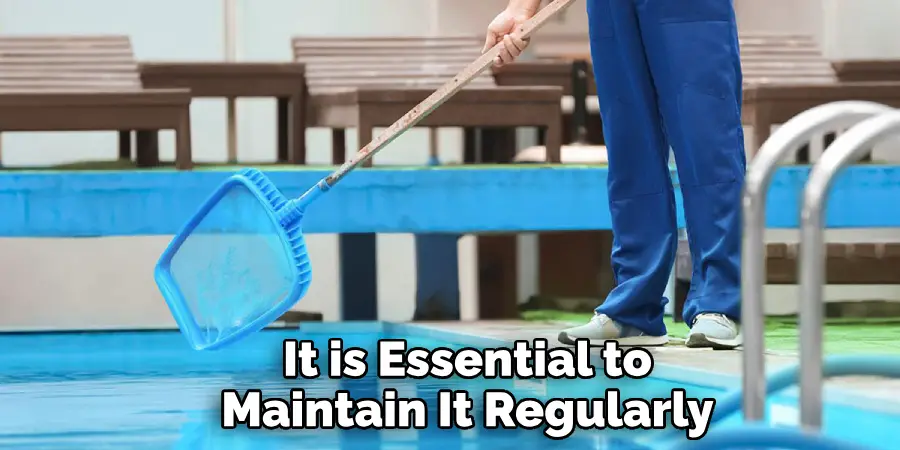
To ensure your plunge pool remains in excellent condition, it is essential to maintain it regularly. This includes cleaning the pool, balancing its chemicals, and checking for necessary repairs. Regular maintenance will help keep your plunge pool running efficiently and extend its lifespan.
Step 7: Enjoy Your Plunge Pool!
Congratulations! You now have a beautiful and functional plunge pool in your backyard! Enjoy the refreshing dip it provides during hot summer days, or relax by its side with a drink in hand. Your plunge pool is also perfect for low-impact exercises, making it an excellent addition to any home.
So there you have it – 7 simple steps on how to make a plunge pool. Remember to plan carefully, seek professional help when needed, and enjoy the fruits of your labor. Stay cool and have fun in your new plunge pool!
5 Considerations Things When You Need to Make a Plunge Pool
1. Location
When making a plunge pool, one of the most important considerations is location. You’ll want to choose a spot that is close to your home and easy to access, as well as one that will provide you with plenty of privacy. Additionally, ensure the area is free from trees or other obstacles that may interfere with your pool’s design.
2. Size
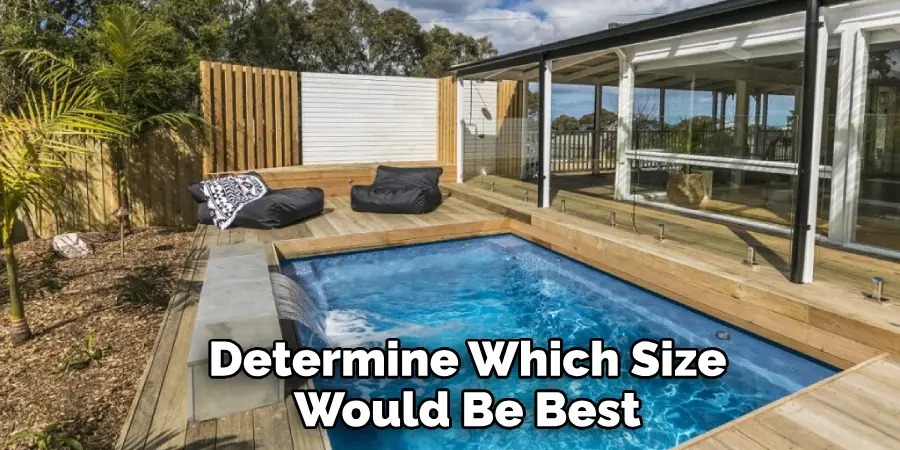
The size of your plunge pool will largely depend on how much space you have available and what type of activities you plan on using it for. If you’re looking for something more recreational, then you’ll likely need a larger pool than if you just wanted something for cooling off during the summer months. Consider all of your options and determine which size would be best for your needs before making any decisions.
3. Depth
The depth of a plunge pool can vary greatly depending on the activities you plan on using it for. If you’re looking for something more recreational, then a deeper pool may be necessary to accommodate diving boards or other activities. On the other hand, if you just want something to cool off in during the summer months, then a shallow pool might be sufficient.
4. Materials
There are several different materials available when it comes to building a plunge pool, including concrete, fiberglass, and vinyl liners. Each material has its own advantages and disadvantages, so it’s important to research each option thoroughly before making any decisions. Consider cost, durability, and ease of maintenance when choosing the right material for your needs.
5. Maintenance
Finally, maintenance is an important consideration when making a plunge pool, as this will determine how much time and effort you need to put into keeping it clean and functioning properly over time. Make sure that you understand all of the maintenance requirements associated with each material before making any decisions to ensure that your plunge pool lasts for many years to come!
Benefits of Making a Plunge Pool
A plunge pool can be a unique way to not only add to the aesthetic appeal of your outdoor living space but also to provide a refreshing escape from hot summer days. While traditional swimming pools can be labor-intensive and costly, a plunge pool offers a low-maintenance alternative that can provide many of the same benefits.
With its smaller size, a plunge pool can fit in even the tiniest of backyards, making it an ideal option for those with limited space. Plus, its depth—usually between four and six feet—makes it perfect for those looking to take a quick dip or to cool off after sunbathing. So whether you’re looking to relax with friends or just want a private oasis in your own backyard, a plunge pool is definitely worth considering.
Some Common Mistakes People Make When Trying to Make a Plunge Pool
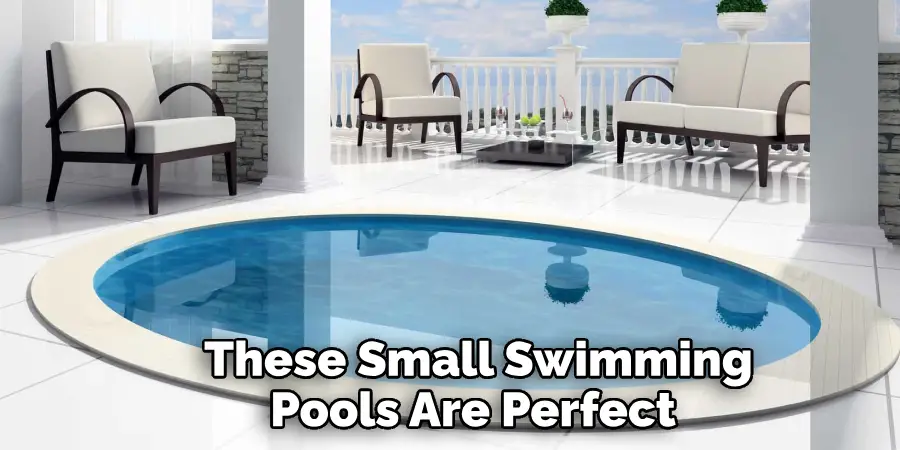
A plunge pool can be a great addition to any backyard. These small swimming pools are perfect for cooling off on hot summer days or just lounging with friends and family. However, making a plunge pool is not always as easy as it might seem. Some common mistakes people make when building a plunge pool include using the wrong materials, not properly securing the pool, and failing to maintain the water quality.
Using the right materials is crucial for creating a safe and durable pool, while proper installation is necessary to ensure that the pool lasts for years to come. Additionally, keeping the water clean and balanced will ensure that your plunge pool remains a refreshing escape from the heat and not a breeding ground for harmful bacteria. So, if you’re considering a plunge pool for your backyard, avoid these common mistakes and enjoy a refreshing soak in no time!
Conclusion
Building your plunge pool may be a challenging task, but with the above steps, it is 100% doable. Remember, your plunge pool’s overall success will depend on the materials used, workmanship, and your level of dedication to the project.
A well-made plunge pool adds value to your home, making it an excellent investment for any homeowner. So, if you want to give it a try, follow these steps, and you will be enjoying the cool water in no time! Thanks for reading our post about how to make a plunge pool.
About
Outdoor Fixes is a distinguished figure in the world of Diy design, with a decade of expertise creating innovative and sustainable Diy solutions.
His professional focus lies in merging traditional craftsmanship with modern manufacturing techniques,
fostering designs that are both practical and environmentally conscious. As the author of diy,
outdoorfixes delves into the art and science of outdoorfixes-making, inspiring artisans and industry professionals alike.
Education RMIT University
(Melbourne, Australia) Associate Degree in Design (Outdoor Fixes) Focus on sustainable design, industry-driven projects,
and practical craftsmanship. Gained hands-on experience with traditional and digital manufacturing tools, such as CAD and CNC software.
Nottingham Trent University
(United Kingdom) Bachelor’s in outdoorfixes.com and Product Design (Honors) Specialized in product design with a focus on blending creativity with production
techniques. Participated in industry projects, working with companies like John Lewis and Vitsoe to gain real-world insights.
Publications and Impact
In diy, Outdoor Fixes his insights on indoor design processes, materials, and strategies for efficient production.
His writing bridges the gap between artisan knowledge and modern industry needs, making it a must-read for both budding designers and seasoned professionals.

