Tired of slipping and sliding on a homemade Slip-N-Slide that just won’t slide? If so, you have come to the right place! You don’t need fancy materials or special tricks – with the right knowledge and preparation, you can transform any makeshift Slip-N Slide into an excitingly slippery summertime activity. Read on for easy tips and suggestions about how to make a slip n slide slippery!

What is a Slip N Slide?
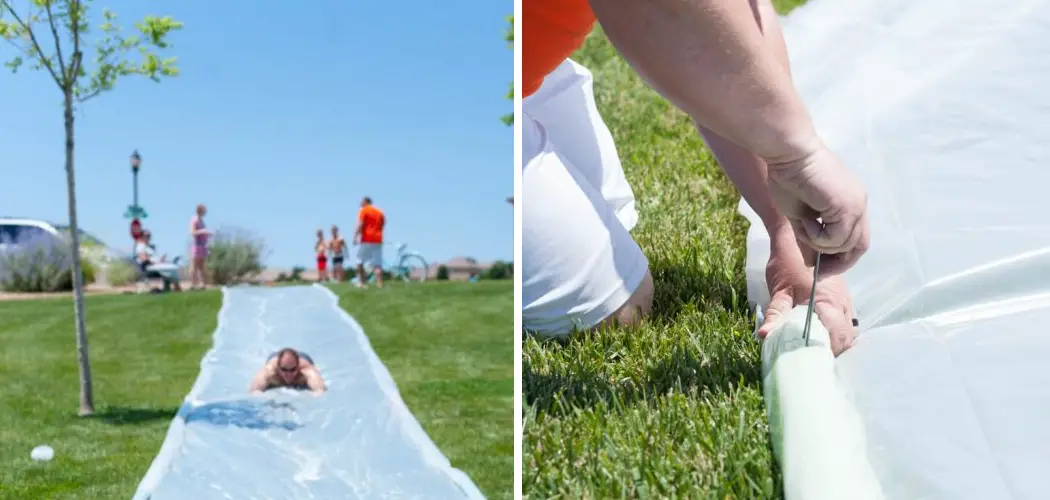
Before we dive into how to make a slip-n-slide slippery, let’s briefly go over what exactly a Slip-n-slide is. A Slip-N-Slide is a long sheet of plastic material, usually with an inflatable border, that is set up on a grassy surface and sprayed down with water to create a slick and slippery surface for sliding fun.
It’s a popular activity for kids and adults alike during the hot summer months. However, sometimes these slides can be difficult to slide on due to various reasons, such as the type of plastic used or the lack of proper preparation.
Necessary Tools and Materials
To make your slip-n-slide slippery, you will need a few items that can easily be found at home or at your local store. These items include:
- A Large Sheet of Plastic (Preferably at Least 10 Feet Long)
- A Hose or Sprinkler
- Water Source
- Dish Soap or Baby Oil
- Towels or Rags
11 Step-by-step Guidelines on How to Make a Slip N Slide Slippery
Step 1: Choosing the Right Plastic
The first step in making your homemade slip-n-slide slippery is to choose the right type of plastic. The best option is a thick and durable plastic sheet, at least 10 feet long, with a smooth surface.
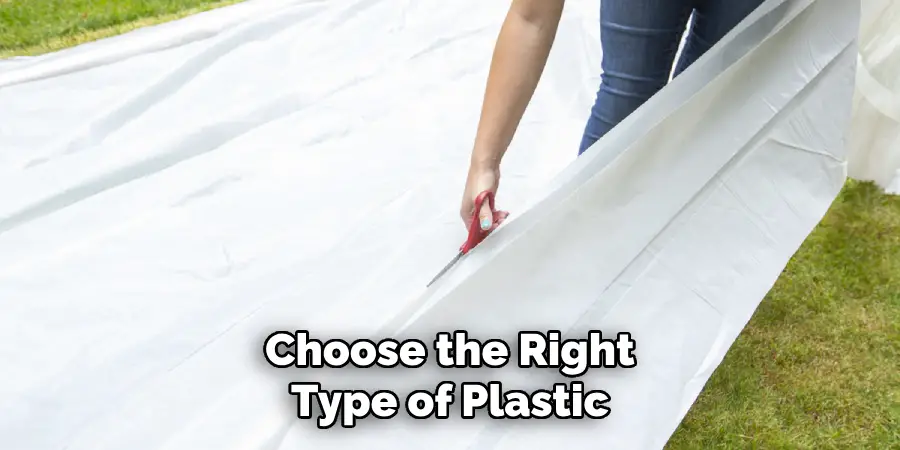
Avoid using flimsy or textured materials as they may not provide enough slip for a smooth slide. It’s also essential to make sure the plastic is free of any holes or tears that could cause water to leak out and reduce the slipperiness.
Step 2: Set Up the Slide
Find a suitable area in your yard with plenty of space and a slight slope. Lay down the plastic sheet with one end slightly elevated and secure it in place with rocks or stakes if necessary. Make sure there are no sharp objects or debris underneath the plastic that could cause injuries during sliding.
It’s also a good idea to place towels or rags at the bottom of the slide to avoid getting grass stains on your clothes.
Step 3: Wet the Slide
Before applying any lubricant, wet the entire plastic sheet with water using a hose or sprinkler. It’s important to thoroughly wet the surface to create a slippery layer for sliding. Make sure not to oversaturate the slide, as too much water can make it difficult to get enough speed for a good slide. You can also use a water source with good pressure, such as a spray nozzle, to ensure the plastic is evenly wet.
Step 4: Add Dish Soap or Baby Oil
Now it’s time to add some slippery substances to your slide. You can use dish soap or baby oil, depending on what you have available. Both options work well, but dish soap is more budget-friendly and easier to clean up afterward.
Start by applying a generous amount of the lubricant at the top of the slide and spread it evenly with your hands or a rag. You can also mix dish soap with water in a bucket and pour it onto the slide for an even distribution. For baby oil, simply pour it onto the slide and use your hands or a rag to spread it evenly.
Step 5: Wet the Slide Again
After adding the lubricant, wet the slide once again with water. This will help activate and spread the soap or oil, creating an even more slippery surface for sliding. Make sure not to oversaturate the slide, as it can reduce the effectiveness of the lubricant.

Otherwise, the right amount of water and lubricant will result in a super slick slide. It’s also a good idea to keep the water running throughout the sliding session to maintain the slipperiness.
Step 6: Test the Slide
Before letting anyone slide on the slip-n-slide, it’s essential to test it out yourself. Slide down the slide a few times to check for any rough or dry spots that may need more lubricant. Also, make sure the slide is not too steep and ends in a safe area. Adjust as needed until you have a smooth and slippery ride.
Step 7: Invite Friends over
Now it’s time to invite your friends over to enjoy your newly made slip-n-slide! Make sure to explain the rules and safety precautions before letting anyone slide. Always have an adult supervise children while using the slide. But don’t worry, with the proper lubricant and preparation, your homemade slip-n-slide will be a hit with all age groups. You can even come up with fun games and challenges to make the experience more exciting.
Step 8: Apply More Lubricant as Needed
Depending on how long you plan on using the slip-n-slide, you may need to reapply more lubricant. As people slide down, they can rub off some of the soap or oil, making the surface less slippery. Keep an eye on the slide and add more lubricant as needed to maintain a smooth and fast ride.
It’s always a good idea to have extra soap or oil on hand for quick touch-ups. Although, with the right amount of water and lubricant, you shouldn’t need to add more frequently.
Step 9: Take Breaks
Sliding can be tiring, especially under the hot summer sun. It’s essential to take breaks in between sliding sessions to avoid dehydration and exhaustion. Have some cold drinks and snacks ready for when everyone needs a break from the fun.
You can also use this time to add more lubricant if necessary. If you notice the slide is getting too dirty, it’s also a good idea to take a break and give it a quick rinse with water.
Step 10: Clean Up
After you’re finished using the slip-n-slide, it’s essential to clean up properly. Gather all the towels and rags used and wash them with soap and water to remove any lubricants or dirt. Drain the remaining water from the slide and let it dry completely before storing it away.
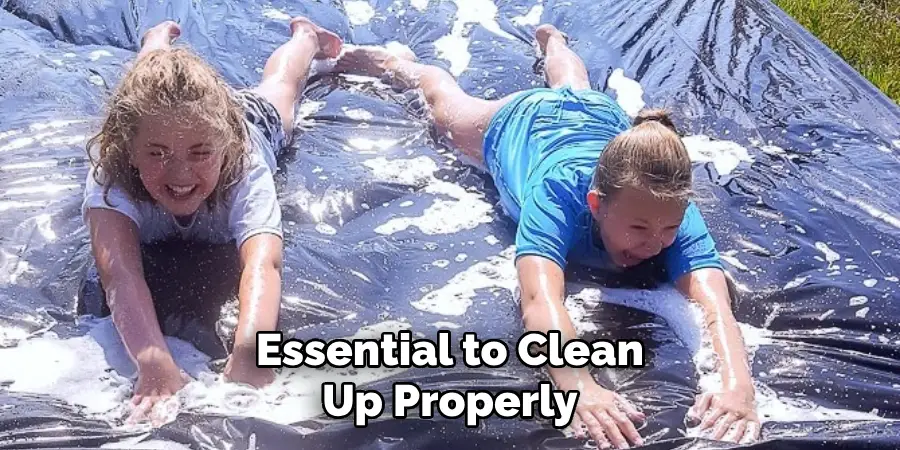
It’s also a good idea to rinse off any grass, leaves, or other debris that may have accumulated on the plastic sheet. Store the slide in a dry and secure place until its next use.
Step 11: Experiment with Different Lubricants
If you’re feeling adventurous, don’t be afraid to experiment with different lubricants to make your slip-n-slide slippery. Some popular alternatives include shaving cream, hair conditioner, or even a mix of baking soda and water.
Just remember always to test the slide before letting others use it and make sure to clean up properly afterward. With some creativity and the right materials, you can create a super fun and slippery slip-n-slide experience for everyone!
So grab your plastic sheet and get sliding! – This is just one example of how to make a slip-n-slide slippery. There are many other variations that people have come up with, so feel free to get creative and try different methods until you find the one that works best for you. Whether it’s for a birthday party, family gathering, or just some fun in the sun, a slip-n-slide is always a hit during the summer months.
So follow these steps on how to make a slip n slide slippery, gather your friends and family, and enjoy hours of slippery sliding fun! Keep in mind, that safety is always a top priority, so make sure to supervise children and follow all precautions to avoid any accidents. Happy sliding!
Frequently Asked Questions
Q1) Can I Use Any Type of Plastic Sheet for My Slip-n-slide?
A1) It’s best to use a heavy-duty plastic sheet that is at least 10 mil thick. Thin or flimsy sheets may tear easily and not withstand the weight and movement of people sliding on them. You can use a tarp or plastic drop cloth, but make sure it’s sturdy enough to handle the activity.
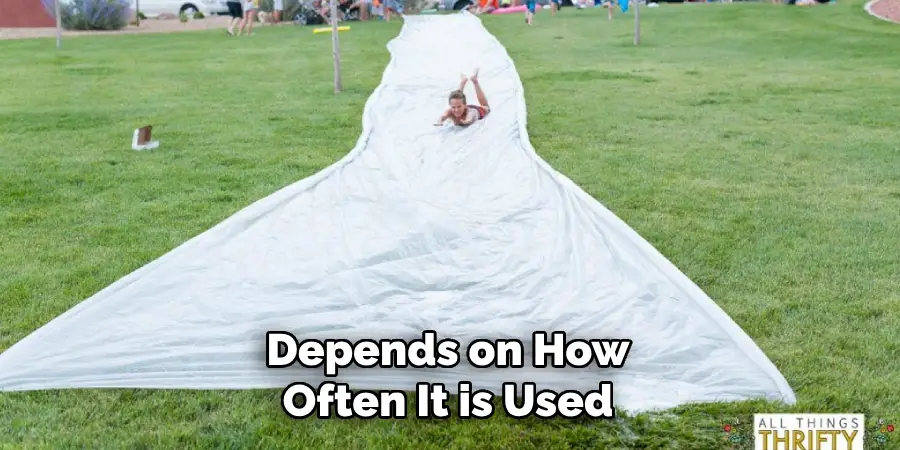
Q2) How Long Will My Slip-n-slide Last?
A1) The lifespan of your slip-n-slide depends on how often it is used and how well you take care of it. With proper maintenance and storage, it should last for multiple uses. However, if there are tears or holes in the plastic sheet, it may need to be replaced.
Q3) Is It Safe for Adults to Use the Slip-n-slide?
A3) Yes, adults can also enjoy using a slip-n-slide. Just make sure to follow all safety precautions and supervise young children while using it. You may want to adjust the steepness of the slide for a smoother ride for adults.
Q4) Can I Add Obstacles or Bumps to My Slip-n-slide?
A4) Adding obstacles or bumps can make the sliding experience more exciting, but it also increases the risk of injury. If you choose to add these features, make sure they are safe and properly secured. Always supervise children while using the slide with obstacles.
Conclusion
In conclusion on how to make a slip n slide slippery, slip-n-slides are a great summer activity for kids and adults alike! With the right materials and skillset, you can have your very own custom slip and slide in no time.
Now it’s your turn to go out there, get creative with your design, buy the materials, mix up those magic potions of dish soap and water, and slide away!
Make sure to have fun and be safe out there while you perfect the art of making a slip-and-slide slippery. So what are you waiting for? Grab some fun and get sliding on that big ol’ slip-n-slide!
About
Outdoor Fixes is a distinguished figure in the world of Diy design, with a decade of expertise creating innovative and sustainable Diy solutions.
His professional focus lies in merging traditional craftsmanship with modern manufacturing techniques,
fostering designs that are both practical and environmentally conscious. As the author of diy,
outdoorfixes delves into the art and science of outdoorfixes-making, inspiring artisans and industry professionals alike.
Education RMIT University
(Melbourne, Australia) Associate Degree in Design (Outdoor Fixes) Focus on sustainable design, industry-driven projects,
and practical craftsmanship. Gained hands-on experience with traditional and digital manufacturing tools, such as CAD and CNC software.
Nottingham Trent University
(United Kingdom) Bachelor’s in outdoorfixes.com and Product Design (Honors) Specialized in product design with a focus on blending creativity with production
techniques. Participated in industry projects, working with companies like John Lewis and Vitsoe to gain real-world insights.
Publications and Impact
In diy, Outdoor Fixes his insights on indoor design processes, materials, and strategies for efficient production.
His writing bridges the gap between artisan knowledge and modern industry needs, making it a must-read for both budding designers and seasoned professionals.