Whether you are preparing to order a brand-new vinyl liner, purchasing a safety cover for the winter, or simply calculating chemical dosages, knowing the precise dimensions of your swimming pool is absolutely essential. Many homeowners assume they know their pool size based on what the previous owner said or a vague recollection of the installation paperwork, but these estimates are often incorrect.
A discrepancy of just a few inches can lead to a liner that wrinkles and tears or a cover that fails to provide adequate safety. Taking the time to measure your pool personally ensures you avoid costly mistakes and restocking fees. This guide is designed to remove the guesswork and intimidation from the process. We will walk you through exactly how to measure a round pool size using professional techniques that anyone can master. By following these clear, simple steps, you will gain the confidence to order replacement parts and accessories that fit perfectly every single time.

Measuring your pool accurately not only saves time and money but also ensures the right fit for all your pool essentials. By understanding the correct dimensions, you can avoid the frustration of returns and achieve a seamless experience when maintaining or upgrading your pool area. Whether you’re replacing a pool liner or preparing for a cover installation, precise measurements are the foundation of a well-maintained and functional pool space.
Why Accurate Measurements Matter
Accurate measurements are crucial in every aspect of pool maintenance and upgrades. Here are some reasons why:
- Cost-effective: Measuring your pool accurately can save you from spending unnecessary money on wrong-sized accessories or replacements. This is especially important for expensive items such as pool covers, liners, or custom-fitted accessories.
- Saves time: By taking accurate measurements, you can avoid the frustration of returning ill-fitting items and instead have everything ready to install or replace without delay.
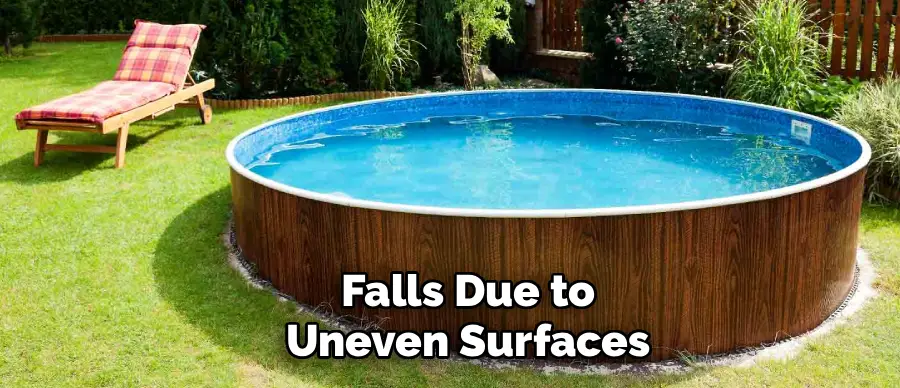
- Safety: A properly measured pool ensures that all safety equipment, such as pool covers and fences, fit correctly and provide adequate protection for both humans and pets. Accurate measurements can also prevent accidents such as slips and falls due to uneven surfaces or gaps in safety barriers.
- Cost savings: By avoiding the need for returns and replacements, proper measurements can save you money in the long run. It also allows you to plan your budget more effectively by knowing exactly what size and type of equipment or accessories are needed for your pool.
- Maintains aesthetics: A well-fitted pool cover or liner can enhance the overall look of your pool area. Proper measurements ensure that these items fit neatly without any unsightly wrinkles or creases.
Step-by-Step Guide on How to Measure a Round Pool Size
Step 1: Gather Your Measuring Tools and Assistance
Before you head out to the backyard, you need to assemble the correct tools for the job. A standard 25-foot tape measure is usually sufficient for smaller pools, but a 50-foot or 100-foot fiberglass open-reel tape measure is far superior for accuracy and ease of use. You will also need a notepad, a pen, and potentially some masking tape or chalk to mark measuring points.
While it is physically possible to measure a pool alone, having a helper makes the process significantly faster and much more reliable. One person can hold the “zero” end of the tape measure securely against the pool wall while the other person reads the measurement. Trying to do this solo often results in the tape slipping or sagging, which introduces errors into your final data. Preparation is the first key to success.
Step 2: Measure Wall to Wall
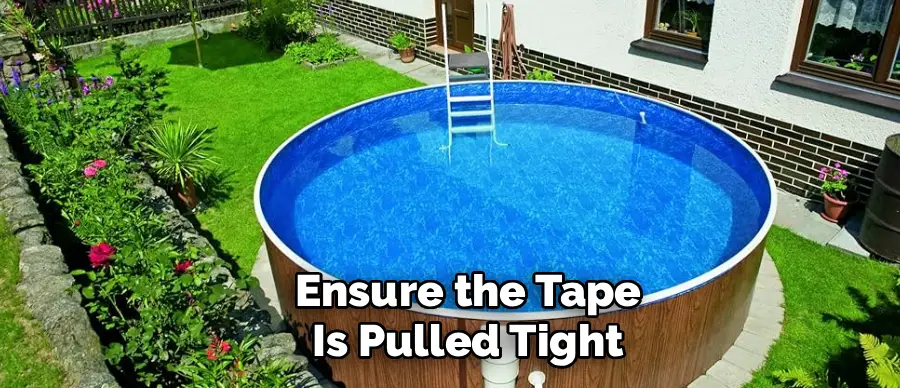
When measuring for a replacement liner or cover, you must measure the actual pool structure, not the water itself. For an above-ground pool, you need to measure from the inside of the metal wall to the inside of the opposite metal wall. Do not include the top rail or the coping in this measurement, as they sit on top of the wall and can distort the true diameter.
If you measure from the edge of the top rail, your measurement will be too wide, leading to a liner that is too loose. For inground pools, measure from the bead receiver or the tile line. You want to capture the true interior dimension where the liner will actually sit. Accuracy here is critical, so ensure the tape is pulled tight and straight across the center of the pool.
Step 3: Measure the Diameter in Multiple Directions
A round pool is rarely a perfect circle, especially after years of settling ground and water pressure. To get an accurate size, you cannot rely on a single measurement across the middle. You must measure the diameter from at least two different angles, creating a “cross” or an “X” shape across the water. Ideally, take three or four measurements from different points around the perimeter.
For example, measure from the 12 o’clock position to 6 o’clock, and then from 3 o’clock to 9 o’clock. Record every single measurement you take. If the variance between these numbers is significant—more than a few inches—your pool may be out of round, which might require a custom liner rather than a stock size. Averaging these numbers will give you the most usable diameter for ordering standard accessories.
Step 4: Determine the True Wall Height
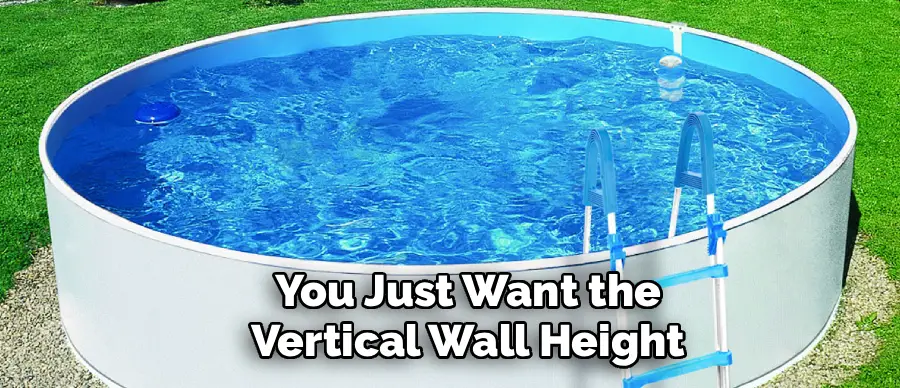
Measuring the depth or wall height of your pool is just as important as the width. For an above-ground pool, you need the height of the metal wall itself, not the depth of the water currently in the pool. To do this, measure from the very bottom rail (where the wall meets the ground track) on the outside of the pool up to the top rail.
Standard wall heights are typically 48, 52, or 54 inches. If you are measuring for a liner from the inside, measure from the flat floor to the liner track or bead receiver. Be careful not to measure into a cove or a dug-out deep end yet; you just want the vertical wall height. Keep the tape measure perfectly vertical to ensure you aren’t adding length by measuring at an angle.
Step 5: Check for a Deep End or Dished Center
Most above-ground round pools have a flat bottom, but some are installed with a “dished” center or a deep end to allow for underwater swimming. If your pool has a deeper center section, standard flat-bottom liner dimensions will not work. To measure this, you need a long pole (like your telescoping skimmer pole) and a measuring tape. Extend the pole across the pool so it rests on the top rails.
Position yourself at the deepest point of the pool and measure the distance from the bottom of the pool floor up to the pole. Subtract the distance from the top rail to the water line (or bead receiver) if necessary, depending on the manufacturer’s instructions. Documenting the specific contour of the floor is vital for custom orders.
Step 6: Identify the Liner Attachment Type
Knowing the dimensions is only half the battle; you also need to identify how the liner attaches to the pool wall. This doesn’t affect the size calculation directly, but it is a critical “measurement” of compatibility. Look at the top of your current liner. Is it draped over the wall and clamped down? This is an Overlap liner. Does it have a thick plastic edge that hooks onto the wall?
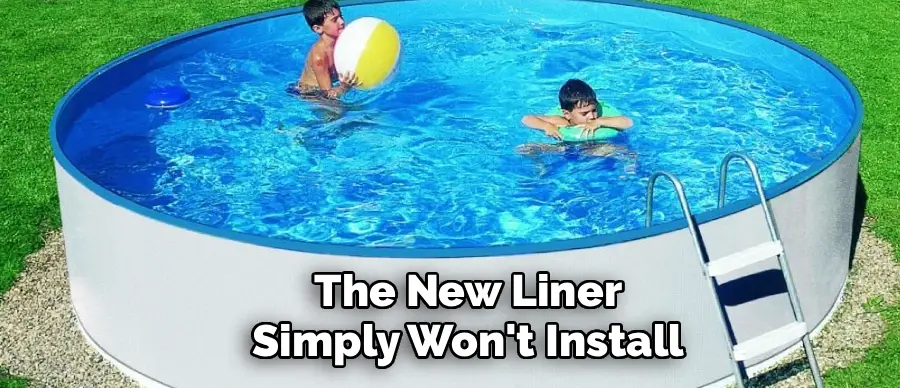
This is a J-Hook or Unibead liner. Or does it snap into a dedicated track? This is a Beaded liner. If it is a beaded liner, measuring the bead receiver groove size might be necessary if it looks non-standard. Misidentifying the attachment type will render your perfectly measured diameter useless because the new liner simply won’t install.
Step 7: Measure the Perimeter or Circumference
While the diameter is the primary number needed for liners, measuring the circumference (the distance all the way around the outside) serves as an excellent double-check for your math. Take your long tape measure and walk around the outside of the pool wall, keeping the tape taut against the metal. If you have an upright obstruction, do your best to keep the line straight.
Once you have the circumference, you can divide that number by 3.14 (Pi) to calculate the diameter. If this calculated diameter matches your manual cross-measurements from Step 3, you can be 100% confident in your numbers. This validation step is often skipped by beginners but is a hallmark of a professional measuring job.
Step 8: Account for Decking and Coping Obstructions
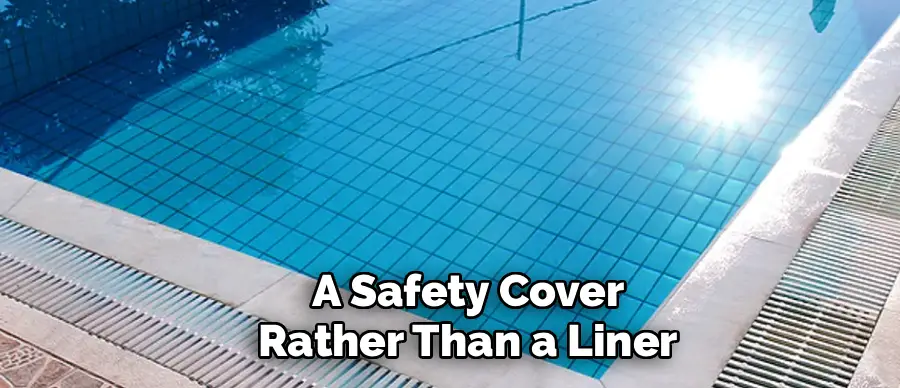
If you are measuring for a safety cover rather than a liner, you need to extend your measurements beyond the water’s edge. Safety covers require overlap to anchor into the surrounding deck. Typically, you measure the water diameter and then add the required overlap, which is usually 1 foot on all sides (so add 2 feet to total diameter).
However, you must also measure for any non-removable obstructions like ladders, slides, handrails, or waterfalls that sit within that overlap zone. Measure the distance from the water’s edge to the obstruction, as well as the width and height of the object. Sketching a diagram and noting these obstruction coordinates relative to the pool’s center is crucial for the cover manufacturer to create correct cutouts.
Step 9: Verify the Manufacturer’s Specifications
Before finalizing your numbers, try to locate the original paperwork, manual, or the invoice from when the pool was built. While measuring it yourself is the most accurate way to account for shifting and settling, comparing your findings to the official manufacturer specifications provides a great safety net.
For example, if you measured a diameter of 23 feet 11 inches, and the manufacturer sells a “24-foot round” model, it is highly likely you have a standard 24-foot pool. Vinyl liners are designed to stretch slightly, so exact precision to the millimeter isn’t always required, but knowing the “nominal” size versus the “actual” size helps you communicate effectively with pool supply vendors.
Step 10: Create a Final Drawing and Record Data
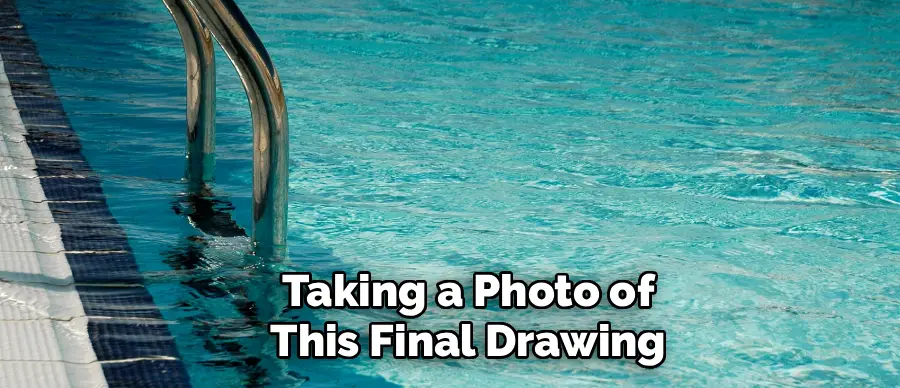
The final step in this process is to consolidate all your messy notes into one clean, legible diagram. Draw a simple circle on a fresh sheet of paper. Label the diameter measurements you took in the cross pattern. Clearly write down the wall height and the liner attachment type. If there were depth variations, draw a side-profile view of the pool floor and label the shallow and deep end measurements.
Add the date and the name of the person who helped you measure. Taking a photo of this final drawing with your smartphone ensures you always have the data handy when you are at the pool store or talking to customer service. This record will serve as the definitive reference for your pool’s dimensions for years to come.
Pool Maintenance Tips and Advice
Proper maintenance is essential to keep your pool clean, safe, and enjoyable. Here are some key tips to ensure your pool remains in excellent condition:
- Regular Cleaning: Skim the surface of the pool daily to remove leaves and debris. Use a pool vacuum weekly to clean the bottom and sides.
- Monitor Water Chemistry: Test your pool water at least twice a week to maintain a proper balance of chlorine, pH, and alkalinity. Adjust chemicals as needed to prevent algae growth and ensure swimmer comfort.
- Filter Maintenance: Clean or backwash your pool filter regularly to ensure optimal performance. A dirty filter can restrict flow and reduce water quality.
- Maintain Proper Water Levels: Keep the water level at the midpoint of your skimmer for efficient circulation. Refill as necessary, especially during hot weather when evaporation rates increase.
- Shock the Pool Periodically: Use a pool shock treatment every two weeks, or after heavy use, to eliminate contaminants and bacteria that regular chlorination might not remove.
- Inspect Equipment: Check your pool pump, heater, and other equipment frequently. Look for signs of wear or malfunction and address these issues promptly to avoid costly repairs.
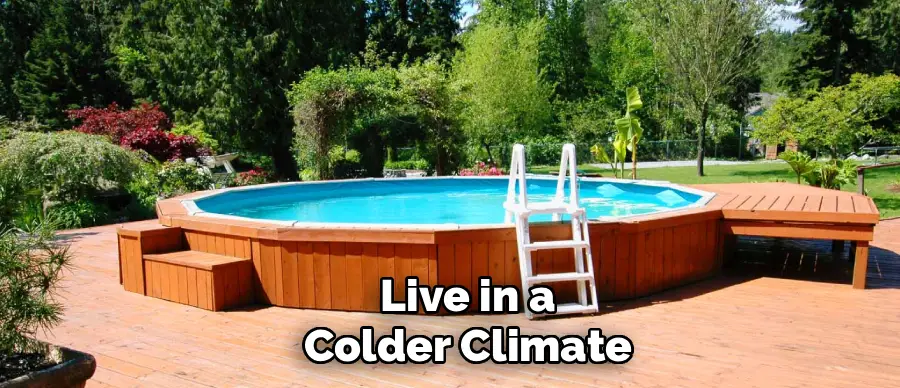
- Prevent Freezing in Cold Weather: If you live in a colder climate, winterize your pool by lowering the water level, draining the pipes, and using a cover to protect it during the winter months.
By incorporating these practices into your routine, you can extend the lifespan of your pool and ensure it remains an inviting place for relaxation and fun.
Frequently Asked Questions
What Is the Standard Size for a Round Pool?
Round pools typically come in standard nominal sizes that increase in 3-foot or sometimes 2-foot increments. The most common diameters for above-ground pools are 12 feet, 15 feet, 18 feet, 21 feet, 24 feet, 27 feet, 30 feet, and 33 feet. If your measurement falls within a few inches of one of these whole numbers (e.g., 23′ 10″), you likely have that standard size model.
Do I Measure the Top Rail or the Bottom Rail?
You should always prioritize measuring the interior wall-to-wall distance for liners. However, if you are trying to determine the pool’s footprint, measuring measuring the bottom track is often more accurate than the top rail. The top rails can sometimes lean outward or inward due to water pressure or winter ice shifting, whereas the bottom track is staked into the ground and less likely to move, providing a truer representation of the pool’s original diameter.
What If My Pool Is Not Perfectly Round?
It is very common for older pools to be slightly “out of round” or oval-shaped due to ground settling. If your cross-measurements differ by 6 inches or less, a standard round liner will usually still fit because vinyl is stretchy and forgiving. If the difference is greater than 6 inches, you may need to consult a professional to see if a custom liner is required or if the pool structure needs to be realigned.
How Tight Should the Tape Measure Be?
The tape measure needs to be pulled taut and straight. It should not be sagging into the water, nor should it be bent around obstacles. A sagging tape measure will artificially inflate the diameter reading, making the pool seem bigger than it is. This is why having a helper is so critical; one person holds the “dumb” end while the other pulls tight and reads the number.
Does the Brand of the Pool Matter for Sizing?
Generally, the brand does not matter for the diameter measurement itself—a 24-foot pool is 24 feet wide regardless of the manufacturer. However, the brand does matter for wall height and specific parts like top caps or bottom plates. If you are ordering structural replacement parts, you absolutely need to know the manufacturer. For liners and covers, the raw dimensions are usually sufficient.
Conclusion
Taking the time to accurately gauge your swimming pool’s dimensions is the single best investment you can make in its maintenance and longevity. It prevents the frustration of ill-fitting liners that wrinkle and tear, ensures your winter cover provides genuine safety, and helps you budget accurately for chemical treatments.
While the task might seem daunting at first, breaking it down into a logical process of gathering tools, cross-measuring the diameter, and verifying wall height makes it completely manageable. Remember, accuracy is your ally; do not rely on guesses or old brochures. By following this comprehensive guide on how to measure a round pool size, you are equipping yourself with the knowledge
About
Outdoor Fixes is a distinguished figure in the world of Diy design, with a decade of expertise creating innovative and sustainable Diy solutions.
His professional focus lies in merging traditional craftsmanship with modern manufacturing techniques,
fostering designs that are both practical and environmentally conscious. As the author of diy,
outdoorfixes delves into the art and science of outdoorfixes-making, inspiring artisans and industry professionals alike.
Education RMIT University
(Melbourne, Australia) Associate Degree in Design (Outdoor Fixes) Focus on sustainable design, industry-driven projects,
and practical craftsmanship. Gained hands-on experience with traditional and digital manufacturing tools, such as CAD and CNC software.
Nottingham Trent University
(United Kingdom) Bachelor’s in outdoorfixes.com and Product Design (Honors) Specialized in product design with a focus on blending creativity with production
techniques. Participated in industry projects, working with companies like John Lewis and Vitsoe to gain real-world insights.
Publications and Impact
In diy, Outdoor Fixes his insights on indoor design processes, materials, and strategies for efficient production.
His writing bridges the gap between artisan knowledge and modern industry needs, making it a must-read for both budding designers and seasoned professionals.