A chain link fence can be a practical and durable addition to any property, serving as a reliable barrier for security and privacy. However, over time, the metal surface can become weathered and lose its aesthetic appeal. The good news is that you can easily breathe new life into your chain link fence by giving it a fresh coat of paint.

Whether you want to enhance its appearance, protect it from corrosion, or simply change its color to match your outdoor decor, painting a chain link fence is a straightforward DIY project that can yield impressive results.
In this guide, we will walk you through the step-by-step process of how to paint a chain link fence, from preparing the surface and choosing the right paint to applying the paint evenly and maintaining your fence’s vibrant look for years to come.
By the end of this article, you’ll have the knowledge and confidence to revitalize your chain link fence and transform it into a standout feature of your property.
The Importance of Painting a Chain Link Fence
Painting a chain link fence can help to improve its overall look, while also protecting it against the elements. By painting your fence, you can add an extra layer of protection and extend its life significantly.
Additionally, painting a chain link fence can help you customize the look of your outdoor space by allowing you to choose from a variety of colors and finishes. Whether you’re looking to give your fence a fresh coat of paint or want to make it stand out from the rest, there are many benefits to painting a chain link fence.
Before you start painting your fence, it’s important to properly prepare the surface first. Be sure to clean off any dirt or debris that may be on the fence with a wire brush or pressure washer. You should also inspect the links for any rust spots and treat it with a rust converter before applying the paint. Once the fence is clean and free of debris, you can begin painting by using either an oil-based or acrylic-based paint.
When choosing the type of paint to use on your chain link fence, there are a few things to consider. Acrylic paint is great for a glossy, long-lasting finish and provides excellent coverage. Oil-based paints offer superior durability and are ideal for areas that experience frequent rainfall or snowfall. It’s important to remember that oil-based paint will take longer to dry than acrylic paint, so plan accordingly.
10 Steps How to Paint a Chain Link Fence
Step 1: Gather Your Materials
Before you embark on the painting journey, it’s crucial to gather all the necessary materials. You’ll need the following:
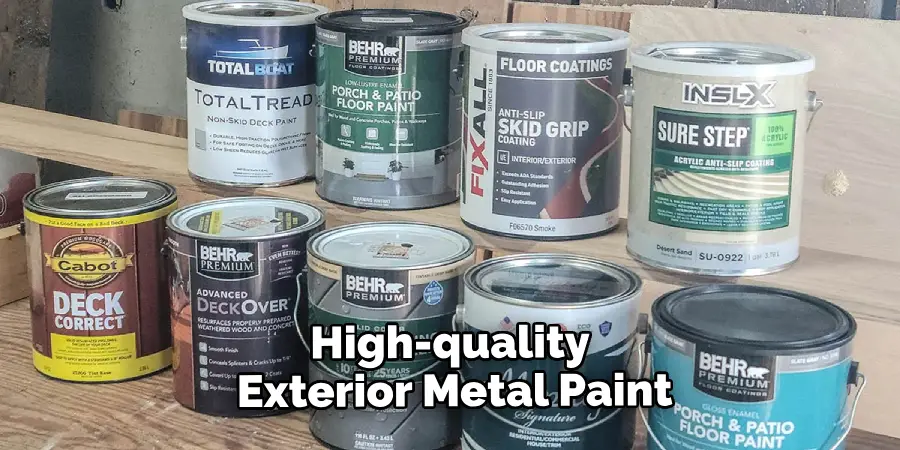
Paint: Choose a high-quality exterior metal paint in the color of your choice. Make sure it’s suitable for outdoor use and can withstand the elements.
Primer: Opt for a rust-inhibiting primer designed for metal surfaces if your fence has signs of rust or has never been painted before.
Paint Sprayer or Brushes: A paint sprayer can make the job faster and more even, but brushes can work well for smaller areas or touch-ups.
Drop Cloths or Tarps: Protect the ground and nearby vegetation from paint splatters by laying down drop cloths or tarps.
Painting Accessories: Gather paint trays, rollers, roller covers, paintbrushes, painter’s tape, and stirring sticks.
Safety Gear: Ensure you have safety glasses, gloves, and a dust mask to protect yourself from paint fumes and debris.
Cleaning Supplies: You’ll need a pressure washer or a garden hose with a high-pressure nozzle, a scrub brush, and a mild detergent for cleaning the fence.
Rust Remover (if needed): If your fence has extensive rust, consider using a rust remover to prepare the surface.
Step 2: Prepare the Work Area
Begin by clearing the area around the fence. Remove any obstacles, such as furniture, decorations, or plants, that might obstruct your painting efforts. Lay down the drop cloths or tarps to protect the ground from paint drips.
Step 3: Clean the Fence
Properly cleaning the chain link fence is crucial to ensure that the paint adheres well and the finish looks flawless. Use a pressure washer or a garden hose with a high-pressure nozzle to remove dirt, dust, and loose debris from the fence. If you encounter stubborn stains or rust, scrub them away with a brush and a mild detergent. Rinse the fence thoroughly and allow it to dry completely.
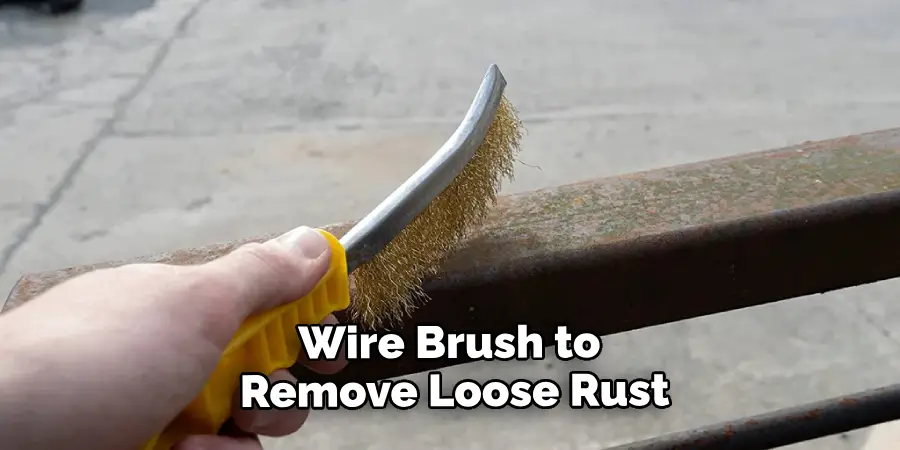
Step 4: Remove Rust (if necessary)
If your chain link fence has rust spots, it’s essential to address them before painting. Apply a rust remover according to the manufacturer’s instructions, and use a wire brush or sandpaper to remove the loose rust. Afterward, rinse the area and let it dry.
Step 5: Repair Any Damage
Inspect the fence for any damage, such as bent or broken sections, loose parts, or missing caps. Repair or replace these as needed to ensure the fence is structurally sound before painting.
Step 6: Apply Primer (if necessary)
If your fence is newly installed or has significant rust spots, applying a rust-inhibiting primer is recommended. Primer helps the paint adhere better and provides an extra layer of protection against rust. Follow the primer manufacturer’s instructions and allow it to dry completely before proceeding.
Step 7: Protect Surrounding Areas
Use painter’s tape to protect any adjacent surfaces or areas you don’t want to be painted. Cover gate latches, handles, and other hardware with plastic bags or tape to prevent them from getting paint on them.
Step 8: Start Painting
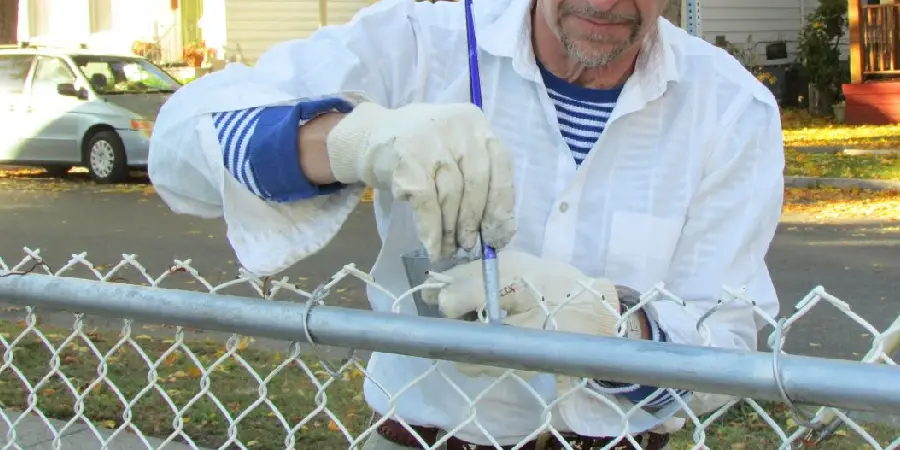
Now, it’s time to paint your chain link fence. If you’re using a paint sprayer, make sure to wear appropriate safety gear and follow the manufacturer’s instructions for setup. If you’re using brushes or rollers, dip them into the paint and apply an even coat to the fence. Start at the top and work your way down to catch any drips. Be sure to cover the entire surface, including both sides of the fence, for maximum protection and a uniform finish.
Step 9: Allow to Dry
After applying the first coat of paint, allow it to dry thoroughly according to the paint manufacturer’s instructions. This typically takes a few hours, but drying times can vary depending on the weather and humidity. You may need to apply a second coat for complete coverage and a more vibrant finish. Follow the same painting process for the second coat and allow it to dry.
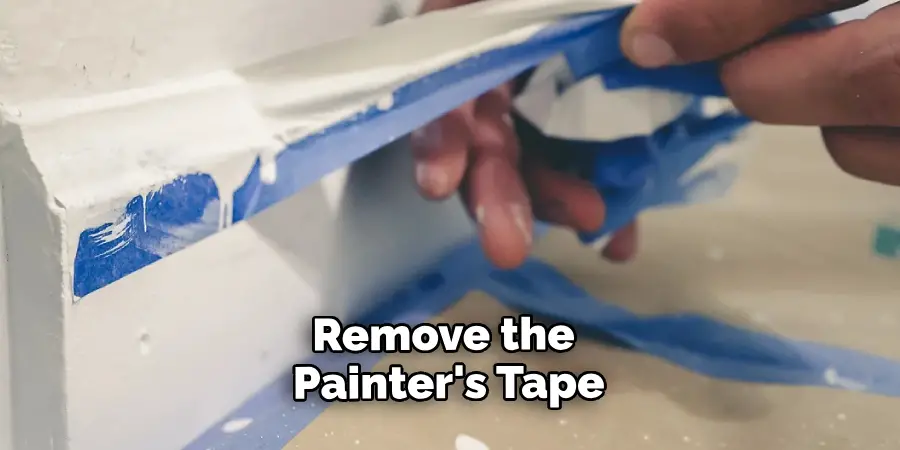
Step 10: Clean Up and Maintain
Once the paint is dry and you’re satisfied with the finish, remove the painter’s tape and any protective coverings from hardware. Clean your painting tools thoroughly with water or the recommended cleaning solution for your chosen paint. Properly dispose of any paint waste or containers according to local regulations.
Things to Consider When Painting a Chain Link Fence
Painting a chain link fence can be an effective way to spruce up your property, protect it from the elements and keep it looking great. But before you get started, there are a few things to consider. Here is what you need to know:
Preparing the Fence
Before beginning your project, clean off any dirt or debris that is on the fence. Use a hose with some detergent to help remove any unwanted materials. Once all of the dirt is gone, you can begin to prime and then paint your chain link fence.
Choose Your Paint
When choosing the type of paint for your chain link fence, look for one that will adhere well to metal surfaces. This will help ensure that the paint won’t chip or peel off easily. Also consider how often you would like to repaint your fence and what kind of weather it will be exposed to, as some paints are better suited for certain climates.
Apply the Paint
Once you have chosen the right paint, you can begin painting your chain link fence. It’s important to use even strokes and to cover all the corners of the fence. If you are painting a tall fence, it can be helpful to use a ladder or scaffolding. Once you have finished painting, allow the paint to dry completely before enjoying your newly painted chain link fence.
Some Common Mistakes to Avoid
When painting a chain link fence, it is important to watch out for common mistakes that can occur while you work.
One of the most obvious mistakes is not properly preparing your surface before you start painting. It’s essential to make sure that all rust and dirt is removed from the fence before you begin, as this will prevent the paint from sticking and give your fence a much longer life. Additionally, if you’re using a paint sprayer to apply your coat of paint, be sure to check the nozzle for clogs and replace it if necessary.
Another mistake to avoid is failing to choose the right type of paint for the job. Different types of metals require different types of paints in order to provide proper protection against rusting and weathering. Be sure to select the correct paint type for your specific fence material in order to get the best results.
Finally, make sure that you apply an even coat of paint across the entire surface of your chain link fence. Taking extra time to ensure that each area is evenly painted will guarantee a good finish and prevent any unsightly drips or streaks.
Conclusion
In conclusion, painting a chain link fence is not a difficult task. It can be enjoyable and provide a great outcome if done correctly. Be sure you take the necessary steps like cleaning the metal, repairing any defects, prepping the surface properly, and using high-grade paint and primer to ensure success.
With some patience and knowledge of the procedure from this blog post, you can have your chain link fence looking beautiful in no time. So now that you understand how to paint a chain link fence, what are you waiting for? Grab some supplies and get to work!
About
Outdoor Fixes is a distinguished figure in the world of Diy design, with a decade of expertise creating innovative and sustainable Diy solutions.
His professional focus lies in merging traditional craftsmanship with modern manufacturing techniques,
fostering designs that are both practical and environmentally conscious. As the author of diy,
outdoorfixes delves into the art and science of outdoorfixes-making, inspiring artisans and industry professionals alike.
Education RMIT University
(Melbourne, Australia) Associate Degree in Design (Outdoor Fixes) Focus on sustainable design, industry-driven projects,
and practical craftsmanship. Gained hands-on experience with traditional and digital manufacturing tools, such as CAD and CNC software.
Nottingham Trent University
(United Kingdom) Bachelor’s in outdoorfixes.com and Product Design (Honors) Specialized in product design with a focus on blending creativity with production
techniques. Participated in industry projects, working with companies like John Lewis and Vitsoe to gain real-world insights.
Publications and Impact
In diy, Outdoor Fixes his insights on indoor design processes, materials, and strategies for efficient production.
His writing bridges the gap between artisan knowledge and modern industry needs, making it a must-read for both budding designers and seasoned professionals.