
Keeping your Coleman pool in good condition is essential for enjoying a summer full of fun and relaxation. However, accidents happen, and small leaks or punctures can occur over time.
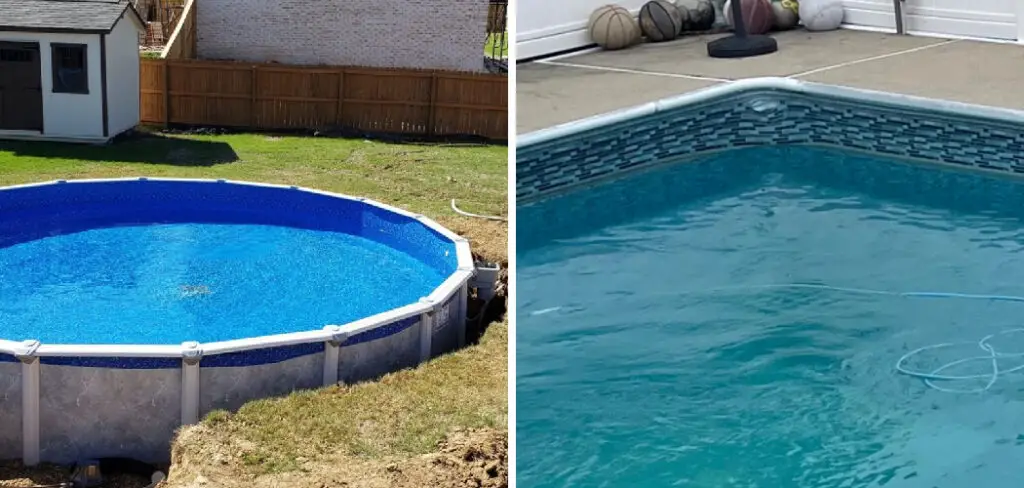
Knowing how to patch your pool correctly will save you time, money, and frustration while extending the life of your pool. This guide will walk you through the steps of how to patch a coleman pool efficiently, ensuring your pool remains in great shape for years to come.
Signs Your Coleman Pool Needs Patching
Identifying a problem with your pool early can save you from more extensive repairs later. Here are some common signs that your Coleman pool might need patching:
- Visible Tears or Holes: Inspect the liner regularly for any noticeable rips, punctures, or areas where the material looks thin or worn out.
- Water Level Drops: If you notice an unexplained drop in your pool’s water level, it could indicate a leak.
- Wet Spots Around the Pool: Puddles or damp patches forming around the exterior of the pool can signal water escaping through a damaged area.
- Difficulty Maintaining Pressure (for inflatable models): If your inflatable pool sections lose firmness despite regular inflation, it may have a slow air leak.
- Bubbles or Foam (when pumping water): Air bubbles in the water flow could result from a tear in the liner near the pump connection.
Being aware of these signs will help you quickly diagnose the issue and take the necessary steps to repair your pool before the damage worsens.
Tools and Materials You’ll Need
Before you start repairing your pool, gather the following tools and materials to ensure a smooth and effective process:
- Patch Kit: Includes adhesive and patches designed for pool liners or inflatable material.
- Vinyl Repair Glue: Strong and waterproof glue, specifically for vinyl pool repairs.
- Scissors: For cutting patches to the appropriate size and shape.
- Cleaning Cloth: To clean and dry the damaged area before applying any repair materials.
- Underwater Adhesive (if applicable): For repairs that require working below the waterline.
- Sandpaper or Abrasive Pad (optional): To lightly roughen the surface, ensuring better adhesion.
- Marker or Chalk: To precisely mark the damaged area for repair.
- Bucket or Sponge (if draining): To remove excess water from the repair zone.
Having these items ready will make the repair process quicker and more efficient, helping you restore your pool to optimal condition in no time.
10 Methods How to Patch a Coleman Pool
1. Locate the Leak Accurately Before Patching
The first and most crucial step in patching a Coleman pool is identifying exactly where the leak is. Begin by observing the area around the pool for wet spots or a noticeable drop in water level. If the leak is not immediately visible, use the tried-and-true soap method:

mix dish soap with water and apply it to suspected areas using a sponge or spray bottle. Bubbles will form where air or water escapes. For underwater leaks, put on goggles and inspect the liner carefully. Accurate location is essential for effective patching.
2. Clean the Area Around the Leak Thoroughly
Once you’ve found the leak, the next step is to clean the surrounding surface. Use a cloth and mild soapy water to remove dirt, algae, sunscreen residue, and any oils from the liner.
Avoid harsh cleaners that could damage the vinyl. For best results, let the area dry thoroughly if the leak is above water level. A clean surface ensures that the patch will adhere properly and last longer. Skipping this step can result in a patch peeling away prematurely.
3. Choose the Appropriate Patch Kit for Vinyl Pools
Not all patches are created equal, so it’s important to use a vinyl-specific patch kit designed for above-ground pools like those from Coleman. These kits typically include vinyl patches, waterproof adhesive, and sometimes application tools like brushes.
You can also use a peel-and-stick vinyl repair kit for smaller holes. For underwater leaks, make sure your patch kit is rated for wet applications. Quality materials make a big difference in durability and performance.
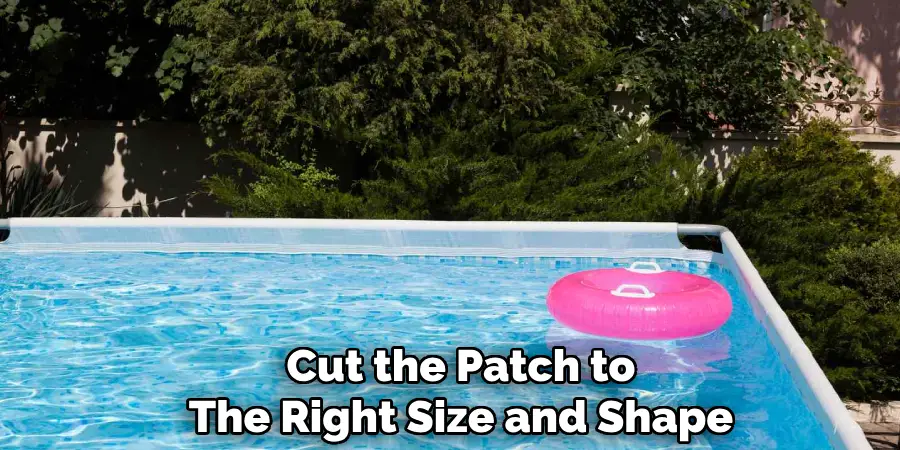
4. Cut the Patch to the Right Size and Shape
When cutting a patch, make sure it’s at least 1 to 2 inches larger than the damaged area on all sides. Round the edges of the patch instead of leaving them square or pointed—this helps prevent peeling and ensures better adhesion.
A well-sized, well-shaped patch covers the leak securely and blends more smoothly into the liner, reducing friction and wear over time. Use sharp scissors or a utility knife to make clean, even cuts.
5. Apply Adhesive Generously and Evenly
If your patch kit requires glue, apply the adhesive to both the patch and the area around the leak. Spread it evenly using a small brush or applicator, ensuring there are no clumps or bare spots. Wait a few seconds for the adhesive to become tacky, especially for dry applications.
For wet patches, it’s best to apply the adhesive quickly and press the patch into place while still underwater. Even coverage ensures the patch bonds securely and seals the leak effectively.
6. Press the Patch Firmly and Smooth Out Air Bubbles
Once the patch is in place, press it down firmly starting from the center and moving outward to eliminate any trapped air or water. Use a roller, flat tool, or even your hands to smooth the patch against the liner.
Air bubbles can compromise the patch’s seal and allow water to leak around the edges. Maintaining steady pressure for 1 to 2 minutes helps the adhesive set and reduces the chances of the patch peeling later.
7. Allow Time for the Adhesive to Cure
Patience is key after applying the patch. Most adhesives need at least 12 to 24 hours to fully cure, even if they appear dry on the surface. Check the instructions on your patch kit for specific curing times.
During this period, avoid refilling the pool to full capacity or applying stress to the patched area. Allowing proper cure time ensures the patch bonds completely and withstands water pressure.
8. Test the Patch for Leaks After Curing
After the recommended curing period, test the patch to make sure the leak is sealed. Slowly fill the pool with water and monitor the patched area closely.
If the leak persists, it may indicate that the patch was not large enough, the surface wasn’t clean enough, or the adhesive didn’t bond properly. In such cases, repeat the process with a new patch, ensuring better preparation. Don’t ignore slow leaks—they can grow over time and weaken the liner.

9. Use a Waterproof Tape for Quick Temporary Fixes
If you need a fast, temporary solution—such as when guests are on the way or you’re between patch kits—use waterproof repair tape specifically designed for vinyl pools.
These tapes are strong, flexible, and can be applied underwater. While not as long-lasting as a traditional patch-and-glue method, they work well for minor leaks or as an emergency fix. Replace the tape with a permanent patch when possible to prevent long-term damage.
10. Prevent Future Leaks with Regular Maintenance
Preventing damage is always better than repairing it. To minimize future leaks, keep sharp objects like tools, sticks, or pet claws away from the pool liner. Always place a ground cloth or protective mat under your Coleman pool to shield the base from rocks and debris.
Clean the pool regularly and inspect for wear and tear, especially at seams and joints. During off-season storage, drain and dry the pool completely, then fold it carefully to avoid creases that could weaken the liner.
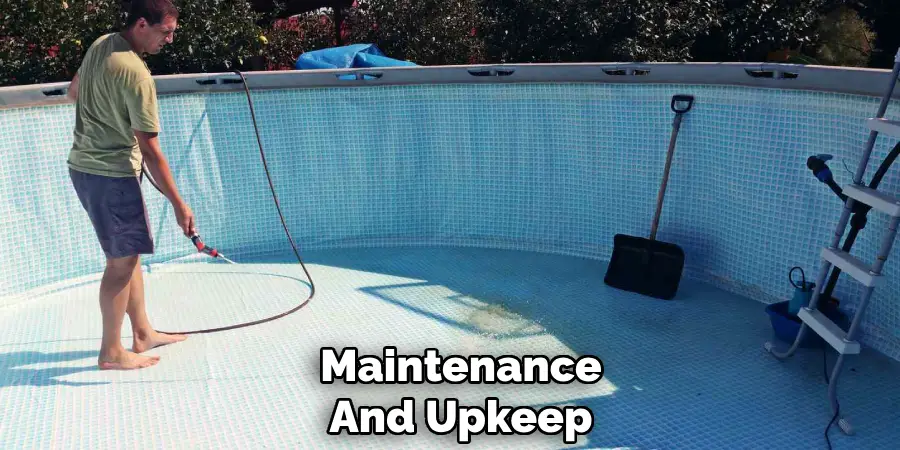
Maintenance and Upkeep
Regular maintenance of your Coleman pool is essential to ensure it remains in top condition for years to come. Start by maintaining proper water chemistry and using the recommended pool chemicals to keep the water clean and safe for swimming.
Check and clean the pool filter regularly to ensure it operates efficiently, removing debris and preventing clogs. Skim the pool surface daily to remove leaves, bugs, and other debris that may accumulate. Inspect the pool structure for any signs of wear or damage and address issues as soon as they arise to prevent further deterioration. By following these simple upkeep routines, you can extend the lifespan of your pool and enjoy worry-free relaxation all summer long.
Conclusion
Patching a Coleman pool doesn’t have to be a daunting task. With the right approach—starting from accurate leak detection to proper adhesive curing—you can restore your pool’s integrity and extend its life significantly.
Each of these ten methods plays a key role in effective pool maintenance, ensuring that your summer fun goes uninterrupted. Whether you’re dealing with a tiny pinhole or a noticeable tear, using a combination of care, the right materials, and timely intervention can make your pool as good as new. Thanks for reading, and we hope this has given you some inspiration on how to patch a coleman pool!
About
Outdoor Fixes is a distinguished figure in the world of Diy design, with a decade of expertise creating innovative and sustainable Diy solutions.
His professional focus lies in merging traditional craftsmanship with modern manufacturing techniques,
fostering designs that are both practical and environmentally conscious. As the author of diy,
outdoorfixes delves into the art and science of outdoorfixes-making, inspiring artisans and industry professionals alike.
Education RMIT University
(Melbourne, Australia) Associate Degree in Design (Outdoor Fixes) Focus on sustainable design, industry-driven projects,
and practical craftsmanship. Gained hands-on experience with traditional and digital manufacturing tools, such as CAD and CNC software.
Nottingham Trent University
(United Kingdom) Bachelor’s in outdoorfixes.com and Product Design (Honors) Specialized in product design with a focus on blending creativity with production
techniques. Participated in industry projects, working with companies like John Lewis and Vitsoe to gain real-world insights.
Publications and Impact
In diy, Outdoor Fixes his insights on indoor design processes, materials, and strategies for efficient production.
His writing bridges the gap between artisan knowledge and modern industry needs, making it a must-read for both budding designers and seasoned professionals.