
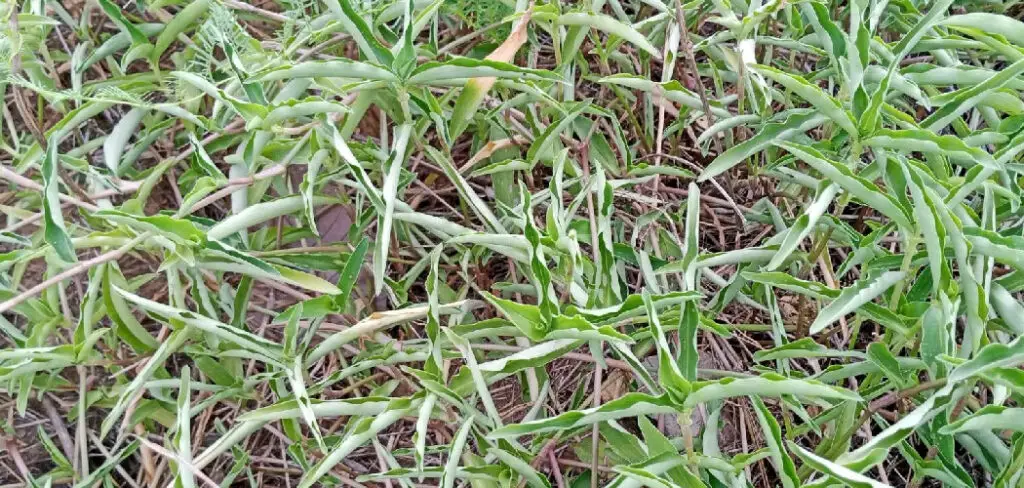
A lush, green lawn is more than just a pleasing backdrop—it’s a boost to curb appeal and a welcoming space for family and friends to enjoy. Among warm-climate turfgrasses, St Augustine grass stands out for its dense, blue-green blades and excellent adaptability to heat and humidity. Whether you’re facing a yard full of patchy dead grass or starting from bare soil, knowing how to plant St Augustine sod is the key to transforming your space quickly and reliably.
St Augustine sod is prized for its fast establishment, helping homeowners achieve a beautiful lawn in a fraction of the time it would take from seed. With proper planning and a step-by-step approach, planting St Augustine sod is a project anyone can handle with basic tools and the right techniques. This comprehensive guide will lead you through every stage—from clearing your old lawn to your first mow—ensuring your new turf gets the strong start it needs for lasting success. By following these best practices for how to plant St Augustine sod, you’ll enjoy a healthy and resilient lawn for years to come.
Understanding St Augustine Sod
Unique Qualities and Growth Habits
St Augustine grass has a reputation for hardiness and attractive looks. Its blades grow broad and thick, creating a carpet-like appearance once established. Unlike many other grasses, St Augustine thrives in warm-season climates, withstanding heat, humidity, and moderate shade. It spreads by above-ground runners (stolons), allowing it to fill in bare areas over time.
Ideal Growing Conditions
To keep St Augustine looking its best, select a site that receives 6–8 hours of sunlight daily, though it can tolerate some shade. It prefers well-drained, slightly acidic to neutral soil (pH 6.0–7.5). While it flourishes in Southern and coastal regions, this grass tolerates light foot traffic but is not as wear-resistant as Bermudagrass. Understanding its need for moderate mowing and watering helps you plan a care regimen that ensures thick, vibrant growth.
Preparing Your Lawn for St Augustine Sod
Preparation is critical to sod success—the healthier your soil and site, the easier your sod will take root.
Clearing the Area
Begin by eliminating all existing grass, weeds, and debris from your planting area. Use a sod cutter for large lawns or a shovel for small sections. Clear away rocks, sticks, and roots, as these will interfere with new root establishment. For problem weeds, consider a non-residual herbicide, but always follow safety directions and wait the recommended time before installing sod. Bag and dispose of organic matter responsibly.
Soil Testing and Preparation
Healthy soil is the foundation of a healthy lawn. Purchase a soil pH test kit or send a sample to a local extension service for a full analysis. St Augustine sod does best in slightly acidic to neutral soil. If your results indicate pH is too low, adjust by incorporating lime; if too high, add sulfur or a soil acidifier. Further amend the soil with compost or quality topsoil to improve drainage and boost nutrients, especially if the ground is primarily clay or sand. Rake thoroughly to blend amendments and create a smooth, loose surface for the sod.
Sourcing High-Quality St Augustine Sod
Choosing the Best Supplier
Not all sod is created equal. Your new lawn’s health depends on the freshness and quality of the sod you buy. Start by identifying local or regional suppliers, which reduces transit time and helps ensure sod is adapted to your climate. Ask about their sod-cutting schedule—freshly cut sod should be installed within 24 hours for best results.
Selecting the Right Variety
St Augustine comes in several varieties, each bred for different needs. Floratam is renowned for its vigor and drought tolerance. Palmetto and Seville handle shade better, while Raleigh is popular in cooler transition zones. Compare each variety’s attributes (shade tolerance, blade texture, cold hardiness) and choose the one that best matches your site.
Measuring and Ordering Sod
Calculating Square Footage
An accurate measurement will save you time and money. Break your lawn into rectangles, squares, or other simple shapes, and calculate the total square footage (length x width). For irregular areas, use a measuring wheel or a rope to measure the perimeter and estimate the average width.
Ordering the Correct Amount
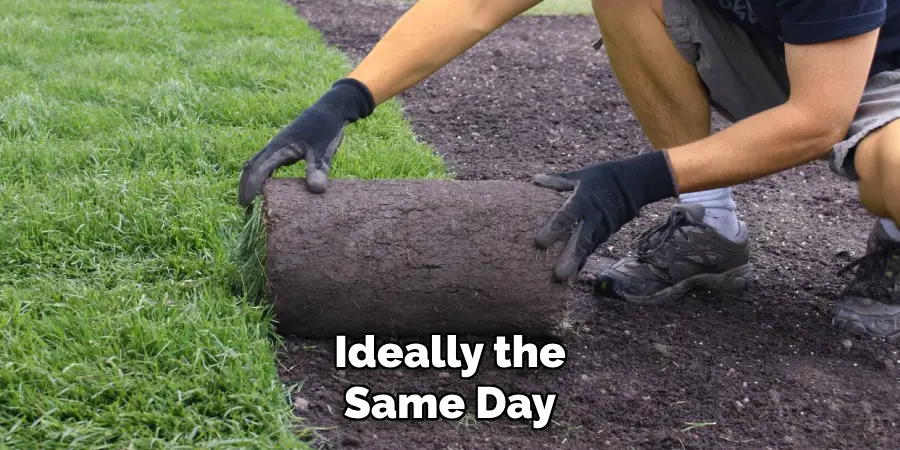
Order about 5–10% extra sod to account for trimming and fitting around curves, trees, or landscaping features. Verify delivery timing to match your schedule—St Augustine sod should be laid as soon as possible after harvesting, ideally the same day.
Preparing the Site for Installation
Leveling and Smoothing the Soil
After amending your soil, use a steel rake to level the area thoroughly. Remove any rocks, clumps, or remaining debris. A final pass with a lawn roller can compact the ground just slightly for an even, stable base.
Moistening Before You Lay Sod
Water the soil lightly the day before laying sod. The top inch of soil should be moist but not soggy. This encourages roots to seek out the soil and helps sod strips bond with the ground, making rooting more successful.
How to Plant St Augustine Sod: Laying the St Augustine Sod
Step-by-Step Installation
Start in a straight line (along a driveway or fence) and lay full strips of sod end-to-end, pressing edges together without overlap or gaps. Stagger the seams in each new row—like brick-laying—for a more natural look and to avoid visible lines as the sod establishes.
If strips need to be cut to fit curves or corners, use a sharp utility knife for clean edges. Avoid walking on newly laid sod; set temporary boards to distribute your weight while working. Keep off the sod as much as possible until roots are established.
Staggering Seams and Creating Neat Edges
Proper seam alignment not only looks better but also helps prevent weeds from growing between strips. Trim sod precisely around obstacles, flowerbeds, or pathways to create tidy, professional boundaries.
Securing the Sod
For sloped areas or spots likely to shift, use biodegradable landscape staples to anchor the sod until roots take hold. Press down lightly on each piece to ensure firm contact with the soil beneath.
Watering Immediately After Installation
First Watering is Crucial
Within 30 minutes of installation, water the new sod thoroughly—enough to soak both the sod and the first inch of soil beneath. This first drink is essential for root-to-soil contact and jump-starts the rooting process.
Watering Schedule for Establishment
For the first two weeks, water daily, keeping the sod constantly moist but never flooded. Begin in the cool morning hours to reduce evaporation and disease risk. Gradually reduce frequency in the second and third weeks, transitioning to every other day. After three weeks, water deeply but less often, training roots to grow downward.
Fertilizing and Feeding the Sod
Feeding for Strong Roots
Wait 3–4 weeks before applying the first round of starter fertilizer unless otherwise suggested by your soil test. Use a slow-release, balanced fertilizer specifically for St Augustine or warm-season turf.
Avoiding Over-Fertilization
Too much fertilizer can burn the sod and damage roots. Always follow label directions. Don’t fertilize during periods of drought or extreme heat, as this can stress new turf.
Caring for St Augustine Sod After Planting
Early Care Plan
Keep foot traffic to a minimum during the first month. If you must access part of the lawn, use a board or plank to spread out your weight. Begin mowing once the grass reaches 3–4 inches in height and the roots have firmly attached (try to gently tug up a corner—if the sod resists, it’s ready).
Set your mower to its highest setting for the first mowing and avoid removing more than one-third of the blade in a single pass. This helps reduce shock and encourages strong growth.
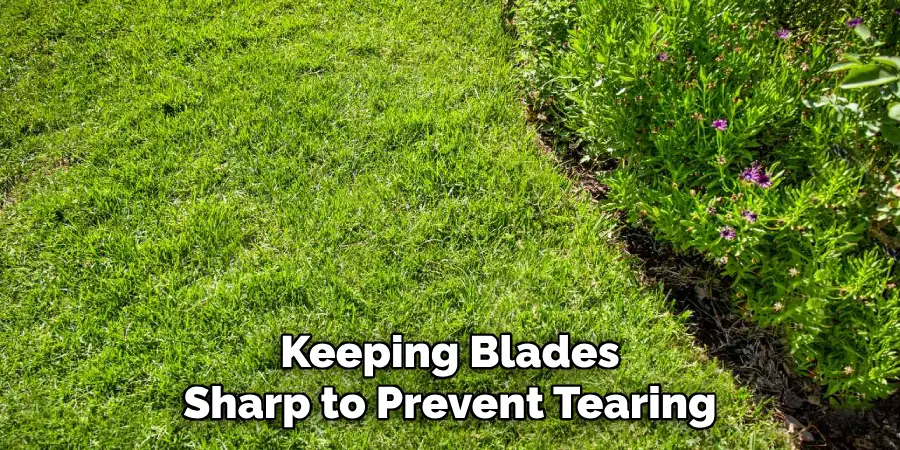
Transitioning to Regular Maintenance
After the initial establishment period, reduce watering to once or twice a week, depending on rainfall. Start to mow regularly, keeping blades sharp to prevent tearing.
Troubleshooting Common Problems
Sod Drying Out
If the sod turns brown or curls at the edges, you may not be watering enough or root contact may be poor. Increase the frequency or duration of watering and check for air gaps beneath sod strips.
Weeds and Pests
Weeds sneaking through seams are a sign of improper installation or gaps. Use spot treatment with a post-emergent herbicide approved for St Augustine if needed. Grubs and other pests may attack new lawns, so monitor for signs of damage and treat as necessary with a product safe for your sod type.
Poor Rooting
If sod pieces don’t anchor after three weeks, check soil compaction, pH, and watering practices. Aerate the soil if it’s too compact, and adjust your care routine as required.
Long-Term Maintenance Tips
Ongoing Care
Keep your St Augustine lawn thriving by watering deeply but infrequently—aim for about 1 inch per week, including rainfall. Fertilize 2–4 times per growing season following local recommendations. Control weeds and pests promptly and mow according to grass health and growth rate.
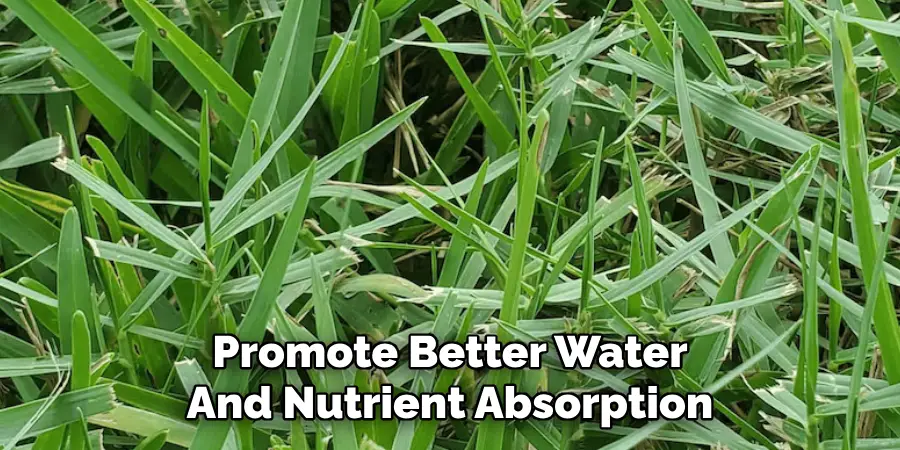
Aerating the Soil
Each year, use a core aerator in late spring or early summer to relieve compaction and promote better water and nutrient absorption. This single task can dramatically improve turf health over time.
Conclusion
Planting St Augustine sod is one of the most effective ways to create a vibrant, resilient lawn suited to warm climates. From preparing your soil and sourcing high-quality sod to installing, watering, and caring for your new grass, each step plays a vital role in lasting success. Following these clear, actionable steps will help you master how to plant St Augustine sod, ensuring your outdoor space is as beautiful and functional as possible.
Remember that preparation, patience, and attentive aftercare make all the difference. By investing a bit of time in each phase of the process, you’ll enjoy the rewards of a lush, healthy St Augustine lawn—a space for making memories and savoring the beauty of your home for years to come.
About
Outdoor Fixes is a distinguished figure in the world of Diy design, with a decade of expertise creating innovative and sustainable Diy solutions.
His professional focus lies in merging traditional craftsmanship with modern manufacturing techniques,
fostering designs that are both practical and environmentally conscious. As the author of diy,
outdoorfixes delves into the art and science of outdoorfixes-making, inspiring artisans and industry professionals alike.
Education RMIT University
(Melbourne, Australia) Associate Degree in Design (Outdoor Fixes) Focus on sustainable design, industry-driven projects,
and practical craftsmanship. Gained hands-on experience with traditional and digital manufacturing tools, such as CAD and CNC software.
Nottingham Trent University
(United Kingdom) Bachelor’s in outdoorfixes.com and Product Design (Honors) Specialized in product design with a focus on blending creativity with production
techniques. Participated in industry projects, working with companies like John Lewis and Vitsoe to gain real-world insights.
Publications and Impact
In diy, Outdoor Fixes his insights on indoor design processes, materials, and strategies for efficient production.
His writing bridges the gap between artisan knowledge and modern industry needs, making it a must-read for both budding designers and seasoned professionals.