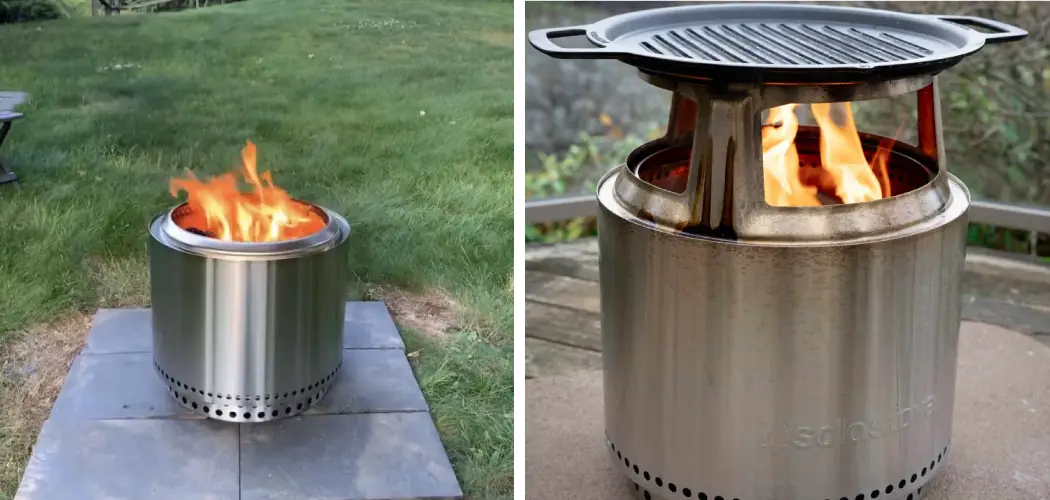
Are you looking for an easy, effective way to cook and stay warm while out in the wilderness? Here’s a great solution that doesn’t require lugging around extra fuel or additional supplies: A Solo Stove!
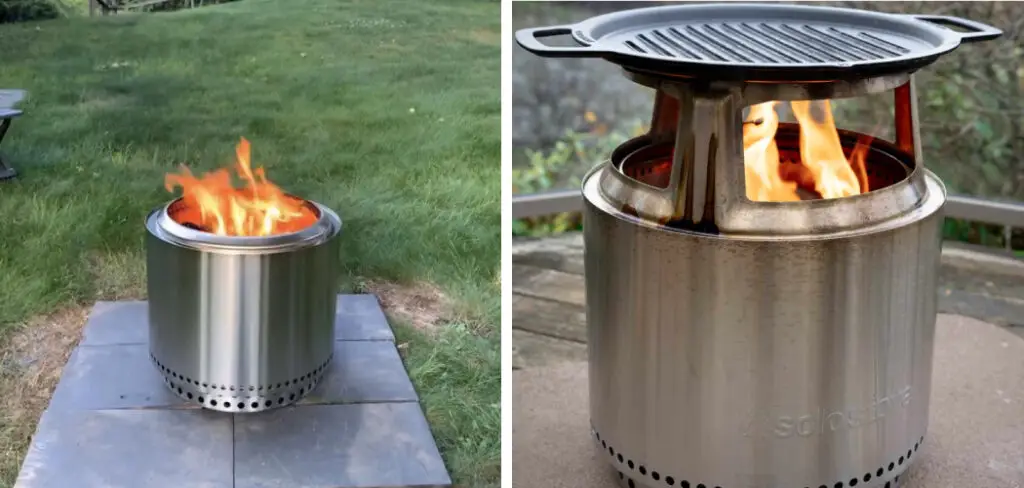
This revolutionary product is perfect for camping cooks who are short on time but need a reliable stove; it offers a simple and convenient method of cooking as well as keeping warm. Whether you’re experienced in outdoor cooking or just starting out camping, read on to learn how to put out solo stove safely and efficiently.
9 Best Ways on How to Put Out Solo Stove
1. Allow the Fire to Die Out:
This is the simplest and most straightforward way to put out your Solo Stove. Simply allow the fire to burn itself out, and do not add any additional fuel or materials to it while it’s burning down. This is the easiest and most convenient method of putting out a Solo Stove.
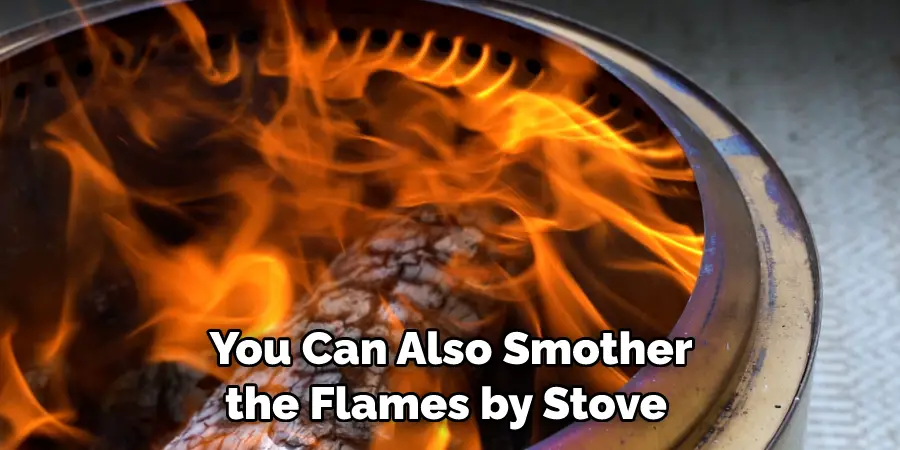
2. Smother the Flames:
You can also smother the flames by covering the stove with a metal lid or any other fireproof material that is large enough to cover it completely. This will help to starve your fire of oxygen, resulting in the fire burning itself out. This method is only recommended when you have something like a metal lid on hand, as it’s not the safest option.
3. Douse with Water:
Dousing your Solo Stove with water is an effective way to put out the fire if done correctly. Make sure to pour enough water onto every part of the stove and wait for it to cool completely before handling it. This method should only be used as a last resort if you do not have any other means of extinguishing your Solo Stove.
4. Cover with Sand:
If you’re at the beach or near an area where sand is available, this can be an effective way to put out your Solo Stove. Simply cover the stove with a thick layer of sand, making sure to smother the flames. This method will help to keep the fire from reigniting and is relatively safe for anyone nearby.
5. Use Fire Extinguisher:
If you have access to a fire extinguisher, this can be one of the best ways to put out your Solo Stove. The foam or powder in the extinguisher will smother the flames and help to prevent them from reigniting. However, be sure to read the instructions before using a fire extinguisher, and never use it in an enclosed space or without proper ventilation.
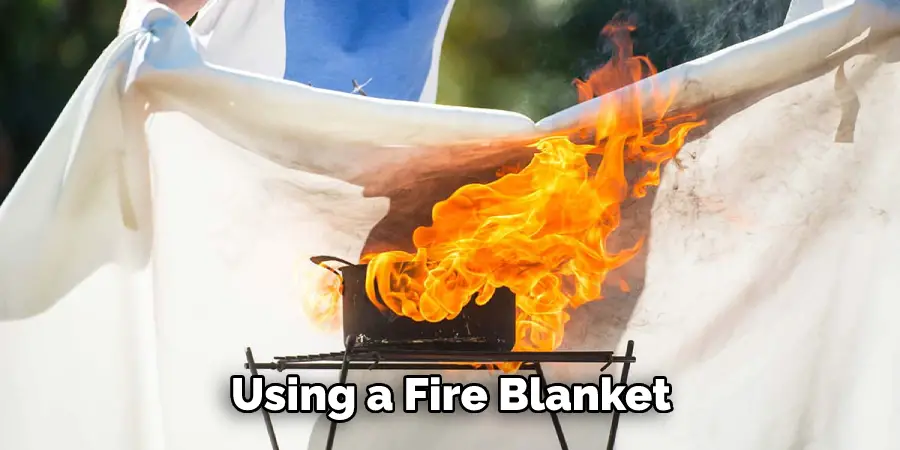
6. Use Fire Blankets:
Another great way to put out your Solo Stove is by using a fire blanket. These are specially designed fire-retardant blankets that you can use to smother the flames and help contain any sparks. Be sure to cover the entire stove with the blanket and wait for it to cool completely before handling it.
7. Extinguish with Water:
If you have enough water, another way to put out your Solo Stove is by pouring a generous amount of water over it until the flames are extinguished. Please be careful when doing this and make sure that your stove is completely submerged in water so as not to cause any injury or damage.
8. Use Dry Dirt:
If you don’t have access to sand, dry dirt can also be an effective way to put out your Solo Stove. Simply cover the stove with a thick layer of dirt and make sure that all the flames are smothered. This method is useful in areas where there isn’t access to sand or water.
9. Use Wet Dirt:
Finally, you can also use wet dirt to put out your Solo Stove. Simply scoop up some wet dirt and cover the flames with it until they are extinguished. This is a safe way of putting out your Solo Stove if there isn’t any water available, but be mindful of the amount of dirt you use, as too much can cause damage to your stove.
Once you’ve successfully put out your Solo Stove, be sure to take extra precautions when handling it. Make sure that it is completely cooled and never pick it up with bare hands! With these easy steps, you can now enjoy a safe and worry-free camping experience with your Solo Stove.
Additional Tips and Tricks to Put Out Solo Stove
- If you have the time, make sure to wait for the embers to cool down before putting out the fire completely. This will help prevent any potential smoke or steam from accidentally burning your clothes or skin.
- To ensure that your Solo Stove is safely extinguished when you’re done using it, make sure to completely smother the embers with ash or dirt. This ensures that no oxygen is left to feed any lingering heat and helps keep your fire contained.
- For those camping trips, consider bringing along a bucket of sand or water as an extra precaution when it comes to extinguishing your Solo Stove fire. Simply pour the sand or water over the embers until they are completely extinguished.
- Finally, if you’re in a pinch and need to put out the fire quickly, simply throw a blanket over the top of your stove until no smoke is visible. This should help contain any remaining heat and will effectively extinguish the flame.
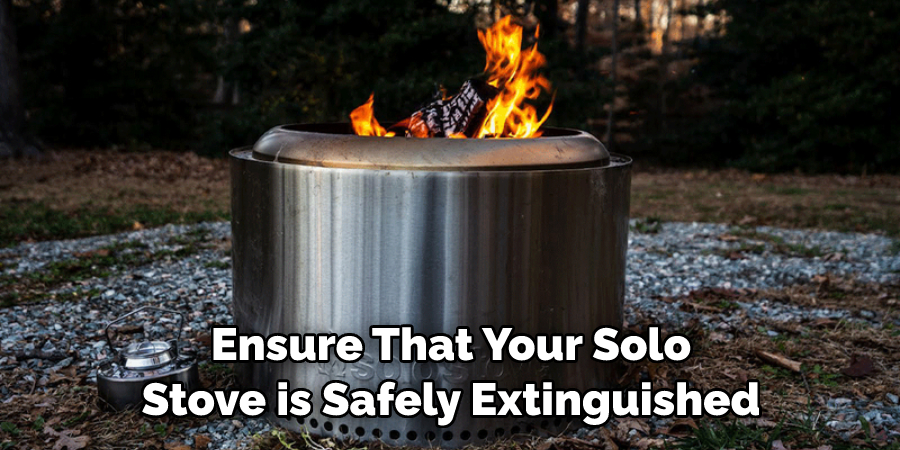
With these simple tips, you can easily extinguish your Solo Stove fire in no time at all! However, it’s always important to remember to take caution when using a Solo Stove and be sure to follow all safety guidelines provided by the manufacturer. Doing so will help ensure that you can enjoy your outdoor adventures without any worry or danger.
Precautions Need to Follow for Putting Out Solo Stove
- Before attempting to put out your Solo Stove, make sure that there are no combustible materials nearby.
- Ensure that the fire is completely extinguished and all embers have died before you try to put it out.
- Make sure that the lid of the stove is closed and then add water until the flame is no longer visible.
- If you are in an area with a lot of wind, be sure to use a sufficient amount of water to ensure that the fire is completely extinguished.
- Once your Solo Stove has been put out, allow it to cool down before handling it or storing it away.
- Be aware that your Solo Stove may take some time to fully cool down and that hot surfaces may still be present.
- Additionally, avoid touching your stove until it has cooled down completely, and be sure to keep a safe distance away from the surface of the stove while it is cooling.
Following these precautions can help you ensure that your Solo Stove is safely put out and stored away. Making sure that your fire is completely extinguished before attempting to put it out can help you avoid potential safety risks.
Frequently Asked Questions
What is the Best Way to Put Out a Solo Stove?
The safest and most effective way to extinguish your Solo Stove fire is with water. Always make sure you have an ample supply of water on hand when using your Solo Stove. Pour the water evenly over the top of the stove, making sure each area of burning fuel is sufficiently covered.
You should pour the water until all visible flames have been extinguished and you no longer see smoke rising from the stove. Remember not to pour too much water at a time, as doing so can cause it to run off before it has had a chance to extinguish the fire fully.
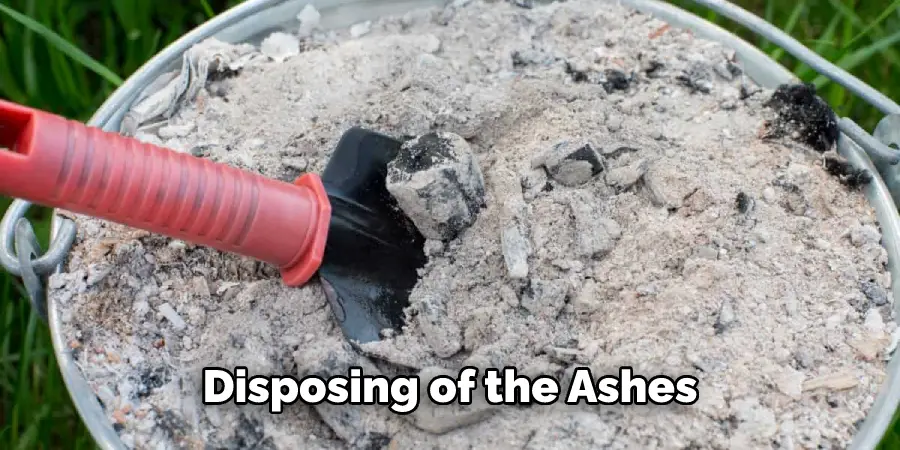
Once your Solo Stove has been successfully put out, let it cool completely before disposing of the ashes.
Should I Be Concerned About Sparks From My Solo Stove?
Yes, always be aware of sparks and embers coming from your Solo Stove while it is in use. It’s important to keep a safe distance between yourself and the stove at all times when setting up or stoking your fire.
To help prevent sparks, always use dry wood that has been seasoned for at least six months. Never add lighter fluid or other accelerants to your Solo Stove as they can cause dangerous flare-ups and even explosions.
What Is the Proper Way to Store My Solo Stove?
When you’re not using your Solo Stove, it’s important to store it in a dry location away from direct sunlight. This will help keep the metal components of your stove from warping or rusting over time.
Make sure to dry off all surfaces before storing and take extra precautions if you live in a humid climate. Additionally, always store your Solo Stove in a place where children and pets can’t get to it.
Conclusion
All in all, knowing how to put out solo stove is a key safety measure for ensuring you are using it safely and correctly. Make sure to have an ample supply of water on hand, be aware of any sparks from the stove, and store them in a dry place once finished. With these tips in mind, you’ll be able to make the most out of your Solo Stove experience!
About
Outdoor Fixes is a distinguished figure in the world of Diy design, with a decade of expertise creating innovative and sustainable Diy solutions.
His professional focus lies in merging traditional craftsmanship with modern manufacturing techniques,
fostering designs that are both practical and environmentally conscious. As the author of diy,
outdoorfixes delves into the art and science of outdoorfixes-making, inspiring artisans and industry professionals alike.
Education RMIT University
(Melbourne, Australia) Associate Degree in Design (Outdoor Fixes) Focus on sustainable design, industry-driven projects,
and practical craftsmanship. Gained hands-on experience with traditional and digital manufacturing tools, such as CAD and CNC software.
Nottingham Trent University
(United Kingdom) Bachelor’s in outdoorfixes.com and Product Design (Honors) Specialized in product design with a focus on blending creativity with production
techniques. Participated in industry projects, working with companies like John Lewis and Vitsoe to gain real-world insights.
Publications and Impact
In diy, Outdoor Fixes his insights on indoor design processes, materials, and strategies for efficient production.
His writing bridges the gap between artisan knowledge and modern industry needs, making it a must-read for both budding designers and seasoned professionals.

