
Raising mealworms for chickens is a practical and sustainable way to provide your poultry with a high-protein snack that promotes health and vigor. Not only are mealworms a chicken favorite, but they can also be produced in your own home with minimal space and resources.

This guide on how to raise mealworms for chickens walks you through the necessary steps to create a thriving mealworm farm, from selecting the right type of container and substrate to maintaining optimal conditions that ensure a steady supply of these nutritious treats for your feathered friends. Whether you’re an urban homesteader, a hobby farmer, or just looking to reduce feed costs, this guide will set you on the path to becoming a successful mealworm rancher.
Understanding Mealworms
Before diving into the process of raising mealworms, it’s important to understand what they are and their life cycle. Mealworms are actually the larvae stage of the darkling beetle (Tenebrio molitor). They are typically brown in color and have a cylindrical body with six small legs. Mealworms can reach up to an inch in length and have a hard exoskeleton that protects their soft body underneath.
Mealworms undergo a complete metamorphosis, meaning they go through four distinct stages in their life cycle: egg, larva (mealworm), pupa, and adult beetle. The entire process takes about 30-90 days, depending on environmental conditions.
The Benefits of Raising Mealworms for Chickens
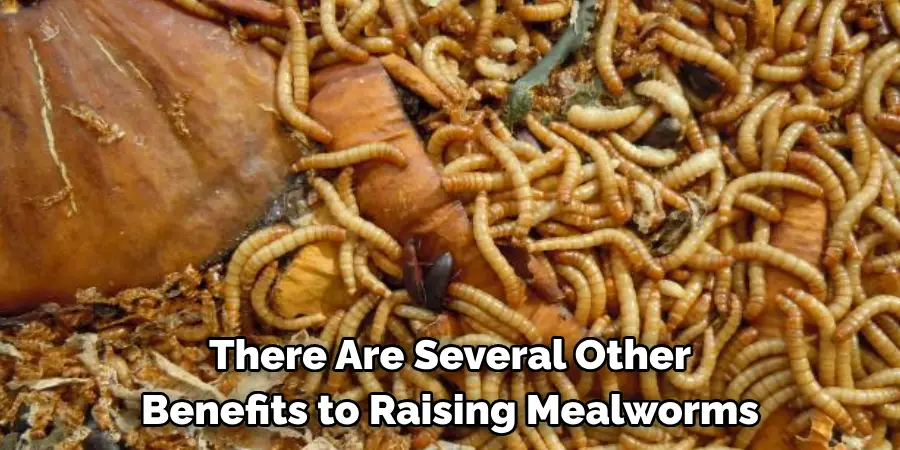
Apart from being a tasty treat for your chickens, there are several other benefits to raising mealworms for your flock. Here are some of the main advantages:
High in Protein:
Mealworms are an excellent source of protein, containing around 53% protein by weight. This makes them a valuable addition to your chickens’ diet, especially during periods of high egg production or molting.
Promotes Natural Foraging Behavior:
Chickens naturally spend a significant amount of time foraging, but in confined spaces, there may not be enough opportunities for them to do so. By providing them with a mealworm farm, you are encouraging their natural behavior and keeping them entertained. This can also lead to reduced pecking and aggression within the flock.
Cost-Effective:
Raising mealworms at home can significantly reduce your chicken feed costs. With proper care and maintenance, a small-scale mealworm farm can produce a steady supply of high-protein snacks for your chickens, eliminating the need to purchase expensive commercial treats.
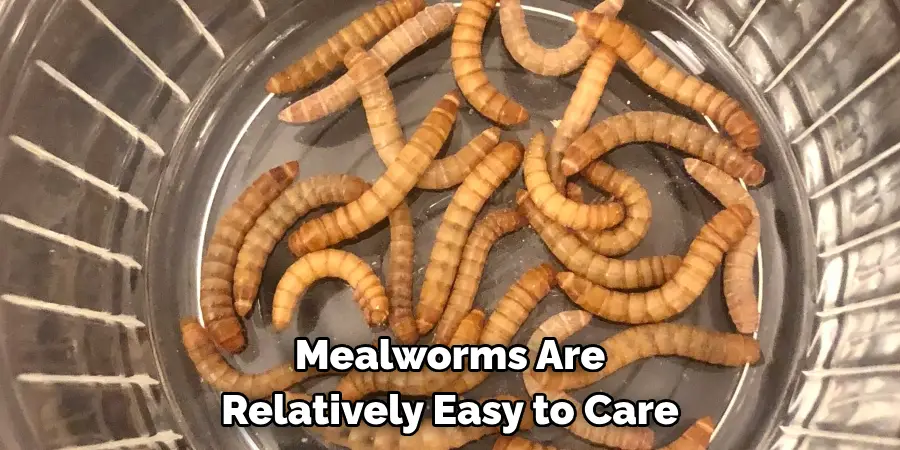
Easy to Maintain:
Mealworms are relatively easy to care for and require minimal space and resources. With a few simple steps, you can create an ideal living environment for your mealworms, ensuring that they thrive and continuously reproduce.
Sustainable:
Raising mealworms at home is a sustainable practice, as it reduces the environmental impact of commercial chicken feed production. By producing your own high-protein snacks for your chickens, you are also reducing the carbon footprint and promoting a more self-sufficient lifestyle.
12 Step-by-step Guidelines on How to Raise Mealworms for Chickens
Step 1: Setting Up the Mealworm Farm
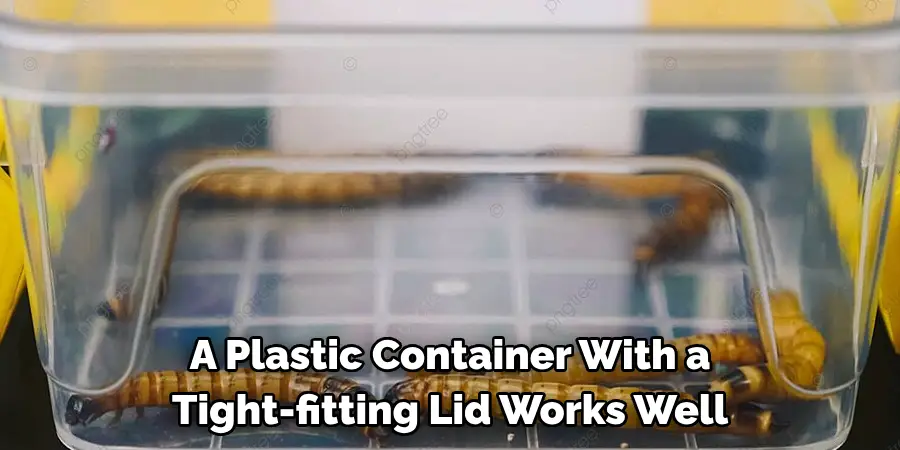
The first step in raising mealworms for chickens is to set up their living space. A plastic container with a tight-fitting lid works well as a mealworm farm. Make sure it has plenty of air holes for ventilation and drainage holes at the bottom. Otherwise, you can also use a wooden or glass container. It’s important to choose a container with smooth sides, as mealworms can climb and escape from rough surfaces. You can also add a layer of fine mesh or cheesecloth on top of the substrate to prevent escape. The size of the container will depend on how many mealworms you plan to raise and the space you have available.
Step 2: Sourcing Mealworms and Eggs
You can purchase a starter colony of mealworms and eggs from a local pet store or online supplier. Alternatively, if you have access to adult beetles, you can collect them and wait for them to lay eggs in the container. The eggs will hatch into mealworms in about 1-2 weeks. If starting with a starter colony, make sure to transfer them along with their substrate and any eggs that may be present. The eggs are tiny and may not be visible to the naked eye. The colony should be kept in a cool, dark place until ready to use. It’s best to start with a small colony and gradually increase the number as they reproduce.
Step 3: Mealworm Larvae Care
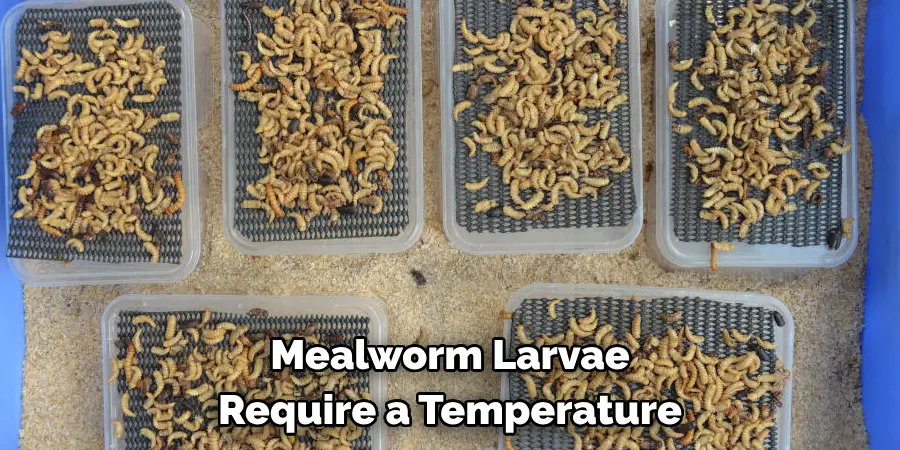
Mealworm larvae require a temperature range of 70-80°F and humidity level of 50-70% to thrive. Keep the container in a warm, dark place, such as a basement or closet, away from direct sunlight and drafts. You can use a heat mat or lamp to maintain the desired temperature.
It’s important to monitor the temperature and humidity regularly and make adjustments as needed. But be careful not to overheat the container, as this can harm the mealworms. You can also lightly mist the substrate with water to maintain humidity levels. But make sure the substrate doesn’t become damp, as this can cause mold growth. This is also why proper drainage holes are essential.
Step 4: Pupal Stage and Beetle Care
After about 3-5 weeks, the mealworms will enter their pupal stage, where they will transform into adult beetles. The pupae should be transferred to a separate container with a layer of soil for burrowing and a shallow dish of water for hydration. After 7-10 days, the beetles will emerge from the pupae and can be moved back to the main container. The adult beetles can live for several months and will continue to lay eggs. If you have a large enough container, you can also keep the pupae and adult beetles together. You can also add a layer of bran or oats on top of the substrate for them to feed on.
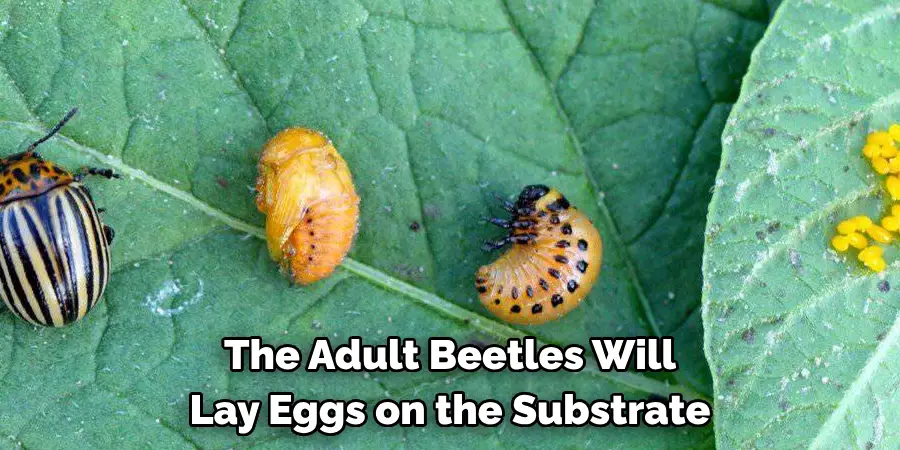
Step 5: Harvesting Mealworms for Chickens
The adult beetles will lay eggs on the substrate, and after about a week, tiny mealworms will hatch. These are the perfect size for feeding to chickens. You can either transfer them directly to your chickens’ feeders or store them in a separate container with some bran or chicken feed until needed. To harvest larger mealworms, simply separate them from the beetles and pupae and place them in a separate container with fresh substrate. The mealworms will continue to grow until they reach their maximum size. There is no need to refrigerate the mealworms, as they will stay fresh for several weeks at room temperature.
Step 6: Incorporating Mealworms into the Chicken Diet
Mealworms can be fed to chickens as a treat or mixed in with their regular feed. They should not replace their main source of nutrition, but rather serve as a high-protein supplement. You can offer mealworms to your chickens once a day or every other day, depending on the size of your flock and their dietary needs. It’s essential to provide a balanced diet for your chickens, so make sure not to overfeed them with mealworms. But don’t worry, chickens have a good sense of self-regulation and will stop eating when they are full. You can also vary their diet by incorporating other healthy treats such as fruits, vegetables, and herbs.
Step 7: Cleaning and Maintaining the Mealworm Farm
Regular maintenance is crucial for the health of your mealworms. The substrate should be cleaned and replaced every few months to prevent mold and bacteria growth. You can also add fresh fruits, vegetables, or grains as a source of moisture and variety to their diet. Remove any dead beetles or pupae from the containers to prevent contamination. It’s also essential to keep the container and its surroundings clean to prevent infestations of pests like mites or fruit flies. The containers can be cleaned with a mild soap and water solution. But make sure to thoroughly rinse and dry them before returning the mealworms.
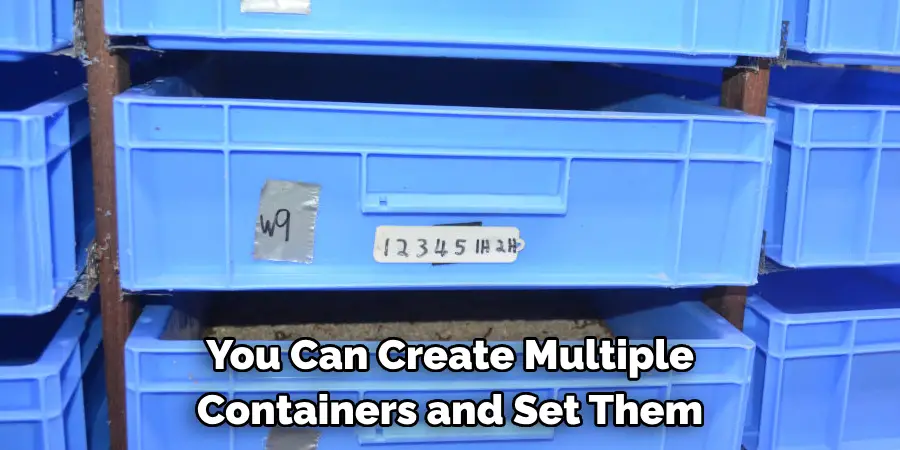
Step 8: Increasing the Mealworm Production
To increase your mealworm production, you can create multiple containers and set them up in a rotation system. Once one colony has reached the adult beetle stage, move them to a new container and start the process over with fresh substrate.
This way, you will always have a continuous supply of mealworms for your chickens. It’s also a good idea to keep track of your mealworm production and make adjustments to the setup or feeding schedule as needed. The more you practice, the better you will become at raising mealworms for your chickens. Enjoy watching your flock gobble up these nutritious and delicious treats! The possibilities for using mealworms in other recipes and dishes are endless, so have fun experimenting!
Step 9: Troubleshooting Common Issues
Raising mealworms may come with some challenges, but with proper care, they are relatively easy to overcome. Some common issues include mold growth in the substrate, escapees from the container, or slow growth of the mealworms. These issues can be resolved by adjusting the temperature, humidity, and cleanliness of the containers. If you notice any sick or unhealthy mealworms, remove them immediately to prevent the spread of disease. However, if you encounter any significant issues, it’s best to seek advice from a veterinarian or experienced mealworm raiser for guidance.
Step 10: Sustainable Mealworm Farming Practices
Raising mealworms for chickens is not only beneficial for your flock, but it’s also an environmentally sustainable practice. Mealworms produce less waste and require less space and resources to raise compared to other protein sources like traditional livestock. They are also a great way to incorporate insects into your diet, which is a more sustainable source of protein than meat from larger animals. By incorporating mealworms into your chicken’s diet, you are practicing more eco-friendly and sustainable farming practices. So why not give it a try and start your own mealworm farm today!
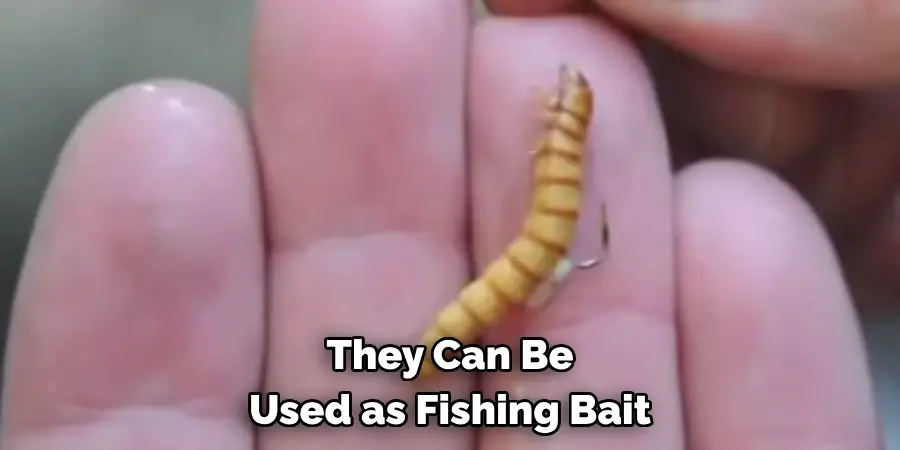
Step 11: Raising Mealworms for Other Uses
Aside from feeding chickens, mealworms have various other uses. They can be used as fishing bait, pet food for reptiles or birds, and even as a source of protein in human diets. Some people also sell mealworms to local pet stores or online suppliers, making it a potential side hustle or small business opportunity. It’s essential to research local regulations and guidelines for selling or using mealworms before starting a business. You can also experiment with different methods and setups for raising mealworms to find what works best for your specific needs. Get creative and explore all the possibilities of raising mealworms!
Step 12: Tackling Common Misconceptions
There are many misconceptions about raising mealworms, including the belief that they are dirty or unhygienic. In reality, mealworms are clean and odorless if properly maintained. Some people also believe that feeding chickens insects will make their eggs taste different, but this is not true. As long as you maintain a balanced diet for your chickens, their eggs will taste the same as always. Additionally, some people worry that mealworms could escape and become a pest in their home or yard. This is unlikely to happen if you properly secure your containers and practice good hygiene.
Following these steps on how to raise mealworms for chickens will ensure a successful and sustainable mealworm farming experience. With proper care and maintenance, you can provide your chickens with a nutritious and eco-friendly protein source while also enjoying the benefits of home-grown mealworms. Not only will your chickens love their new treats, but you’ll also have the satisfaction of knowing you’re contributing to a more sustainable and eco-friendly way of farming. So why not give mealworm farming a try and see the many benefits it can bring to your flock and the environment. Happy farming!
Additional Tips
- Always Wash Your Hands Before and After Handling Mealworms to Prevent the Spread of Bacteria.
- If You Notice a Strong Odor Coming From the Container, It May Be a Sign of Mold or Bacteria Growth. Address the Issue Immediately by Cleaning and Replacing the Substrate.
- Avoid Using Pesticides or Chemicals Near Your Mealworm Farm as They Can Harm the Mealworms and Potentially Your Chickens.
- For an Extra Boost of Nutrition, You Can Feed Your Mealworms Nutritious Vegetables Like Carrots or Leafy Greens Before Feeding Them to Your Chickens.
- You Can Also Try Experimenting With Different Types of Grains and Fruits to See Which Ones Your Chickens Prefer.
- If You Plan on Selling or Giving Away Your Excess Mealworms, Make Sure to Check Local Regulations and Obtain Any Necessary Permits.
- Consider Using Organic and Sustainable Materials for Your Mealworm Farm, Such as Recycled Containers or Natural Substrate Alternatives Like Coconut Coir or Wheat Bran.
- Don’t Be Afraid to Get Creative With Your Mealworm Farming Setup and Try New Methods to Find What Works Best for You. Happy Farming!
Frequently Asked Questions
Q: How Long Does It Take for Mealworms to Reach Adulthood?
A: It takes about 3-5 weeks for mealworms to develop into beetles. You can then expect them to live for several months and continue laying eggs. The exact timeline may vary depending on factors such as temperature, humidity, and the amount of food provided.
Q: Should I Refrigerate My Mealworms?
A: No, there is no need to refrigerate mealworms. They will stay fresh for several weeks at room temperature as long as the substrate is kept clean and moist.
Q: Can I Feed Mealworms to Other Animals?
A: Yes, mealworms can be fed to a variety of animals such as birds, reptiles, and even fish. However, make sure to research the specific dietary needs of your pet before incorporating mealworms into their diet.
Q: How Many Mealworms Should I Feed to My Chickens?
A: It’s important not to overfeed chickens with mealworms as they should only serve as a supplement to their main diet. Offer mealworms once a day or every other day, and monitor your flock’s consumption to avoid overfeeding.
Q: Can I Use Any Type of Substrate for the Mealworm Farm?
A: While mealworms can survive in a variety of substrates, it’s best to use wheat bran or oats as they provide necessary nutrients and are readily available. Avoid using materials like sawdust or sand, as they can cause health issues for the mealworms.
Conclusion
Raising mealworms for your chickens can be a rewarding process, contributing to a sustainable and cost-effective source of high-quality protein.
By creating the right environment, maintaining optimal conditions, and regularly monitoring your mealworm farm, you’ll not only be providing a nutritious snack for your feathered friends but also engaging in an eco-friendly practice that supports the well-being of your chickens and contributes to a more self-sufficient lifestyle.
Always remember, the healthier the mealworms, the better the benefits for your poultry. So, keep an eye on their living conditions and enjoy the satisfaction of providing your chickens with a happy and healthy treat! Thanks for reading this article on how to raise mealworms for chickens.
About
Outdoor Fixes is a distinguished figure in the world of Diy design, with a decade of expertise creating innovative and sustainable Diy solutions.
His professional focus lies in merging traditional craftsmanship with modern manufacturing techniques,
fostering designs that are both practical and environmentally conscious. As the author of diy,
outdoorfixes delves into the art and science of outdoorfixes-making, inspiring artisans and industry professionals alike.
Education RMIT University
(Melbourne, Australia) Associate Degree in Design (Outdoor Fixes) Focus on sustainable design, industry-driven projects,
and practical craftsmanship. Gained hands-on experience with traditional and digital manufacturing tools, such as CAD and CNC software.
Nottingham Trent University
(United Kingdom) Bachelor’s in outdoorfixes.com and Product Design (Honors) Specialized in product design with a focus on blending creativity with production
techniques. Participated in industry projects, working with companies like John Lewis and Vitsoe to gain real-world insights.
Publications and Impact
In diy, Outdoor Fixes his insights on indoor design processes, materials, and strategies for efficient production.
His writing bridges the gap between artisan knowledge and modern industry needs, making it a must-read for both budding designers and seasoned professionals.