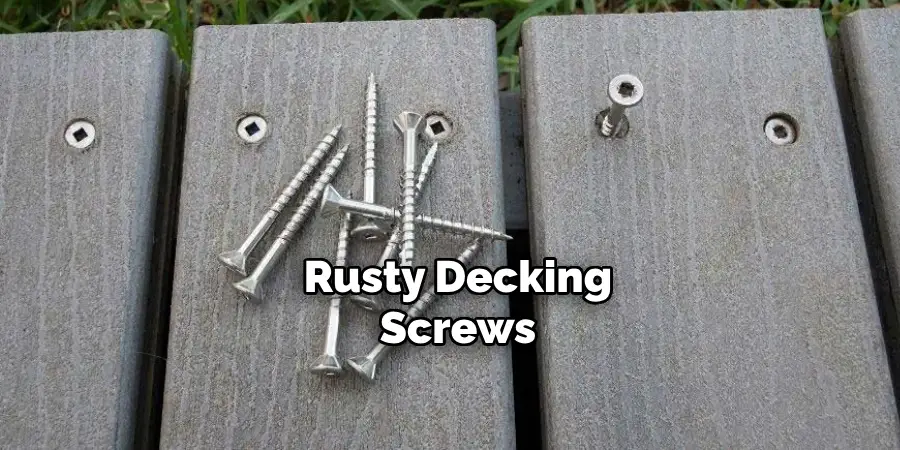
Decking screws are an essential element in constructing and maintaining outdoor decks. However, removing old and rusty decking screws can be a daunting task. Aside from the potential injuries you might incur, the wrong tools and techniques may damage the surrounding wood and lead to further expenses.
But worry not; in this blog post, we will guide you on how to remove decking screws safely and quickly using both everyday and specialized tools.
Can You Remove Decking Screws?
Decking screws can be stubborn regarding removal, but fear not – there are solutions. For starters, you can try the trusty method of using a screwdriver or drill to manually twist the screws out. However, this approach can be time-consuming and may not work if the screws are rusted or stuck. Another option is to use a screw extractor, which basically drills into the middle of the screw and grabs onto it for easy removal.
This method can be a bit more complicated, but well worth it if you want to avoid damaging the surrounding wood. No matter your chosen method, some elbow grease, and patience will go a long way in successfully removing pesky decking screws.
Why Should You Remove Decking Screws?
Decking screws are an essential component that holds the structure of your deck together. However, in time, these screws can become loose, making your deck unsafe. Additionally, rusty screws can tarnish the aesthetics of your deck, which can ruin its overall look and feel.
To maintain the safety and visual appeal of your deck, it is wise to remove any damaged or rusty decking screws. This way, you can avoid injuries caused by a faulty deck and protect your investment in your home. Removing and replacing screws is a simple task, so it’s important to address it sooner rather than later to maintain your decking’s integrity.
A DIY Guide on How to Remove Decking Screws
1. Everyday Tools
If you’re on a tight budget, you can remove decking screws using everyday tools readily available in your toolbox. Firstly, use a power drill with a suitable screwdriver attachment to unscrew the decking screws.
Hold the drill perpendicular to the screw head and turn it steadily and gently until the screw is removed. For screws that are filled with debris, use a screw extractor kit that grips onto the screws and unscrews them with ease. Be cautious not to drill too deep into the decking board as it may weaken the wood structure.
2. Specialized Tools
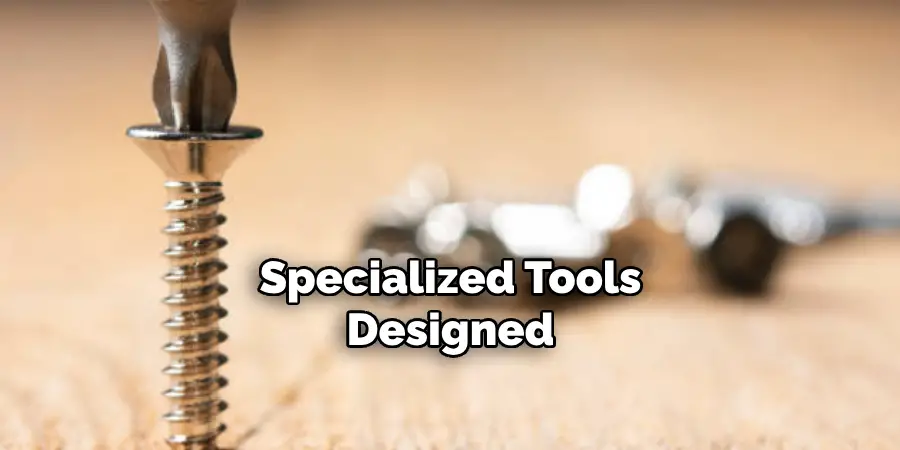
For a more convenient method, you can opt for specialized tools designed solely for removing decking screws. A screw gun, for instance, is relatively small, portable, and fitted with a screw extractor that can remove screws without using too much force. For deep-set and stubborn screws, use a cordless impact driver that exerts more torque and power to loosen the screw. However, adjust the torque and speed settings to prevent the screw from snapping.
3. Heat Application
Sometimes, deck screws may be too tight to remove with traditional methods, even with specialized tools. In such cases, you can use heat to loosen the screws. Heat a soldering iron or torch and apply it to the screw head for a few seconds to expand the metal and decrease its hold on the decking board. Be cautious not to burn the wood or melt other deck parts. Once the screw has cooled, you can easily remove it using a screwdriver or extractor.
4. Cutting the Screws
Cutting the screws is an alternative method if the screw head is damaged or too rusty to unscrew. Use a reciprocating saw fitted with a blade with a high-speed steel (HSS) coating to cut the screw head. Place the blade’s teeth against the screw, switch on the saw, and cut the head off. Once the head is removed, push the remaining screw thread out of the decking board gently. However, be careful not to cut the surrounding wood, as it might damage your deck’s appearance.
5. When to Call a Professional
If you encounter screws that have snapped or are irreversibly stuck in the deck, it may be best to call a professional, especially if you lack the tools or experience to remove them. Professionals can use specialized techniques such as extraction bits, thread cutters, and lubricants to ensure screws are removed safely and with minimal damage to the wood. Additionally, if your deck requires extensive repair, it’s best to leave it to professionals who can assess and fix any underlying issues.
6. Protective Gear
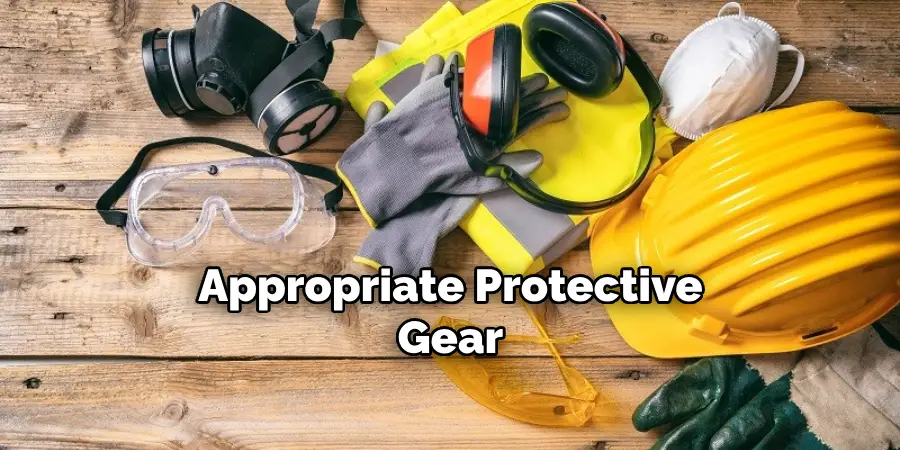
Before attempting to remove decking screws, it’s essential to wear appropriate protective gear. This includes safety glasses to protect your eyes from debris and gloves to prevent cuts and blisters. Additionally, consider wearing a dust mask when using power tools, as they can produce fine particles that may irritate your respiratory system.
7. Preventing Difficulty in Removing Screws
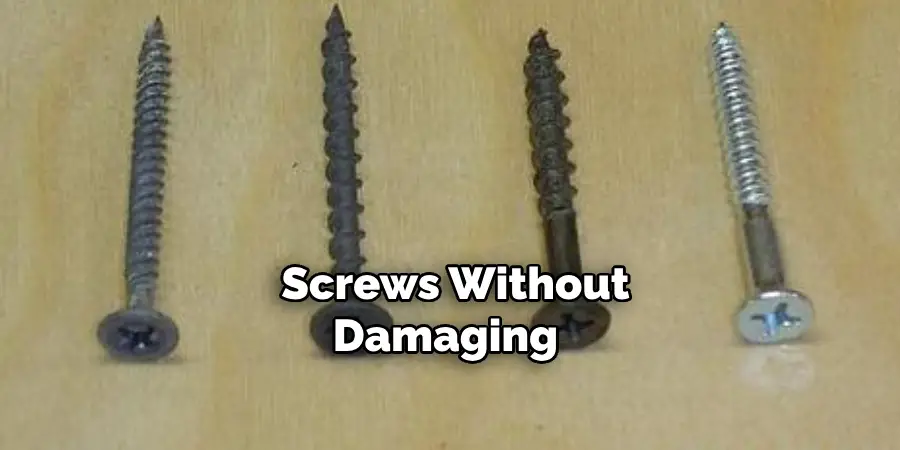
The best way to avoid difficulties in removing decking screws is to prevent them from happening in the first place. When installing screws, use ones suited for outdoor and wet conditions, such as stainless steel or coated deck screws. Regularly maintain your deck by cleaning it and inspecting for any damaged or rusted screws. If you find any, replace them immediately to prevent further issues. Prevention is always better than having to remove difficult screws later on.
These tips can help you effectively and safely remove decking screws without damaging your deck or risking injury. Remember to use caution and appropriate tools when removing screws, and don’t hesitate to call a professional if needed. With the right techniques and tools, you can easily remove decking screws and keep your deck in excellent condition for years. So, next time you need to remove decking screws, follow these tips, and the process will be a breeze!
5 Considerations Things When You Need to Remove Decking Screws
1. Select the Appropriate Drill Bit
When removing decking screws, it is important to select the appropriate drill bit for the job. A standard drill bit may not be able to penetrate through the screw head and will only damage the wood around it. Using a specialized drill bit designed for deck screws will ensure that you are able to easily remove them without causing any damage to your deck or surrounding area.
2. Use a Reverse Setting on Your Drill
Using a reverse setting on your drill can help make removing decking screws much easier. This setting will cause the drill bit to spin in the opposite direction, making it easier to unscrew the screw from its hole. It is important to note that using this setting can cause more wear and tear on your drill over time, so be sure to use it sparingly when possible.
3. Apply Pressure When Removing Deck Screws
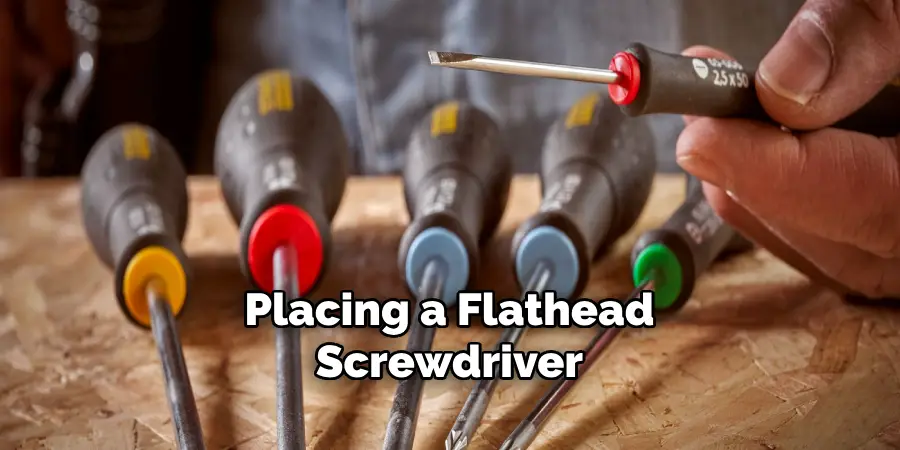
Applying pressure when removing decking screws can help make them easier to remove and prevent them from becoming stuck in their holes. Placing a flathead screwdriver against the head of the screw and pushing it down while turning it counterclockwise can help loosen it up and allow for easy removal. Be careful not to apply too much pressure, as this could strip out the head of the screw or cause it to break off completely.
4. Use Lubricant if Necessary
If you find that you are having difficulty removing a decking screw, you may want to consider using a lubricant such as WD-40 or other penetrating oil products. These products can help loosen up rusted or corroded screws, making them easier to remove without causing any damage to your deck or surrounding area. Be sure not to use too much lubricant, as this could seep into your wood and cause discoloration or staining over time.
5. Consider Replacing Damaged Screws
If you find that some of your decking screws have been damaged during removal, it may be best to replace them with new ones rather than trying to repair them yourself. This will ensure that they are properly secured and will provide long-lasting support for your deck structure over time. Additionally, replacing damaged screws with new ones can also help improve the overall appearance of your deck as well as its durability in harsh weather conditions.
Some Common Mistakes People Make When Trying to Remove Decking Screws
Removing decking screws can be a frustrating and time-consuming task, especially if you make some common mistakes along the way. One common mistake people make when removing decking screws is using the wrong tool. Instead of using a screwdriver, they may opt for a hammer or pliers, which can damage the screw head or even the deck itself. Another mistake is not preparing the area properly before removing the screws. Failing to clean the surface, removing any debris or rust, or not using the right solvent can make the process more difficult.
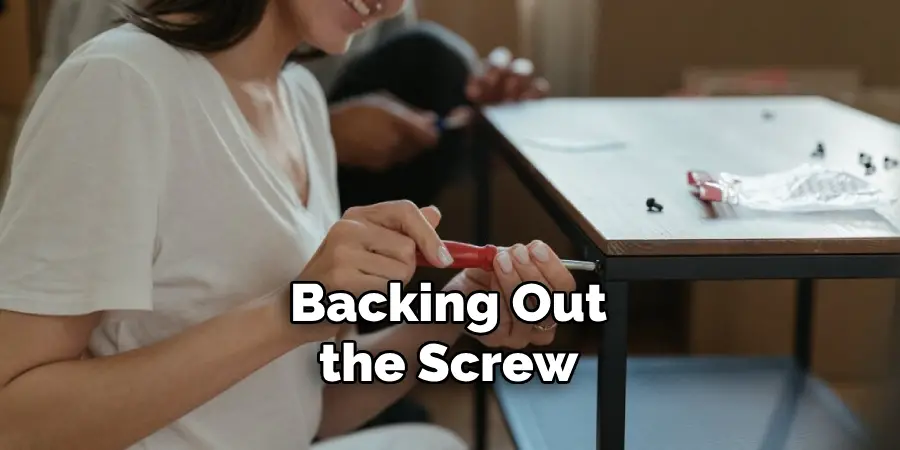
Additionally, not having the right technique for removing the screws, like applying enough pressure or not backing out the screw enough, can lead to stripped or broken screws. Avoiding these common mistakes and using the proper tools and techniques can make removing decking screws smoother and easier.
Conclusion
In conclusion, removing decking screws can be an arduous task, especially if you don’t have the right tools or technique. Always prioritize safety and take precautions to avoid injuries or damage to your deck. Use the tools and methods recommended in this blog, and you’ll have an easier time removing those old and rusty screws. Remember, if you find the task too overwhelming, it’s best to seek the help of a professional. Thanks for reading our post about how to remove decking screws happy renovating!
About
Outdoor Fixes is a distinguished figure in the world of Diy design, with a decade of expertise creating innovative and sustainable Diy solutions.
His professional focus lies in merging traditional craftsmanship with modern manufacturing techniques,
fostering designs that are both practical and environmentally conscious. As the author of diy,
outdoorfixes delves into the art and science of outdoorfixes-making, inspiring artisans and industry professionals alike.
Education RMIT University
(Melbourne, Australia) Associate Degree in Design (Outdoor Fixes) Focus on sustainable design, industry-driven projects,
and practical craftsmanship. Gained hands-on experience with traditional and digital manufacturing tools, such as CAD and CNC software.
Nottingham Trent University
(United Kingdom) Bachelor’s in outdoorfixes.com and Product Design (Honors) Specialized in product design with a focus on blending creativity with production
techniques. Participated in industry projects, working with companies like John Lewis and Vitsoe to gain real-world insights.
Publications and Impact
In diy, Outdoor Fixes his insights on indoor design processes, materials, and strategies for efficient production.
His writing bridges the gap between artisan knowledge and modern industry needs, making it a must-read for both budding designers and seasoned professionals.

