
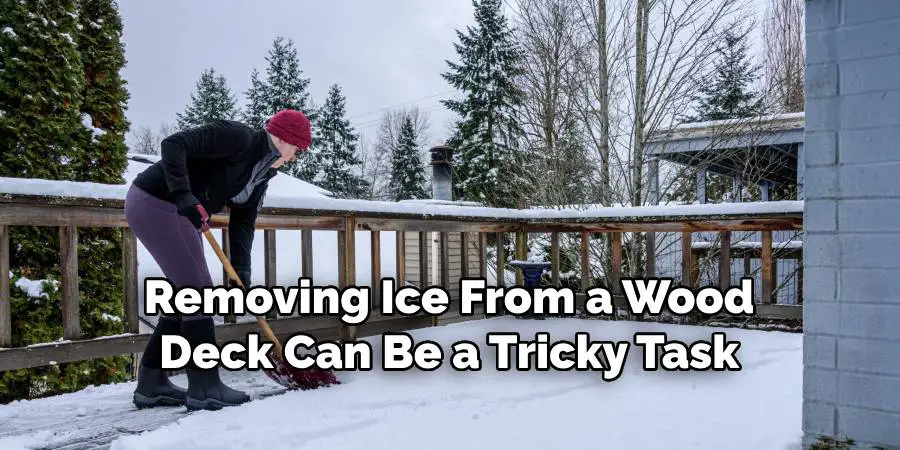
Do you have a wood deck covered in ice in the winter? If this is something you’re dealing with, don’t worry — there’s no need to go out and buy expensive products or demolish your deck. There are some simple steps you can take to remove the ice from your wood deck without damaging it.
In winter, ice can be a huge problem — it causes slips and falls, is unsightly, and can even damage your wood deck if left untreated.
Additionally, removing ice from a wood deck can be tricky, as you don’t want to damage the surface or cause any cracks. But don’t fret; we’ve got you covered with some simple tips on how to remove ice from wood deck.
In this blog post, we’ll share our top tips for removing pesky Ice from your wood decks quickly and easily!
Why is it important to remove ice from your wood deck?
Before we dive into the methods of removing ice, let’s first understand why it’s essential.
First and foremost, ice can be dangerous. It increases the risk of slips and falls, especially for children and older adults. Not only that, but the weight of ice can also cause damage to your wood deck if left untreated for too long.
Additionally, ice can hide underlying issues such as rot or mold, which can worsen if not addressed. By regularly removing ice from your wood deck, you can prevent any structural damage and maintain its appearance.
What Will You Need?
Before we get into the methods, let’s first gather some essential items you will need to remove ice from your wood deck.
- A plastic shovel or a broom with stiff bristles
- Calcium chloride or rock salt (avoid using regular salt as it can cause damage to vegetation)
- A bucket of hot water
- An ice scraper
Once you have these items ready, let’s dive into the methods!
10 Easy Steps on How to Remove Ice From Wood Deck
Now that we understand the importance of removing ice from a wood deck, let’s get into the steps you can take to do so safely and effectively.
Step 1: Assess the Situation
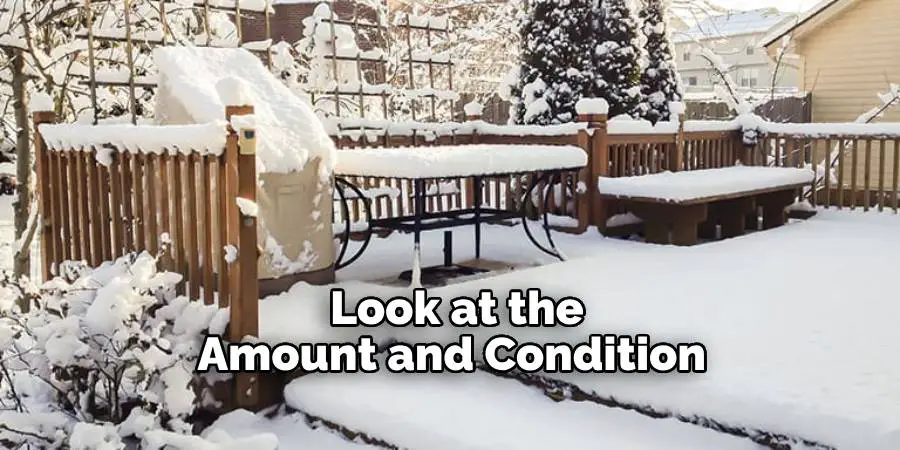
Before you start the process, look at the amount and condition of the ice on your wood deck. If the layer of ice is thin, a simple sweep with a stiff broom might be enough. However, if there’s a thick layer of ice, you must use more aggressive methods. Always remember safety first — if conditions look too treacherous, it may be best to wait until the weather improves.
Step 2: Begin the Removal Process
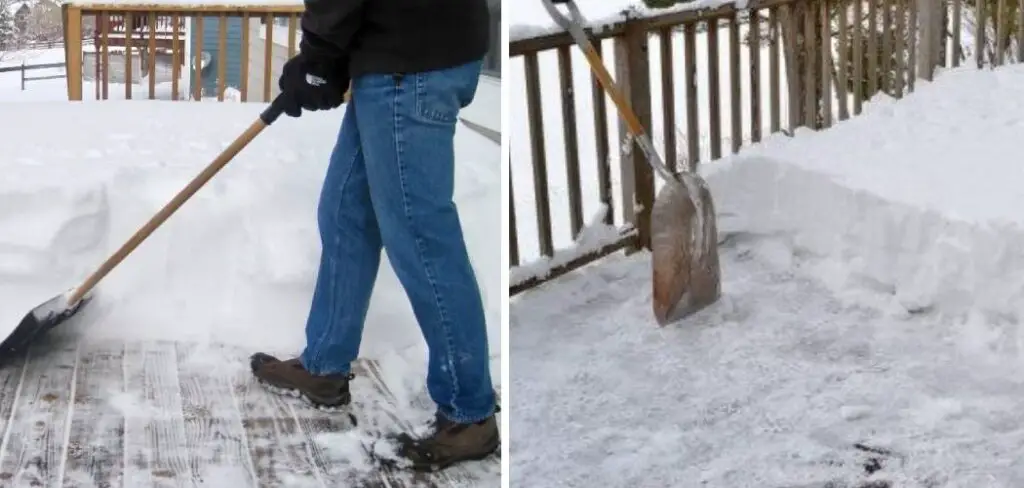
Start by using a plastic shovel or a broom with stiff bristles to break up and remove the ice. Make sure to be gentle and avoid scraping the wood. Aim to remove as much ice as possible without damaging your deck. Don’t worry if you can’t get all the ice up with this method — this step is about removing most of the ice, not getting your deck completely clear.
Step 3: Apply De-icing Agents
After clearing most of the ice, it’s time to use a de-icing agent. Calcium chloride or rock salt are effective choices that won’t harm your wood deck or surrounding vegetation. Sprinkle the de-icer generously over the remaining ice on your deck, ensuring you cover all icy areas. These de-icers work by lowering the freezing point of water, causing the ice to melt. You should start seeing results in a few minutes. Use a broom to distribute the de-icing agent evenly across the ice if needed.
Step 4: Use Warm Water
If there’s still some ice left even after using the de-icing agents, you can use lukewarm water. Be careful not to use hot water, as sudden temperature changes can cause the wood to crack. Pour the lukewarm water over stubborn patches of ice. It should help to loosen the ice, making it easier to scrape away with your ice scraper.
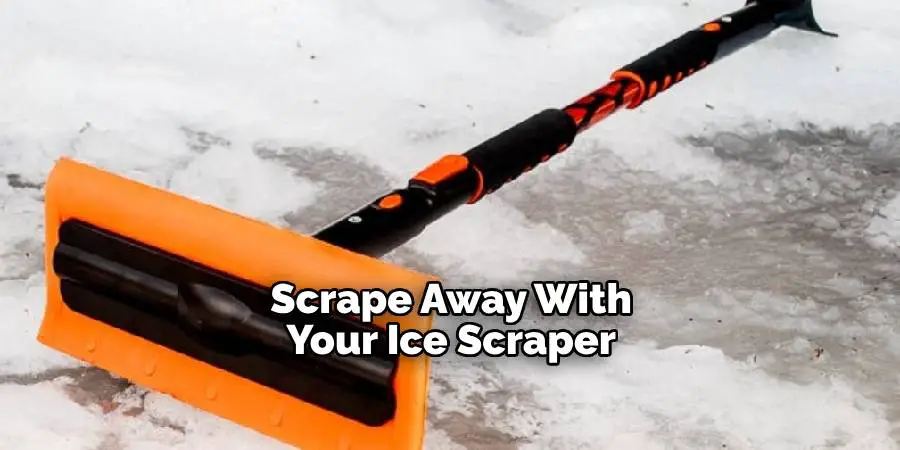
Step 5: Scrape Away the Remaining Ice
After applying the lukewarm water, take your ice scraper and gently remove any remaining ice. Be careful not to use too much pressure or scrape too aggressively, as this could damage the wood. Remember to rub in the direction of the wood grain to minimize potential harm to your deck. If there are areas where the ice is particularly stubborn, reapply the lukewarm water and repeat the process until all the ice is removed.
Step 6: Dry the Deck
Once all the ice is removed, it’s crucial to dry your deck as soon as possible to prevent any water from seeping into the wood and causing damage. Use a dry mop or towels to soak up as much water as possible. If the weather permits, allowing your deck to air-dry under the sun can also be an excellent way to ensure it’s thoroughly dried.
Step 7: Apply a Protective Layer
Once the deck is dry, consider applying a sealant layer to the wood. This can provide a protective barrier that helps prevent ice from sticking to the deck in the first place. Make sure to choose a sealant suitable for your specific type of wood deck and the climate in which you live. It’s advisable to apply the sealant during dry weather to ensure it adheres properly to the wood. Follow the application instructions on the product, and remember to allow the sealant to dry fully before using the deck again.
Step 8: Regularly Monitor and Repeat as Necessary
Stay aware of the weather conditions in your area, particularly during the colder months. If more snow falls or ice forms, you may have to repeat the process to keep your deck safe and ice-free. Remember, frequent and early ice removal can prevent build-up and reduce the risk of damage to your wood deck. Maintain a routine of checking and clearing your deck, especially after snowfall or freezing temperatures.
Step 9: Consider Ice Prevention Methods
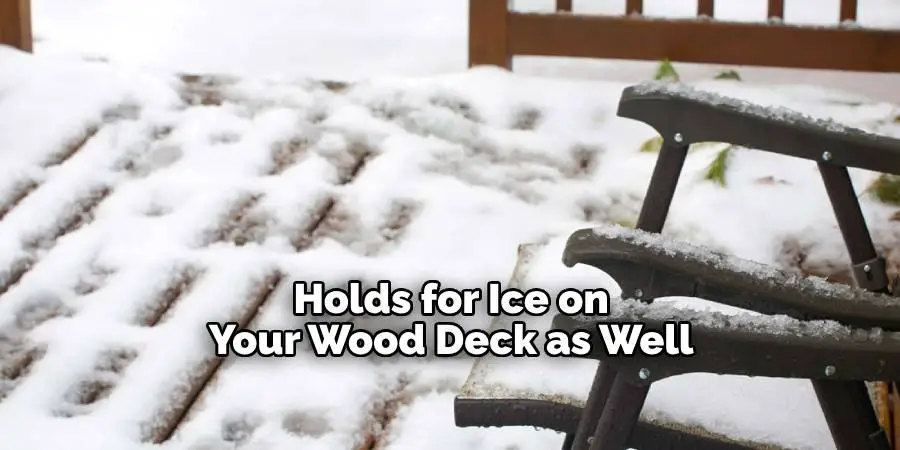
As the saying goes, prevention is better than cure. This holds for ice on your wood deck as well. There are several methods you can adopt to prevent ice from forming on your deck. These include using heating mats designated for outdoor use or installing a roof over your deck. Another option is to apply a layer of a non-slip ice prevention product before winter. These methods can save you time and effort and keep your deck safer during the winter months.
Step 10: Check for Damage
Once you have successfully removed all ice from your wood deck and taken steps to prevent future buildup, it’s essential to check the deck for any potential damage. Look for signs of water damage, rot, or mold, especially in the areas of the deck that were covered with ice. If you catch these issues early, you can address them before they lead to significant damage or costly repairs. Regularly inspecting and maintaining your deck will ensure its longevity and safety.
By following these ten easy steps, you can effectively remove ice from your wood deck and prevent damage to the wood. Always prioritize safety and use the recommended methods and tools to avoid any harm to your deck.
5 Additional Tips and Tricks
- Use Calcium Chloride Ice Melt: Calcium Chloride is a popular choice for ice melting because it works even in very low temperatures. Spread it gently and evenly on the icy deck.
- Try a Heated Mat: A heated mat can be placed on the deck before a snowfall to prevent ice build-up. It’s a practical and easy method for keeping your deck ice-free.
- Use a Snow Blower: If you have an enormous deck, a snow blower can be a great tool for removing ice without damaging the wood.
- Be Careful with Shoveling: If you decide to shovel, use a plastic shovel instead of a metal one to avoid scratching the wood surface.
- Apply a Sealant: A water-repellent sealant can protect your deck from moisture penetration, thus reducing the possibility of ice formation. Remember to reapply the sealant regularly for continued protection.

With these additional tips and tricks, you can effectively remove ice from your wood deck without causing any damage.
5 Things You Should Avoid
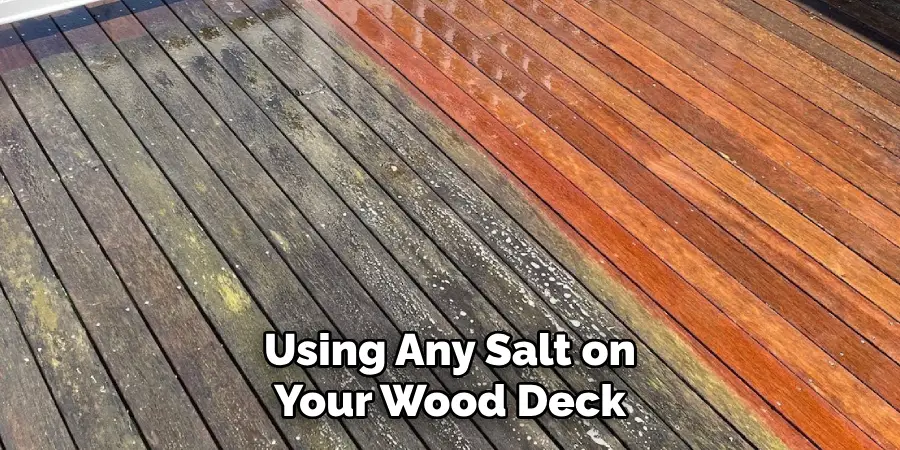
- Avoid Using Rock Salt: Rock salt is commonly used to melt ice but can be highly damaging to wood decks. It can cause discoloration and even corrode the nails and other hardware used in your deck.
- Avoid Metal Shovels: As mentioned earlier, metal shovels can harm the wood surface. They can cause scratches or gouges, which can lead to water retention and eventually rot.
- Avoid Ignoring Ice: Leaving ice on your deck for too long can cause it to seep into the wood and cause damage. Prompt action can help you avoid this.
- Avoid Using Heat Guns or Blow Torches: Applying extreme heat directly can cause the wood to warp or crack.
- Avoid Walking on Icy Deck: It’s not only dangerous due to the risk of slipping and falling, but it also exerts pressure on the ice, causing it to further embed into the wood.
Avoiding these common mistakes can help you maintain the longevity and appearance of your wood deck.
How Do You Melt Ice Off a Wood Deck?
Removing ice from a wood deck can be a tricky task, but with the proper methods and precautions, it can be done effectively. Here are some steps you can follow to melt ice off your wood deck:
- Clear the Deck: Before removing the ice, clear any debris or objects from the deck surface.
- Use a Snow Shovel: Start by using a snow shovel to remove any loose or powdery snow from the deck.
- Apply Ice Melt or De-Icer: Choose an ice melt that is safe for wood decks and spread it evenly over the icy areas. Alternatively, you can use a de-icer designed explicitly for wood surfaces.
- Scrape Away the Ice: Once the ice melt has had time to work, use a plastic shovel or ice scraper to remove the remaining ice gently.
- Rinse with Water: After all the ice has been removed, rinse your deck with water to wash away any remaining residue from the ice melt.
Remember always to follow manufacturer instructions and safety precautions when using any product to melt ice off your wood deck. With these steps, you can effectively remove ice and keep your deck safe from damage.
Is It OK to Put Salt on a Wood Deck?
It is generally not recommended to use salt on a wood deck, as it can cause damage and discoloration. However, if you must use a form of salt for ice melting, opt for calcium chloride instead of rock salt.
Another alternative is to mix salt with water to create a brine solution, which can be applied to the deck and then washed off. However, this method may still cause some damage and should be used sparingly.
These options should only be used as a last resort, and it is always best to consult with a professional before using any salt on your wood deck. So, it is always better to stick to safer alternatives such as calcium chloride ice melt or heated mats for effective ice removal without causing harm to your deck.
Conclusion
While it is possible to take certain measures on your own to remove the ice from a wood deck, it can be an arduous and potentially dangerous process. It is best to consult with an expert in safety, roofing, or landscaping before attempting any DIY solution. The professional will help you understand the specific needs of your deck and choose the best plan of action that keeps you – and your property – safe. At the very least, follow all safety guidelines when standing on a slippery surface like an icy wood deck.
Once the course of action is determined and put into motion, you’ll be able to enjoy your wood deck for years to come!
Hopefully, this has helped you gain a better understanding of the dos and don’ts when it comes to removing ice from your wood deck. Remember, prevention is always better than cure, so take the necessary steps to protect your deck from icy conditions before winter hits. Thank you for taking the time to read this informative blog post about how to remove ice from wood deck.
About
Outdoor Fixes is a distinguished figure in the world of Diy design, with a decade of expertise creating innovative and sustainable Diy solutions.
His professional focus lies in merging traditional craftsmanship with modern manufacturing techniques,
fostering designs that are both practical and environmentally conscious. As the author of diy,
outdoorfixes delves into the art and science of outdoorfixes-making, inspiring artisans and industry professionals alike.
Education RMIT University
(Melbourne, Australia) Associate Degree in Design (Outdoor Fixes) Focus on sustainable design, industry-driven projects,
and practical craftsmanship. Gained hands-on experience with traditional and digital manufacturing tools, such as CAD and CNC software.
Nottingham Trent University
(United Kingdom) Bachelor’s in outdoorfixes.com and Product Design (Honors) Specialized in product design with a focus on blending creativity with production
techniques. Participated in industry projects, working with companies like John Lewis and Vitsoe to gain real-world insights.
Publications and Impact
In diy, Outdoor Fixes his insights on indoor design processes, materials, and strategies for efficient production.
His writing bridges the gap between artisan knowledge and modern industry needs, making it a must-read for both budding designers and seasoned professionals.