
Are your garden beds in desperate need of a mulch overhaul? Do you have old, discolored mulch that is no longer giving your plants and landscaping the facelift they deserve? Removing and replacing old mulch can seem like an intimidating task, but with the right strategies and supplies, it can be a relatively easy process.
Find out how to remove old mulch and replace with new mulch, vibrant colors, and varieties of mulch for an attractive garden. By following these simple steps, you’ll have picturesque flowerbeds once again in no time!
Supplies You Will Need to Remove Old Mulch and Replace With New Mulch
- Garden gloves
- Shovel
- Rake
- Wheelbarrow or tarp for hauling old mulch
- Pruning shears (if necessary)
- New mulch of your choice
- Mulch spreader (optional)
Step-by-step Guidelines on How to Remove Old Mulch and Replace With New Mulch
Step 1: Assess the Condition of Your Old Mulch
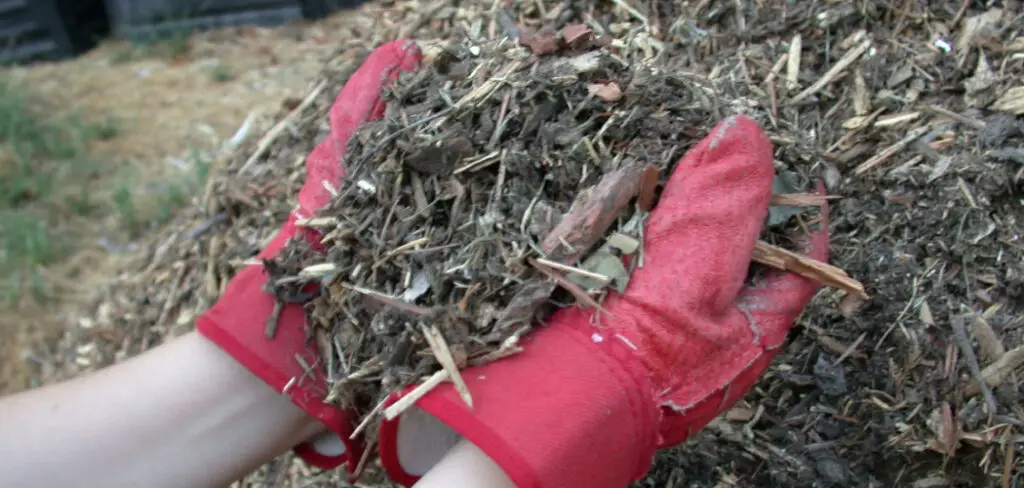
Before you begin the process of removing old mulch, take a moment to inspect its condition. If the mulch is thick and matted, it may be best to remove all of it and replace it with fresh mulch.
However, if your old mulch is still in good condition, you can break it up with a rake and mix it in with the new mulch. If you have any plants that are struggling, remove the mulch around them to allow for better air circulation and nutrient access.
Step 2: Gather Your Supplies
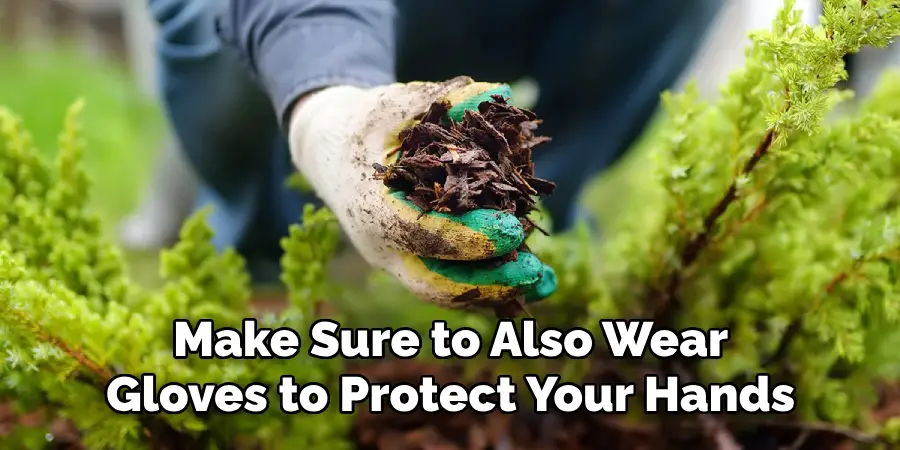
As mentioned before, you will need a few supplies to successfully remove and replace your mulch. Make sure you have everything on hand before you begin the process. Make sure to also wear gloves to protect your hands from any debris or potential critters hiding in the mulch. You may also want to wear a mask to avoid inhaling any dust or mold spores that could be present in old mulch.
Step 3: Remove the Old Mulch
Start by using your shovel and rake to loosen and gather the old mulch. Place it into a wheelbarrow or onto a tarp for easy hauling. If you have any weeds or unwanted plants in your mulch, be sure to remove them as well.
While removing the old mulch, take this opportunity to prune any dead or dying plants and clear out any debris from your garden beds. Carefully remove any old mulch that is stuck to the base of your plants or in between them.
Step 4: Prepare Your Garden Beds for New Mulch
After all of the old mulch is removed, take a moment to smooth out your garden beds and remove any remaining weeds or debris. If you have any bare spots in your flowerbeds, now is the time to add some fresh topsoil or compost. This will help provide nutrients for your plants and give them a healthy foundation to grow in.
Step 5: Add New Mulch
Once your garden beds are prepped and ready, it’s time to add the new mulch! Using a shovel or mulch spreader, evenly distribute the new mulch throughout your garden beds. Be sure to avoid placing any mulch directly against the base of your plants, as this can lead to rot and disease. While you want a good layer of mulch, be careful not to overdo it – 2-3 inches is usually sufficient.
Step 6: Water Your Garden Beds
After the new mulch is in place, give your garden beds a good watering. This will help settle the mulch and ensure that it stays in place. It’s also important to continue watering your plants regularly, especially during hot and dry weather. This will help keep your new mulch from drying out and losing its vibrant color.

Step 7: Maintenance and Future Mulching
To keep your garden beds looking their best, it’s important to maintain them on a regular basis. This includes removing any weeds or debris that may appear in your mulch beds, as well as adding new mulch at least once a year. By following these steps and properly caring for your garden beds, you can have beautiful and healthy plants that will thrive in their new mulch environment.
Following these steps, you can easily remove old mulch and replace it with new mulch to give your garden beds a fresh and attractive look. With the right supplies and a little bit of effort, you can transform your landscaping into a beautiful and vibrant oasis that will be the envy of all your neighbors! So why wait? Get started on removing that old mulch today and bring new life to your garden beds. Happy mulching!
Additional Tips and Tricks to Remove Old Mulch and Replace With New Mulch
1. Use a rake to loosen the old mulch. Before removing the old mulch, use a rake to loosen it up. This will make it easier to remove and also help aerate the soil.
2. Remove any weeds or debris. Before adding new mulch, make sure to remove any weeds or debris from the area. This will prevent them from growing through the new mulch and ensure a clean surface for the new layer.
3. Use a wheelbarrow for easy transport. Instead of trying to carry large loads of mulch in your arms, use a wheelbarrow to transport it from the bag to the desired location.
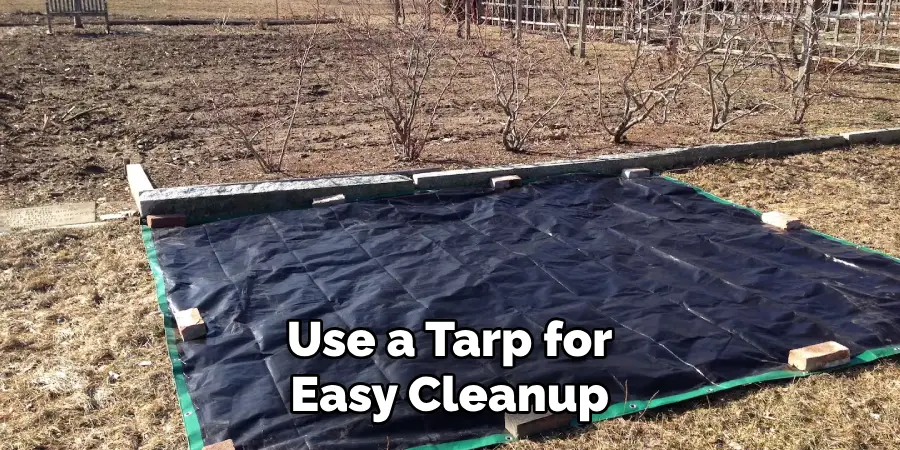
4. Use a tarp for easy cleanup. To make cleanup easier, spread out a tarp over the area where you will be adding new mulch. This will catch any excess mulch and prevent it from getting onto your lawn or garden.
5. Consider using landscape fabric. If you want to prevent weeds from growing through your mulch, consider laying down landscape fabric before adding the new layer. This will also help with water retention and soil erosion control.
6. Choose the right type of mulch for your plants. Different types of mulch have different properties and can benefit certain plants more than others. Do some research to determine which type of mulch would be best for your specific plants and their needs.
7. Spread the mulch evenly. When adding new mulch, make sure to spread it out evenly and avoid clumps or piles. This will ensure proper coverage and help prevent any areas from becoming waterlogged or deprived of nutrients.
8. Leave a gap around tree trunks. To avoid suffocating your trees, leave a small gap around the base of the trunk when adding new mulch. This will allow for proper air circulation and prevent rot or disease.
9. Water newly added mulch. After adding new mulch, make sure to water it thoroughly. This will help settle the mulch and promote decomposition, which provides nutrients to your plants.
10. Add a layer of compost underneath. For an extra boost of nutrients, consider adding a layer of compost underneath the new mulch. This will help improve soil quality and promote healthy plant growth.
Following these tips and tricks will not only make the process of removing old mulch and replacing it with new mulch easier but also ensure that your plants thrive in their new environment. Remember to also wear appropriate gear, such as gloves and a mask, when handling mulch to protect yourself from potential allergens or irritants. Happy gardening!
Frequently Asked Questions
How Often Should I Replace My Mulch?
It is recommended to replace your mulch every 1-2 years, as it will start to break down and lose its effectiveness after this time. However, depending on the type of mulch used and climate conditions, it may need to be replaced more or less frequently.
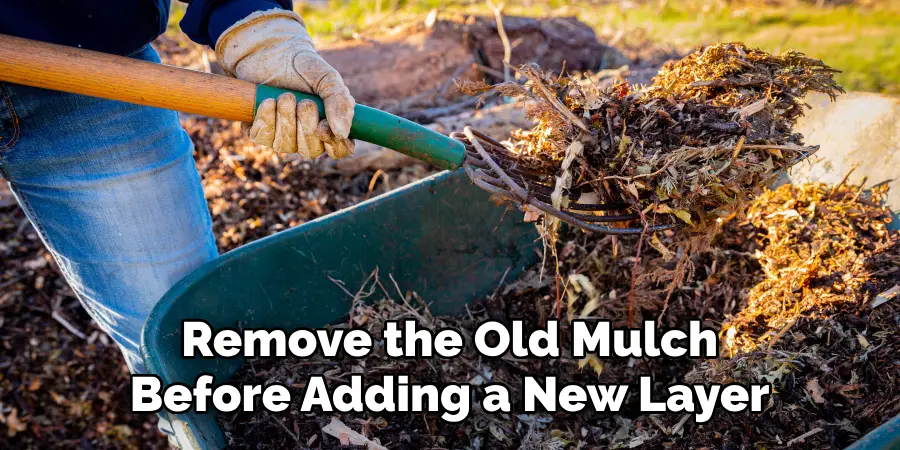
Can I Just Add New Mulch on Top of the Old Mulch?
While it may be tempting to just add a new layer of mulch on top of the old one, this is not recommended. The old mulch can trap moisture and prevent proper air circulation, leading to fungal growth and potential plant damage. It’s best to remove the old mulch before adding a new layer.
How Thick Should the Mulch Layer Be?
The recommended thickness for mulch is 2-3 inches. Thicker layers can prevent proper air and water circulation, while thinner layers may not provide enough coverage and protection for your plants. Overall, it’s important to maintain a balance to ensure the health of your garden.
Can I Use Mulch Around All Types of Plants?
Mulch can be used around most plants, but it’s important to research which type of mulch is best for certain plants. Some types of mulch, such as cedar or cypress, are toxic to some plants and can cause damage. Additionally, avoid placing mulch right up against the base of the plant as this can lead to rot or disease. As always, do your research and choose the best option for your specific plants.
Can I Use Mulch in Weed-Infested Areas?
Yes, mulch can be used in areas with weeds, but it’s important to remove as many weeds as possible before adding a new layer. Additionally, consider laying down landscape fabric to prevent weeds from growing through the mulch. Maintaining a weed-free environment will not only make your garden look nicer but also help your plants thrive by reducing competition for nutrients and water.
Conclusion
Ultimately, removing old mulch and replacing it with new mulch is an easy way to refresh the aesthetic of a garden or landscape. Not only will fresh mulch look nice and help retain water in the soil, but it can also add wonderful aromas to your outdoor space.
Plus, you don’t need to be a gardening expert to accomplish this task—in no time at all, you can have your outdoor space looking refreshed and ready for a springtime soiree!
So what are you waiting for? Put on those gloves and get ready to put some energy into revitalizing that outdoor space of yours by following these tips on how to remove old mulch and replace with new mulch. All that’s left is the final showstopper—an oasis of peace and beauty worthy of your hard-earned backyard retreats.
About
Outdoor Fixes is a distinguished figure in the world of Diy design, with a decade of expertise creating innovative and sustainable Diy solutions.
His professional focus lies in merging traditional craftsmanship with modern manufacturing techniques,
fostering designs that are both practical and environmentally conscious. As the author of diy,
outdoorfixes delves into the art and science of outdoorfixes-making, inspiring artisans and industry professionals alike.
Education RMIT University
(Melbourne, Australia) Associate Degree in Design (Outdoor Fixes) Focus on sustainable design, industry-driven projects,
and practical craftsmanship. Gained hands-on experience with traditional and digital manufacturing tools, such as CAD and CNC software.
Nottingham Trent University
(United Kingdom) Bachelor’s in outdoorfixes.com and Product Design (Honors) Specialized in product design with a focus on blending creativity with production
techniques. Participated in industry projects, working with companies like John Lewis and Vitsoe to gain real-world insights.
Publications and Impact
In diy, Outdoor Fixes his insights on indoor design processes, materials, and strategies for efficient production.
His writing bridges the gap between artisan knowledge and modern industry needs, making it a must-read for both budding designers and seasoned professionals.