Maintaining clean and efficient pool filtration is critical to keeping your swimming pool safe, sparkling, and inviting. Among all the components involved in pool maintenance, filter cartridges play a pivotal role.
These essential elements trap dirt, debris, and microscopic contaminants, ensuring water circulates cleanly through the system. However, over time, these cartridges can become clogged and less effective, reducing the overall performance of the pool’s filtration system.
Knowing how to remove pool filter cartridge properly is an essential skill for any pool owner. Regular maintenance and thorough care not only improve water quality but also extend the life of your pool equipment.
This step-by-step guide will ensure you can remove, clean, or replace your filter cartridge efficiently while avoiding common pitfalls. Whether you’re a first-time pool owner or a seasoned professional, mastering this process can save you both time and money while improving the health and aesthetics of your pool.
Understanding Pool Filter Cartridges
What Are Pool Filter Cartridges?
Pool filter cartridges are specialized components within your pool’s filtration system, designed to capture fine particles and contaminants. These filters are typically made from pleated polyester or other durable, porous materials that maximize filtration surface area. Pool filter cartridges are favored for their efficiency in trapping small particles, making them an ideal choice for many above-ground and in-ground pools.
They are categorized based on their design—single-cartridge filters, which use one filtration element, or multi-cartridge systems that often involve multiple elements stacked together for larger pools requiring greater filtration capacity.
Why Are They Important?
Filter cartridges ensure your pool’s water remains free of unsightly debris and harmful microorganisms, improving both the visual appeal and sanitation of your swimming pool. Clean cartridges reduce strain on the filtration system, promoting energy efficiency and reducing the chance of costly repairs.
Common Issues with Pool Filter Cartridges
Over time, filter cartridges are prone to the following issues:
- Clogging: Accumulated dirt, oil, and algae block the pores in the cartridge, reducing filtration effectiveness.
- Wear and Tear: Constant exposure to debris and water flow can lead to damaged pleats or fraying edges.
- Inefficiency: A poorly maintained cartridge hinders water circulation, increasing strain on the pump and raising energy costs.
Recognizing these signs early allows for timely intervention, saving you from more significant maintenance headaches down the line.
Tools and Supplies Needed for the Process
Essential Tools for Cartridge Removal
Having the right tools on hand can streamline the process:
- Screwdriver or Wrench: For loosening housing clamps or screws.
- Garden Hose: A vital tool for rinsing dirt and debris from the cartridge.
- Bucket of Clean Water: For soaking or pre-cleaning the cartridge, if needed.
- Soft-Bristle Cleaning Brush: Ideal for removing stubborn grime from pleats without damaging the material.
Optional Cleaning Supplies

For a deeper clean or improved efficiency, consider these additional supplies:
- Chemical Cleaner: Use a pool-safe cartridge cleaner to dissolve oils, calcium deposits, and other tough residues.
- Protective Gear: Gloves and goggles are recommended to safeguard against irritants in the cleaning process.
- Digital Pressure Gauge: Helps monitor system pressure to know when cleaning is necessary.
Preparing Your Pool System for Cartridge Removal
Turn Off the Pool Equipment
Safety always comes first. Begin by switching off the pool pump to eliminate water flow and prevent accidental activation during removal. If your pool system is connected to a power outlet, turn off the circuit breaker to ensure that electricity to the pump is completely off.
Depressurize the System
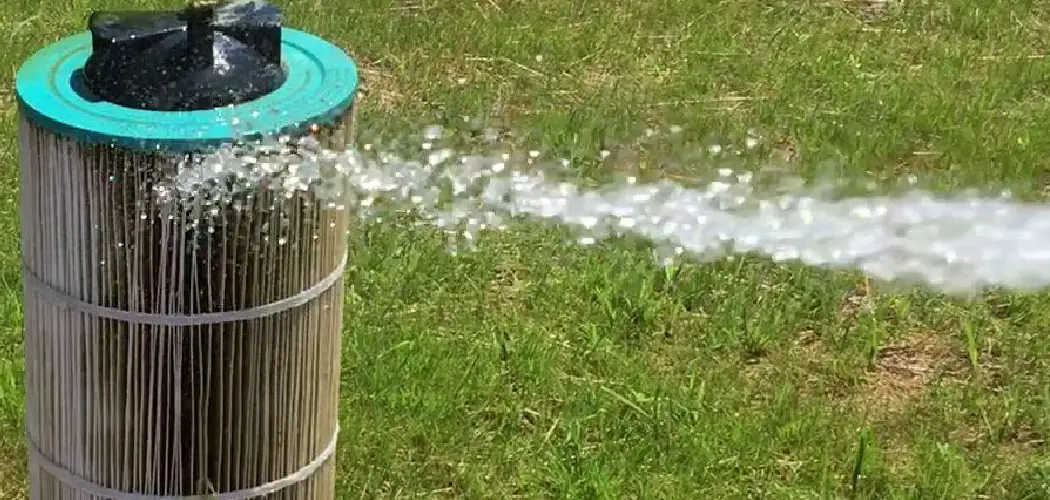
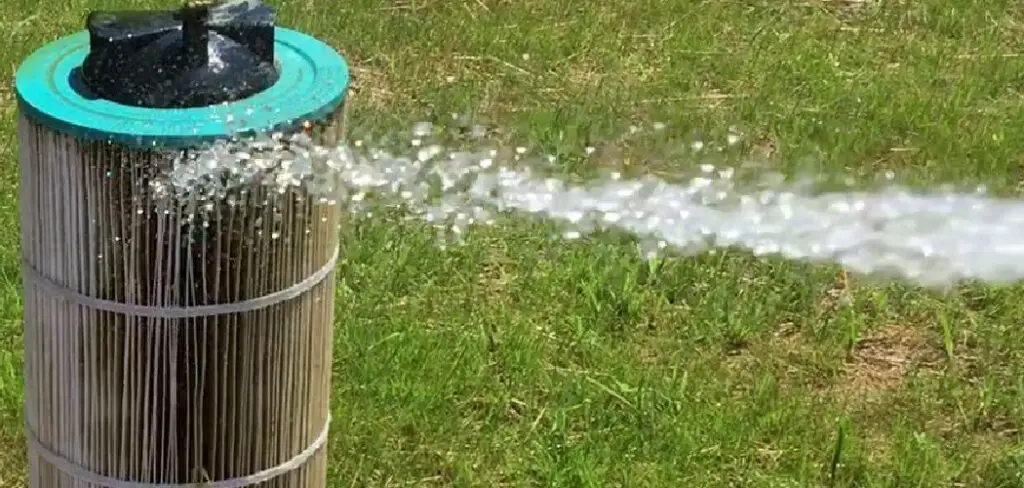
Filtration systems often maintain built-up pressure, which must be released before opening the housing. Locate the air release valve (usually on top of the filter housing) and turn it gently to relieve this pressure. You may hear a hissing sound as the air escapes. Allow a few moments for the system to fully depressurize before proceeding.
Identify the Filter Housing
The filter housing is typically a large cylindrical or rectangular unit connected to your pool’s plumbing system. Remove any clamps, locks, or screws securing the lid. Take care not to misplace these parts, as they are essential for reassembly. Consult your pool’s user manual to ensure no components are overlooked.
Step-by-Step Guide on How to Remove Pool Filter Cartridge
Opening the Filter Housing
Once the lid is removed, you can access the pool filter cartridge. The cartridge can be easily lifted out of the housing by grasping its handle and pulling upwards. Be cautious as you remove it, as it may be heavy and could potentially cause injury if mishandled. Set aside the old cartridge for disposal or cleaning (if you plan on reusing it).
Extracting the Cartridge
Inspect the cartridge for damage, such as cracks or tears, before inserting a new one. You can also clean and reuse an old cartridge if it is still in good condition. If purchasing a new one, make sure to check the compatibility with your pool filter system. Insert the new (or cleaned) cartridge into the housing, making sure it fits securely and snugly in place.
Inspecting the Cartridge
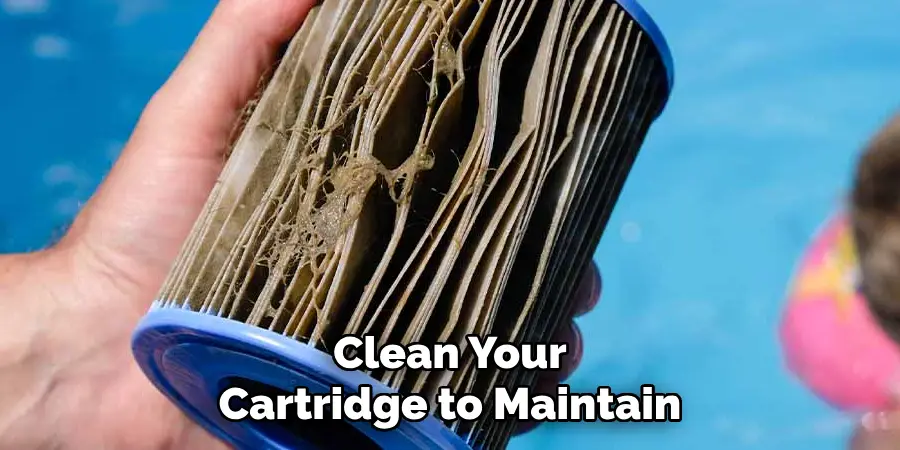
It is important to periodically inspect and clean your cartridge to maintain optimal filtration. Remove the cartridge from the housing and rinse it with a garden hose, making sure to remove any debris or buildup on the surface.
You can also use a specialized filter cleaner or soak the cartridge in a solution recommended by the manufacturer for deeper cleaning. For tough stains or buildup, you may need to gently scrub with a soft brush. Rinse thoroughly before reinserting into the housing.
Cleaning the Filter Cartridge
Rinsing with a Garden Hose
- Angle your garden hose to flush dirt and debris from the inside of the cartridge outward. Move systematically, ensuring each pleat gets cleaned thoroughly.
- Avoid using high-pressure settings that could tear the pleated material.
Deep Cleaning with Chemical Solutions
For filters that remain dirty after rinsing:
- Mix a cartridge-safe chemical cleaner with water in a bucket.
- Submerge the cartridge in the solution and soak for 3-12 hours, depending on the manufacturer’s recommendations.
- Rinse thoroughly to remove cleaner residue before reinstalling the cartridge.
Tips for Better Cleaning
- Pleat-by-Pleat Cleaning: Use a soft brush to gently clean pleats individually for a more effective result.
- Air-Drying the Cartridge: Allow the cartridge to dry completely before reinstallation, as this enhances efficiency.
Replacing the Cartridge
When to Replace
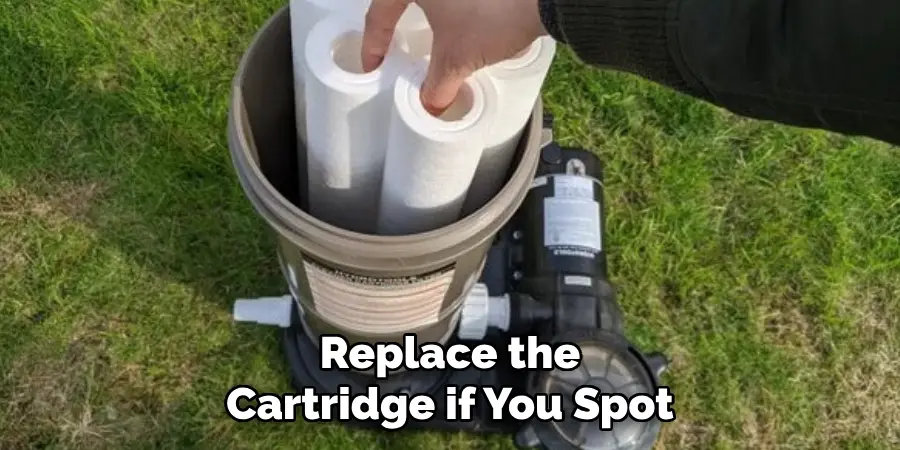
Sometimes, cleaning isn’t enough. Replace the cartridge if you spot:
- Torn or frayed pleats.
- Severe discoloration or stains that won’t wash out.
- Reduced efficiency even after cleaning.
Cartridges typically last 1-3 years with proper care, depending on pool size and usage.
Reinstalling the Pool Filter Cartridge
Preparing the Housing
- Before reinstalling, inspect the housing for debris or residue.
- Check that O-rings are securely seated and free of damage or debris. Replace cracked seals to prevent leaks.
Proper Alignment
- Fit the cartridge correctly into its designated spot within the housing. Make sure it aligns properly with internal guides or connectors.
- Secure the housing lid gently but firmly, avoiding overtightening.
Testing the System
Restarting Pool Equipment
Turn the pump back on and slowly reintroduce water flow to the system. Monitor pressure levels to ensure that the system operates within the recommended range.
Checking for Leaks
Inspect the housing and connections for dripping water. Tighten clamps or replace faulty seals if needed to eliminate leaks. A smoothly functioning system should produce a steady, unobstructed flow of water.
Cleaning the Pool
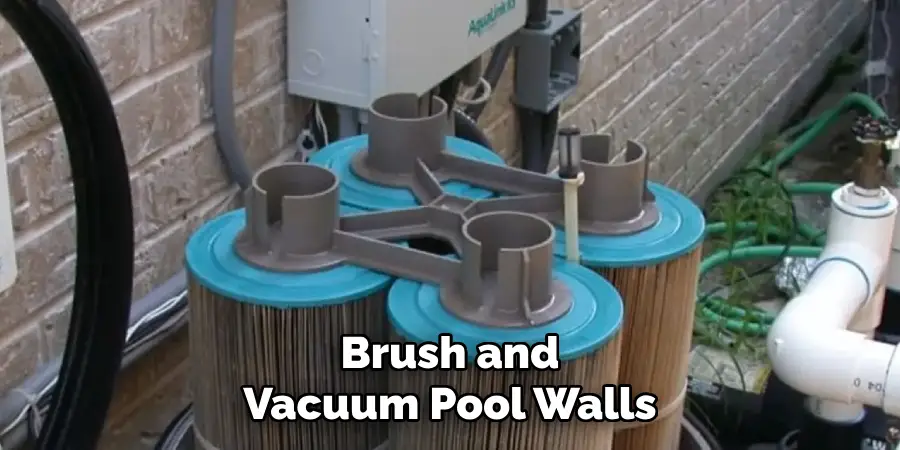
Brush and vacuum pool walls, floors, and steps to remove any remaining debris. Empty skimmer baskets and pump baskets. Clean or replace the filter if necessary. A clean pool not only looks inviting but also helps maintain proper chemical balance in the water.
Long-Term Cartridge Maintenance
Regular Cleaning Schedule
- Weekly cleaning during heavy usage seasons prevents clogs and strain on the system.
- Monitor system pressure; a noticeable increase usually signals that the cartridge requires cleaning.
Prevent Buildup with Pre-Filters
Consider installing pre-filter devices that capture large debris before it reaches the main filter cartridge, reducing strain and prolonging its life.
Common Mistakes to Avoid
Neglecting Pressure Release
Failing to release pressure before dismantling the housing can result in accidents or component damage.
Using Harsh Tools
Avoid sharp or abrasive cleaning tools that can damage pleats. Stick to brushes and cleaners designed for pool filters.
Benefits of Proper Maintenance
Enhanced Performance
Well-maintained cartridges ensure cleaner pools, improved flow rates, and reduced pump strain.
Cost Savings
Extending the life of your filter cartridges saves money on replacements and reduces energy costs by maintaining efficient system performance.
Conclusion
Routine care and attention to your pool filter cartridge are crucial for a clean and efficient pool system.
Learning how to remove pool filter cartridge correctly will give you the confidence to perform regular maintenance tasks, ensuring your water remains crystal clear. By following these steps, you’ll not only enhance your pool’s longevity but also enjoy the satisfaction of taking ownership of your pool’s health and hygiene.
About
Outdoor Fixes is a distinguished figure in the world of Diy design, with a decade of expertise creating innovative and sustainable Diy solutions.
His professional focus lies in merging traditional craftsmanship with modern manufacturing techniques,
fostering designs that are both practical and environmentally conscious. As the author of diy,
outdoorfixes delves into the art and science of outdoorfixes-making, inspiring artisans and industry professionals alike.
Education RMIT University
(Melbourne, Australia) Associate Degree in Design (Outdoor Fixes) Focus on sustainable design, industry-driven projects,
and practical craftsmanship. Gained hands-on experience with traditional and digital manufacturing tools, such as CAD and CNC software.
Nottingham Trent University
(United Kingdom) Bachelor’s in outdoorfixes.com and Product Design (Honors) Specialized in product design with a focus on blending creativity with production
techniques. Participated in industry projects, working with companies like John Lewis and Vitsoe to gain real-world insights.
Publications and Impact
In diy, Outdoor Fixes his insights on indoor design processes, materials, and strategies for efficient production.
His writing bridges the gap between artisan knowledge and modern industry needs, making it a must-read for both budding designers and seasoned professionals.