
Transforming your lawn or garden often starts with the task of removing old sod and establishing new plantings or ground cover. Understanding how to remove sod and replant is a skill every homeowner, gardener, or landscaper should master.

Whether you’re preparing to rejuvenate a tired lawn, create fresh garden beds, or change the landscape layout for aesthetic or practical reasons, doing the job properly protects soil health and ensures new plantings thrive. This comprehensive guide will walk you through every stage, outlining techniques, best practices, and tips to help you succeed with confidence.
Understanding the Process of Removing Sod and Replanting
Every successful garden makeover or lawn improvement project starts with careful planning. Removing sod and replanting is a process that involves two fundamental steps: clearing out the existing sod and then preparing the ground for new plants or sod.
Why Remove Sod Before Replanting?
You might wonder why it’s necessary to remove the existing sod before adding new plants or rolling out fresh turf. The answer is simple: leaving old sod in place can create competition for water and nutrients, make it harder for new roots to establish, and sometimes harbor pests or diseases that could affect new growth. Removing the old sod gives your new lawn or garden the best opportunity to thrive by starting with a clean, healthy foundation.
Preparing for Sod Removal
Preparation paves the way for efficiency and success. Before you break ground, take time to evaluate your yard, gather all necessary materials, and consider safety protocols.
Assessing the Area
Begin by evaluating the scope of your project. Walk through your yard or garden and clearly mark the sections you plan to replant. Estimating the square footage will help you determine how much sod needs to be removed and how much new seed, sod, or plants you’ll need for replanting. Take note of any slopes, compacted areas, or spots with poor drainage as these may require special attention during both removal and replanting.
Gathering Tools and Materials
Having the proper tools not only speeds up the process but also prevents unnecessary strain on your body and potential harm to your soil.
Essential items include:
- Sod cutter (manual or power)
- Spade or garden shovel
- Heavy-duty rake
- Tarps for collecting sod pieces and debris
- Gloves and durable shoes
- Safety goggles (especially if using power tools)
For beginners or small-scale projects, manual tools like a sharp spade are sufficient. For larger areas or tougher turf, renting a mechanical sod cutter makes the job much faster and less labor-intensive. Always use safety gear, especially with mechanical equipment.
How to Remove Sod and Replant: Methods for Sod Removal
Selecting the right removal method depends on your yard size, soil condition, and available tools. Let’s break down the two main approaches:
Manual Removal Techniques
Manual sod removal works well for smaller areas or when the existing grass is thin.
Step-by-step:
- Water the area lightly a day before removal. Moist (but not soggy) soil makes it easier to cut through the roots.
- Use a sharp spade or flat shovel to cut the sod into manageable strips, about 12–18 inches wide.
- Slide the spade under each strip, keeping the blade as parallel to the ground as possible. Gently pry up the sod, working slowly to minimize soil loss.
- Roll or stack removed pieces on a tarp for easier transport.
- Continue in sections to avoid fatigue and ensure uniform depth.
Tips: If you encounter stubborn roots or compacted soil, alternate between the spade and a garden fork to loosen the ground. Remember to take breaks and stretch, especially when working for extended periods.
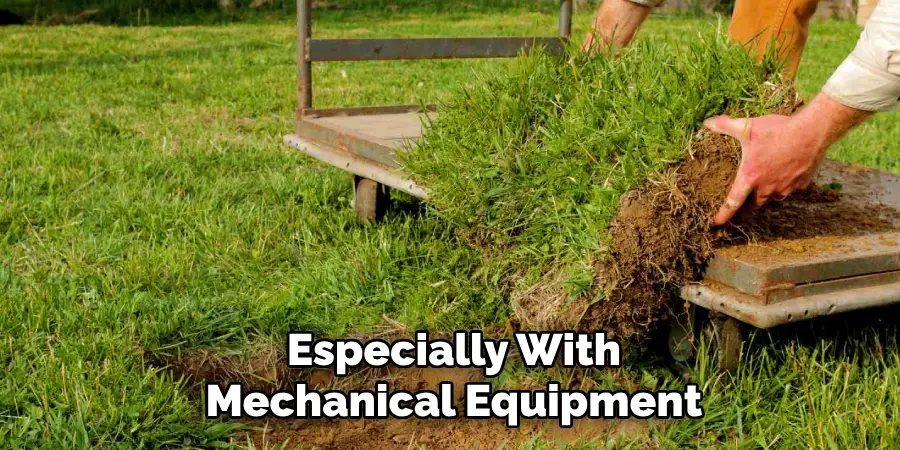
Using Mechanical Tools for Ease
For extensive or thickly rooted lawns, mechanical sod cutters are invaluable. These machines slice below the sod’s surface to lift entire strips efficiently.
How to use a mechanical sod cutter:
- Adjust the cutting depth (usually 1 to 2 inches) so you’re removing the sod plus just a thin layer of soil.
- Carefully guide the sod cutter along straight rows, keeping your path as consistent as possible.
- After cutting, roll up each strip like a carpet and transport it away.
- Inspect the area for any patches missed by the cutter and remove them manually if needed.
- Always follow the manufacturer’s safety instructions and wear protective gear.
Safety note: Mechanical tools can be heavy and loud—never operate them barefoot or without gloves, and keep children and pets away during use.
Preparing the Area for Replanting
Once the sod is removed, give your soil some attention to ensure it’s ready for new growth.
Cleaning and Leveling the Soil
Begin by raking the area to clear away any remaining roots, rocks, or plant debris. A clean soil surface not only makes replanting easier but also prevents leftover organic material from interfering with new roots. Level the ground to prevent future drainage problems and to create a smooth, even surface for laying sod or broadcasting seed.
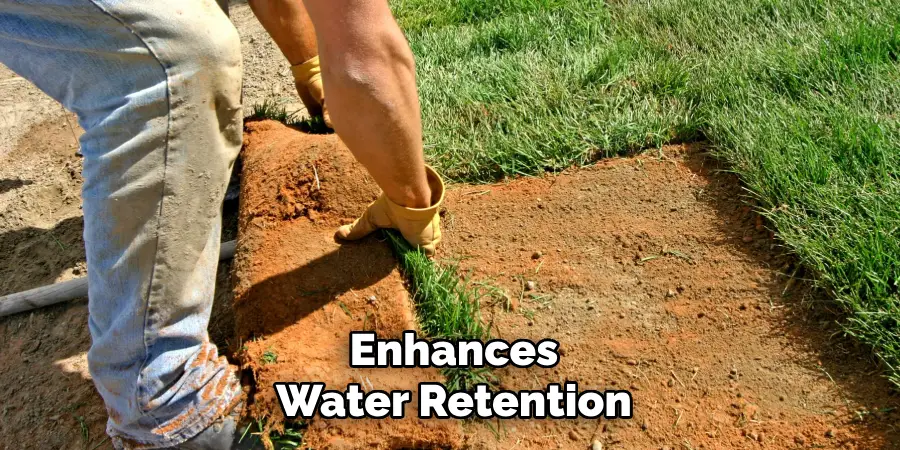
Improving Soil Health
Take advantage of the bare soil surface to enrich it. Spread a layer of high-quality compost, aged manure, or rich topsoil and work it into the top few inches. This step replenishes nutrients lost over time, enhances water retention, and creates a friable texture that promotes robust root growth for your new planting.
Methods for Replanting
You’re now ready to introduce new life to your prepared area. Depending on your landscaping goals, you’ll either lay fresh sod or start plants from seed.
Replacing Sod
If you’re looking for an instant green transformation, installing new sod is the way to go.
Step-by-step instructions:
- Start at a straight edge, such as a driveway or walkway.
- Lay the sod strips end-to-end in staggered rows (like bricks) to avoid visible seams.
- Press the edges close together, but not overlapping, to prevent air pockets and drying.
- After each strip is in place, lightly tamp or roll it to ensure good soil contact.
- Water thoroughly, making sure water reaches the layer beneath the sod.
Key tips: Avoid walking directly on newly placed sod; use planks or plywood to distribute weight if you need to cross the area. Water every day (or more often in hot weather) for the first week to help roots establish.
Planting Grass Seed or Other Plants
For those who prefer to seed their lawn or grow garden beds, here’s how to get the best results:
Planting grass seed:
- Use a broadcast spreader or hand-sow seeds evenly across the prepared surface.
- Lightly rake the soil to cover seeds with a thin layer (about 1/4 inch) for protection and good seed-to-soil contact.
- Water gently with a fine spray to keep the surface consistently moist, but not soggy, during germination.
Establishing other plantings:
- Dig holes slightly larger than each plant’s root ball.
- Mix some compost into each planting hole for a nutritional boost.
- Position plants at the right spacing as indicated on their labels.
- Tamp the soil gently around the bases and water thoroughly.
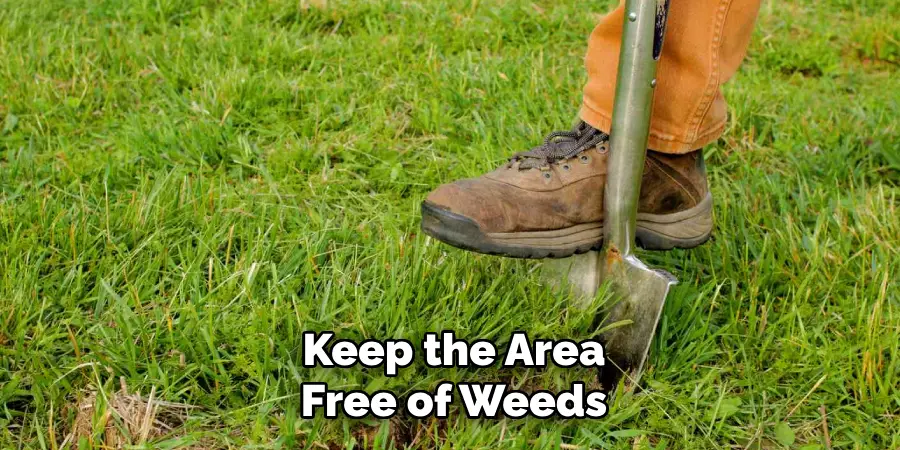
Maintenance: For both grass and garden beds, keep the area free of weeds and maintain steady moisture until new growth is well established.
Managing and Maintaining New Growth
The initial weeks after replanting are crucial for the long-term success of your lawn or garden.
Watering and Fertilizing
Set up a reliable watering schedule, ideally soaking the area every morning to minimize evaporation and fungal problems. Freshly laid sod and seeded lawns require frequent, shallow watering at first, then gradually transition to deeper, less frequent sessions as roots grow.
Fertilize with a balanced starter product suitable for new plantings. Apply according to label directions, and avoid heavy applications until new sod or sprouts are established (usually after about a month).
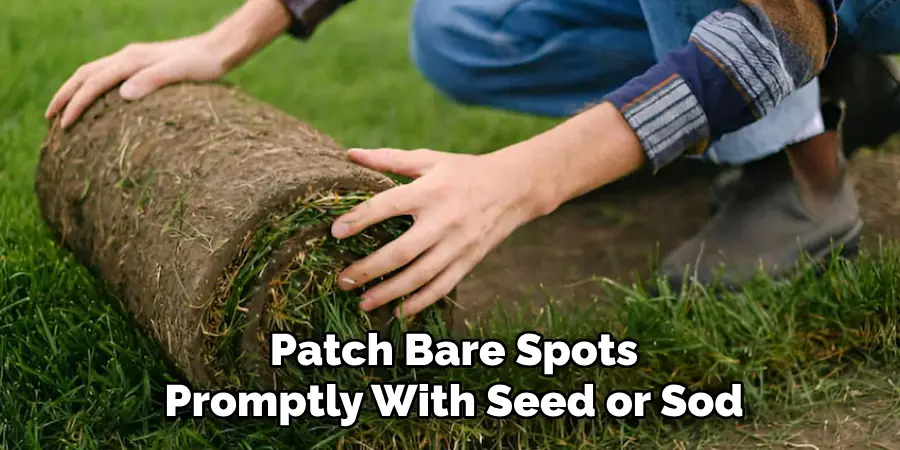
Monitoring for Issues
Check your new lawn or beds daily for signs of distress—wilting, dry spots, pests, or disease. Spot-treat weeds by hand-pulling to prevent them from competing with young grass or garden plants. If you notice any uneven growth, patch bare spots promptly with seed or sod.
Common Mistakes to Avoid
A few pitfalls can undermine your hard work. Sidestep these errors for the best results.
- Leaving roots behind: Any old sod roots left in the soil can regrow or create uneven surfaces. Take time during the cleaning step to get them all out.
- Overwatering: More is not always better. Soggy conditions can rot roots or foster fungal growth; follow a consistent but moderate watering schedule.
- Using improper tools: Dull or inappropriate tools can damage soil structure or cause injury. Invest in quality equipment and keep it in good repair.
- Ignoring soil amendments: Skipping compost or soil conditioners means risking poor root health and lackluster growth.
By recognizing these potential hazards in advance, you set yourself up for a landscape that thrives.
Benefits of Proper Sod Removal and Replanting
Mastering how to remove sod and replant properly offers long-lasting rewards. These include:
- Healthier lawns and gardens: New plants establish quickly in well-prepared soil, creating lush, vibrant growth.
- Long-term maintenance: With underlying issues addressed from the start, ongoing care becomes easier and less time-consuming.
- Improved aesthetics and property value: A fresh, even lawn or colorful new garden bed boosts curb appeal and your enjoyment of outdoor space.
- Prevention of future problems: By tackling soil health and layout during the process, you reduce the need for future renovations or repairs.
Conclusion
Learning how to remove sod and replant effectively is one of the most impactful landscaping skills you can acquire. The process—though labor intensive—rewards you with a landscape ready to support new, healthy growth for years to come. By following the steps outlined above, you’ll eliminate old competition, improve the underlying soil, and set yourself up for a successful, sustainable lawn or garden. Take the initiative and approach each step thoughtfully—your yard will thank you with beauty, resilience, and enduring value. Whether you choose sod, seed, or garden beds, start now and watch your outdoor space flourish anew!
About
Outdoor Fixes is a distinguished figure in the world of Diy design, with a decade of expertise creating innovative and sustainable Diy solutions.
His professional focus lies in merging traditional craftsmanship with modern manufacturing techniques,
fostering designs that are both practical and environmentally conscious. As the author of diy,
outdoorfixes delves into the art and science of outdoorfixes-making, inspiring artisans and industry professionals alike.
Education RMIT University
(Melbourne, Australia) Associate Degree in Design (Outdoor Fixes) Focus on sustainable design, industry-driven projects,
and practical craftsmanship. Gained hands-on experience with traditional and digital manufacturing tools, such as CAD and CNC software.
Nottingham Trent University
(United Kingdom) Bachelor’s in outdoorfixes.com and Product Design (Honors) Specialized in product design with a focus on blending creativity with production
techniques. Participated in industry projects, working with companies like John Lewis and Vitsoe to gain real-world insights.
Publications and Impact
In diy, Outdoor Fixes his insights on indoor design processes, materials, and strategies for efficient production.
His writing bridges the gap between artisan knowledge and modern industry needs, making it a must-read for both budding designers and seasoned professionals.