
Over time, metal gates can succumb to the elements, developing rust that not only diminishes their aesthetic appeal but also compromises their structural integrity. Repainting a rusty metal gate is a practical and effective way to revive its appearance, protect it from further corrosion, and extend its lifespan.
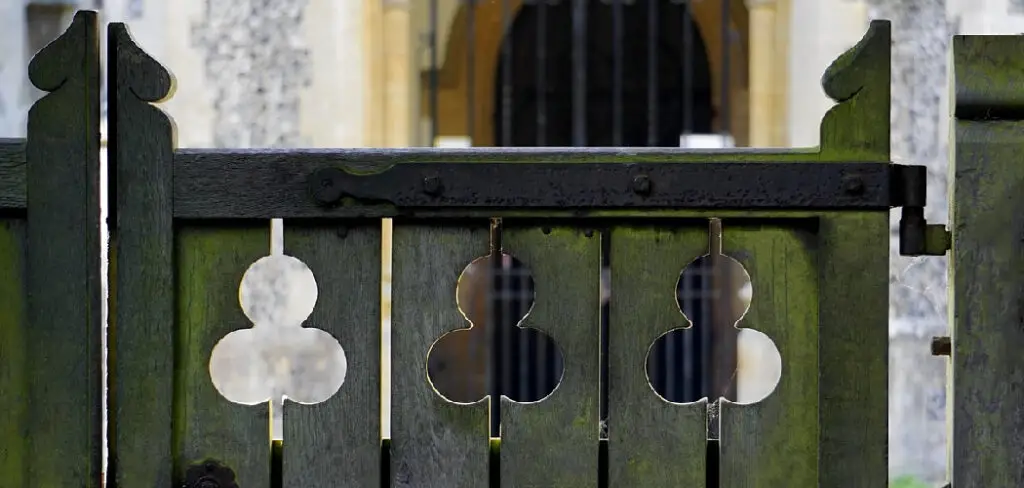
In this article, we will delve into the step-by-step process of how to repaint a rusty metal gate, covering essential tasks such as rust removal, surface preparation, and the application of rust-resistant paint.
By following these comprehensive guidelines, homeowners and DIY enthusiasts can breathe new life into their metal gates, enhancing both their visual appeal and durability for years to come.
Introduction to Repainting a Rusty Metal Gate
Before embarking on the journey of repainting a rusty metal gate, it is crucial to understand the importance of each step in the process. A metal gate serves not just as a security feature for your property but also as a focal point that can impact the overall curb appeal. Neglecting rust can lead to further degradation of the metal, resulting in costly repairs or replacements.
The repainting process not only restores beauty but also acts as a preventive measure against future rust formation. With a few tools, some time, and a bit of elbow grease, you can transform your rusty metal gate into a striking part of your home’s exterior, reflecting dedication to home maintenance and care.
Understanding Rust on Metal Gates
Rust is the common name for iron oxide, which forms when iron or its alloys, such as steel, are exposed to moisture and oxygen over time. This chemical reaction, known as oxidation, causes the metal to deteriorate, leading to the reddish-brown flaky coating that is characteristic of rust.
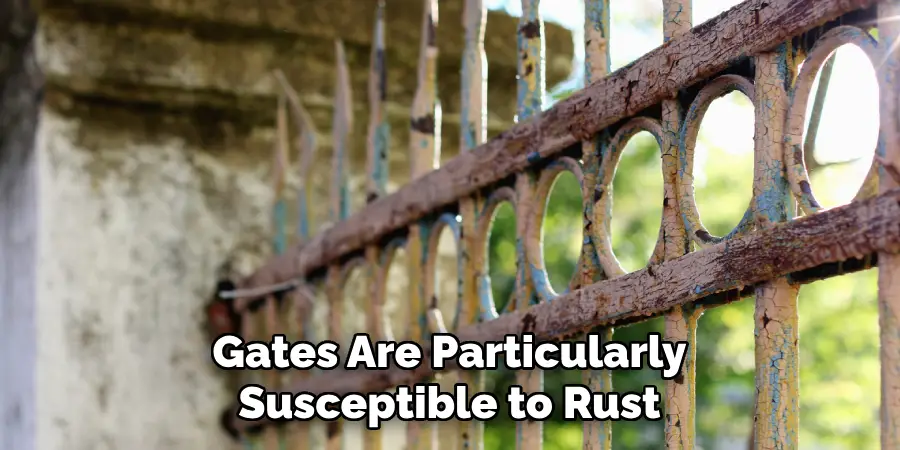
Gates are particularly susceptible to rust because they are often exposed to the elements, including rain, humidity, and varying temperatures, all of which can accelerate the rusting process.
By understanding the conditions that lead to rust, you can better prevent it and protect your gate. It’s important to catch rust early and address it promptly to prevent the gate from weakening and to minimize the extent of the repainting efforts required.
The Importance of Repainting to Protect and Restore a Metal Gate
The importance of repainting a metal gate extends beyond mere aesthetics. A fresh coat of paint is a shield that safeguards the gate from harsh weather conditions, moisture, and pollutants—all of which can accelerate the rusting process. Regularly maintaining and repainting your gate not only enhances its appearance but also reinforces its structure by providing an additional layer of defense.
This proactive approach can prevent the need for more extensive repairs down the line, ultimately preserving the gate’s functionality and extending its life. Additionally, a well-maintained gate can contribute positively to the overall impression of your property, potentially adding to its market value.
Necessary Materials and Tools for Repainting
Before we dive into the step-by-step guide, we must ensure that we have all the necessary materials and tools at hand. Here’s what you will need for a successful repaint:

- Wire Brush: For scraping off loose rust and flaking paint.
- Sandpaper or a Sanding Block (medium to fine grit): To smooth out the surface after using the wire brush.
- Metal Primer: Specially designed to stop rust and to provide a good surface for the paint to adhere to.
- Rust-inhibiting Paint: Choose a paint that’s formulated for metal surfaces and outdoor use to provide long-lasting protection.
- Paintbrushes or Rollers: For applying the primer and paint. A small brush can be handy for detail work.
- Drop cloths or Plastic Sheeting: These will protect the surrounding area from paint splatters.
- Safety Goggles and Gloves: To protect your eyes and hands during the process.
- Masking Tape: For covering parts you don’t want to paint, such as locks and handles.
- Rags and a Mild Cleaning Solution: For cleaning the gate before starting and for wiping up any spills.
Repairing Damaged Areas
Before applying new paint to the metal gate, it’s essential to address any damaged areas that could undermine the integrity of your repainting job. Start by using the wire brush to vigorously scrub away loose rust and flaky paint until you reach the solid metal beneath. For areas with more extensive rust or damage, a rust converter can be applied to halt further deterioration. Once the surface rust is removed, use sandpaper to smooth any rough spots or edges.
If you encounter holes or deep pits, these need to be filled to prevent moisture from seeping in and causing new rust. Metal filler or an auto body filler is your best bet for these repairs. Follow the manufacturer’s instructions for mixing and applying the filler. After the filler has cured, sand the area again to ensure it’s flush with the surrounding surface and that the transition between the repaired area and the old metal is seamless. Remember, thorough preparation at this stage is vital to achieving a professional, long-lasting finish.
10 Methods How to Repaint a Rusty Metal Gate
1. Assessing the Extent of Rust:
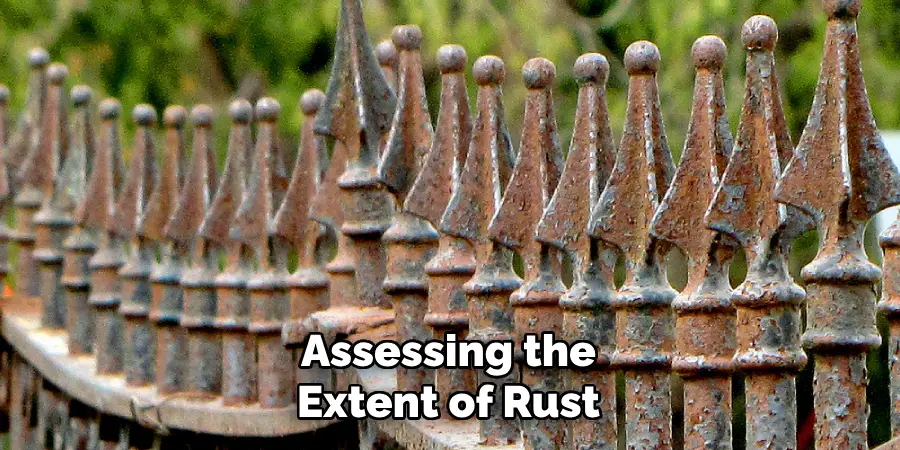
Begin by assessing the extent of rust on the metal gate. Identify areas with surface rust, deep rust, or flaking paint. This evaluation will guide the level of preparation needed before applying new paint.
Rust is a common problem that can affect the metal surfaces of gates, fences, and other structures. It occurs when iron or steel is exposed to oxygen and moisture, resulting in the formation of iron oxide. Rust not only looks unsightly but can also weaken the metal over time if left untreated.
When assessing the extent of rust on a metal gate, it’s important to note the different types of rust present. Surface rust, also known as flash rust, appears as a thin layer on top of the metal and can easily be removed with light sanding or wire brushing. Deep rust, on the other hand, penetrates into the metal and may require more intensive treatment such as chemical conversion or primer.
2. Safety Precautions:
Before starting any work, prioritize safety by wearing protective gear, including gloves, safety goggles, and a mask. Rust removal and painting processes may involve chemicals and dust, so ensuring personal protection is essential. Additionally, make sure to work in a well-ventilated area to avoid inhaling fumes.
When working with power tools or sharp objects, it is crucial to handle them carefully and follow the manufacturer’s instructions. Keep your workspace organized and clean from any clutter or debris that may cause accidents. Make sure to unplug all electrical equipment when not in use, and keep flammable materials away from heat sources.
In case of an emergency, have a first aid kit ready and know how to use it. Familiarize yourself with the location of the nearest fire extinguisher and emergency exits. It is also important to have a clear understanding of safety procedures and protocols, such as what to do in case of spills or accidents involving hazardous materials.
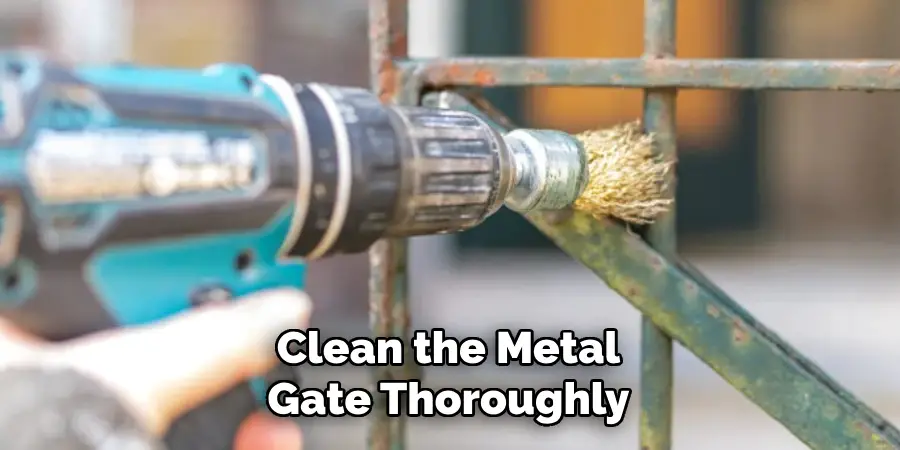
3. Cleaning the Gate Surface:
Clean the metal gate thoroughly to remove dirt, dust, and loose particles. Use a wire brush, a scraper, or a pressure washer, depending on the severity of the dirt and rust. Ensure that the gate is dry before proceeding to the next step.
After cleaning the gate, it is important to check for any signs of rust or corrosion. If there are any visible areas of rust, use a wire brush or sandpaper to remove it. For tougher rust spots, try using a rust remover product.
Once all traces of rust have been removed, you can begin preparing the gate surface for painting. This involves smoothing out any rough spots or imperfections on the surface by sanding it down. This will create a smooth and even surface for the paint to adhere to.
Before painting, be sure to cover any nearby plants or surfaces that may be affected by overspray. It is also recommended to wear protective gear such as gloves, goggles, and a respirator mask when handling paint products.
4. Rust Removal Techniques:
Choose an appropriate rust removal technique based on the extent of corrosion. Options include chemical rust removers, wire brushing, sanding, or a combination of these methods. For tougher rust, consider using a power tool like an angle grinder with a wire brush attachment.
Chemical rust removers are one of the most popular and effective techniques for removing rust. They work by breaking down the chemical bonds of rust, making it easier to scrub off. There are several types of chemical rust removers available on the market, including phosphoric acid-based products and citric acid-based products.
Wire brushing is another commonly used technique for removing rust. It involves using a wire brush to physically scrub off rust from the surface of the metal. This method is most effective for removing loose or flaky rust, but may not be as effective for more stubborn rust.
5. Applying Rust Converter:
For areas with persistent rust, apply a rust converter. Rust converters chemically alter rust into a stable compound, preventing further corrosion. Follow the manufacturer’s instructions, allowing sufficient drying time before moving on to the next step.
Rust converters are an effective solution for areas that have persistent rust. They work by chemically altering the rust into a stable compound, which prevents further corrosion from occurring. This is especially useful for metal surfaces that are constantly exposed to moisture or harsh weather conditions.
When using a rust converter, it is important to follow the instructions provided by the manufacturer. This includes applying the converter evenly and allowing enough time for it to dry before moving on to the next step. Failure to follow the instructions may result in an ineffective treatment, leaving your metal surfaces vulnerable to future rust.
6. Surface Preparation:
Once the rust is removed, prepare the metal surface for painting. Sand the entire gate to create a smooth and even surface. Use coarse-grit sandpaper initially and progress to finer grits for a polished finish. This step promotes better paint adhesion.
Furthermore, it is important to clean the metal surface thoroughly before painting. Use a degreaser or mineral spirits to remove any dust, dirt, or oil residue. This will ensure that the paint adheres properly and results in a smooth and long-lasting finish.
In addition, if there are any dents or scratches on the metal surface, fill them with a suitable filler and sand it down to create a seamless surface.
It is also recommended to prime the metal surface before painting. This will provide an extra layer of protection against rust and improve the durability of your paint job. Choose a high-quality primer specifically designed for metal surfaces.
7. Priming the Metal Surface:
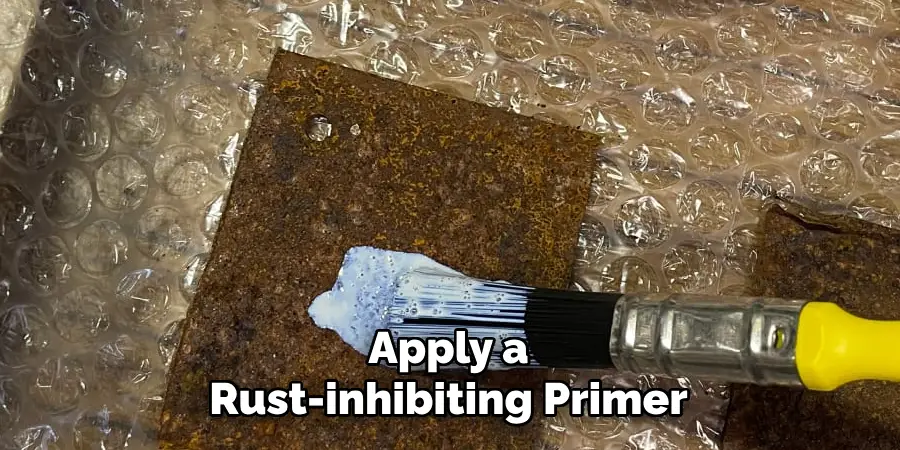
Apply a rust-inhibiting primer to the prepared metal surface. This not only provides a protective barrier against future corrosion but also enhances the adhesion of the topcoat. Choose a primer specifically designed for metal surfaces and follow the manufacturer’s instructions for application. Typically, the primer can be applied with a brush, roller, or sprayer.
Some primers may require multiple coats for optimal protection and adhesion. Be sure to allow sufficient drying time between each coat as recommended by the manufacturer.
After the primer has fully dried, sand down any rough areas or imperfections on the surface with fine-grit sandpaper. This will create a smooth surface for the topcoat to adhere to and ensure a professional finish.
Once the surface is fully primed and sanded, you are now ready to apply your chosen topcoat. Ensure that the primer layer is completely dry before proceeding with the topcoat application.
8. Choosing the Right Paint:
Select a high-quality, rust-resistant metal paint suitable for exterior use. Consider factors such as the gate’s exposure to weather conditions, and opt for a paint with UV resistance. Enamel or epoxy-based paints are popular choices for metal surfaces due to their durability.
Additionally, ensure that your chosen paint is compatible with a primer designed for metal surfaces.
When it comes to painting metal, preparation is key. Begin by cleaning the gate thoroughly and removing any rust using a wire brush or sandpaper. Next, apply a coat of primer to the entire surface, allowing it to dry completely before proceeding to paint.
Before starting the actual painting process, it is recommended to test the paint on a small, inconspicuous area of the gate to ensure proper adhesion and color. When painting, use a brush or roller specially designed for metal surfaces to achieve smooth and even coverage.
9. Applying Multiple Coats of Paint:
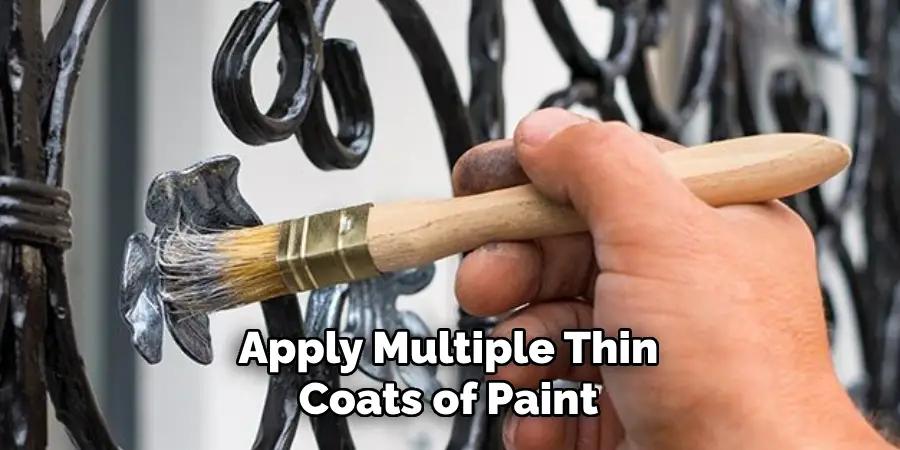
Apply multiple thin coats of paint rather than one thick coat. Allow each coat to dry completely before applying the next. This ensures an even and smooth finish, and it enhances the paint’s durability over time.
By applying multiple coats of paint, you are building up a stronger and more protective layer on your surface. This is especially important for high-traffic areas or surfaces that may be exposed to harsh elements.
When preparing to apply multiple coats, make sure to lightly sand the surface in between each coat.
This helps to create a smoother finish and removes any imperfections or bubbles that may have formed during the painting process.
In addition, using a high-quality paint with good coverage will also help to minimize the number of coats needed. This will save you time and effort in the long run.
10. Sealing and Protecting:
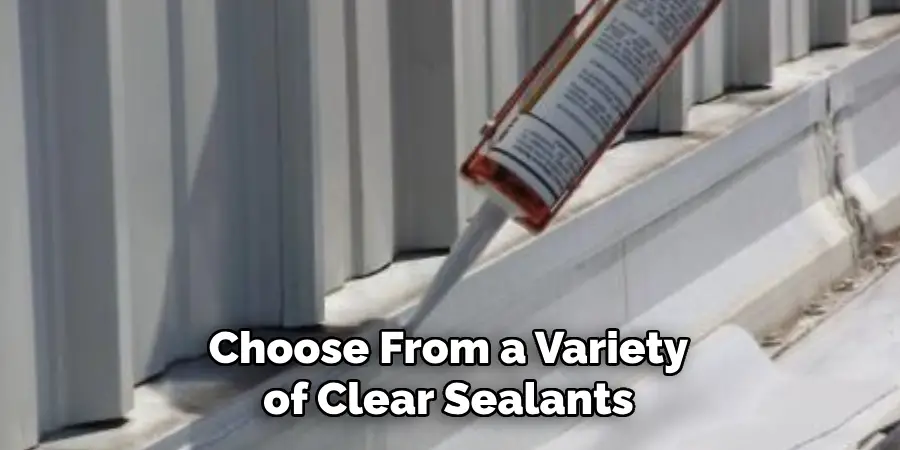
Once the final coat is dry, consider applying a clear sealant or topcoat to provide an additional layer of protection. This step helps shield the paint from the elements, including sunlight and rain, and contributes to the longevity of the repainted metal gate.
You can choose from a variety of clear sealants, such as polyurethane or acrylic, depending on your personal preference and the type of metal used in the gate.
It is important to read the instructions carefully before applying any sealant. Some may require multiple coats or a specific drying time between coats. In addition, make sure to clean the gate thoroughly before applying the sealant to ensure proper adhesion.
Once the sealant has been applied, allow it to fully dry before using the gate again. This may take a few hours or even a full day, so be patient and avoid touching or using the gate until the sealant has completely set.
Conclusion
In conclusion, repainting a rusty metal gate is a worthwhile investment in both its appearance and longevity. By following the steps outlined, from thorough surface preparation to applying high-quality paint and finishing touches, homeowners can restore their metal gates to their former glory and protect them from future corrosion.
Proper maintenance and care, including regular inspections and touch-up painting as needed, ensure the gate retains its freshly painted appearance for years to come.
Additionally, the repainting process serves as a preventive measure against further rust formation, preserving the structural integrity of the gate. Thanks for reading, and we hope this has given you some inspiration on how to repaint a rusty metal gate!
About
Outdoor Fixes is a distinguished figure in the world of Diy design, with a decade of expertise creating innovative and sustainable Diy solutions.
His professional focus lies in merging traditional craftsmanship with modern manufacturing techniques,
fostering designs that are both practical and environmentally conscious. As the author of diy,
outdoorfixes delves into the art and science of outdoorfixes-making, inspiring artisans and industry professionals alike.
Education RMIT University
(Melbourne, Australia) Associate Degree in Design (Outdoor Fixes) Focus on sustainable design, industry-driven projects,
and practical craftsmanship. Gained hands-on experience with traditional and digital manufacturing tools, such as CAD and CNC software.
Nottingham Trent University
(United Kingdom) Bachelor’s in outdoorfixes.com and Product Design (Honors) Specialized in product design with a focus on blending creativity with production
techniques. Participated in industry projects, working with companies like John Lewis and Vitsoe to gain real-world insights.
Publications and Impact
In diy, Outdoor Fixes his insights on indoor design processes, materials, and strategies for efficient production.
His writing bridges the gap between artisan knowledge and modern industry needs, making it a must-read for both budding designers and seasoned professionals.